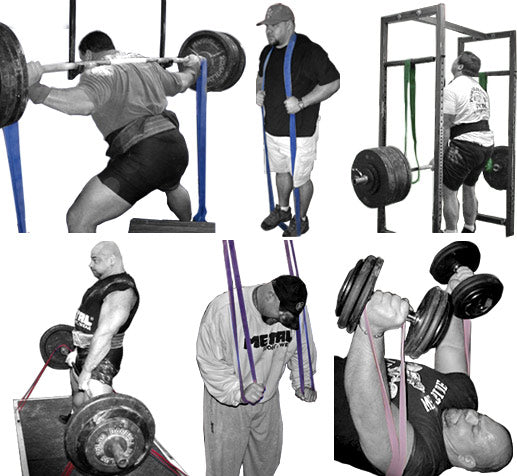
Why?
The speed day (dynamic effort day) is designed to make the lifter faster. If you were to do a vertical jump, would you try to jump slowly? If you did, how high would you go? What would happen if you tried to jump fast and apply more force? You'd go much higher, of course! Training for maximal strength has to have a speed element to it or you won't be training to the fullest potential. There are some lifters who are stronger than they are fast and others who are faster than they are strong. You have to train both elements regardless of where you fall. This way you can harness your strength and bring up your weakness. There are two days of the week devoted to training for speed. The first is for the bench press and the second is for the squat and deadlift. There are a few different movements that can be rotated for the speed work. These include:
Speed Squats
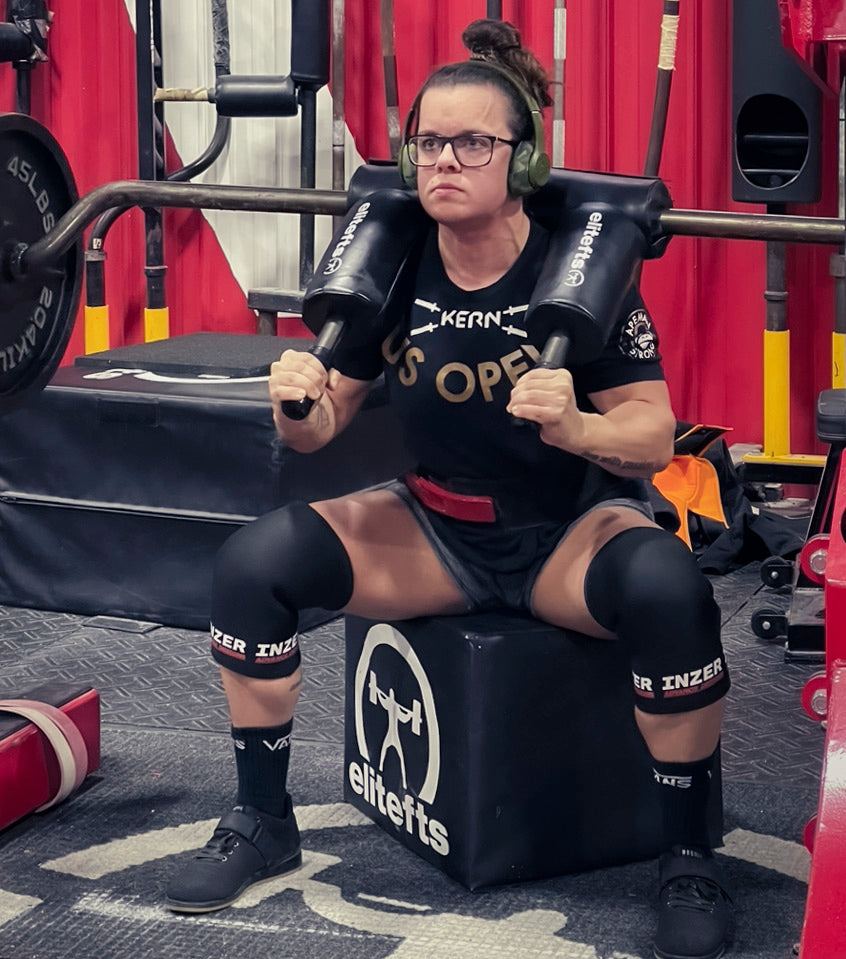
1) Parallel Box Squats — There are numerous benefits of this exercise. It develops eccentric and concentric power by breaking the eccentric-concentric chain. Box squats are a form of overload and isolation. The box squat is the best way to teach proper form on the squat because it's easy to sit way back while pushing your knees out. You should not slam your body down on the box. You also should not touch and go or soft touch (that would be squatting to a box). To take the barbell out of the rack, the hands must first be evenly placed on the bar. Secure the bar on the back where it feels the most comfortable. To lift the bar out of the rack, push evenly with the legs, arch the back, tighten up torso, and lift the chest up while driving the head back. All this keeping your shoulder blades together and down. Slide one foot back, then the other, to assume a position to squat. Your walk out must be short, planted, and deliberate with no wasted effort. The racks today allow this to be two tiny steps. If you use a monolift then this is all the same without the walkout. The biggest overlooked advantage of the monolifts is the ease of changing rack height and position when training with a group of lifters. Set your feet up in a medium to wide stance. Point your toes straight ahead or slightly outward. Also, keep your elbows pulled under the bar. When you're ready for the descent, make sure to keep the same neutral to arched back position (depends on the lifter). To begin the descent, push your hips back first. As you sit back, push your knees out to the sides to ensure maximum hip involvement. Once you reach the box, you need to sit on it, stay tight, pause for a second, then stand back up. To begin the ascent, drive the head, chest, traps, and shoulders to the rear. If you push with the legs first, your butt will rise first, forcing the bar over the knees (like a good morning) which causes stress to the lower back and knees and diminishes your squatting power.
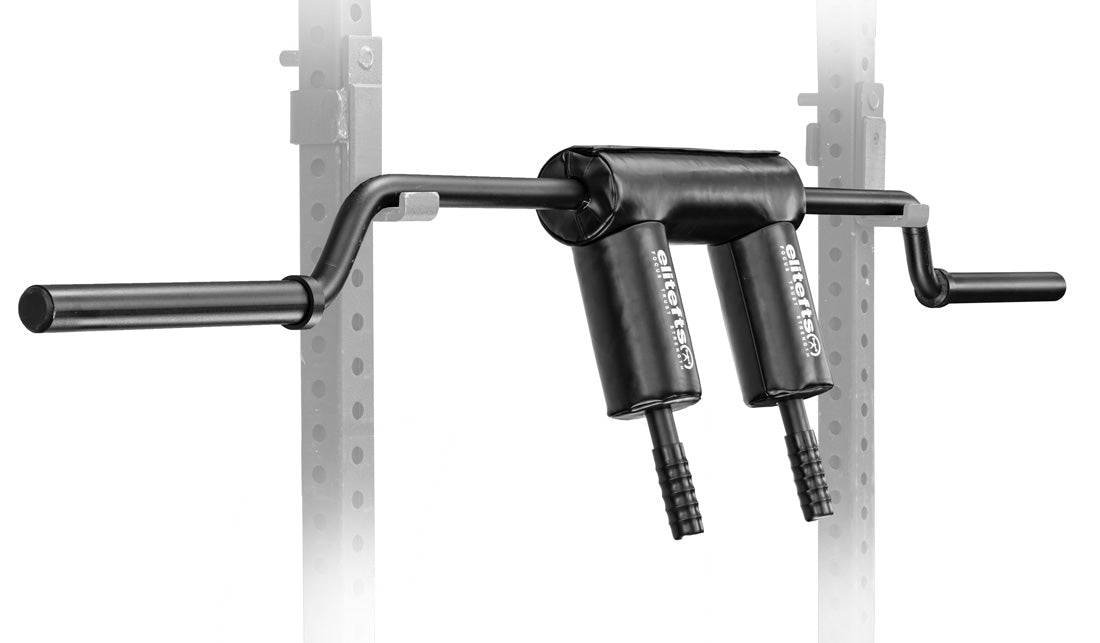
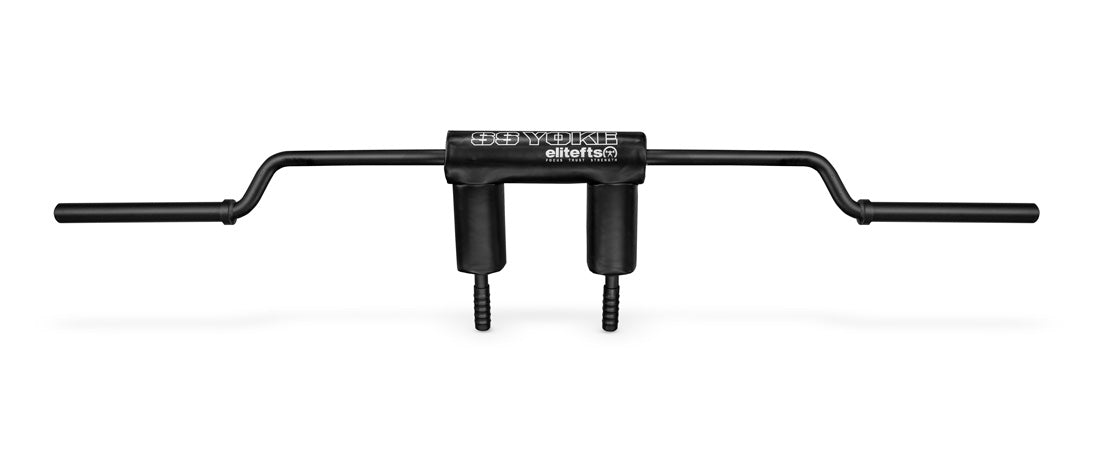
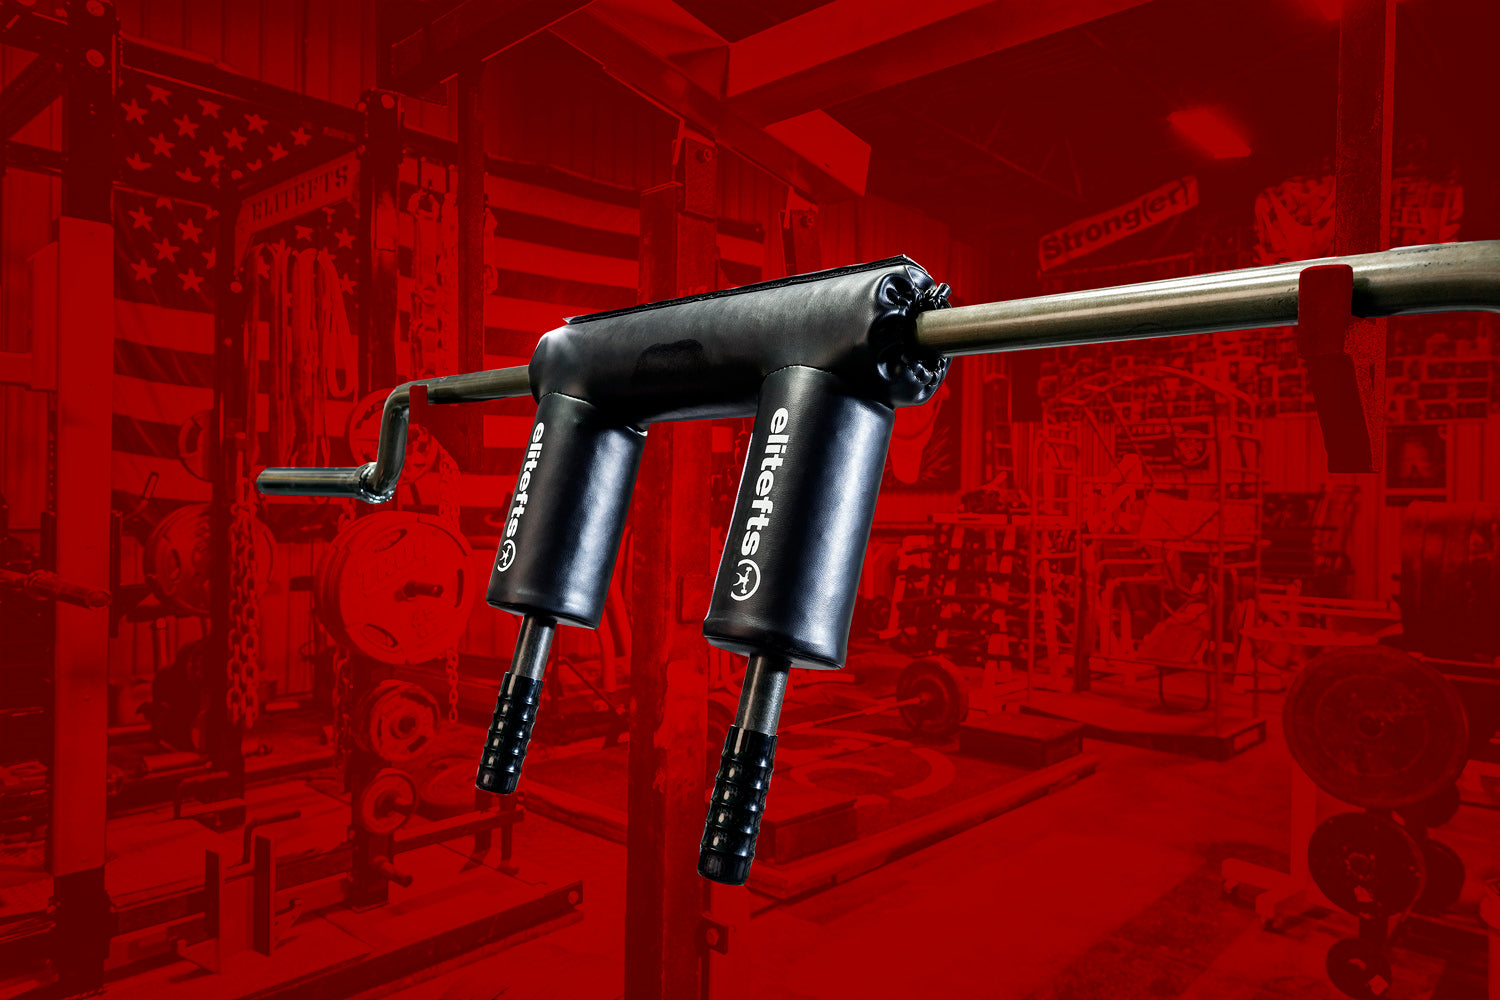
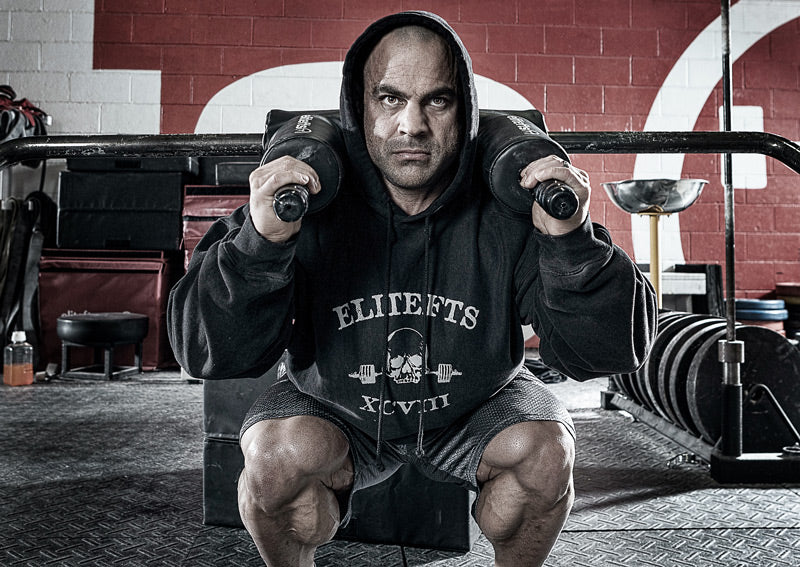
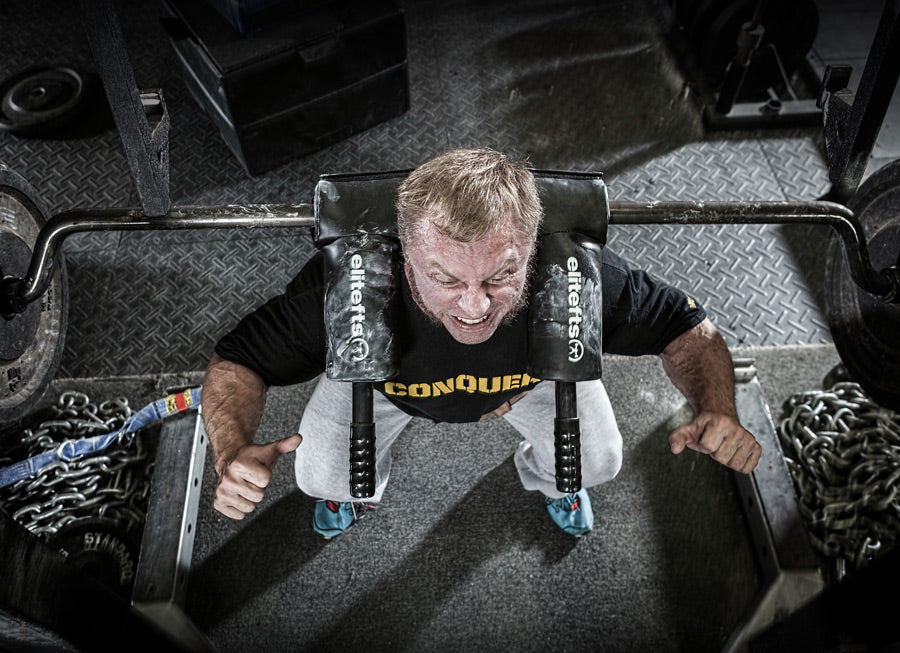
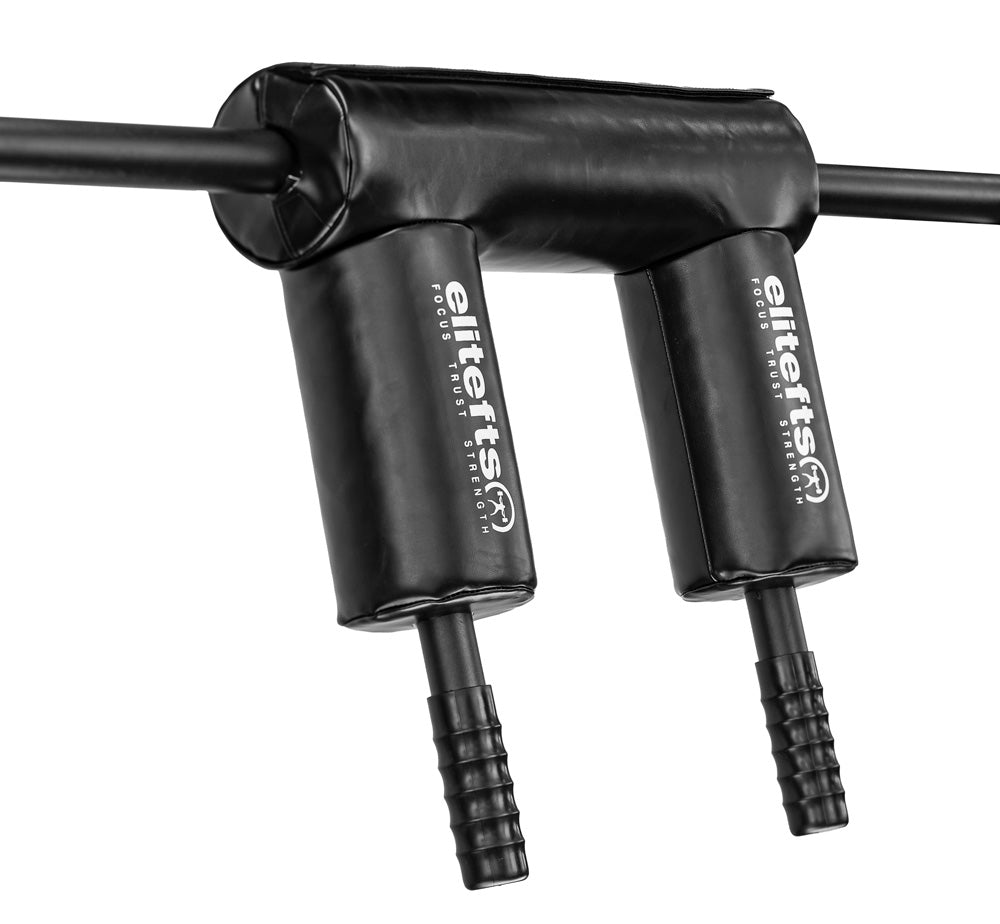
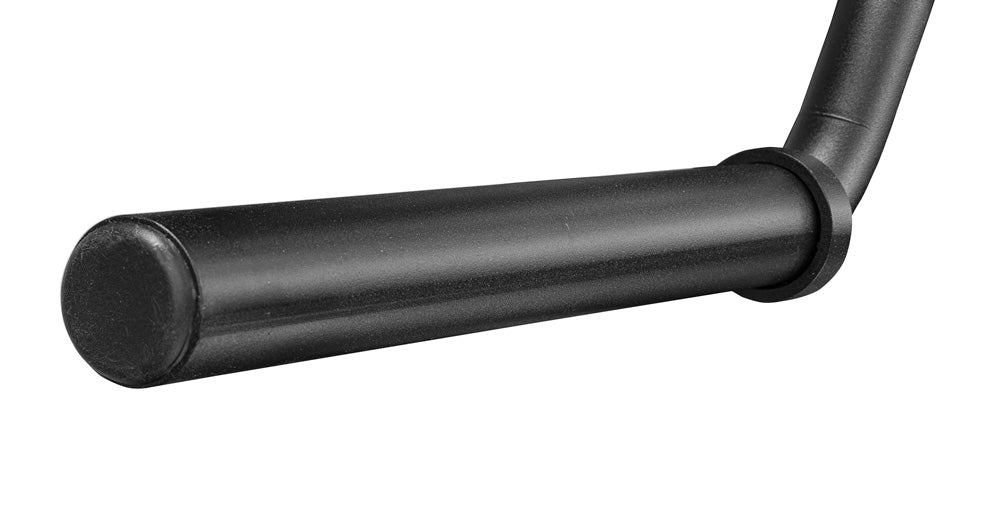
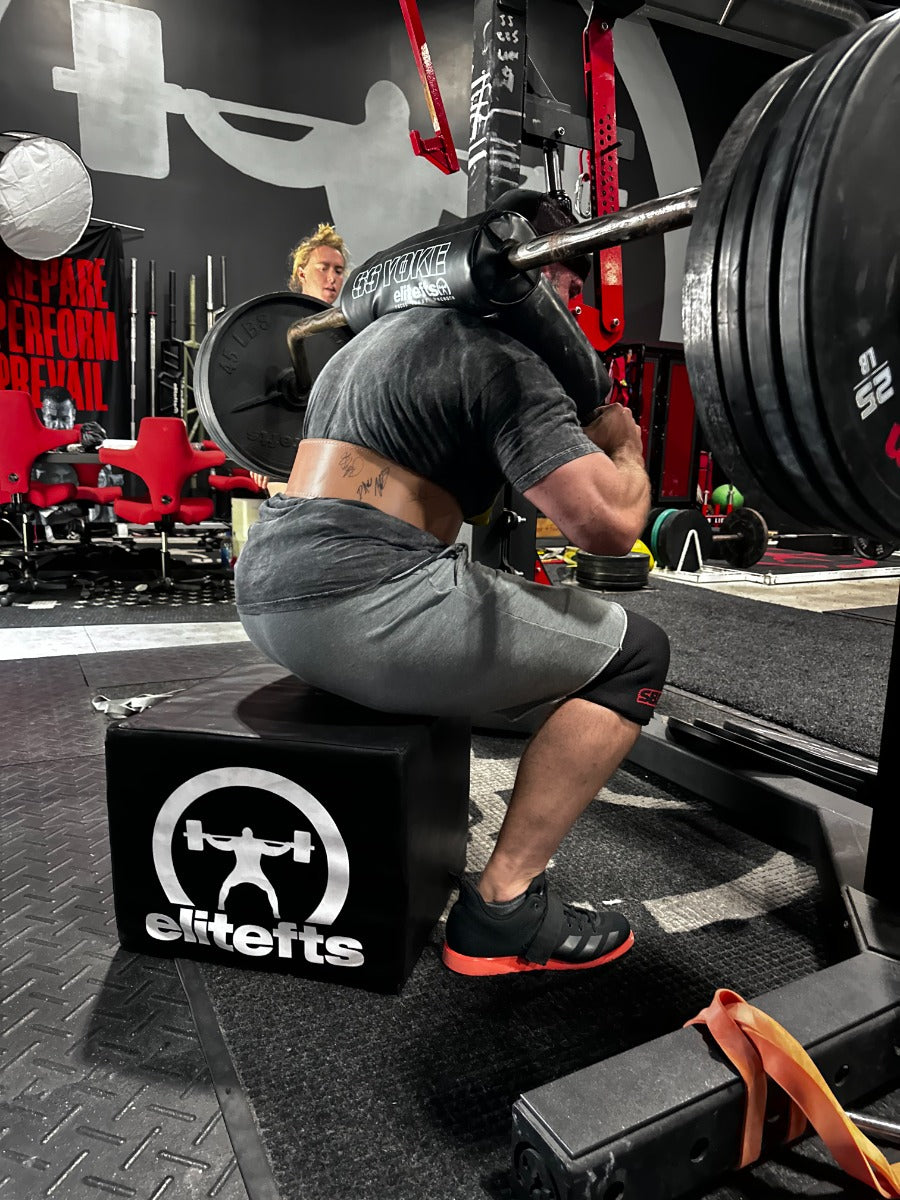
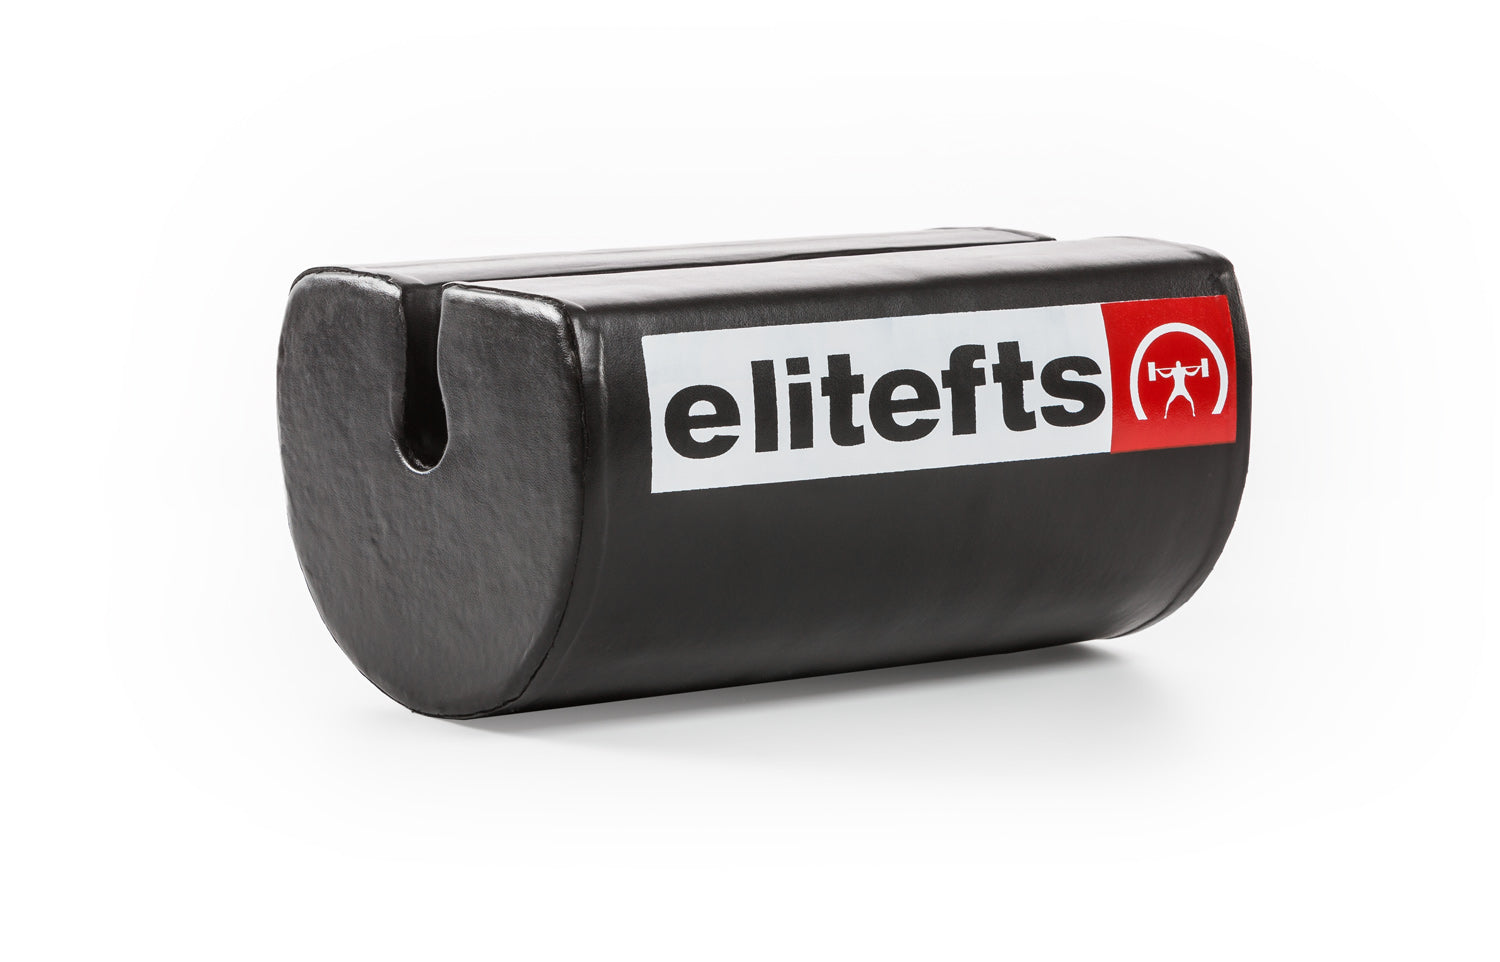
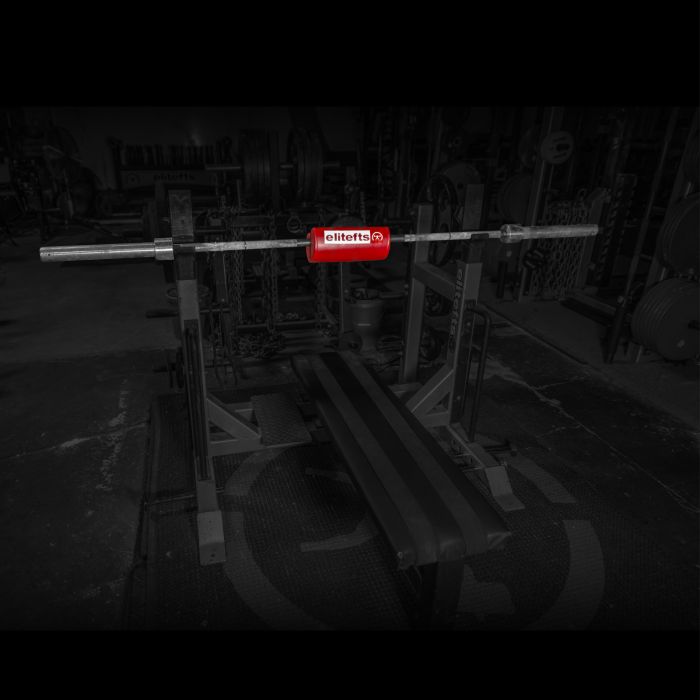
2) SS Yoke Bar Squats — Using this bar for speed squat training can have a profound effect on your deadlift because of the added strength gained in the upper and lower back. A few years ago I changed the design of this bar becuase I can no longer squat with a straight bar. What I found with all Safety Bar designs is that they were great for max effort work or occasional squat work here but to use week after week started to beat the crap out of my upper back, neck, and spine. I needed something I could use every week so we ended up changing the bar angle and pad. The pad we use on the
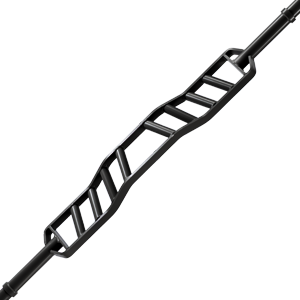
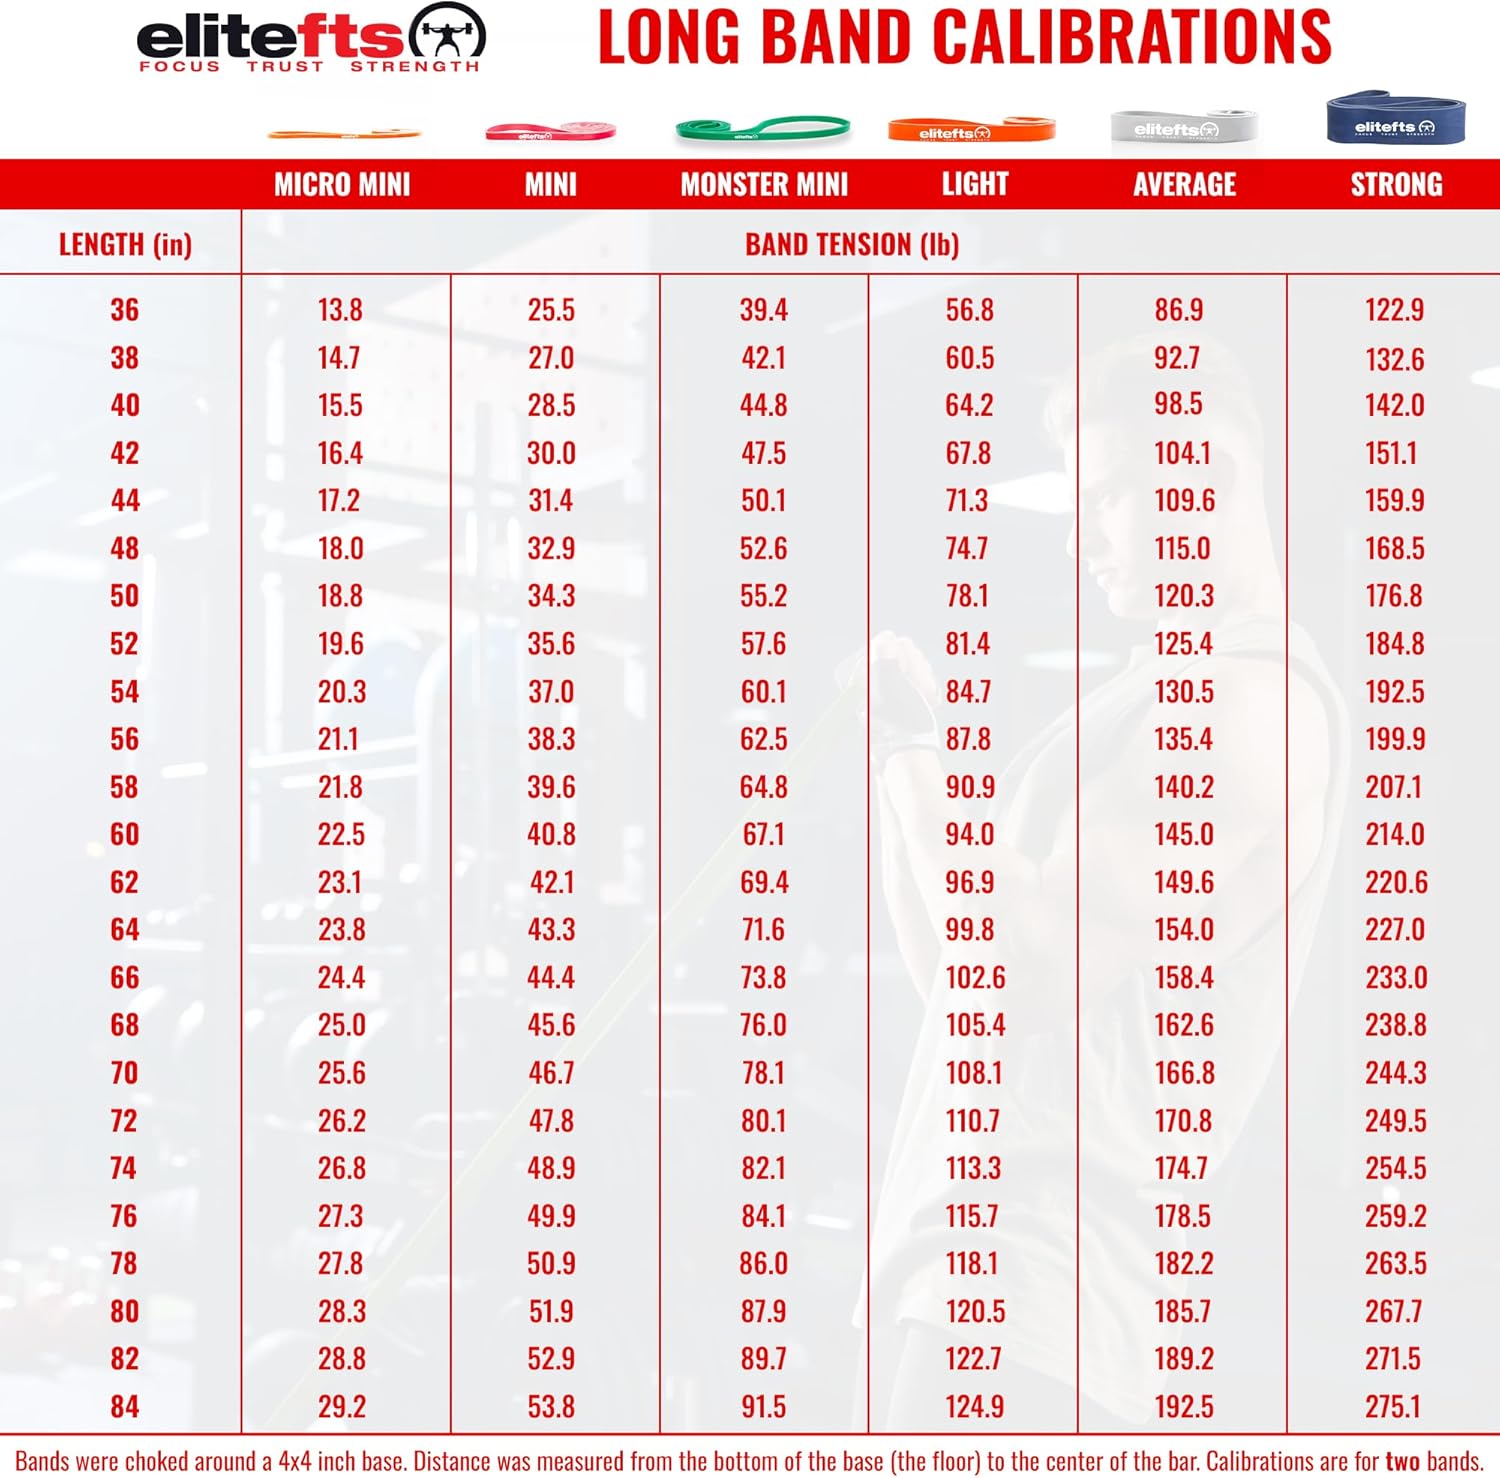
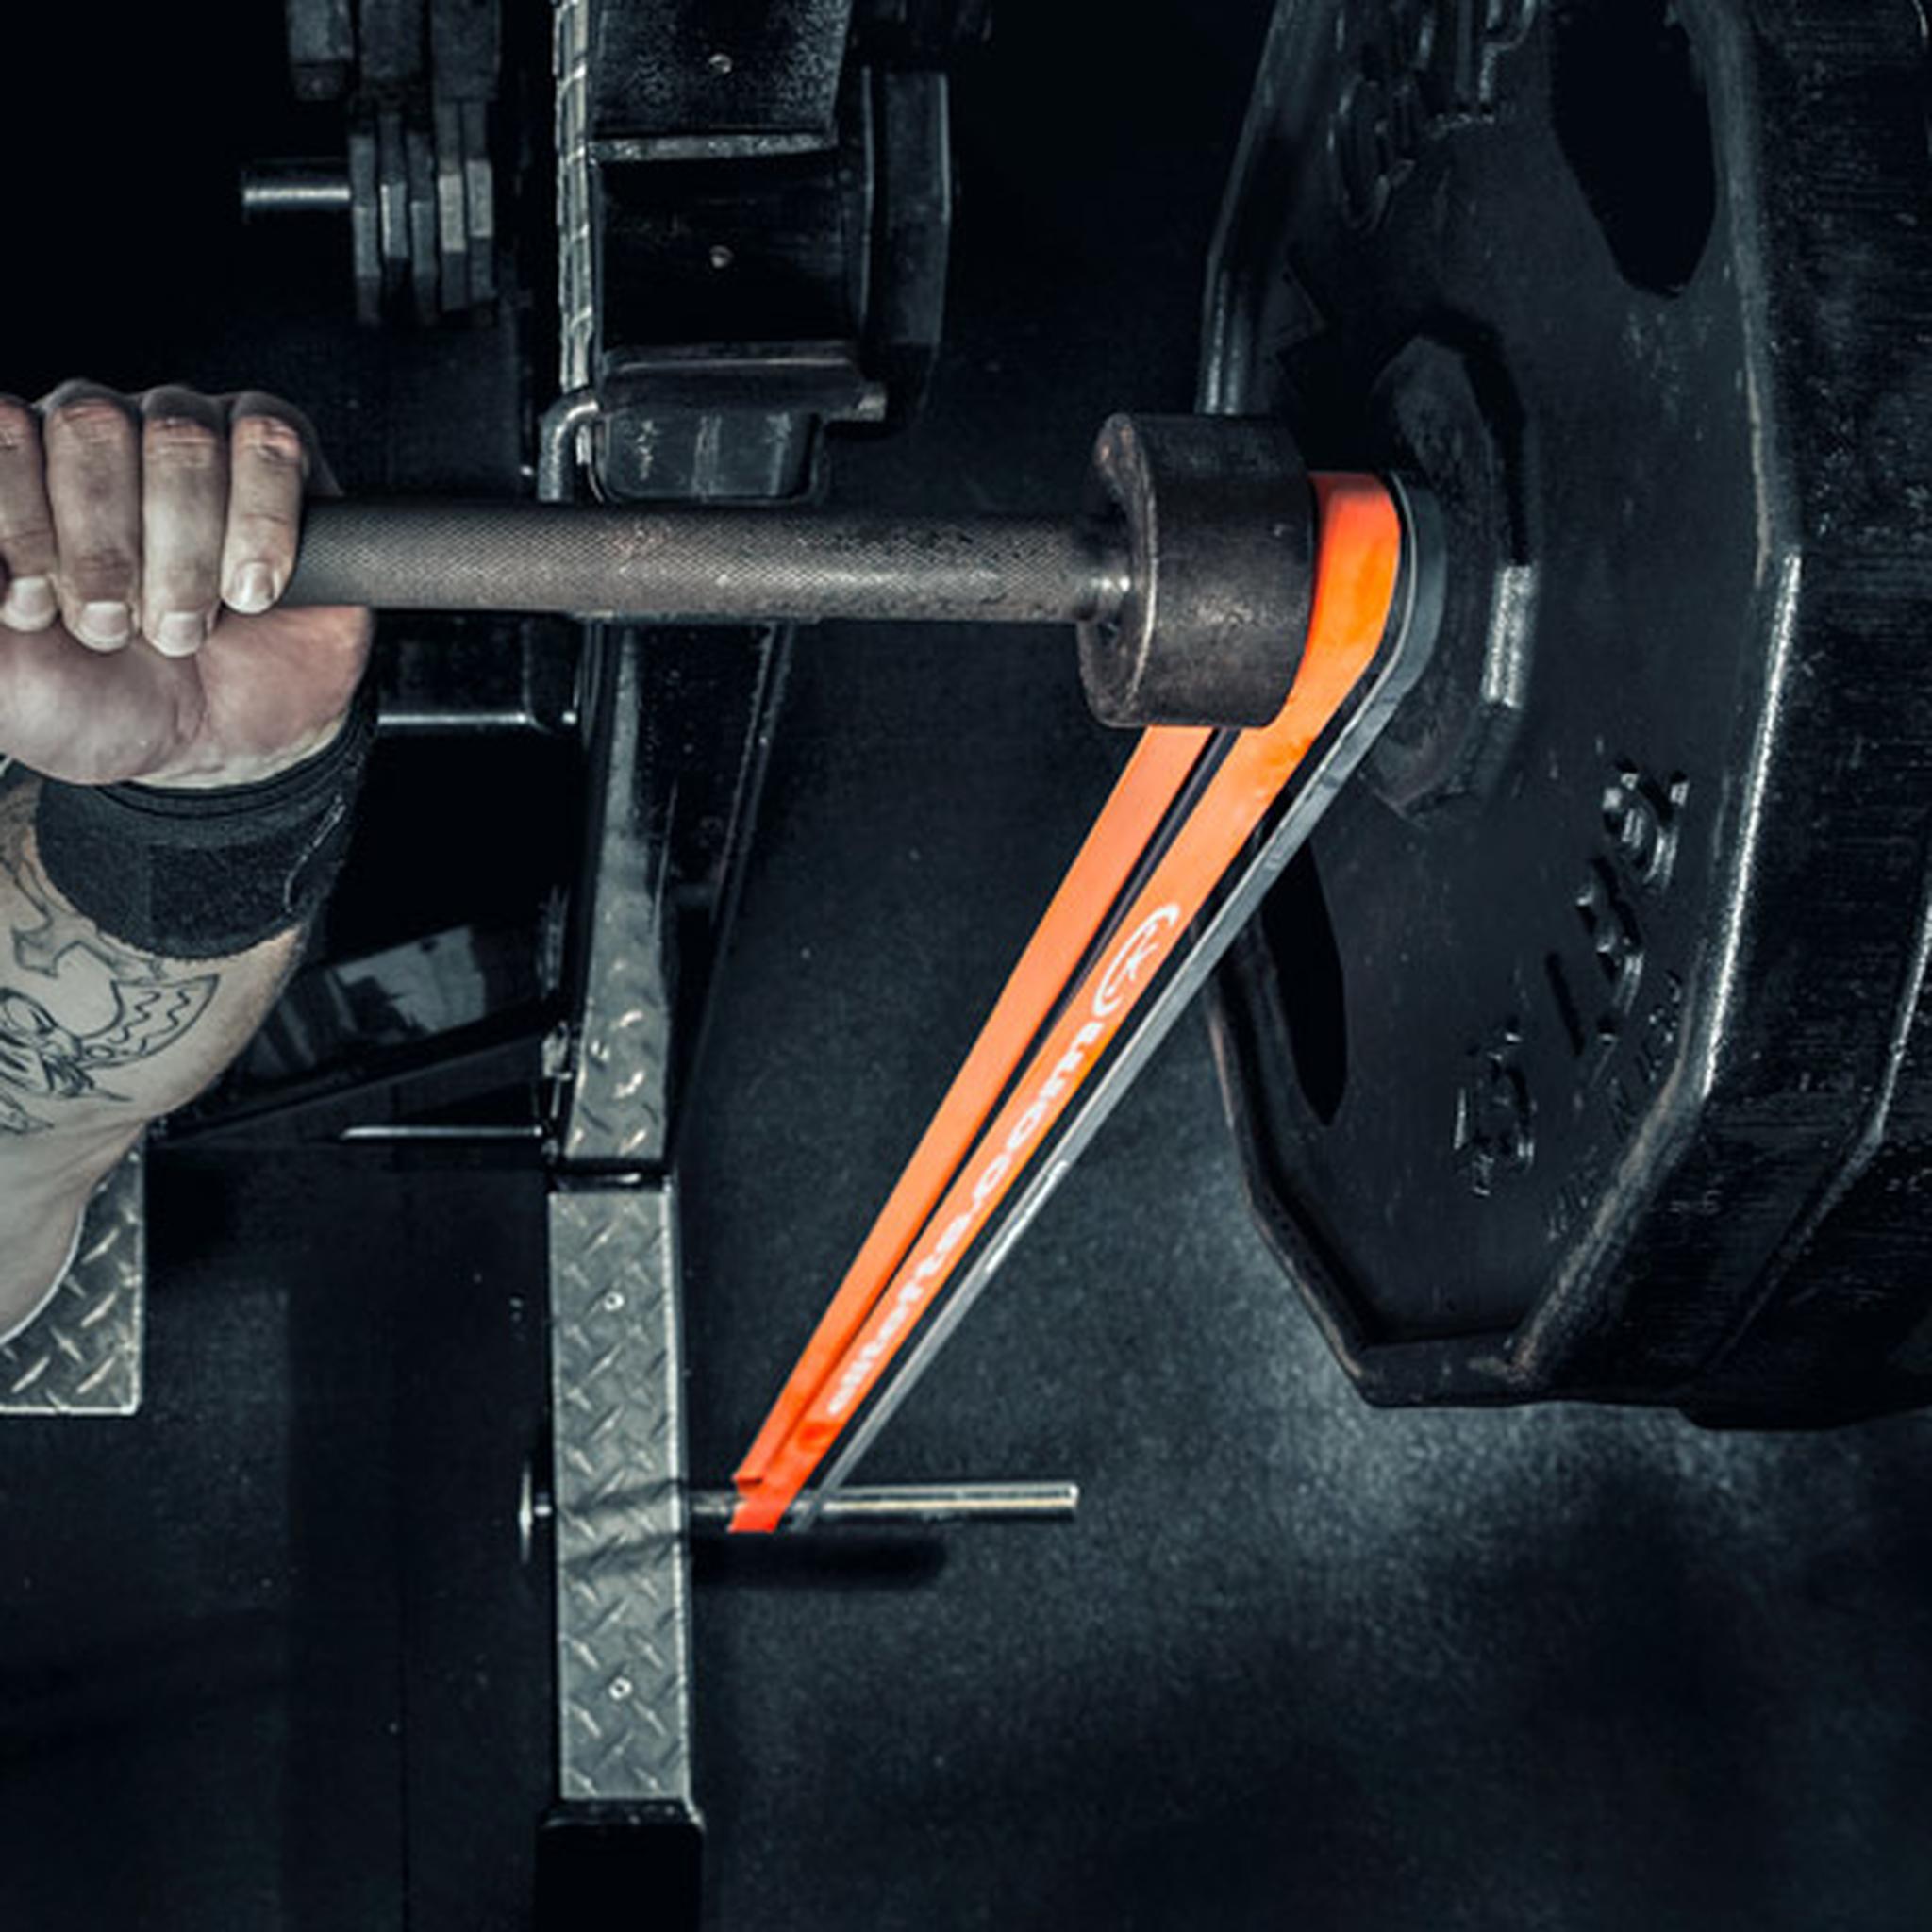
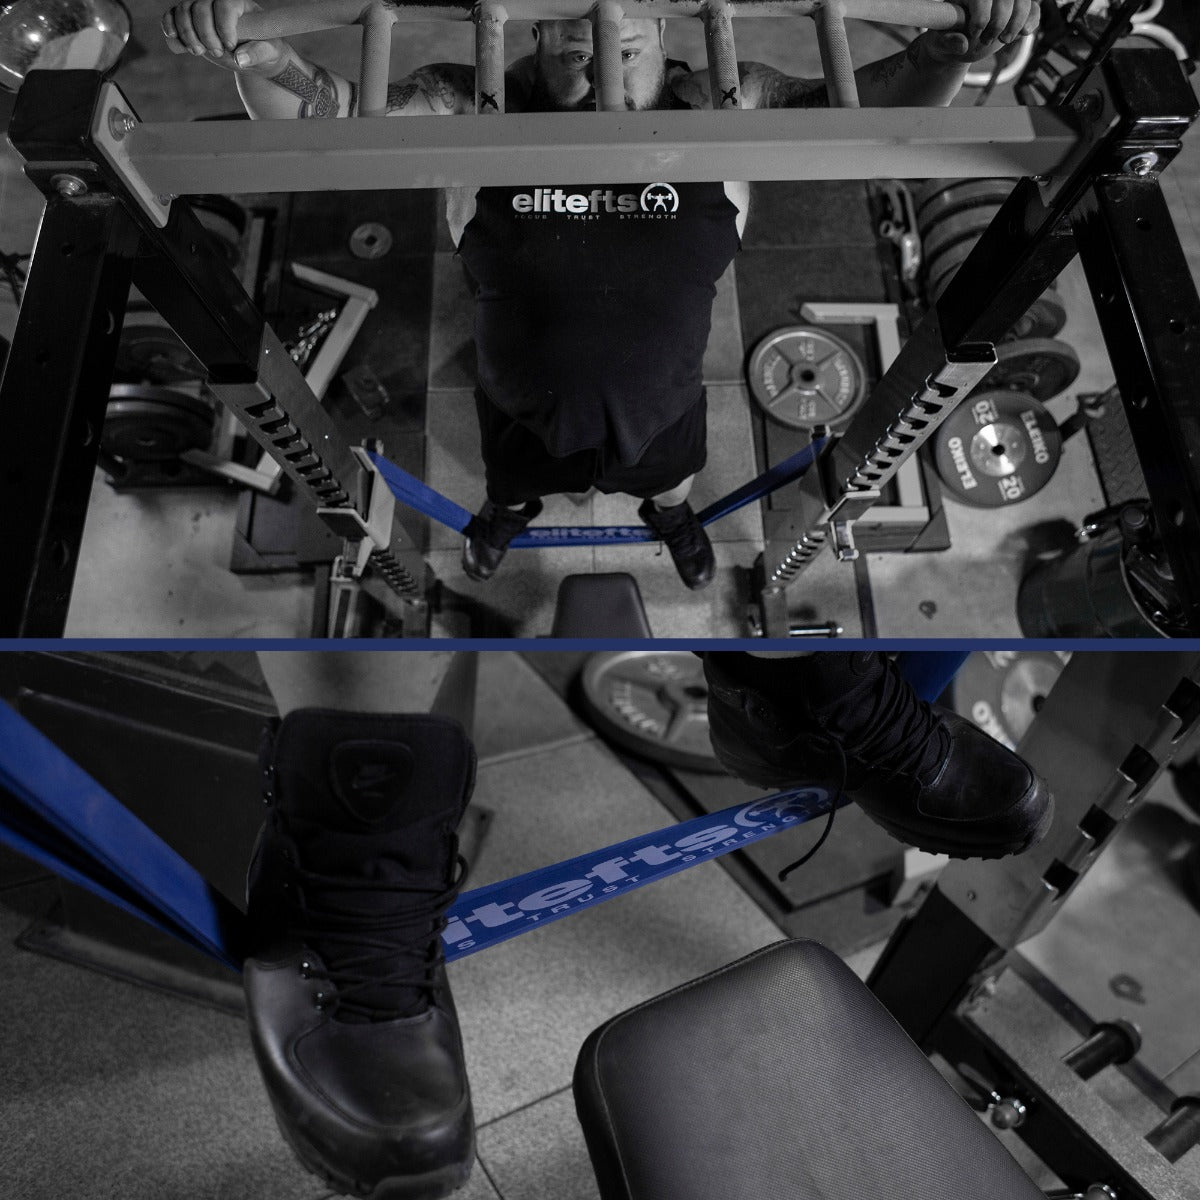
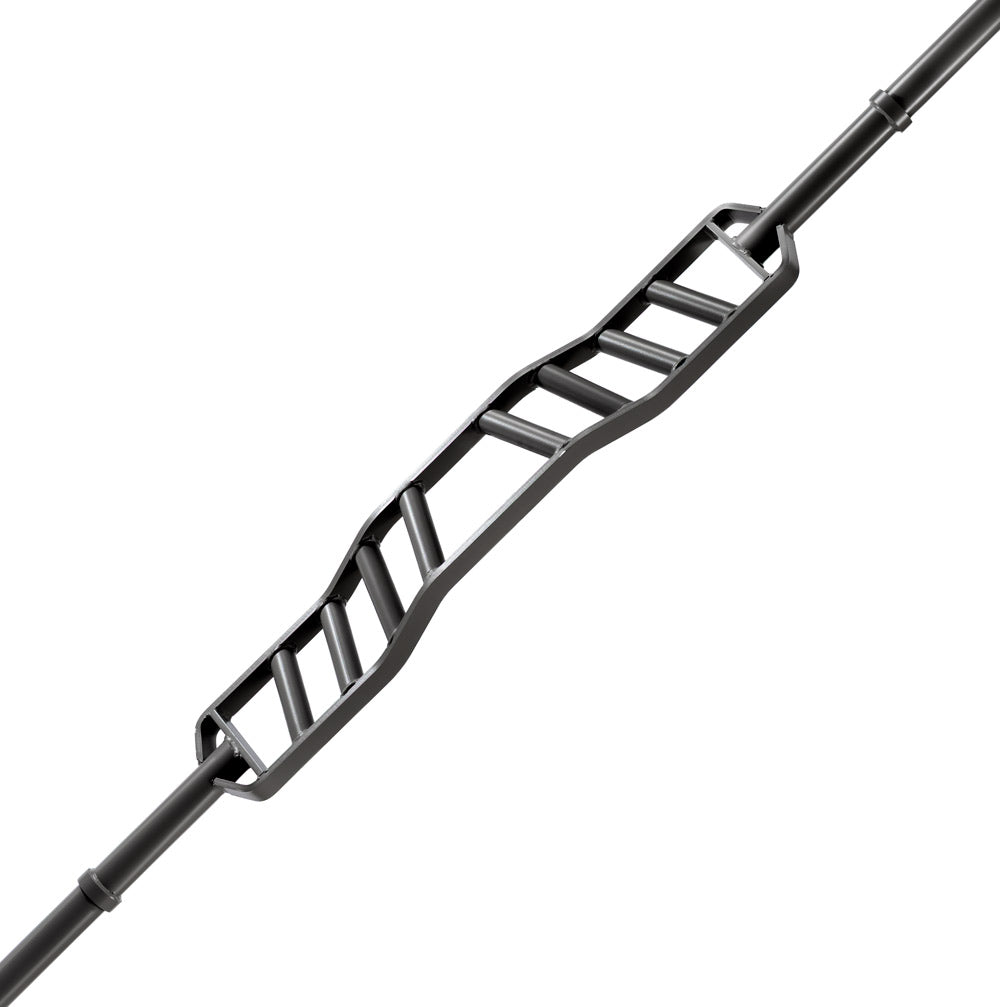
SS Yoke bar displaces the weight more across the upper back which eliminates the issues I was having with all the other bars. I am not saying the other bars do not have their place. They do and I used them often. What I am saying is if you are going to use this type of bar for an extended number of weeks the SS Yoke Bar is the best you will ever find. I know this because I have used it almost every week since 2005. 3) Cambered Bar Box Squats — This bar has a huge 14-inch camber to allow your hands to rest closer to your body’s midline. This is advantageous for several reasons. First, it takes stress off the shoulders. You have to keep in mind how much shoulder work you really do. When you squat, your shoulders are held in an isometric contraction with max weight. Your shoulders are worked on all bench movements as well. The cambered and safety bar offer a much needed break to allow the shoulders to recover. The second benefit of this bar is related to the one above. Because your arms are held lower, you're taking much of the stress out of the upper back and placing it on the lower back, glutes, and hamstrings. If you choose to do a band cycle with this bar, the way you attach the bands will have to change. If the bands were to attach the traditional way where you choke at the bottom, there would never be tension at the bottom of this bar because the plates are held fourteen inches lower. You can solve this by pulling the band around the plates while still choked at the bottom. When using speciality bars for dynamic effort work, its important to know you can still use the same intensity (expressed as one rep max) and volume but cycle the workload. This is because your 100% with each bar will be different. For example, let's assume your one red max is as follows: SS Yoke Bar = 300 Pounds Straight Bar = 400 Pounds Cambered Bar= 350 Pounds Lets assume your week one training weight and volume is 8 sets of 2 reps. SS Yoke Bar = 4,800 Pounds Straight Bar = 6,400 Pounds Cambered Squat Bar = 5,600 Pounds While using the same intensity you can now cycle your workload based on your programing needs. For example, someone who would want to increase work capacity would run a 3 week cycle of the SS Yoke Bar, followed by the Cambered Squat Bar and then the Straight Bar. In contrast someone who would want to decrease workload on the main lift to push it hard on the supplemental work may do the opposite. There are many options, the point is to note this is an added one that would not be found without the use of specialty bars.

Speed Deads
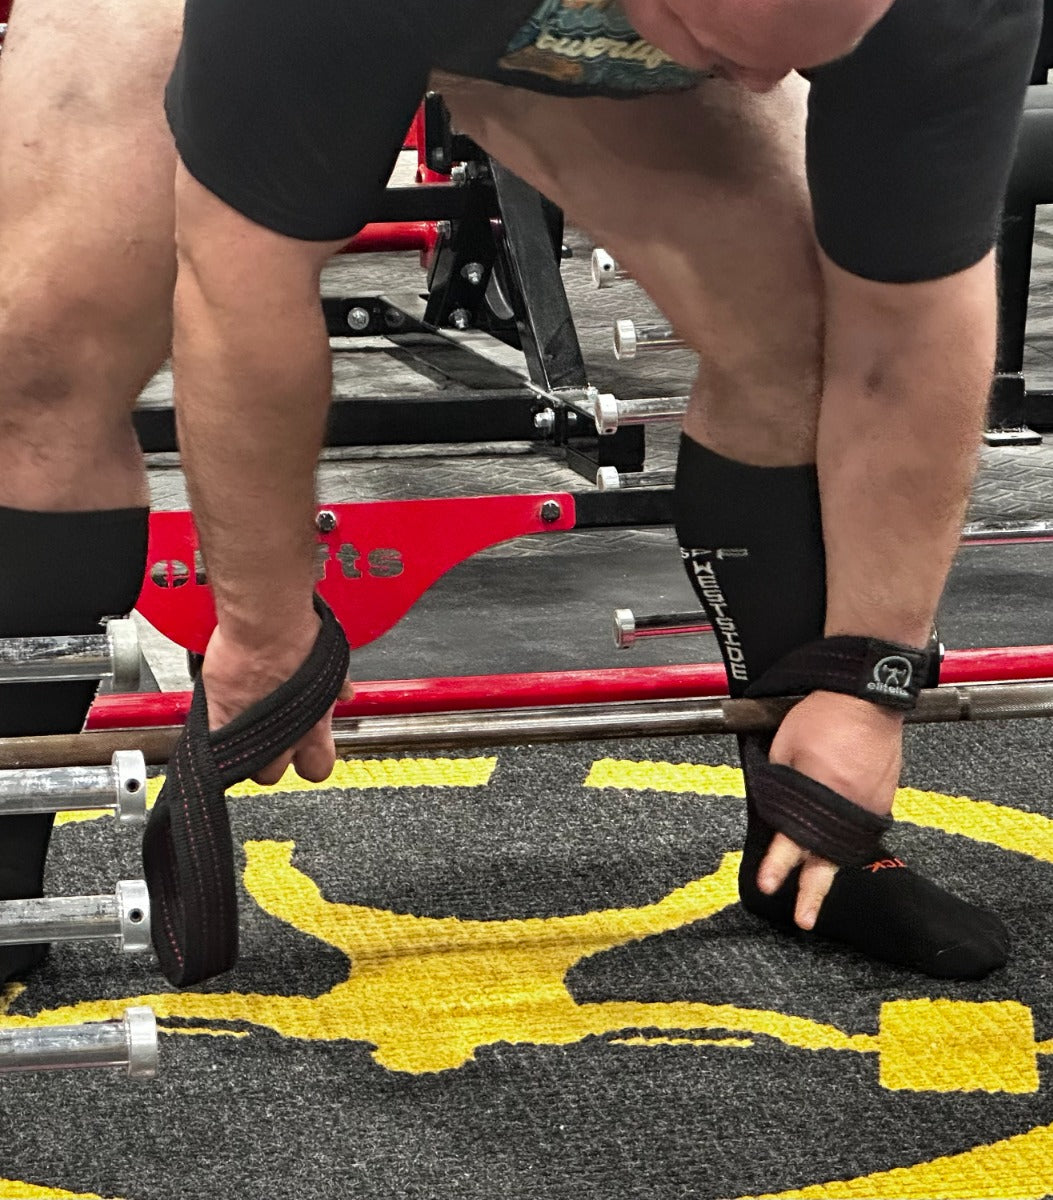
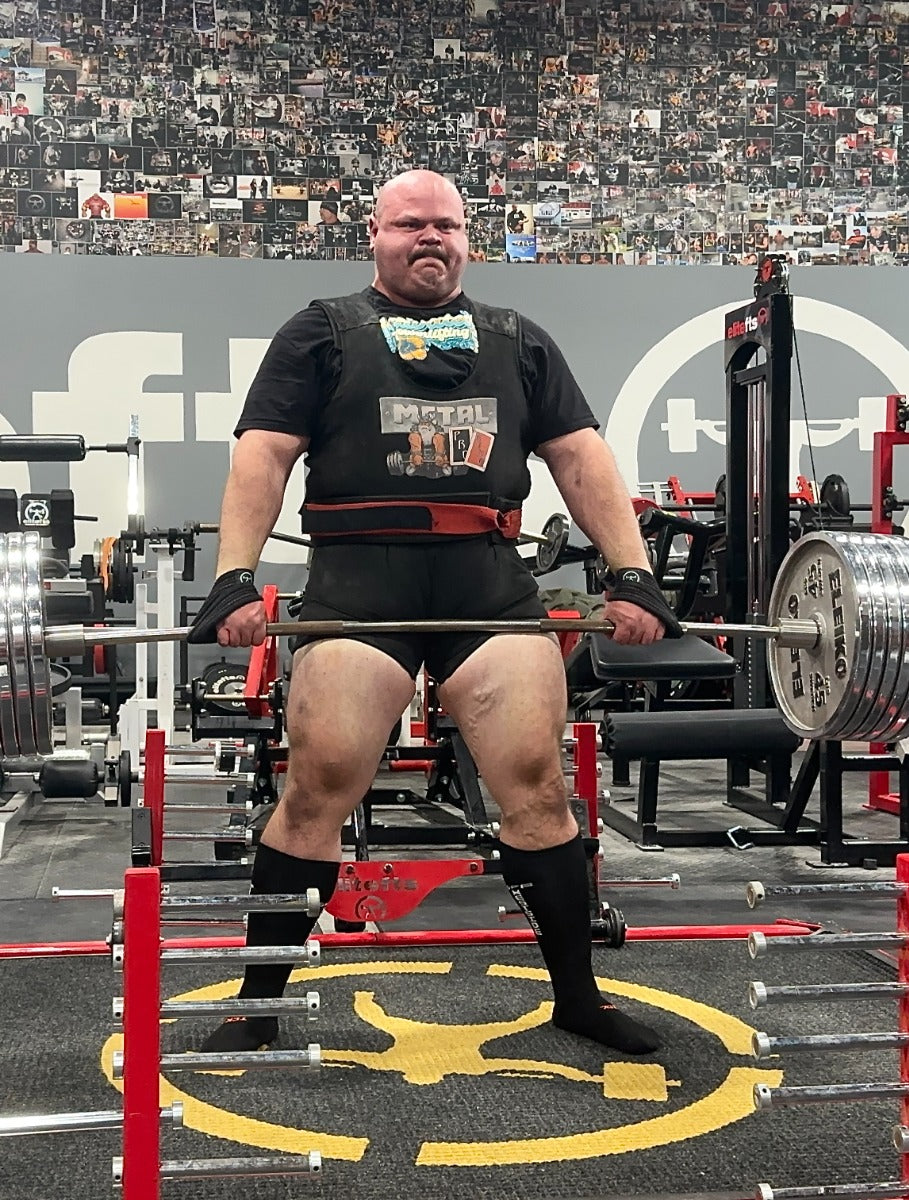
1) Speed Pulls — Speed deadlifting can be trained with either the conventional or sumo stance. The speed pulls are usually completed right after the speed squats (yes, on the same day). Most lifters prefer to use 40-50 percent for 6 to 10 sets of one rep with 20-45 second rest periods. • Conventional Deadlifts: It's normally advised to use a close grip, hands touching the smooth part of the bar. You'll be pulling the bar a shorter distance by rolling the shoulders forward as you rotate the scapulae. This works fine for smaller lifters, but large men will do better by using a wider-than-shoulder grip. This allows room for the stomach to descend between the thighs, which are naturally set wider because of their girth. Most small men should keep their feet close together to use mostly back muscles, whereas big men use a lot of leg drive to start the lift. Pull the bar up to a standing position.The key with the conventional deadlift is to make sure you arch the lower back and round the upper back while keeping the shoulders behind the bar. I am not going to write a dissertation on how to deadlift as we have manyarticles on this at elitefts. • Sumo Deadlifts: Use a moderate stance and a close grip. To start the lift, you'll rock into the bar; the hips come up fast toward the bar. This requires a strong back because the legs lock out long before the bar is completely locked out. The most common style is with the feet very wide (out to the plates). The lifter shouldn't lower the hips any more than necessary. The back must be arched to the extreme. Most important is to push your feet out to the sides, not down. Why? By pushing down with a sumo or wide stance, your knees will come together, which is the most common mistake in the sumo. By pushing the knees out forcefully, the hips will come toward the bar fast, making for a favorable leverage and placing most of the work on the hips, legs, and glutes. Remember, don’t stay down too long; it'll destroy the stretch reflex. 2) Speed Pull Against Bands — This will make the tension greater at the top of the lift because of the pull of the bands. For this type of speed training, 20-30% barbell weight should be used with a variety of different band tensions. Usually 5 to 8 sets of 1 to 3 reps would be completed with 20 to 45 second rest periods. 3) Speed Pulls Off Box — This style of speed deadlift involves standing on a box or series of rubber mats to elevate the lifter 2 to 4 inches off the floor. Use 30-40% of max deadlift weight for 5 to 10 sets of 1 rep with 45-60 second rest periods.
The Bench Press
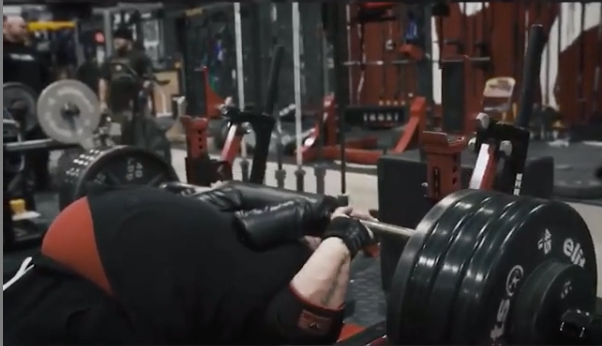
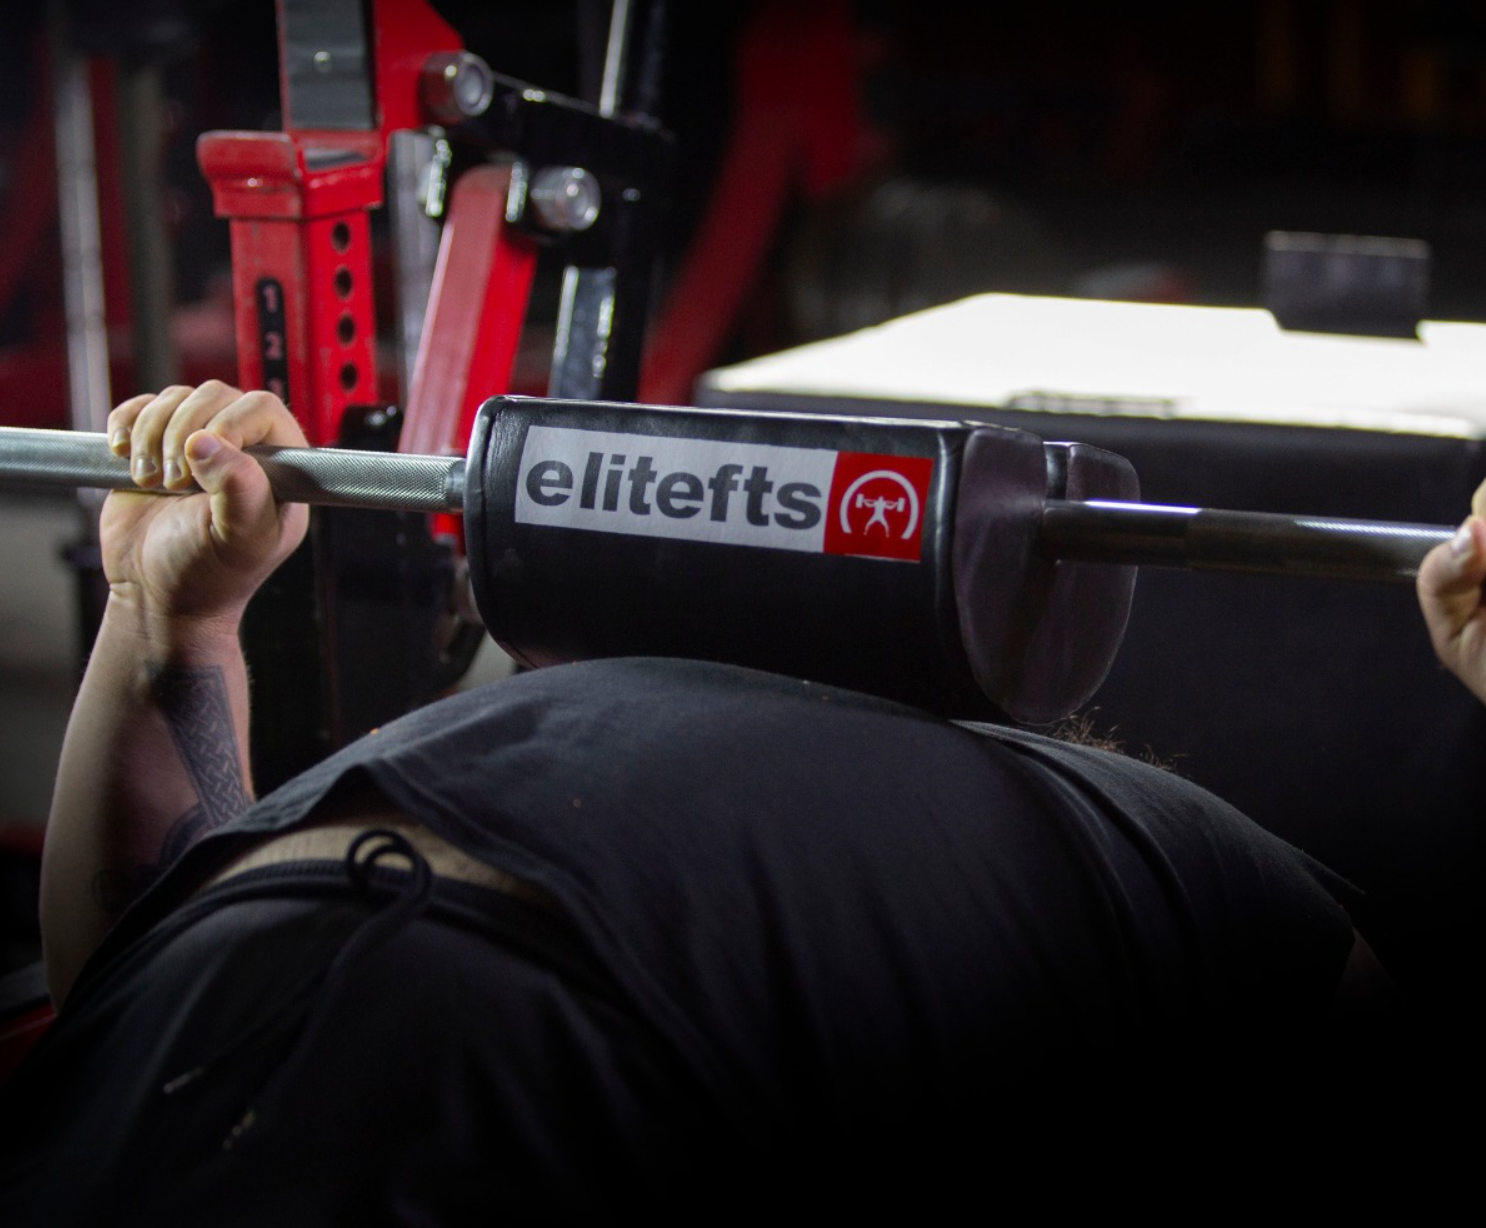
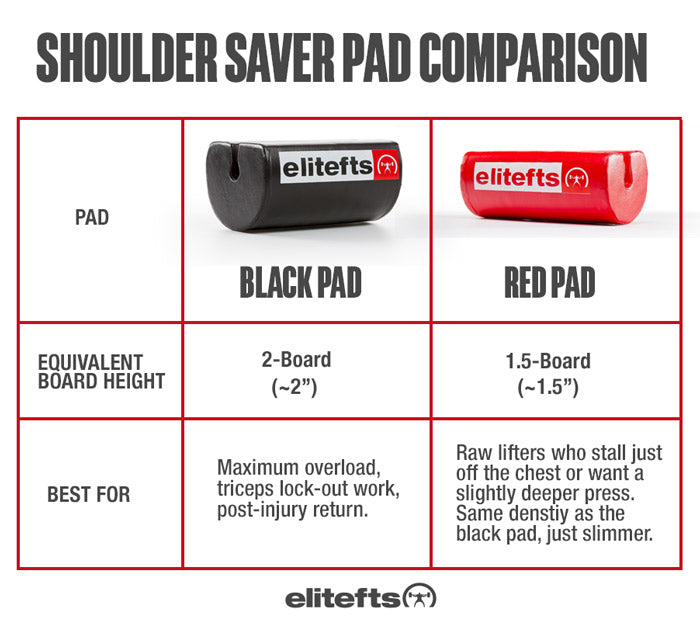
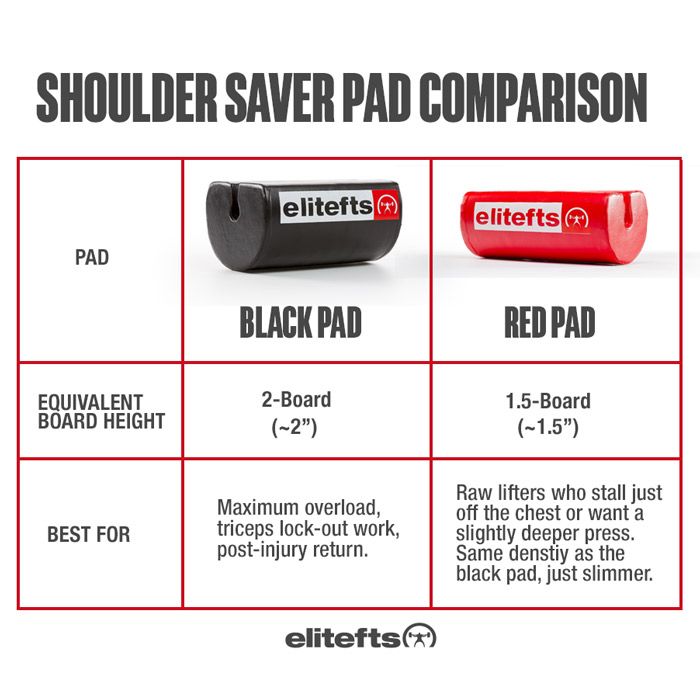
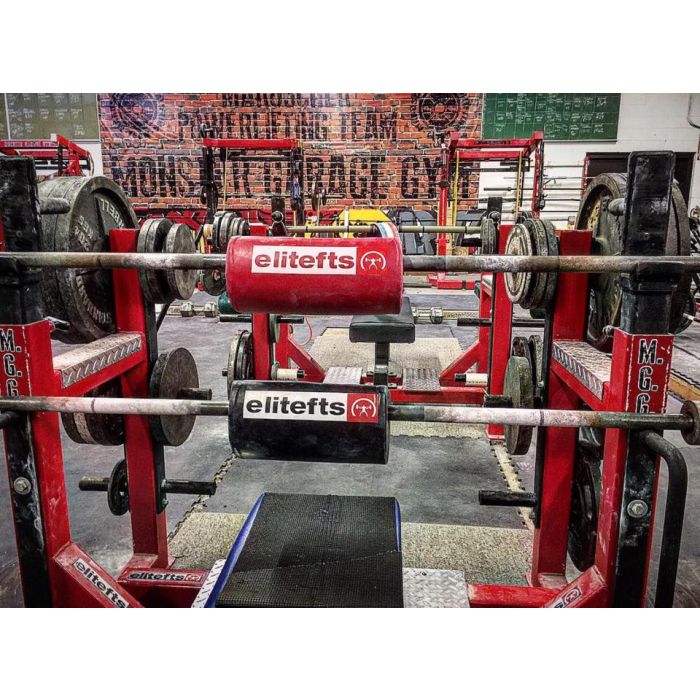
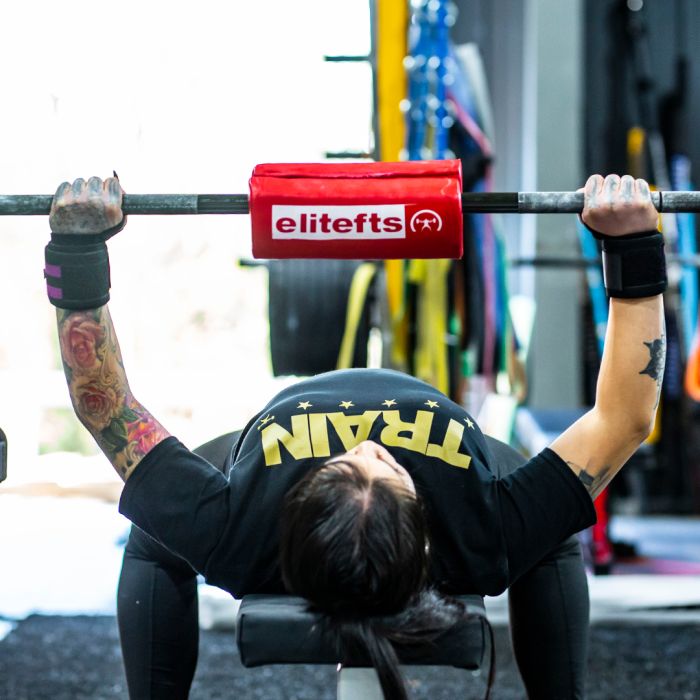
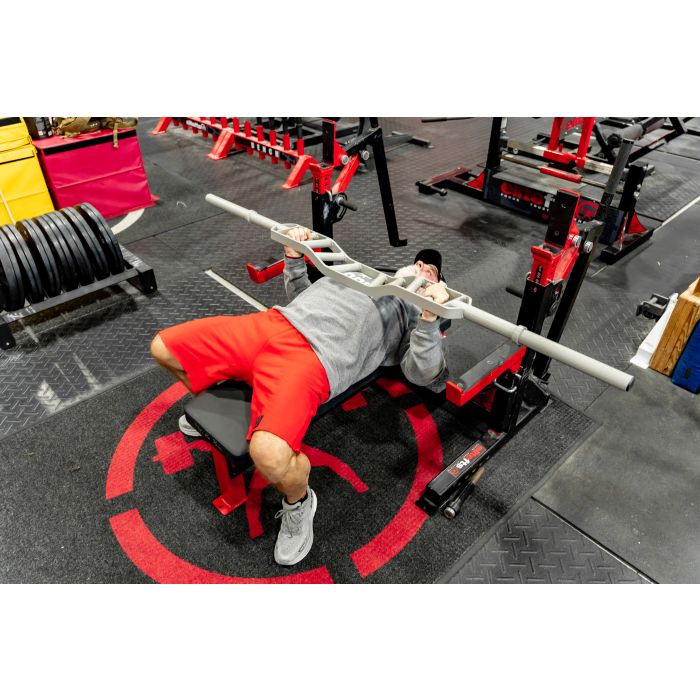
1) Speed Bench — The bench press should be performed with the shoulder blades pulled together and driven into the bench, elbows tucked. The bar should hit you in the lower chest area. The total time taken for all three reps should be no longer than the time it would take to press 50%. When asked how much should be used for speed work I like to keep it very simple. How fast can you move 50% for 3 -5 reps? Use that for a few sets and add 5 pounds per set until it slows. Lets say it slows around 65%. There you go, you can cycle your speed work between 50-65%. This style of speed training is the staple method with this program and should be used most of the time. 2) Speed Catch Benches — This is the same as the bench press except you'll lower the bar quickly, catch it (stop it) one to two inches from the chest, and explode back to lockout. This style of speed work is great for starting strength and will usually only be cycled a few weeks at a time. 3) Floor Presses — This is the exact same floor press as described in the max effort section in part 2 of this series, except now it'll be used for speed training. This is great when coming back from shoulder, pec, or triceps injuries. Make sure you don't bounce your elbows off the floor but pause for a second and then explode to lockout. This is great for bringing up the pressing muscles because the legs are (to a degree) taken out of the motion. 4) Floor Catch Presses — Same as above but you'll stop one to two inches short of the chest (because you're lying on the floor) and explode back to lockout. This is great for bringing up weak triceps.5) Shoulder Saver Speed Presses — This exercise is performed exactly the same as the bench press except you attach the shoulder saver pad to the bar. Years ago I would recommend a 1 or 2 board press for these but now opt for the shoulder saver pad for a couple reasons. 1. When you benching to a board the bar weight displaces across the entire board. This happens at the bottom where most people are weak. This also allows for many, like myself, to create more stretch reflex on the press of the bar. With the pad the area for the weight to displace is a fraction of what it is with the board. The pad is also rounded so getting loose at the bottom is not an option as it is with flat object. With my shoulder being FUBAR this has been my go to pressing movement for over a decade and has kept me from having to get the joint replaced (That I know will happen one day, just not yet).
What type of sets and reps should be completed on speed day for the box squats, bench press, and deadlift? As noted there are many different cycles that should be rotated for the box squat and most depend on the level and experience of the lifter. Many of the cycles will incorporate the use of bands and chains to help take the training to another level.
Beginner Cycles
A beginner is someone who's never trained this way before, has a ton of muscle that needs to be built (ya can’t flex bone!), or has technique problems that need to be addressed. For these lifters, I've outlined two different training cycles for the squat and two for the bench press and deadlift.
Some key notes to remember: For the bench press you'll use up to three or four different grips for these sets. These grips will range from one finger on the smooth to one finger outside the lines. There will only be a total of eight sets completed with all grips. You don't do eight sets with each grip! Also, you can vary the grip however you like. All squatting should be done on a parallel box and with good form. All dynamic work must be executed with a very fast concentric (lifting) phase. The beginner should only use the standard box squat, bench press, and deadlift for speed training. He shouldn't use any other special speed movements!
Beginner Squat Cycles
Squat Cycle 1 This is designed for the total beginner or lifter who has to address form and technique issues with the squat. • Week 1: 20-30% for 15 sets of 2 reps with 60 second rest periods • Week 2: 20-30% for 18 sets of 2 reps with 60 second rest periods • Week 3: 20-30% for 20 sets of 2 reps with 60 second rest periods Squat Cycle 2 This cycle is designed for those who've been lifting for some time but are new to the box squat and this style of training. • Week 1: 50% for 8 sets of 2 reps with 60 second rest periods • Week 2: 55% for 8 sets of 2 reps with 60 second rest periods • Week 3: 60% for 8 sets of 2 reps with 60 second rest periodsBeginner Bench Cycles
Bench Cycle 1 This is designed for the total beginner or lifter who needs to address form and technique issues. • Week 1: 20-30% for 15 sets of 3 reps with 60 second rest periods • Week 2: 20-30% for 18 sets of 3 reps with 60 second rest periods • Week 3: 20-30% for 20 sets of 3 reps with 60 second rest periods Bench Cycle 2 This is designed for those who have training experience but are still new to the system. • Week 1: 55% for 8 sets of 3 reps with 60 second rest periods • Week 2: 60% for 8 sets of 3 reps with 60 second rest periods • Week 3: 65% for 8 sets of 3 reps with 60 second rest periodsBeginner Deadlift Cycles
Deadlift Cycle 1 This is designed for the total beginner who needs to address form and technique issues. • Week 1: 20-30% for 15 sets of 1 rep with 60 second rest periods • Week 2: 20-30% for 15 sets of 1 rep with 45 second rest periods • Week 3: 20-30% for 15 sets of 1 rep with 30 second rest periods Deadlift Cycle 2 This is designed for those who have gym experience but are still new to this system. • Weeks one, two and three: 50% for 8 to 10 sets of 1 rep with 45 second rest periodsIntermediate to Advanced Cycles
These training cycles are intended for those who've been training for many years and have developed a good training base. These lifters will also have some previous experience with this style of training. There are many different training cycles that can be used for a variety of reasons, ranging from basic conditioning to competition training.Squat Cycles for Intermediate to Advanced Lifters
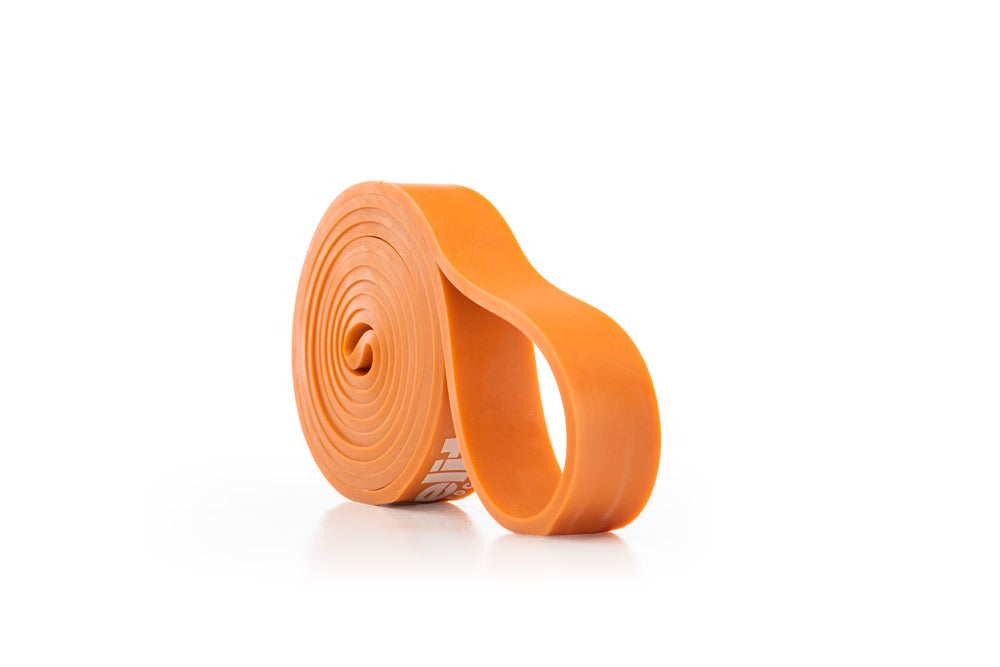
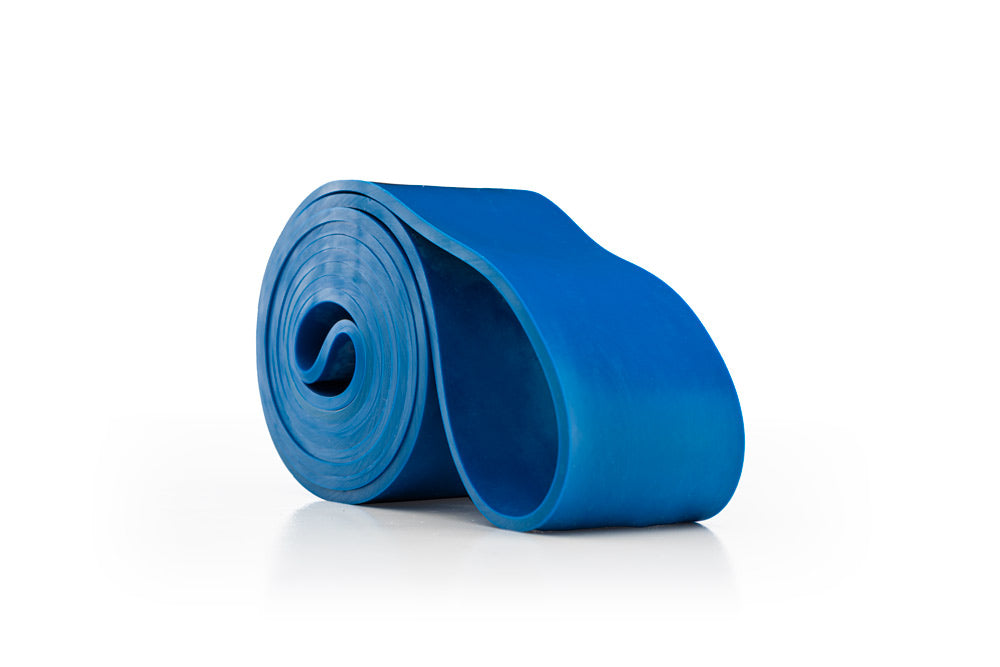
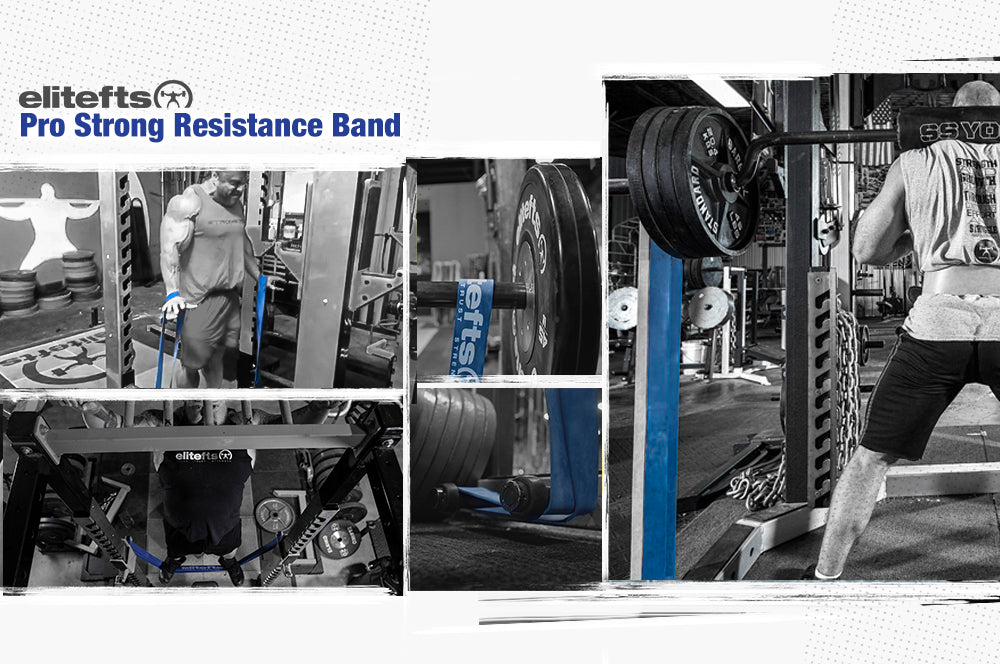
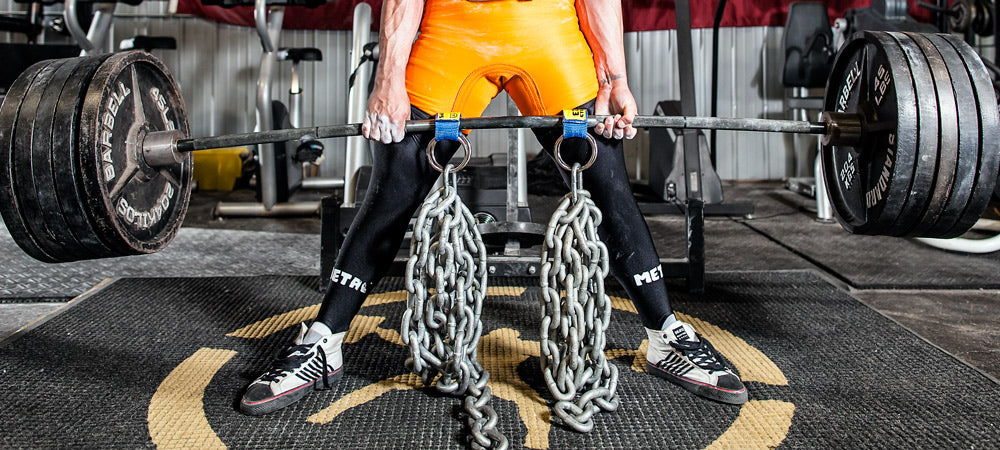
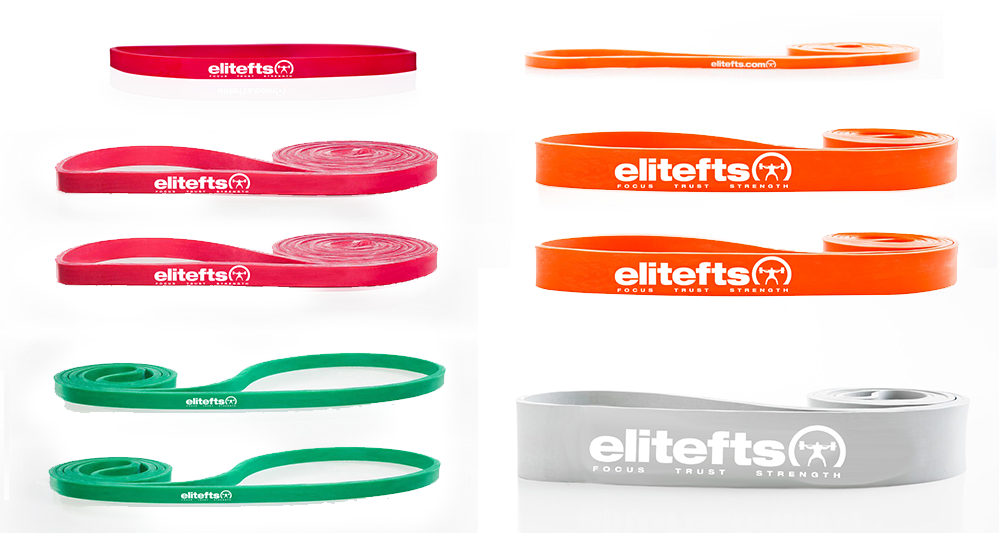
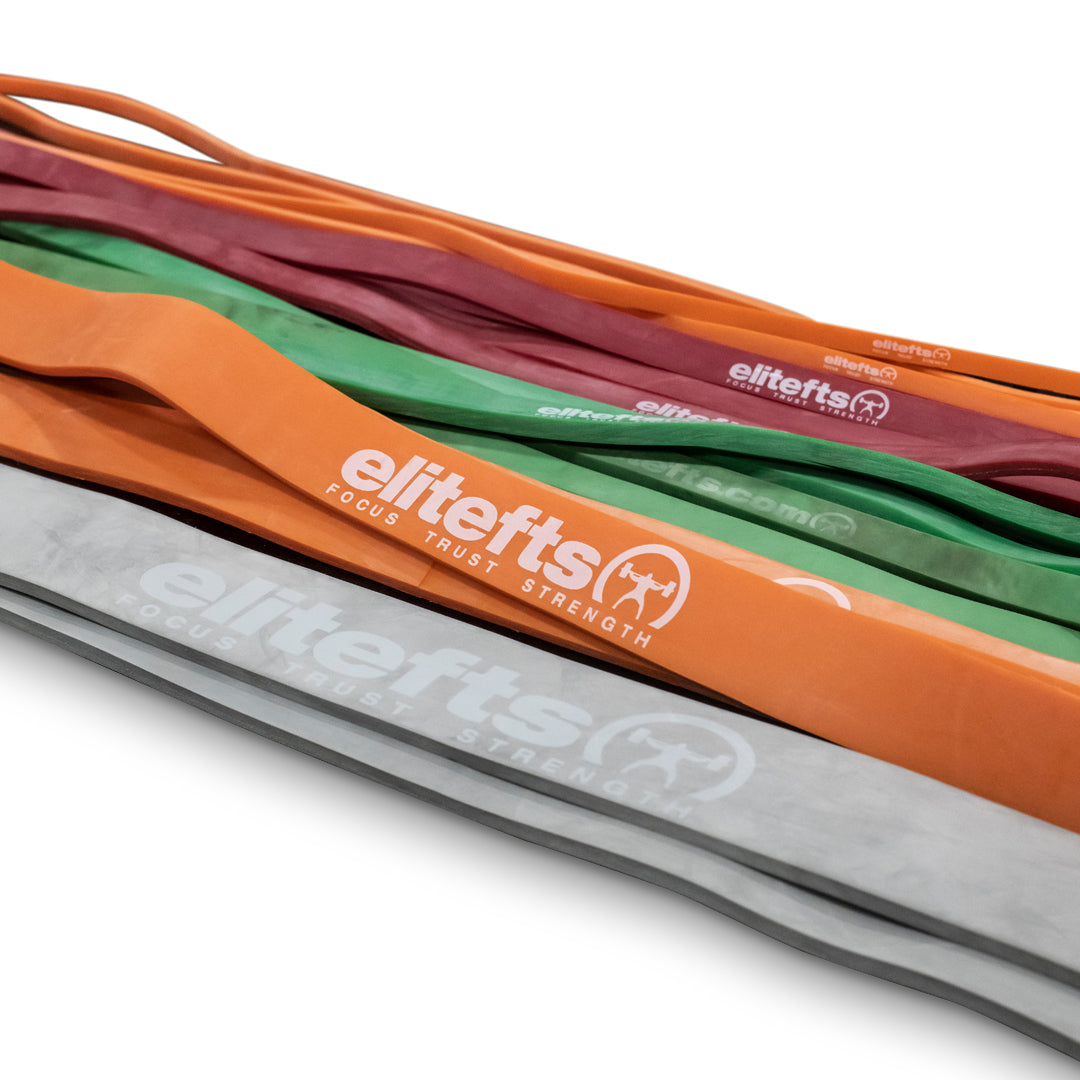
Straight Weight This means training without the use of chains, bands, or any other devices. This phase is used by many lifters for a variety of different reasons. Some lifters like to use this phase pretty much all year around. (I did this for eight years before we even had bands and chains and made great gains.) Other lifters like this to be the first phase after a meet to get back into the flow of training. • Week 1: 45% for 8 sets of 2 reps with 60 second rest periods • Week 2: 50% for 8 sets of 2 reps with 60 second rest periods • Week 3: 55% for 8 sets of 2 reps with 60 second rest periods Regular Band The regular band phase is the one band phase that's used more than any other. This is the key band phase. The band selection depends on the strength of the lifter. A lifter who squats under 450 to 500 pounds will use a light band; 501-700 pounds will use an average band; 701 and up will use a strong band. • Week 1: 47% for 8 sets of 2 reps with 60 second rest periods • Week 2: 49% for 8 sets of 2 reps with 60 second rest periods • Week 3: 51% for 8 sets of 2 reps with 60 second rest periods Heavy Band This is a killer phase that'll usually only last one or two weeks at the most. For this phase you basically jack up the band tension as high as you can tolerate. A great place to start is 2.5 times the band you normally use. For example, if your regular band cycle is an average-rated band, you'd then use two average bands and one light for this cycle. You may also work up to a heavy single after your five sets have been completed. • Week 1: 20-30% for 5 sets of 2 reps Circa — Max One This phase has been great for most of the lifters I know who squat over 500 pounds! It's intended for the advanced lifter, not the novice or beginner. This phase is used when trying to peak for a meet. Extra bands are added to the bar. The bands used for this cycle would be an average and light band for those who squat 500 to 600 pounds, and a blue and pink for those who squat 600 and above. • Week 1: 47% for 5 sets of 2 reps with 60 second rest periods • Week 2: 51% for 5 sets of 2 reps with 60 second rest periods • Week 3: 53% for 5 sets of 2 reps with 60 second rest periods • Week 4: 47% for 5 sets of 2 reps with 60 second rest periods At this point the lifter would de-load for the meet. To do this, the lighter band is removed. The recommended bands used for this phase are the same as the regular band phase detailed above. • Week 1: 53% for 5 sets of 2 reps with 60 second rest periods • Week 2: 47% for 5 sets of 2 reps with 60 second rest periods Chains The chain cycle uses the exact same loading as the straight weight cycle as the chains are de-loaded at the bottom and only add resistance to the top of the movement. The chains should be loaded with a support chain that holds the weighted chains to ensure the chain is de-loaded. If the chains attached to the top of the bar are dropped straight to the ground, most of the weight of the chain would stay on the bar. Recommended Chain Weight • Squat Max: 200-400 pounds = 60 pound chain • Squat Max: 400-500 pounds = 80 pound chain • Squat Max: 500-600 pounds = 100 pound chain • Squat Max: 600-800 pounds = 120 pound chain • Squat Max: 800-900 pounds = 160 pound chain Conditioning Phase This phase is a killer three week phase intended to get you into shape very fast. The rest periods are the key to this phase. • Week 1: 40% for 10 sets of 2 reps with less than 45 second rest periods • Week 2: 42% for 15 sets of 2 reps with less than 45 second rest periods • Week 3: 44% for 15-20 sets of 2 reps with less than 45 second rest periodsBench Cycles for Intermediate to Advanced Lifters
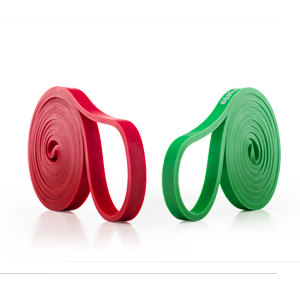
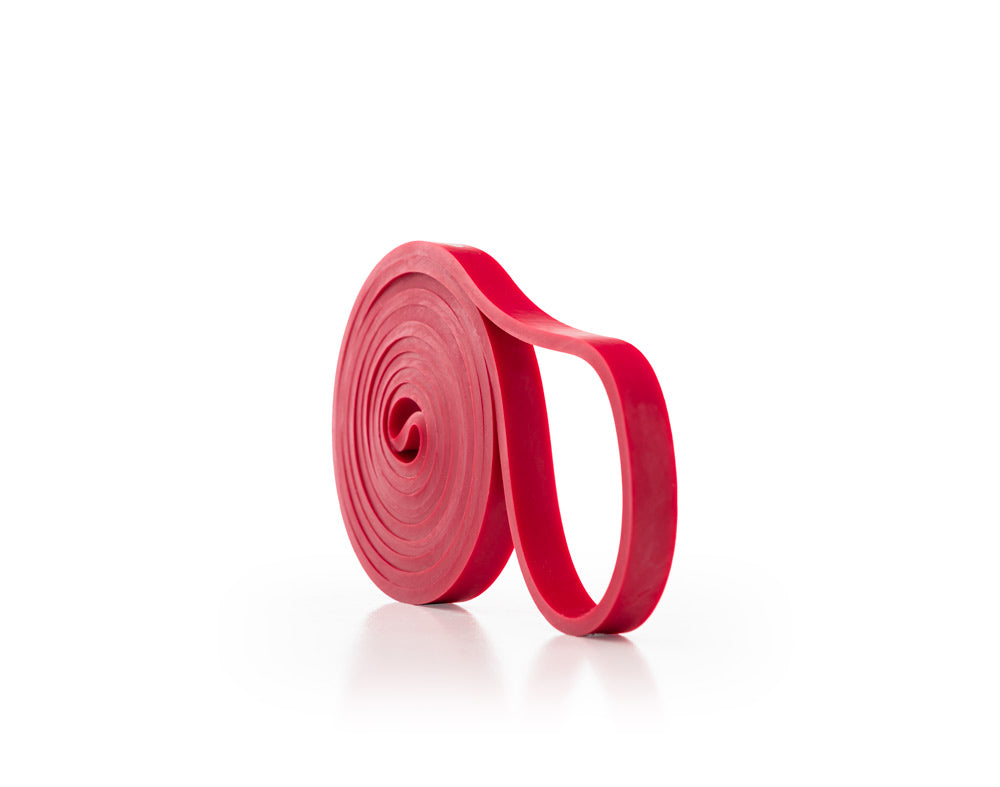
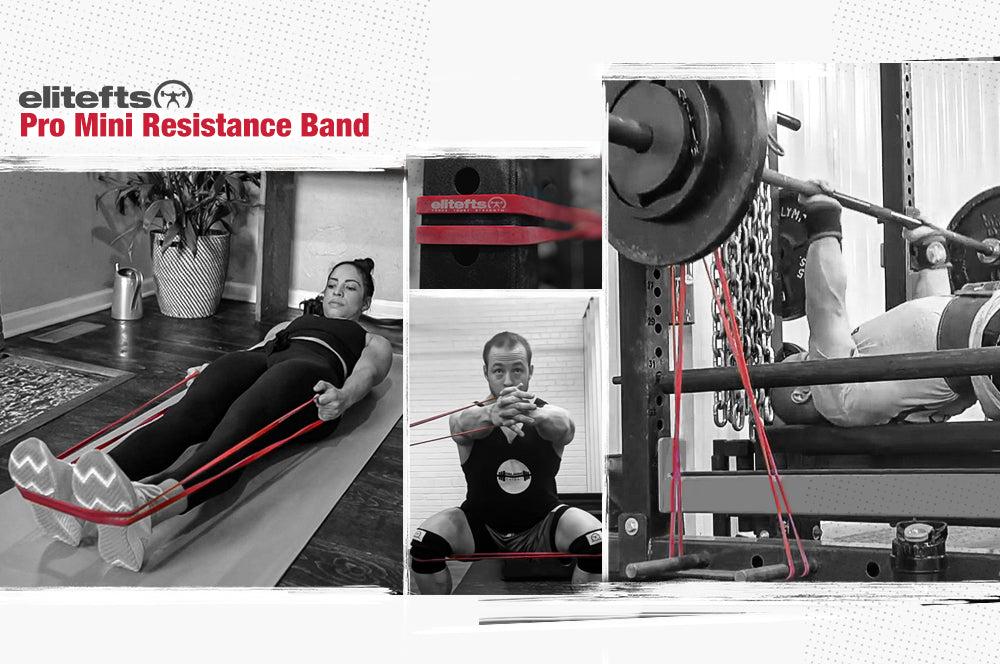
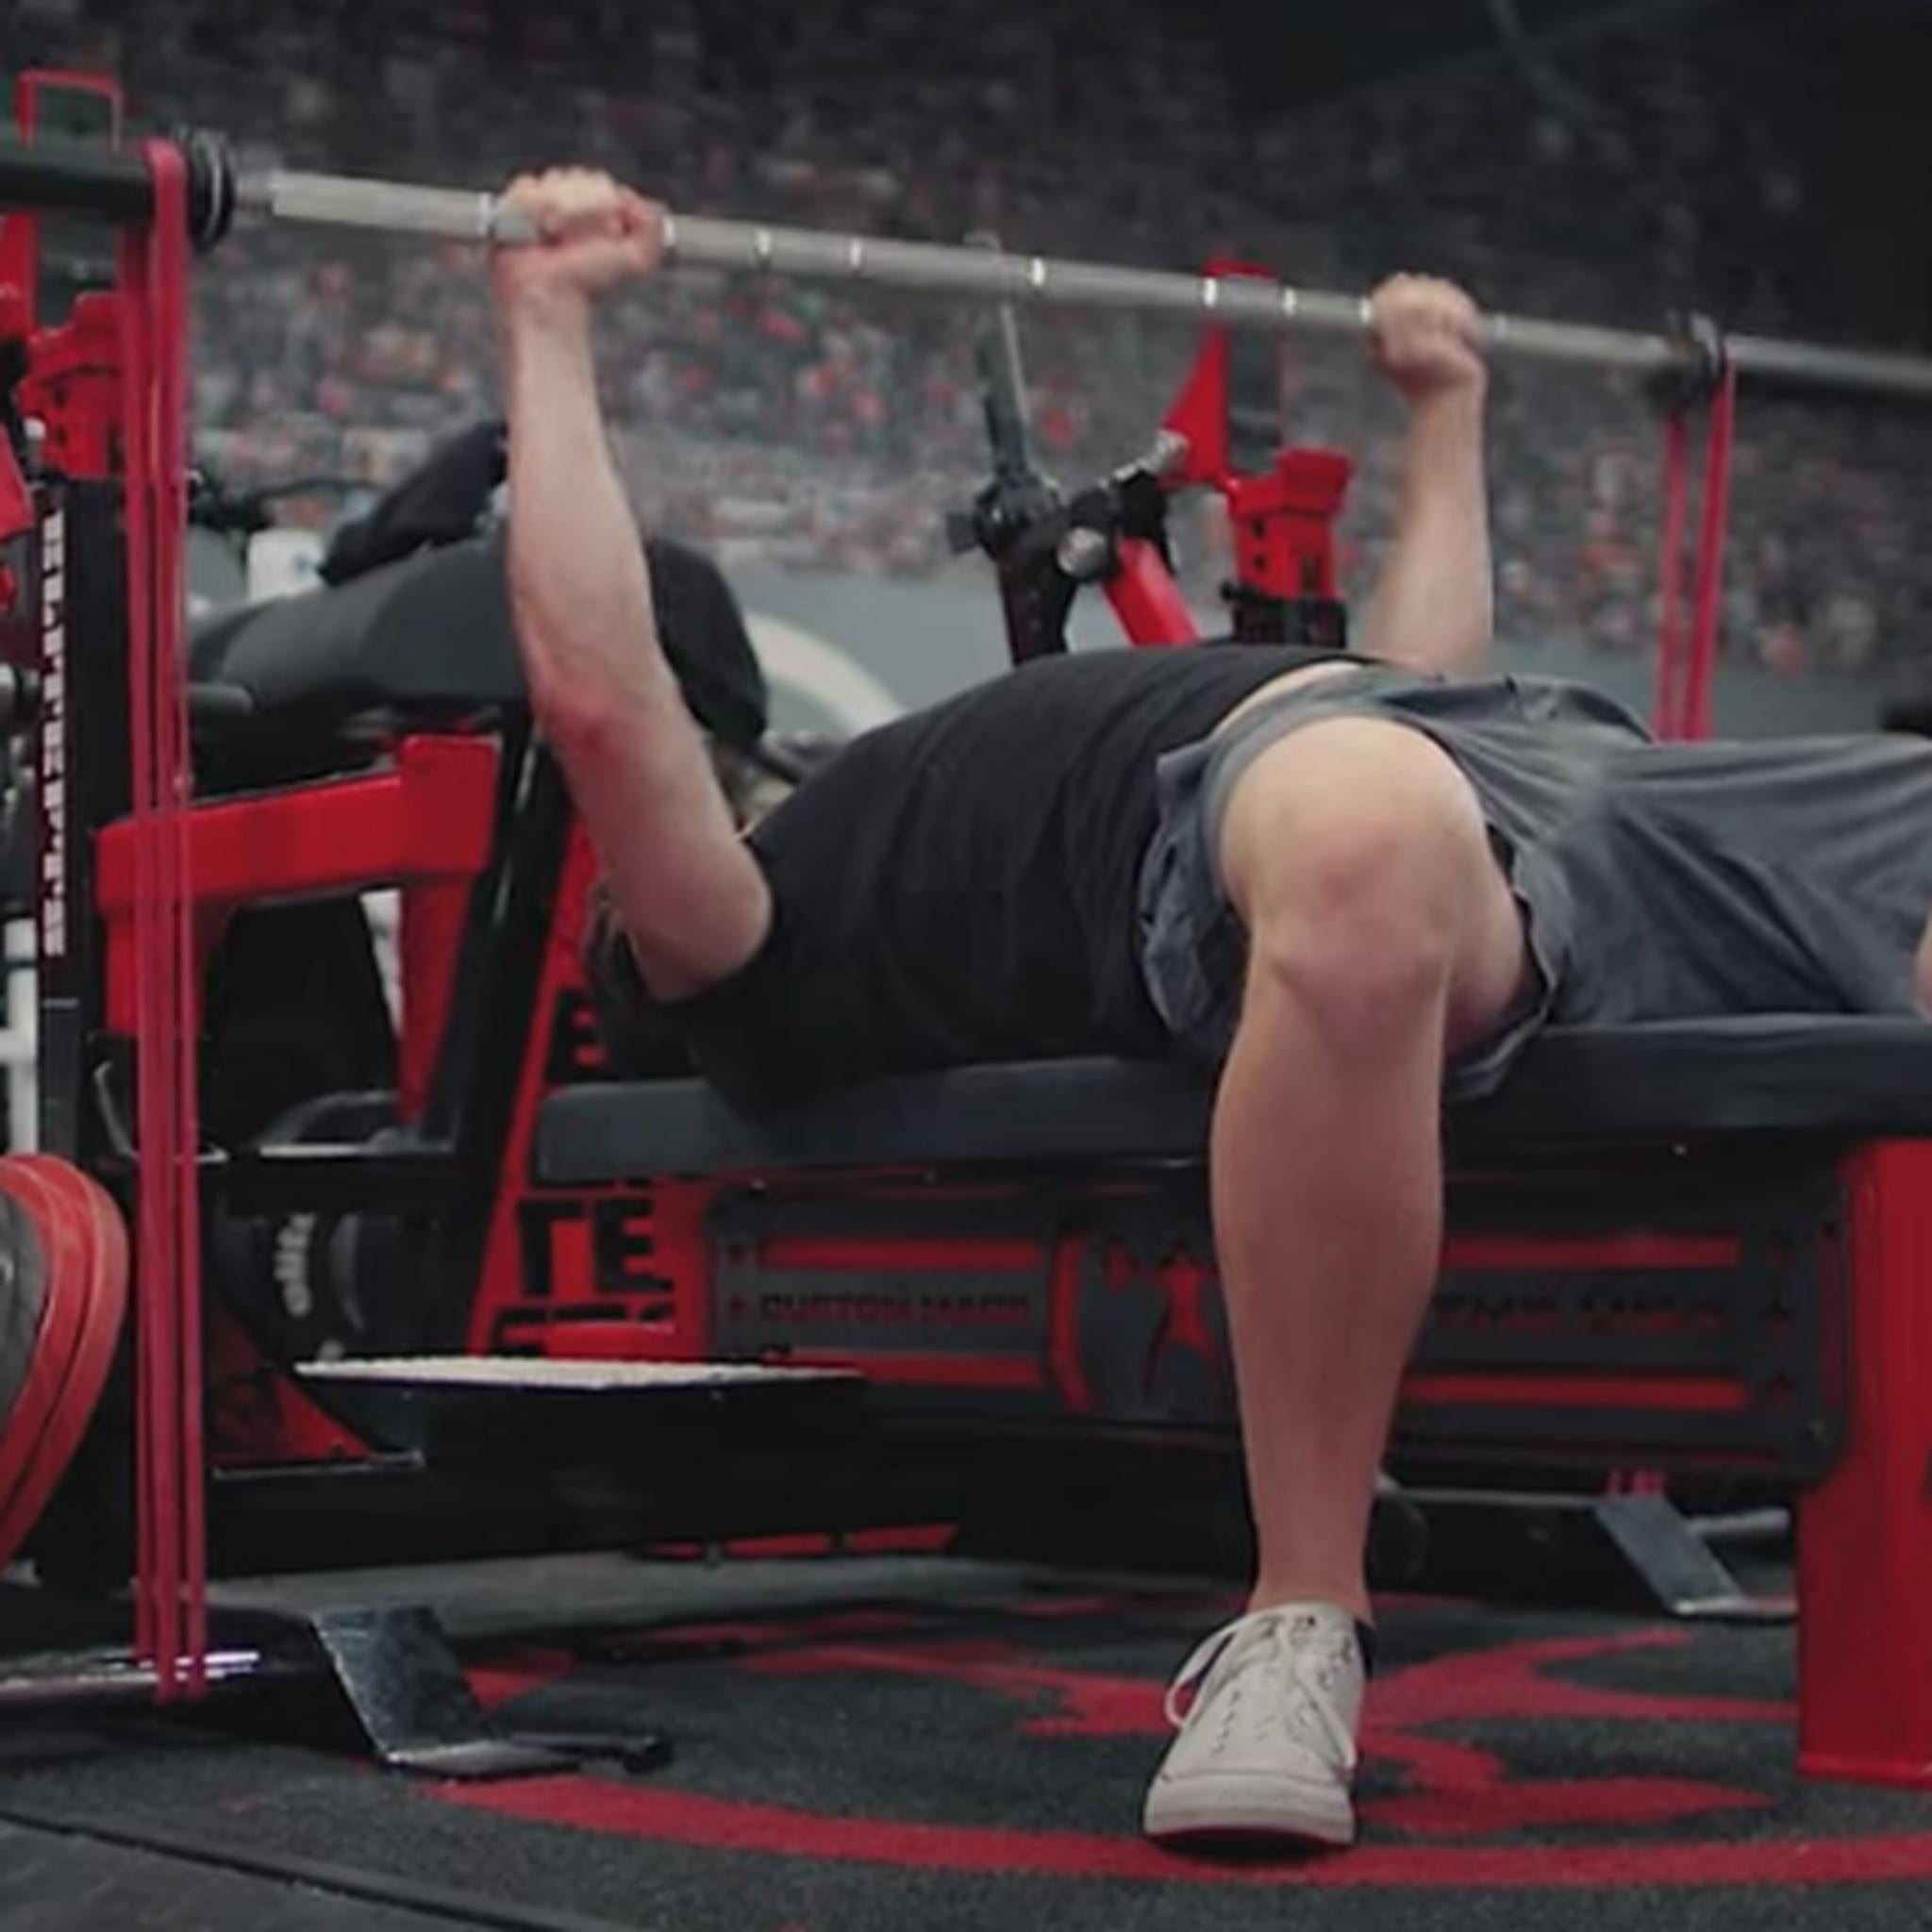
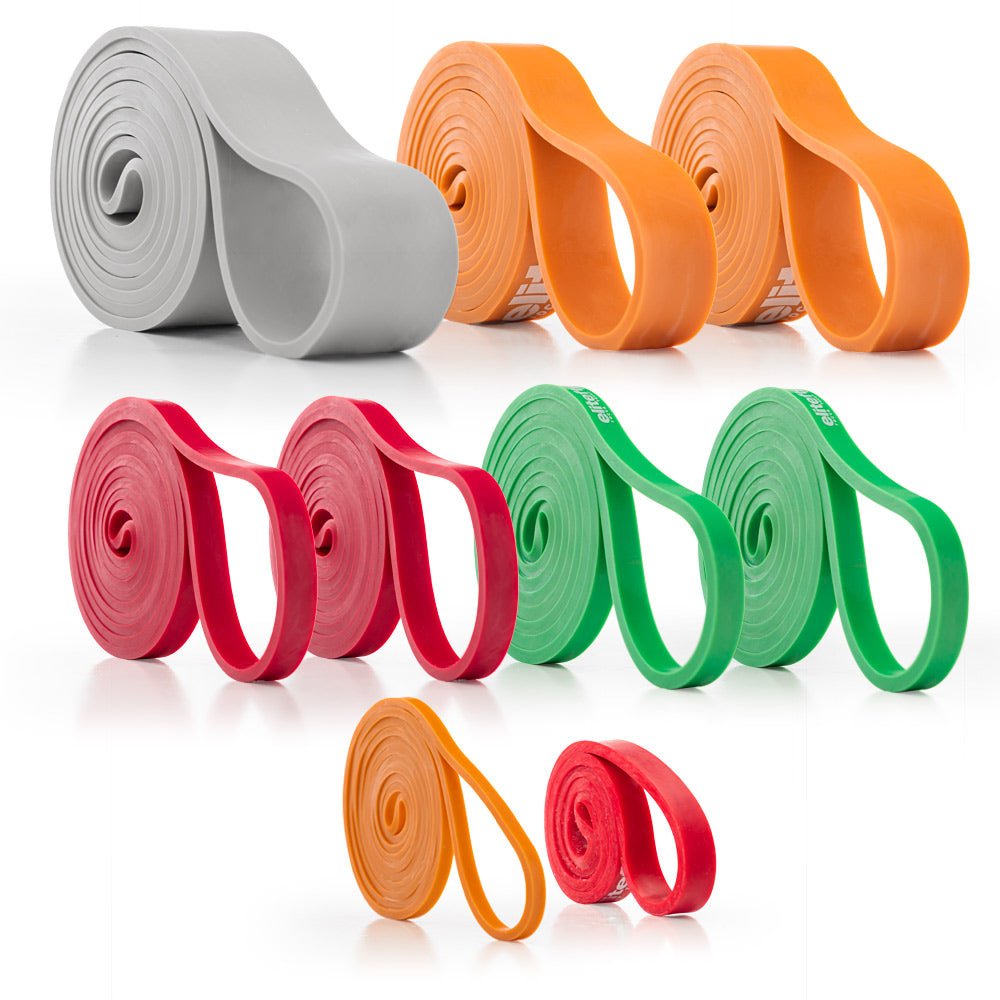
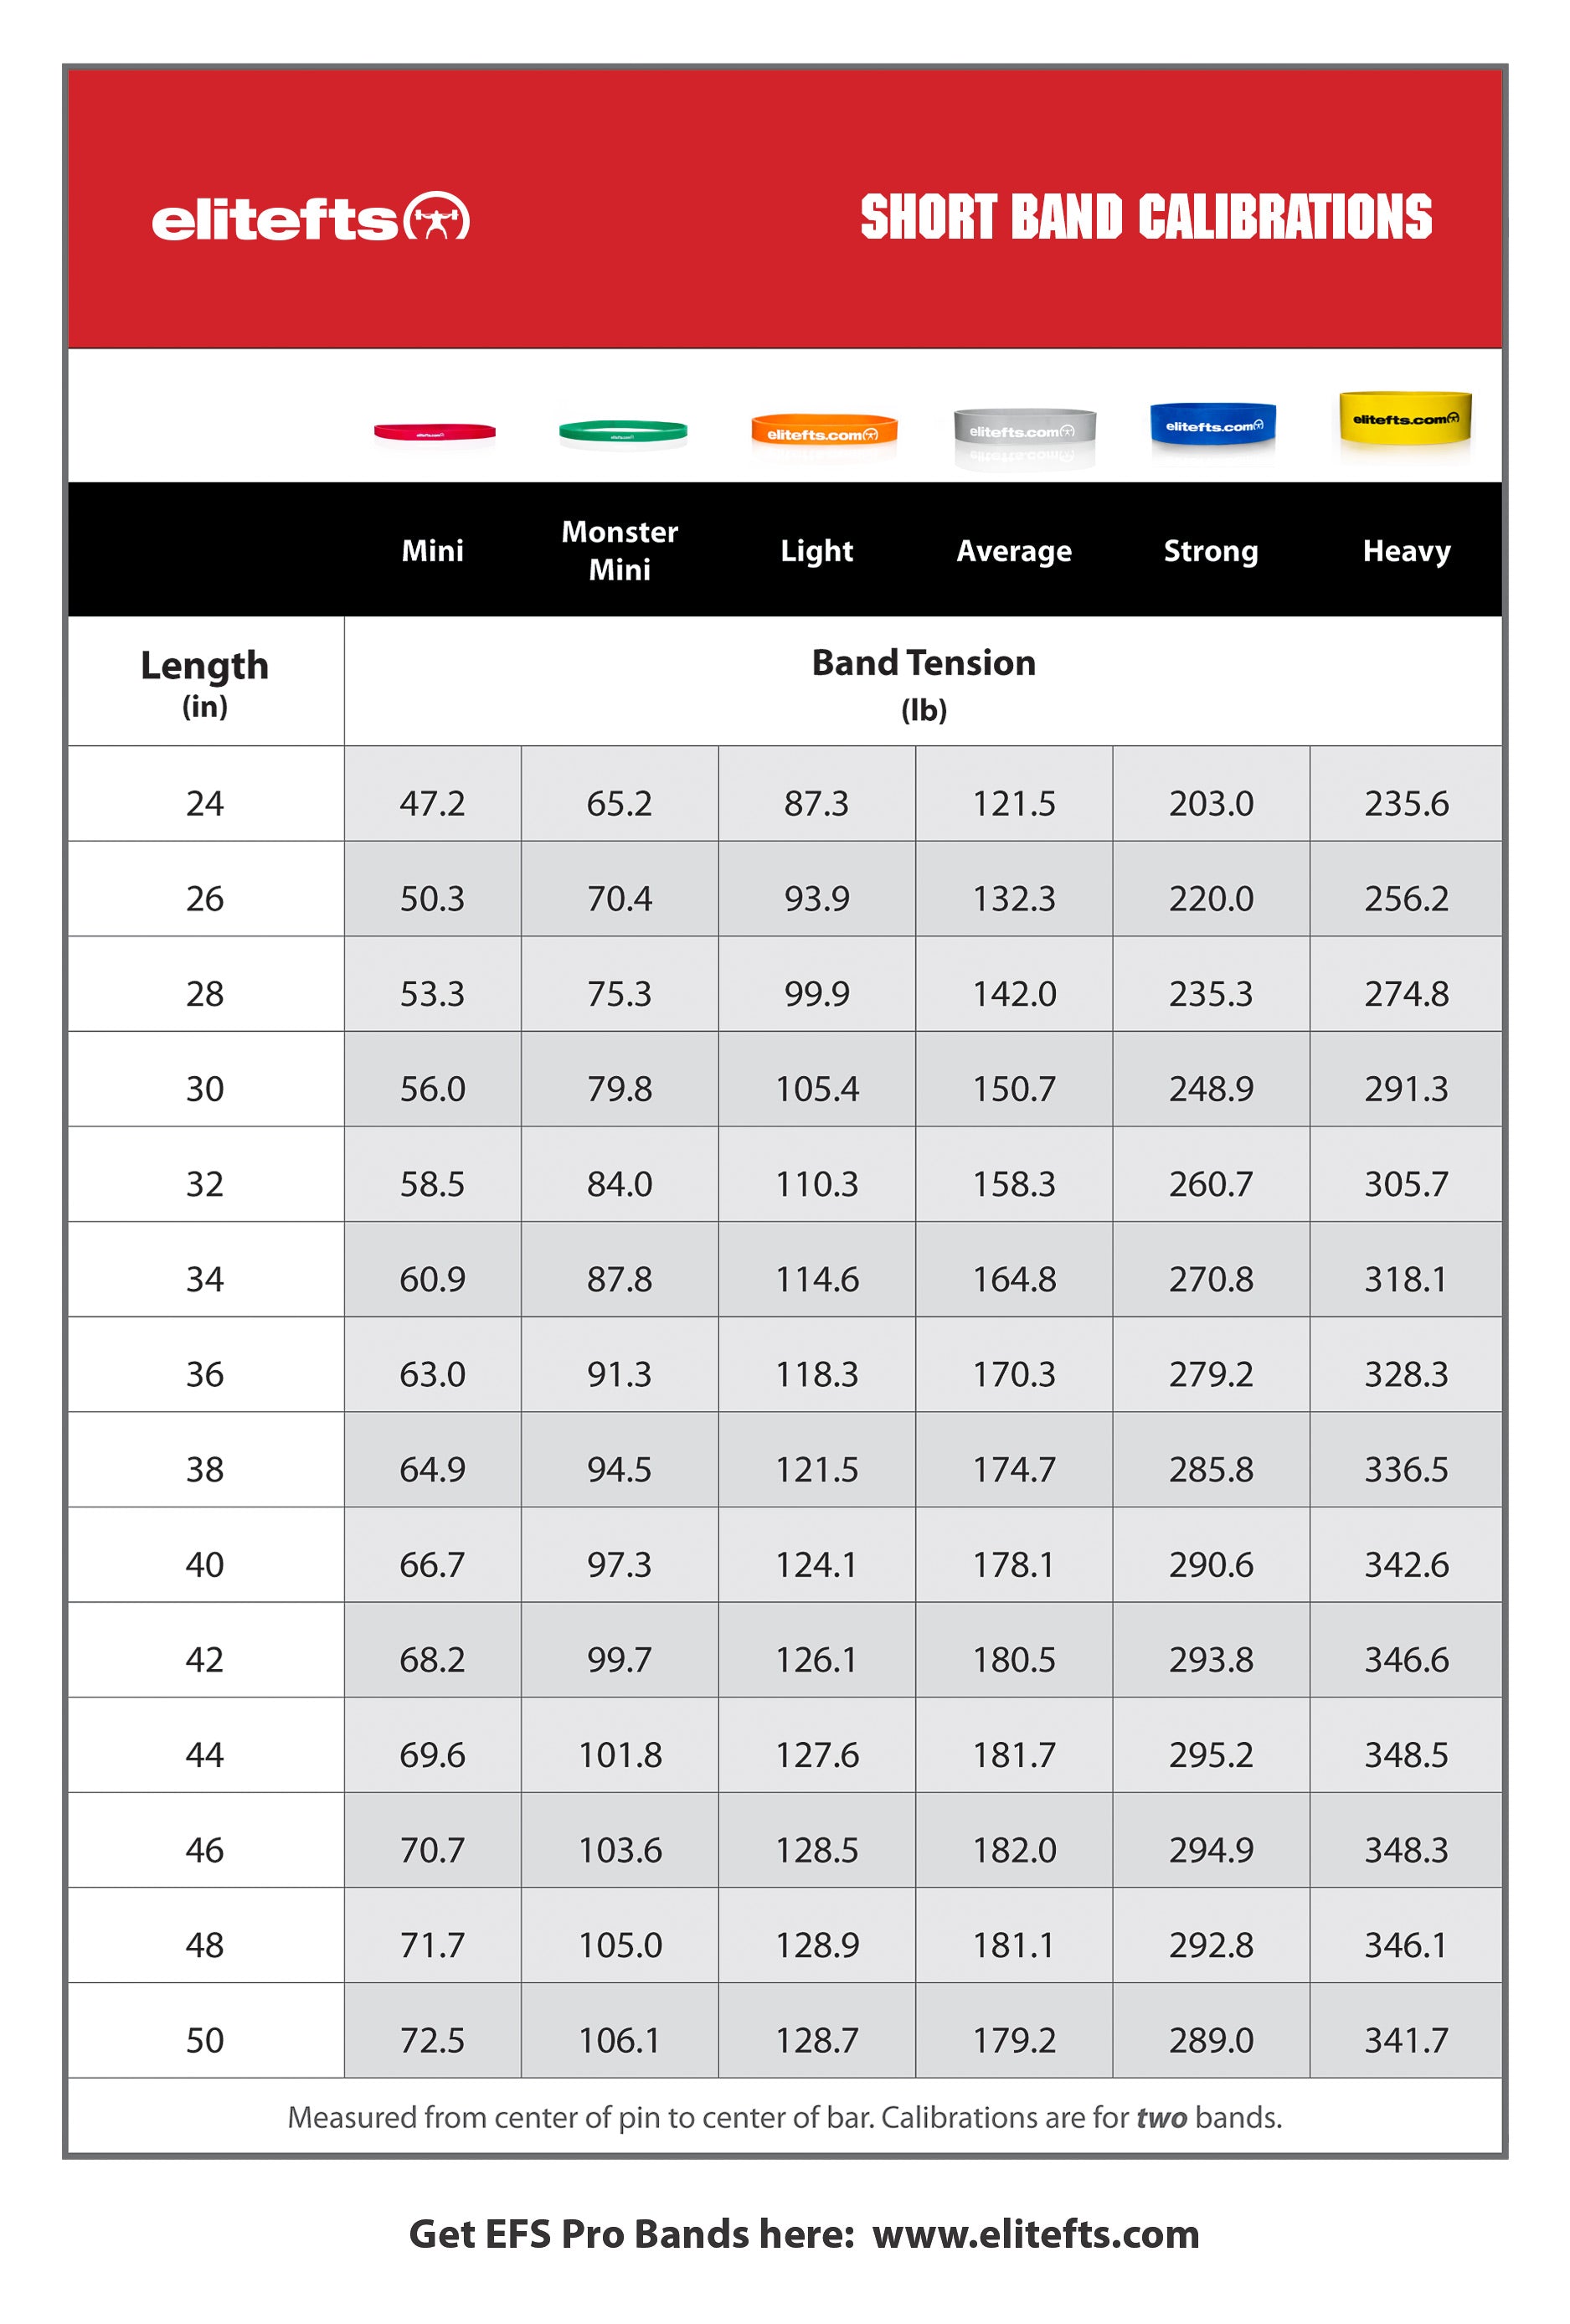
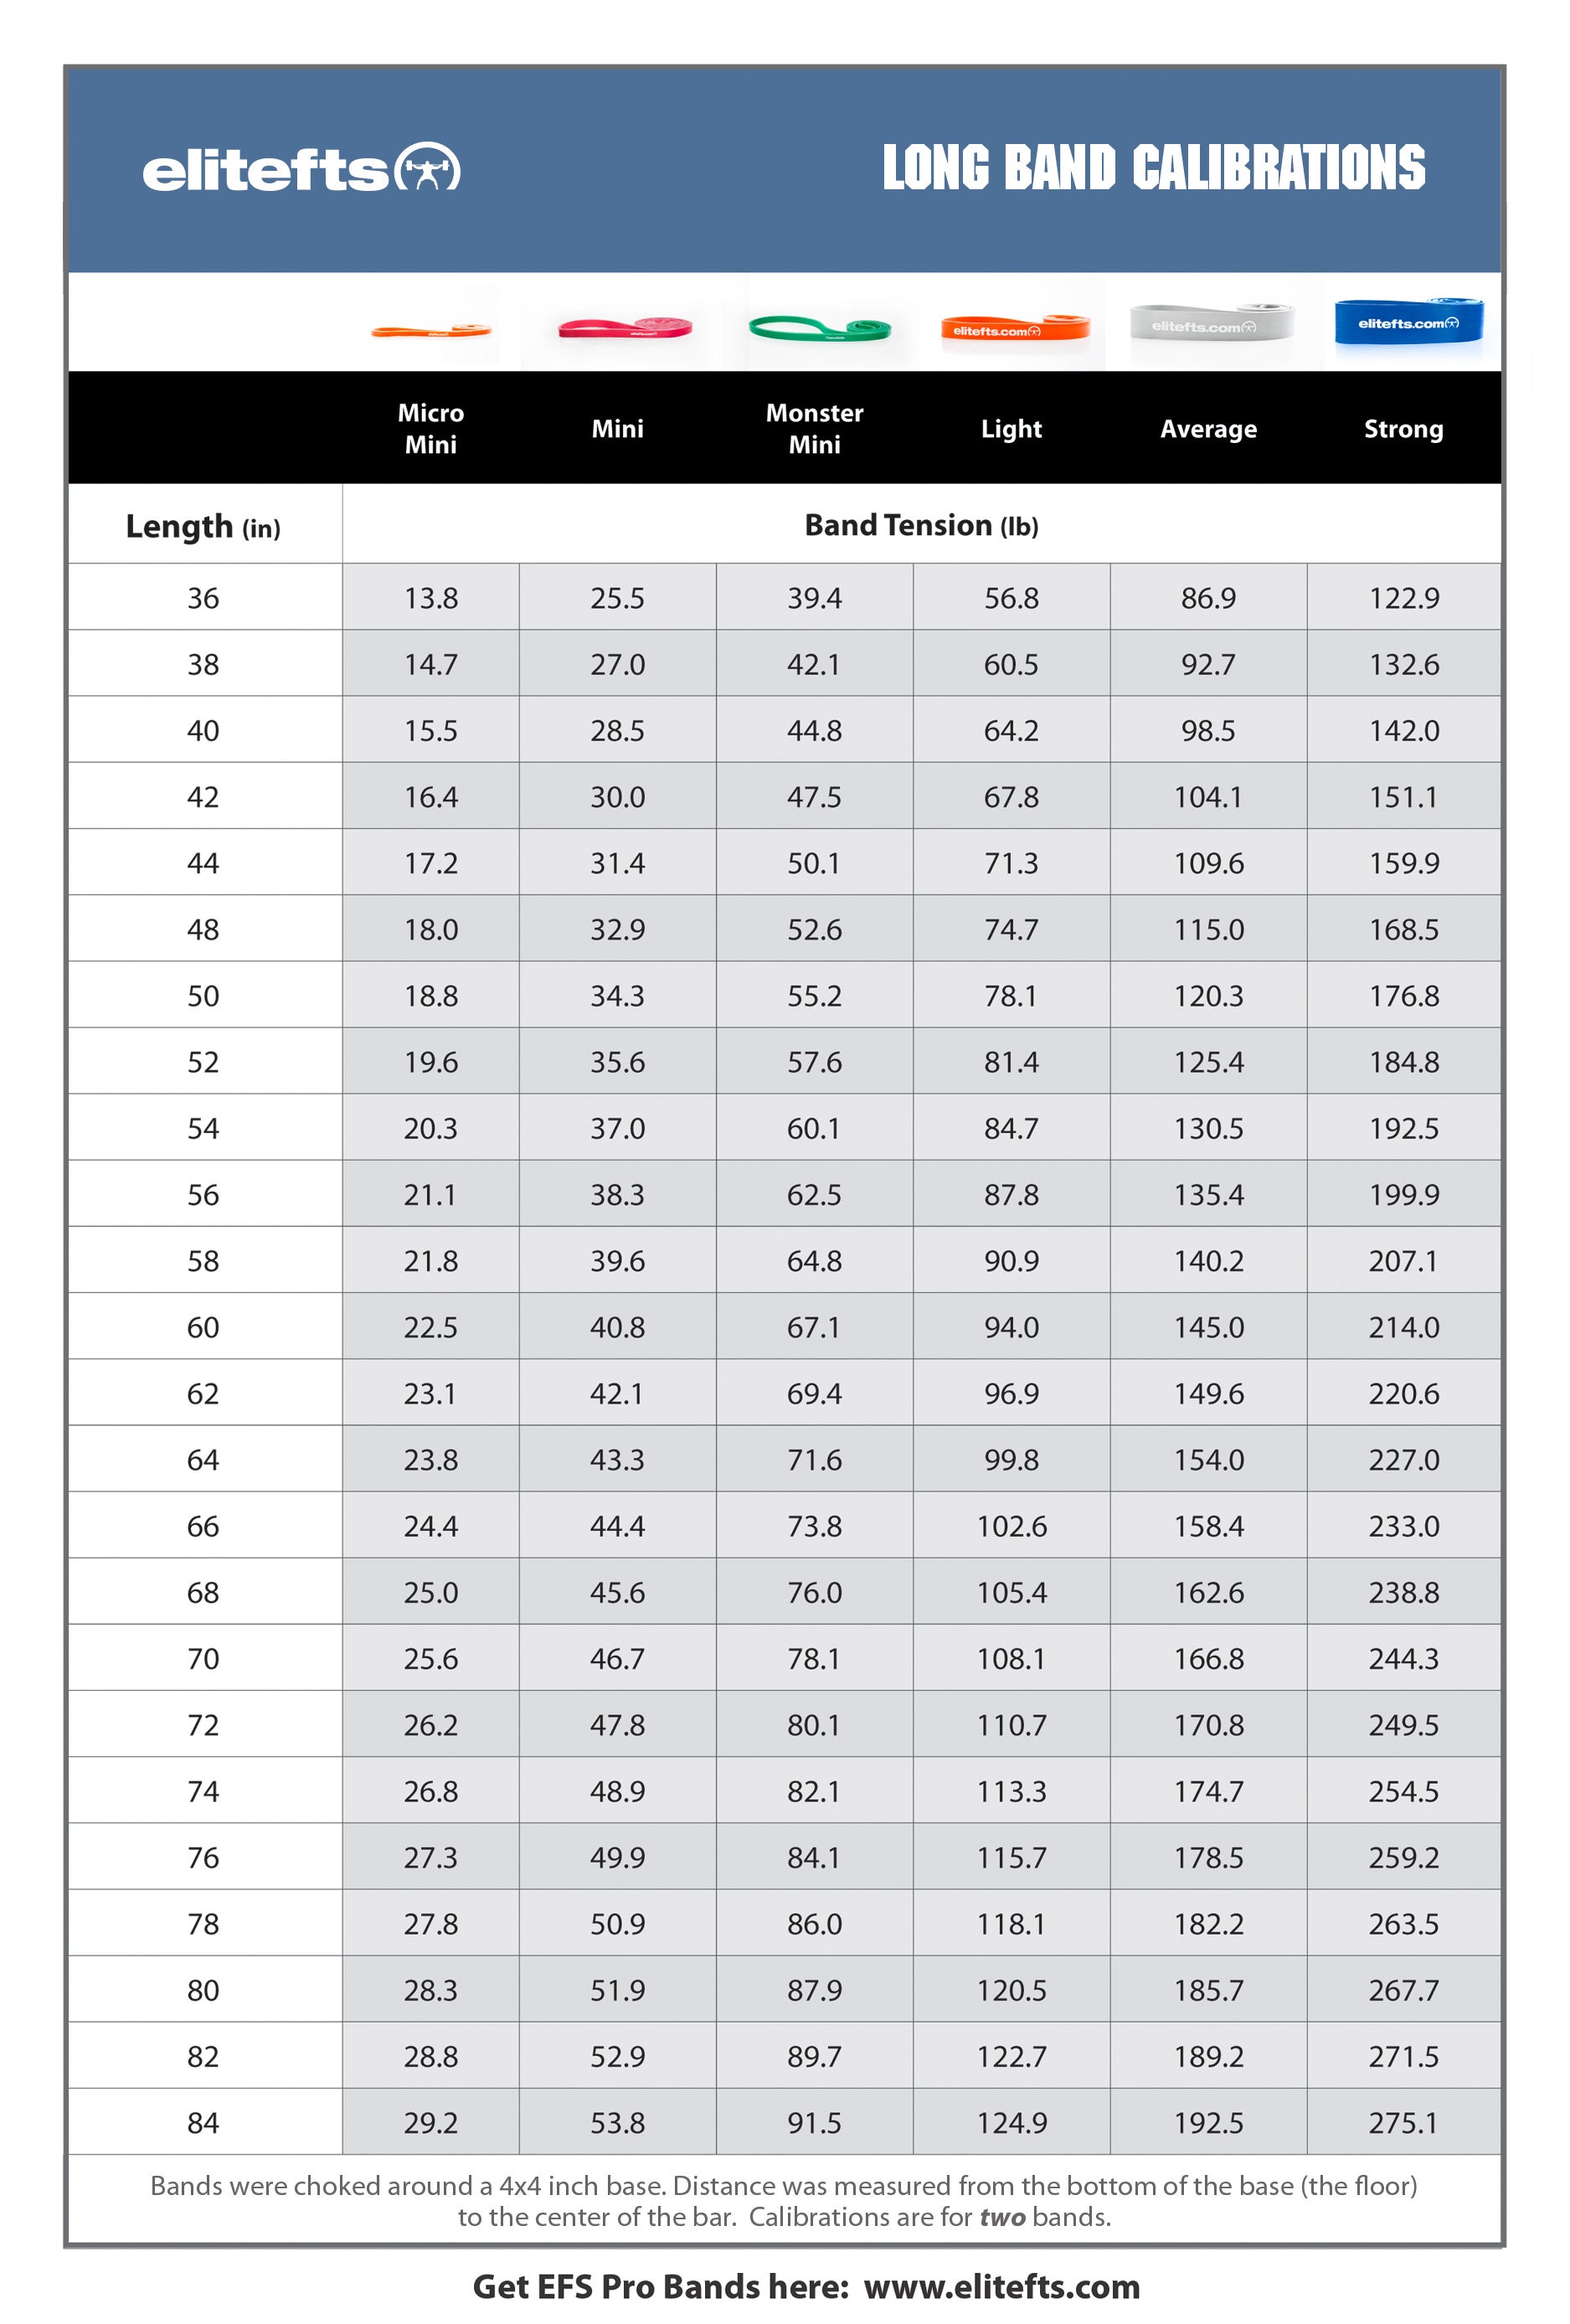
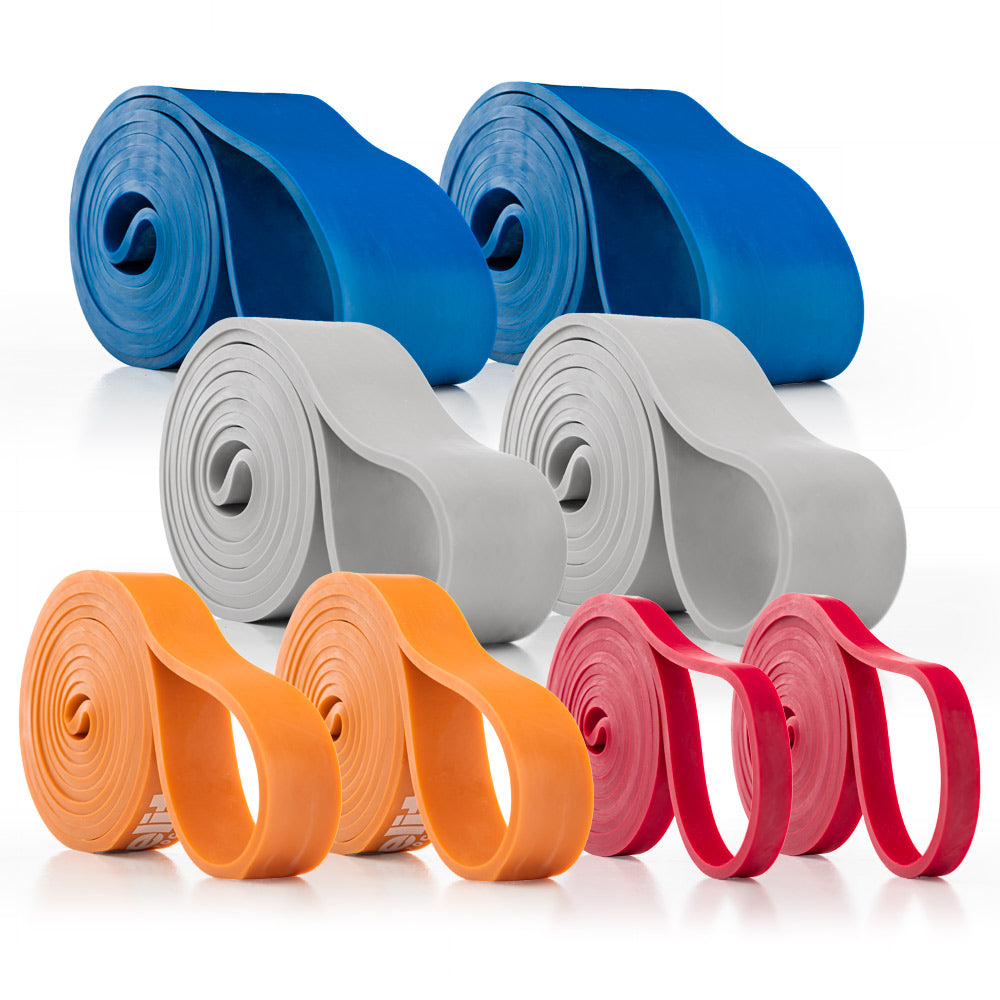
The bench training cycles for this group are pretty basic and percentage-based with a flat wave. A flat wave is a wave where you try to get faster each week while using the same percentage. Cycle 1 Week 1: 50% for 8 sets of 3 reps with 60 second rest periods Week 2: 50% for 8 sets of 3 reps with 60 second rest periods Week 3: 50% for 8 sets of 3 reps with 60 second rest periods Cycle 2: Bands The best bands to use for bench speed training are the mini bands. Place one end of the band on the bar. Pull the band down and under a dumbbell and then pull the band back up to the bar again. This is called a "double mini band." By using one dumbbell you can expect 70 to 80 pounds of tension at the top and 30 to 40 at the bottom of the motion. This is plenty for all those who bench under 450 pounds. If you bench over 450, you'll want to use two dumbbells on each side to increased the spread distance of the band at the bottom. This will increase the tension to 100-110 pounds at the top and 50-60 in the bottom position. Week 1: 40% for 8 sets of 3 reps with 60 second rest periods Week 2: 40% for 8 sets of 3 reps with 60 second rest periods Week 3: 40% for 8 sets of 3 reps with 60 second rest periods Note: The bands are not figured into the percentage. Cycle 3: Chains The chains should be set up so half of the chain is on the floor while the weight is in the rack. The weight of the chain will depend on how much you bench. If you bench under 300 pounds, a total of 50-60 pounds of chain should be used. If you bench between 300 and 500, 80-90 pounds of chain should be used. If you bench 500 and up, 120-130 pounds of chain should be used. Week 1: 50% for 8 sets of 3 reps with 60 second rest periods Week 2: 50% for 8 sets of 3 reps with 60 second rest periods Week 3: 50% for 8 sets of 3 reps with 60 second rest periods Note: The chains are not figured into the percent. There are also several alternative cycles that many lifters have been using with great success. There are too many to mention in this text, but some of the methods include: • Using more band tension than recommended above while lowering the barbell weight. • Adding an extra band after the first few sets for two sets, then pulling the extra band off for the last few sets. The same can also be done with the chains. • Staggering the weight over the 8 sets. For example: 40% for 2 sets, 45% for 2 sets, 50% for 2 sets and 55% for two sets. • Catching the barbell. This is one that most lifters are doing incorrectly! To use this method you lower the bar with speed (but under control), then catch the bar one or two inches before touching the chest, then explode back up. This method should only be used for one or two weeks at a time. If you use it longer than that, you're looking for trouble.Deadlift Cycles for Intermediate to Advanced Lifters
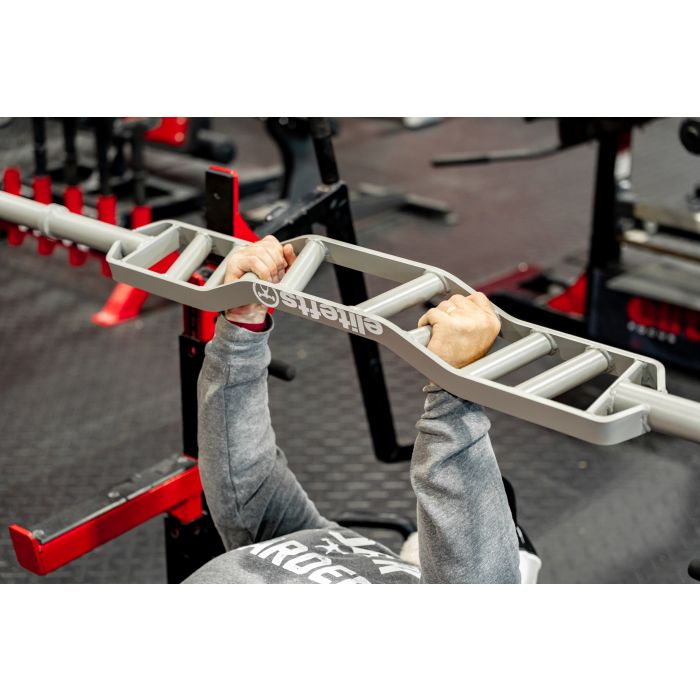
There's really no need to go into cycles with this one. The most popular way to cycle the speed deadlift is to use a percentage around 50% and pull 5 to 8 singles. The key here is form and speed. You may also do these with the use of bands or chains to increase the work at the top end. When can I use the other speed movements and what phases can I use them with? You can use the safety squat bar, buffalo bar, or cambered squat bar for any of the squat cycles listed above. I know of one lifter who'll only use a squat bar the last three weeks before the meet and he squats over a grand! He spends the rest of the time using the safety squat bar. He feels this allows his shoulders to rest, thereby allowing him to put more into bench training. For the bench press you could use the cambered bench bar or fat bar in place of the regular bar to change up the muscle firing pattern. There are many lifters who use the fat bar for all bench training and then only use the regular bar at the meet.
Are all the percentages set in stone?
No way! The percentages are only guidelines. If the weight feels way to light then use more weight; if it feels too heavy then lower it some. Percentages can only help you to find a starting point. The problem with percentages is they're all based on one rep maxes. You may or may not be as strong as or stronger than you were when you did your 1RM. I'll say if you're having problems getting stronger then the first thing you should do is lower the percentage! Yes, I said lower. This will bring more speed back into the training. Speed is very important for many lifters and can make a big difference in their training. For example, what would you think if I told you my best pin lockout on the bench for pin 13 is 455 pounds? Pin 13 is a four inch push for me. It pretty much says I can’t lock out 500 pounds. So how did I bench 600? The speed from the bottom carried the bar through to the top! I'm a speed lifter, not a strength lifter. Max effort lifts are equal to lifters who total 400 pounds less than I do. This tells me I have to get stronger on max effort work while at the same time harnessing my speed. There are other lifters who are strength lifters. They're very strong but very slow. What happens if you lift a weight slow? Very simple, it takes longer to lift the weight. The longer it takes to complete the lift, the stronger you'll have to get.What do you do after the speed or dynamic movement?
You do whatever you need to do. I'd suggest you hit your weak point first. What if you don't know your weak point? I would suggest finding a good coach to help you out. [caption id="attachment_131799" align="aligncenter" width="474"]
More Blogs & Articles From Dave Tate Here[/caption]

