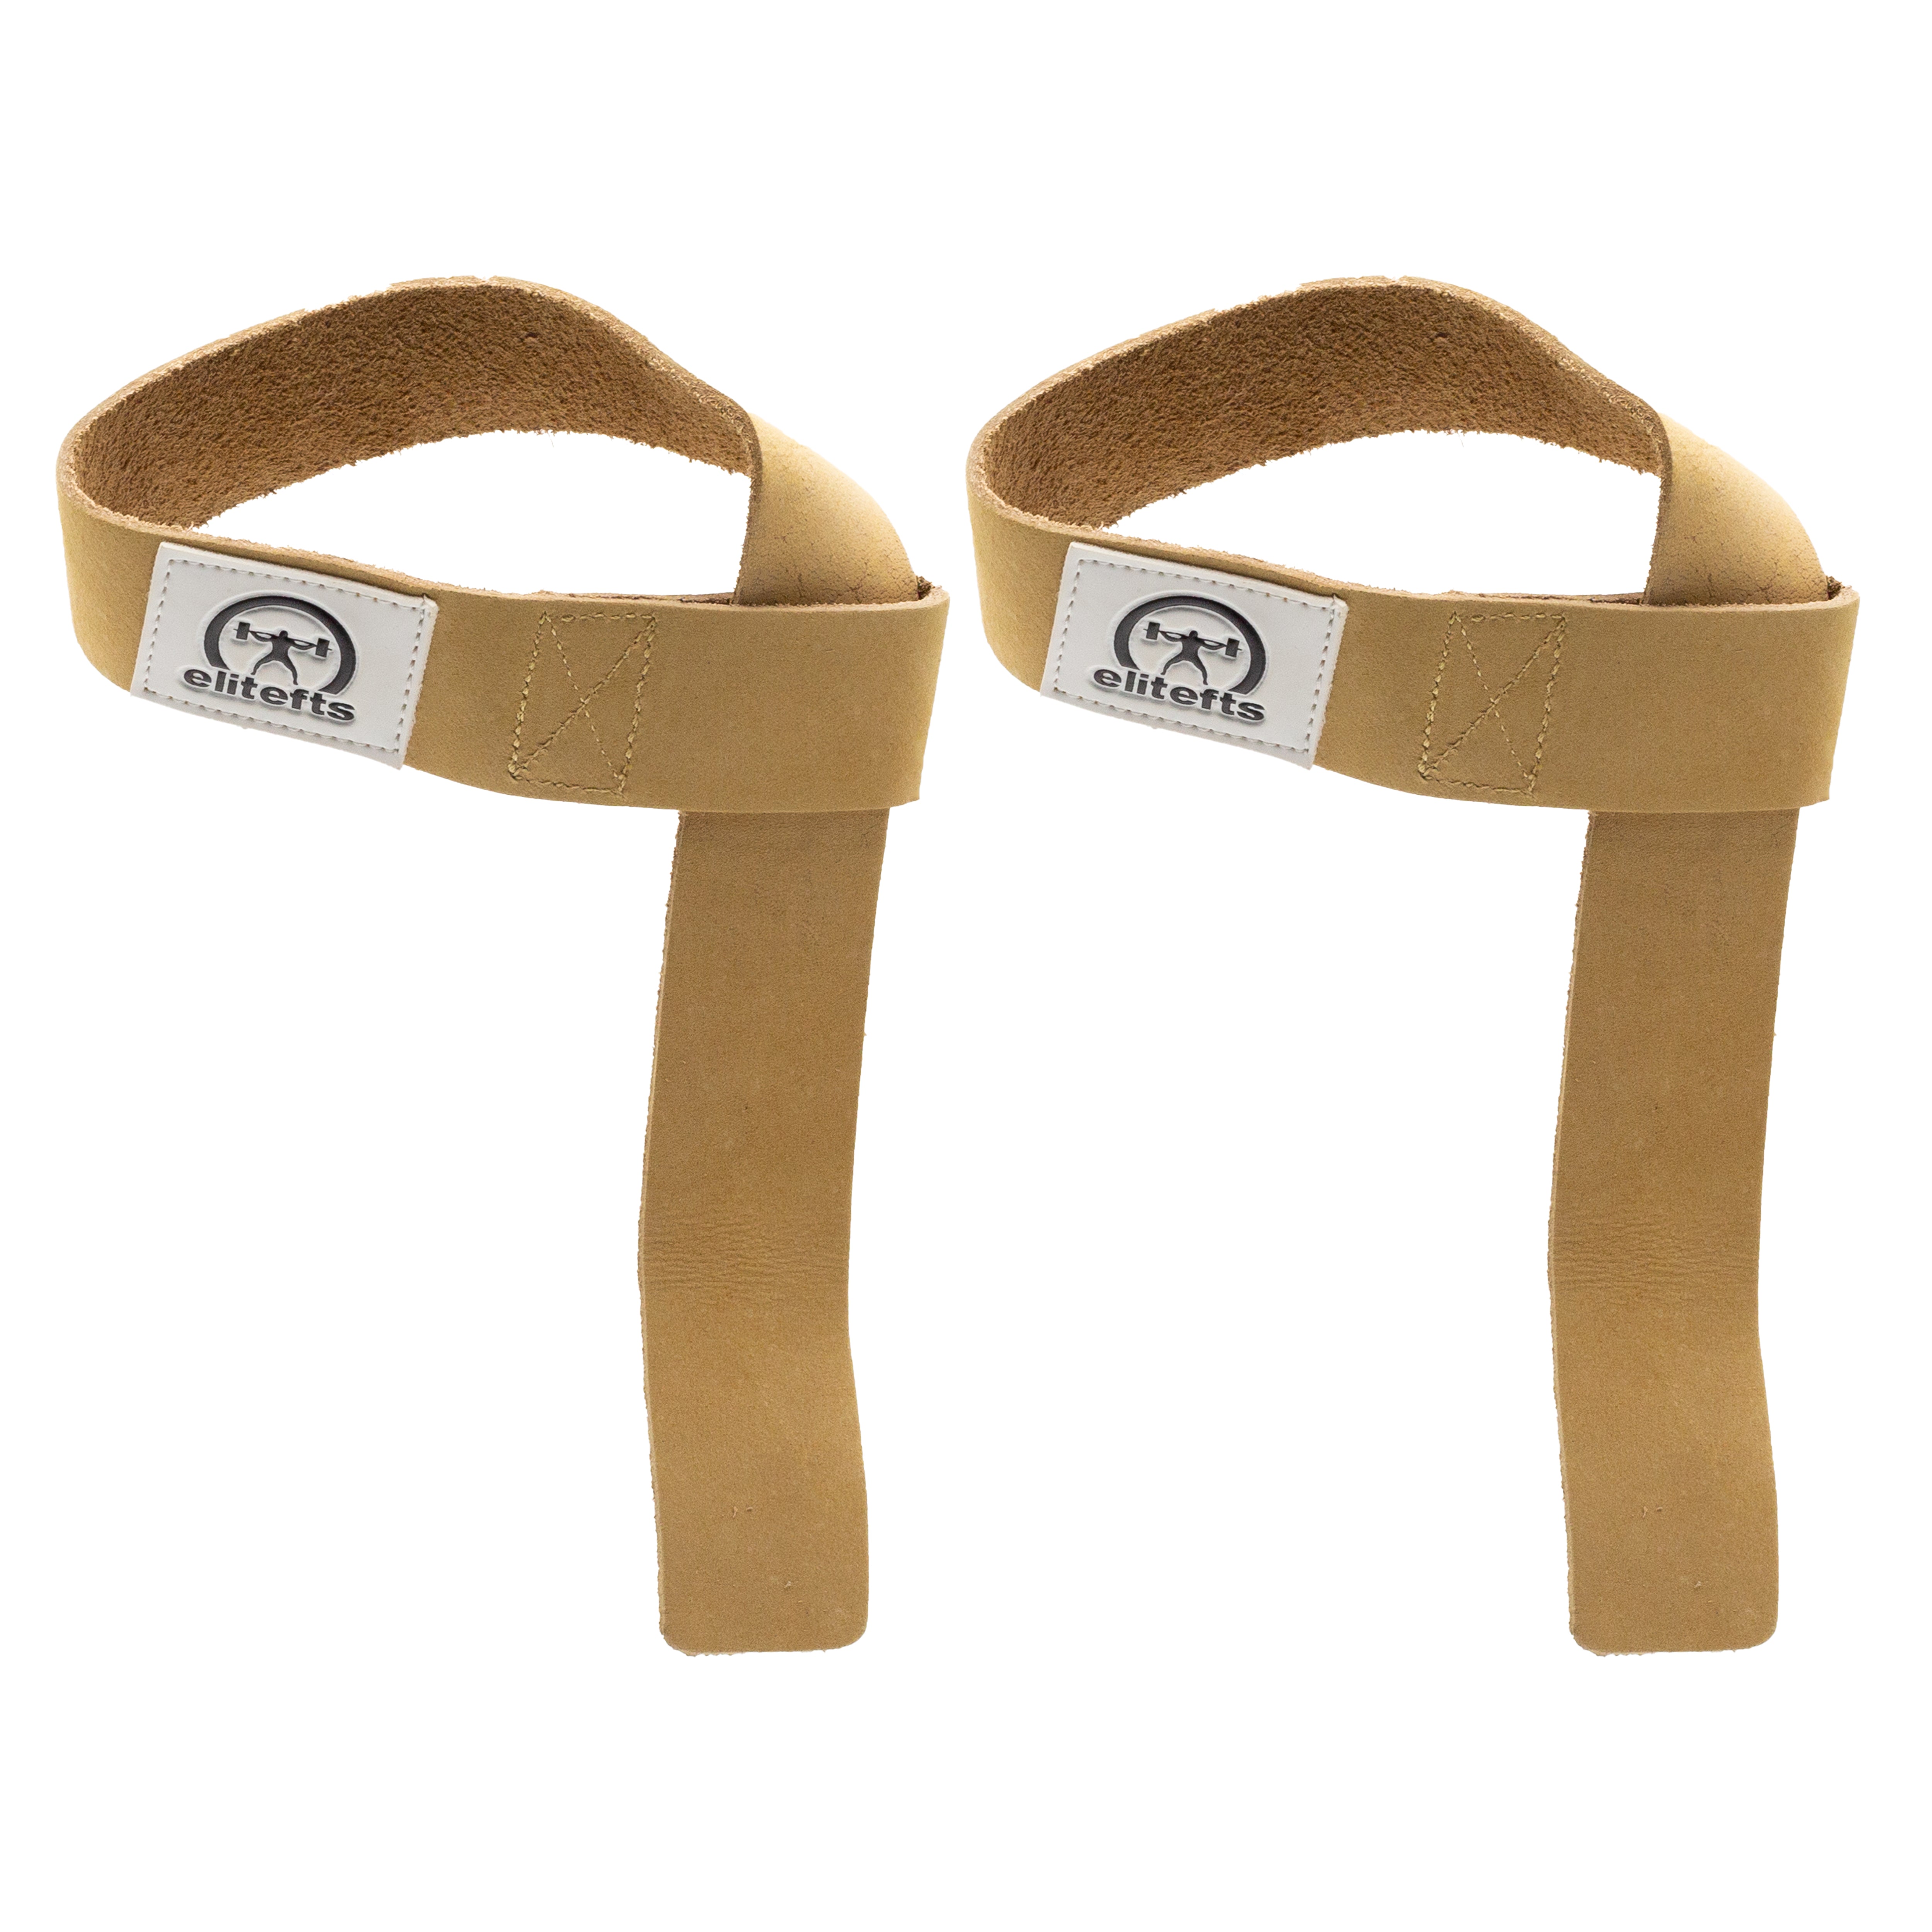
elitefts™ Sunday Edition Classic Reprint I’m not going to write an introduction on why commercial gyms aren’t the best equipped or the best atmosphere for powerlifting. It has been beaten to death and we all know it’s true. Instead of trying to get you all worked up on another Sick-of-Your-Gym rant, I’m going to tell you how we, The Confederate Barbell Club, did it. The Confederate Barbell Club was located in Lexington, Kentucky. It began when Kevin Deweese, Jason Adams and I got together and started plotting how the hell we were going to train without the aid of the University of Kentucky. We were used to the plush equipment and temperature controlled atmosphere that the UK gave us. We traded this in for a small, sometimes unpleasant, one-car garage. I wouldn’t have done it any differently. 
The Setup
Jason rented a one-car garage in his apartment complex and this soon became our home. This is what we outfitted the garage with in the beginning:-
Power Rack -
Dumbbell Bench (to be used inside power rack) - Modified
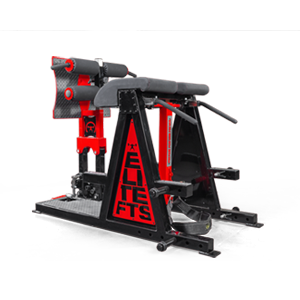
Glute Ham Raise (Jason got this at a garage sale and we had to modify and weld the hell out of it; we actually used the wall as a footplate for awhile) -
Olympic Dumbbell Handles -
Texas Squat Bar -
Texas Power Bar -
Lat Pull Machine - A ton of
weight - A lot of
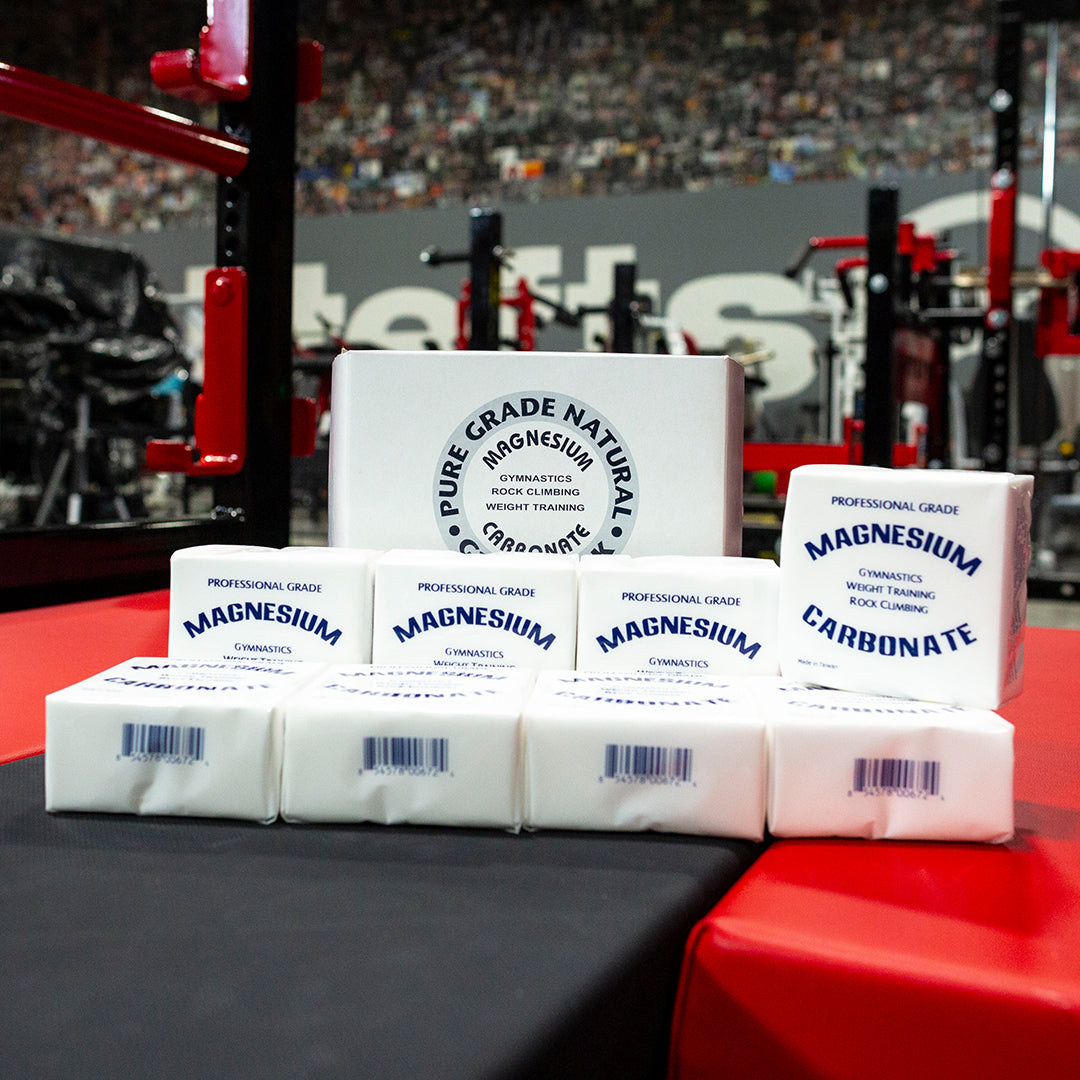
chalk -
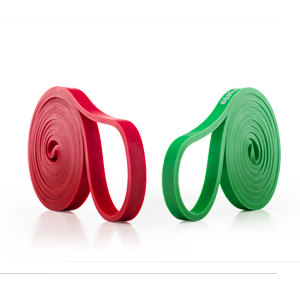
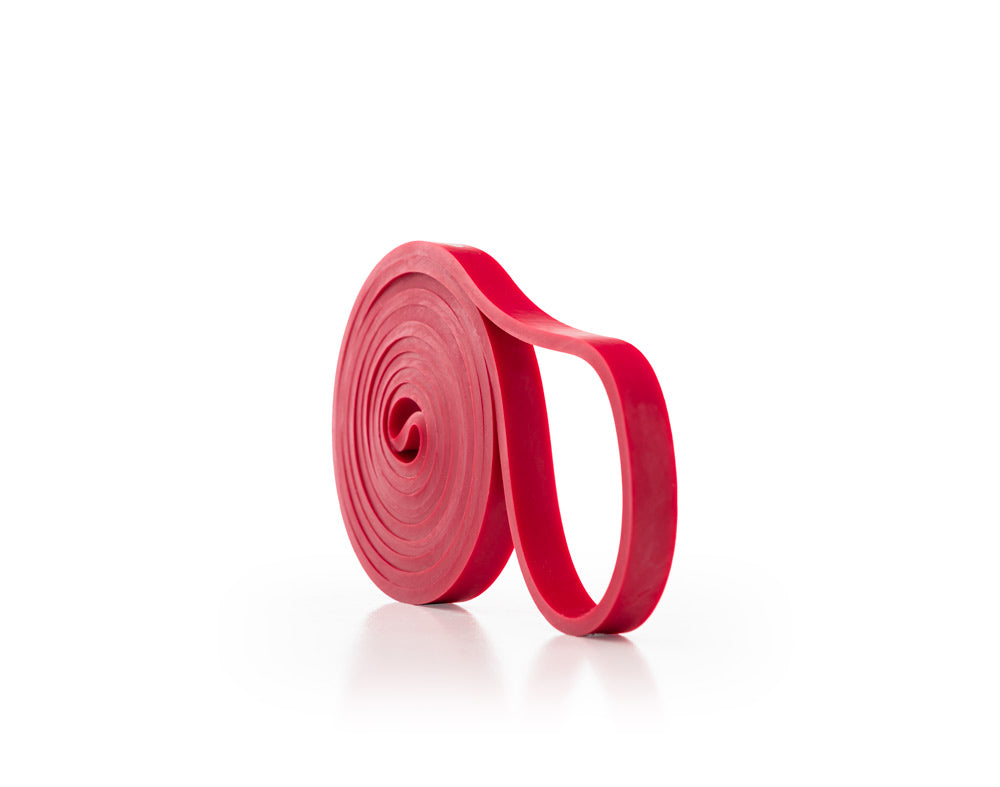
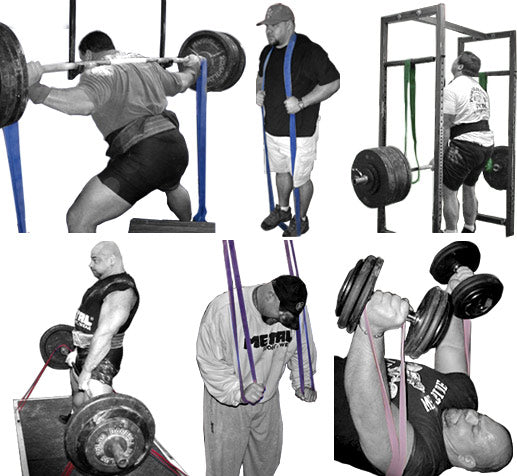
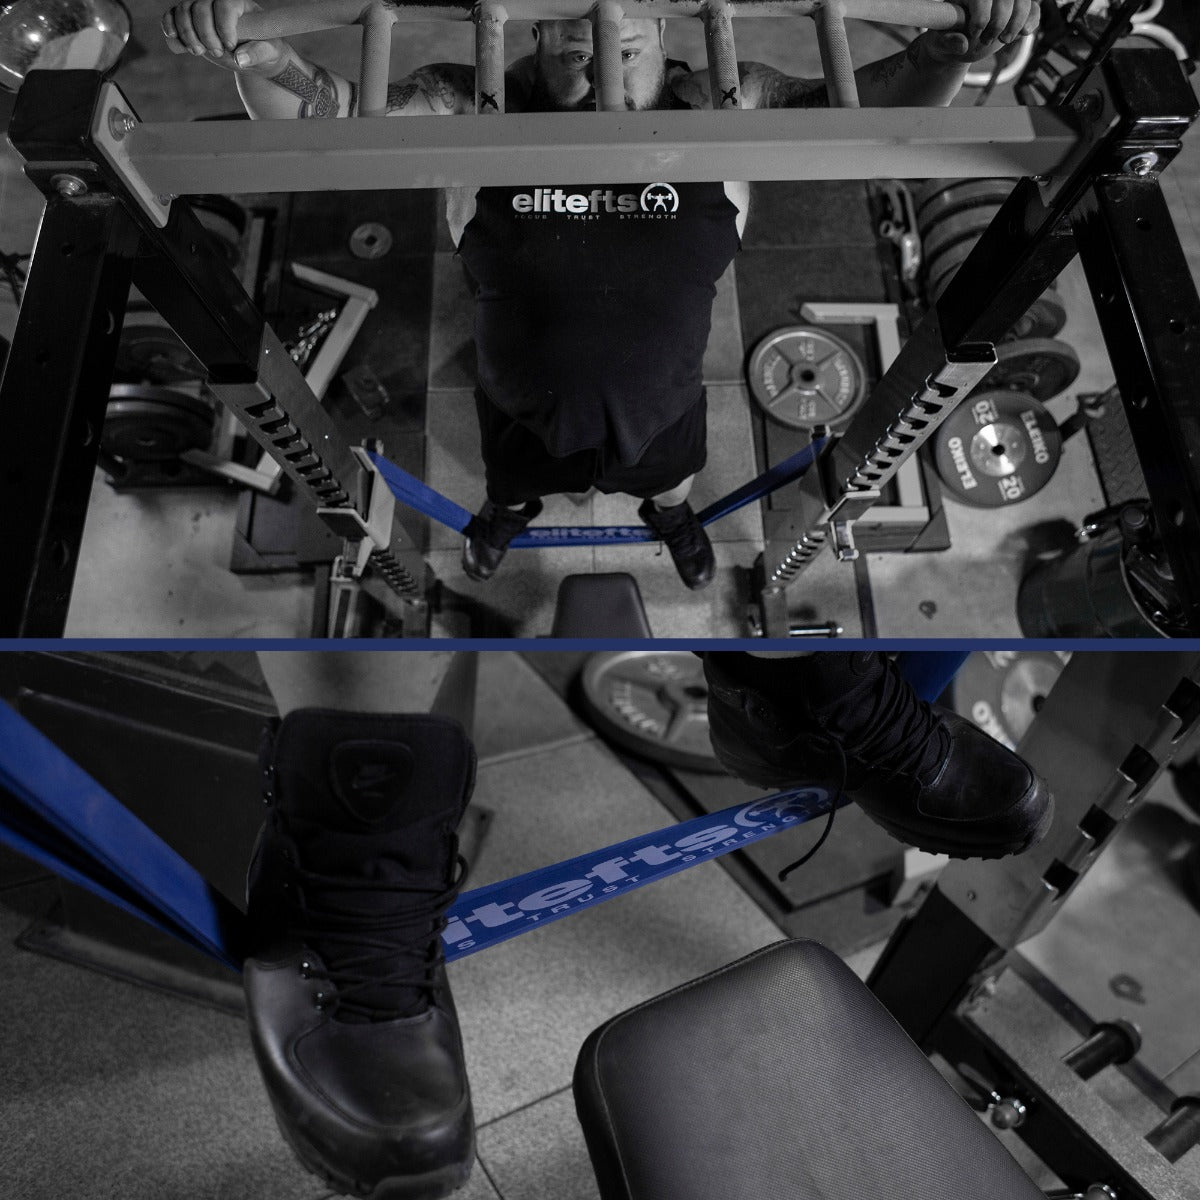
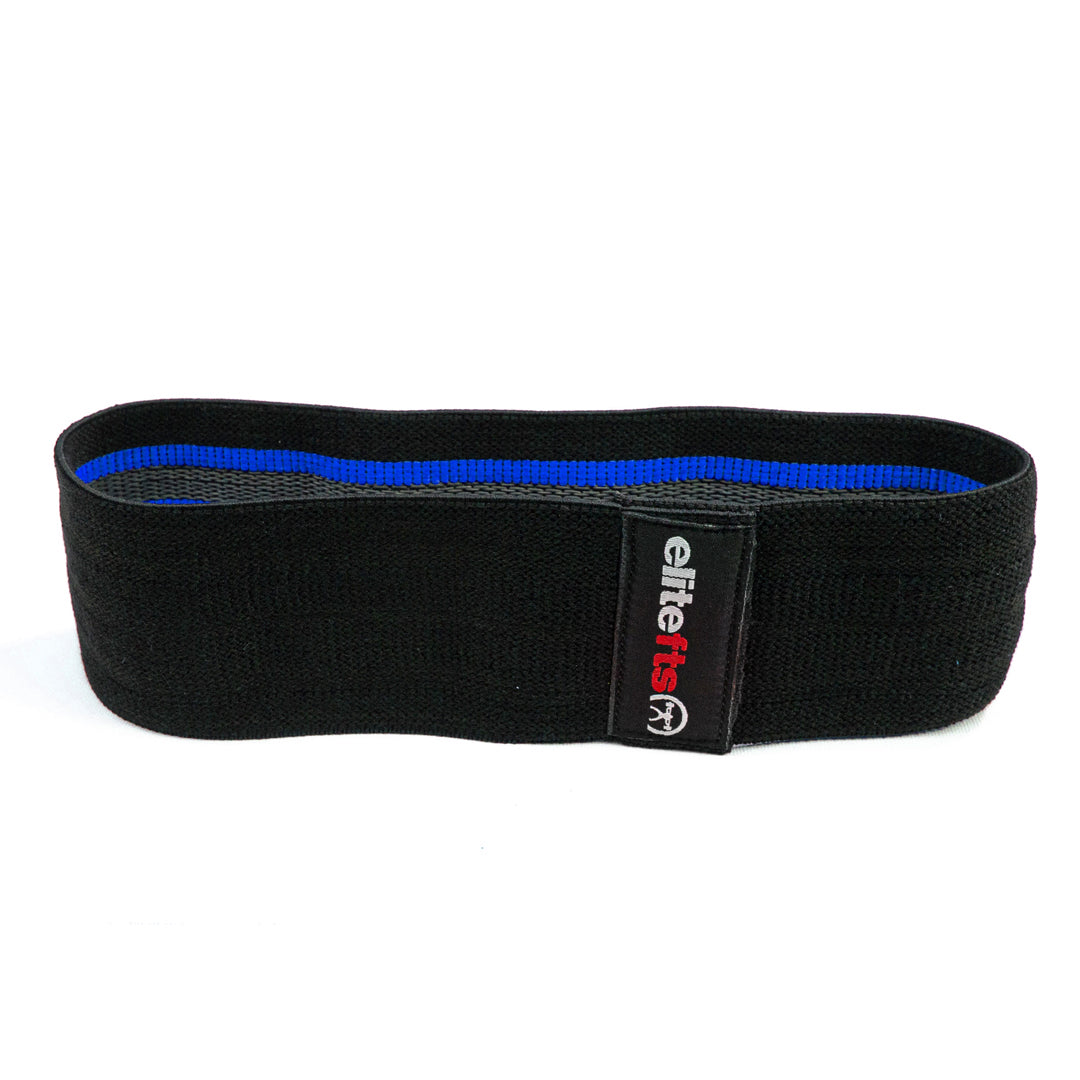
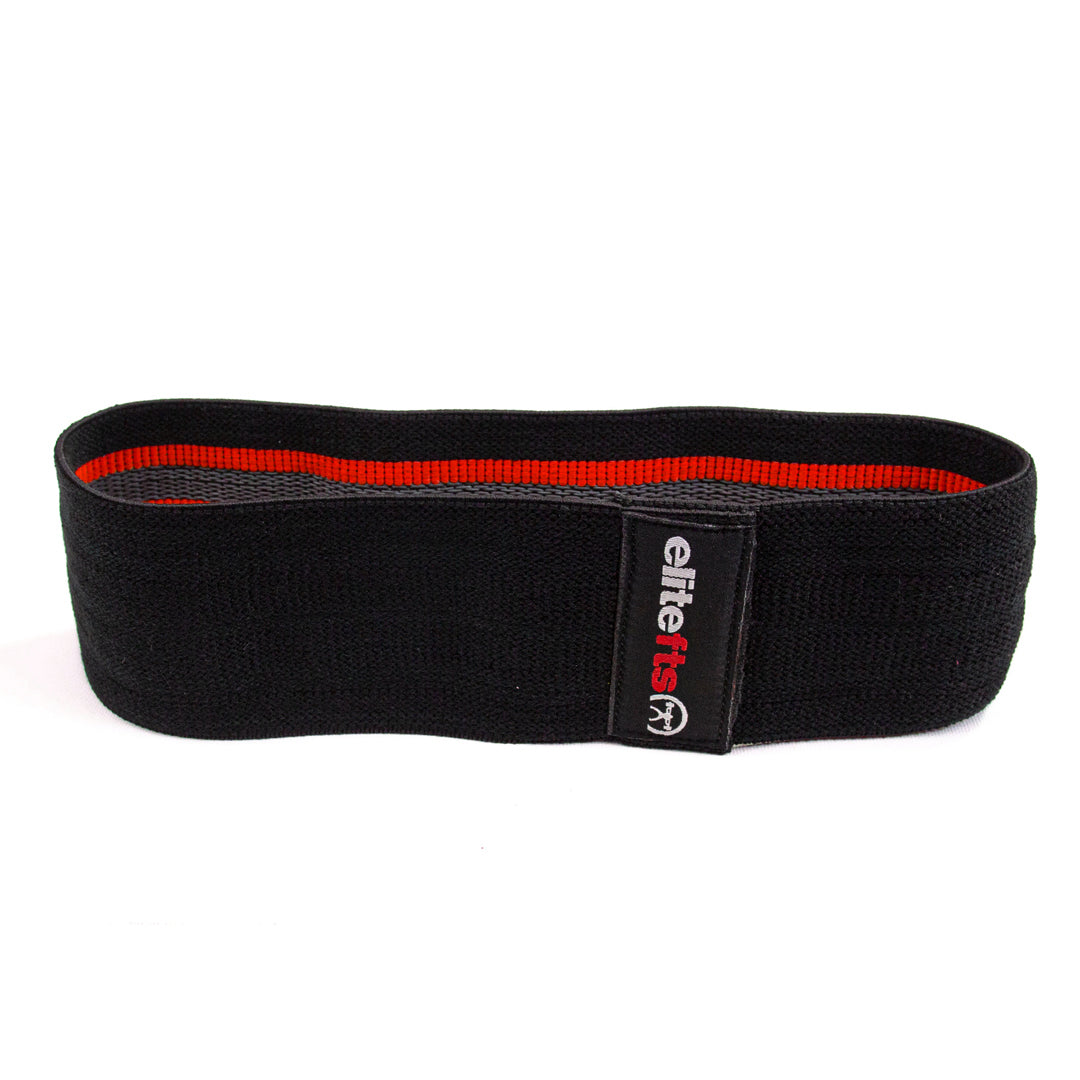
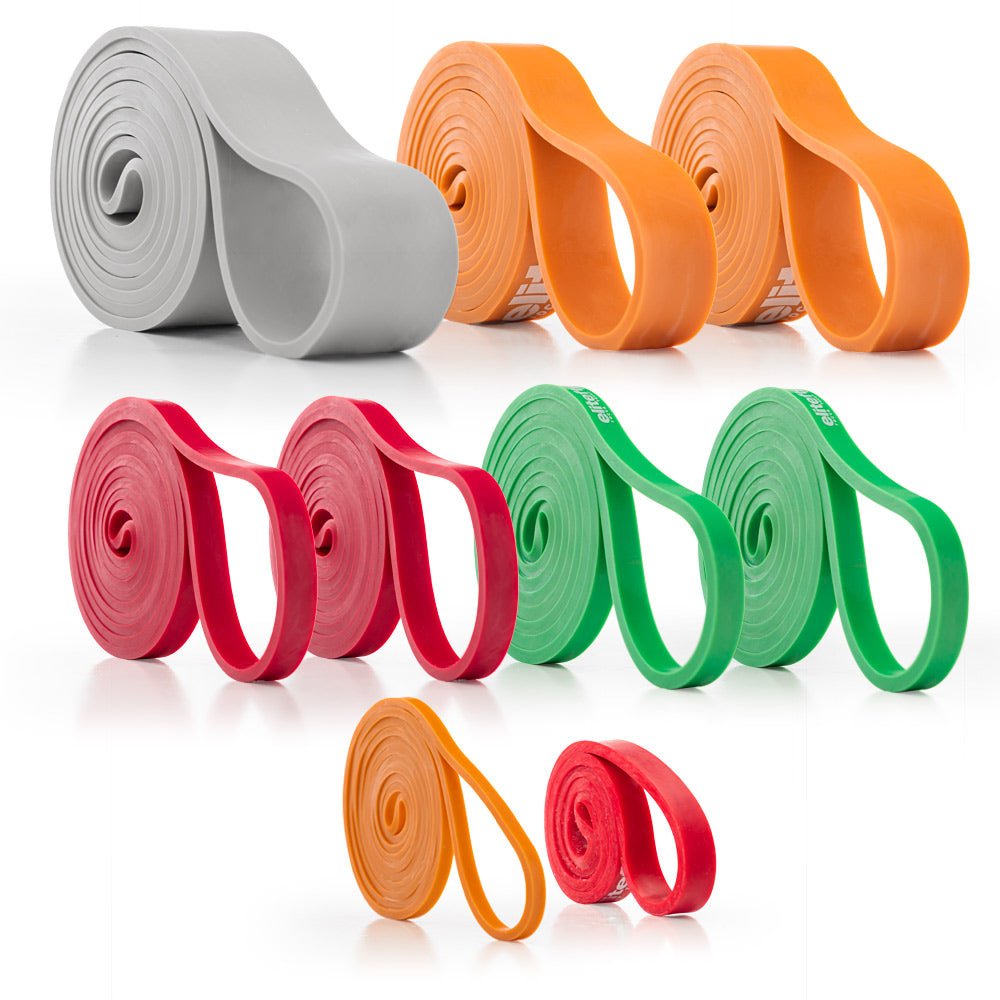
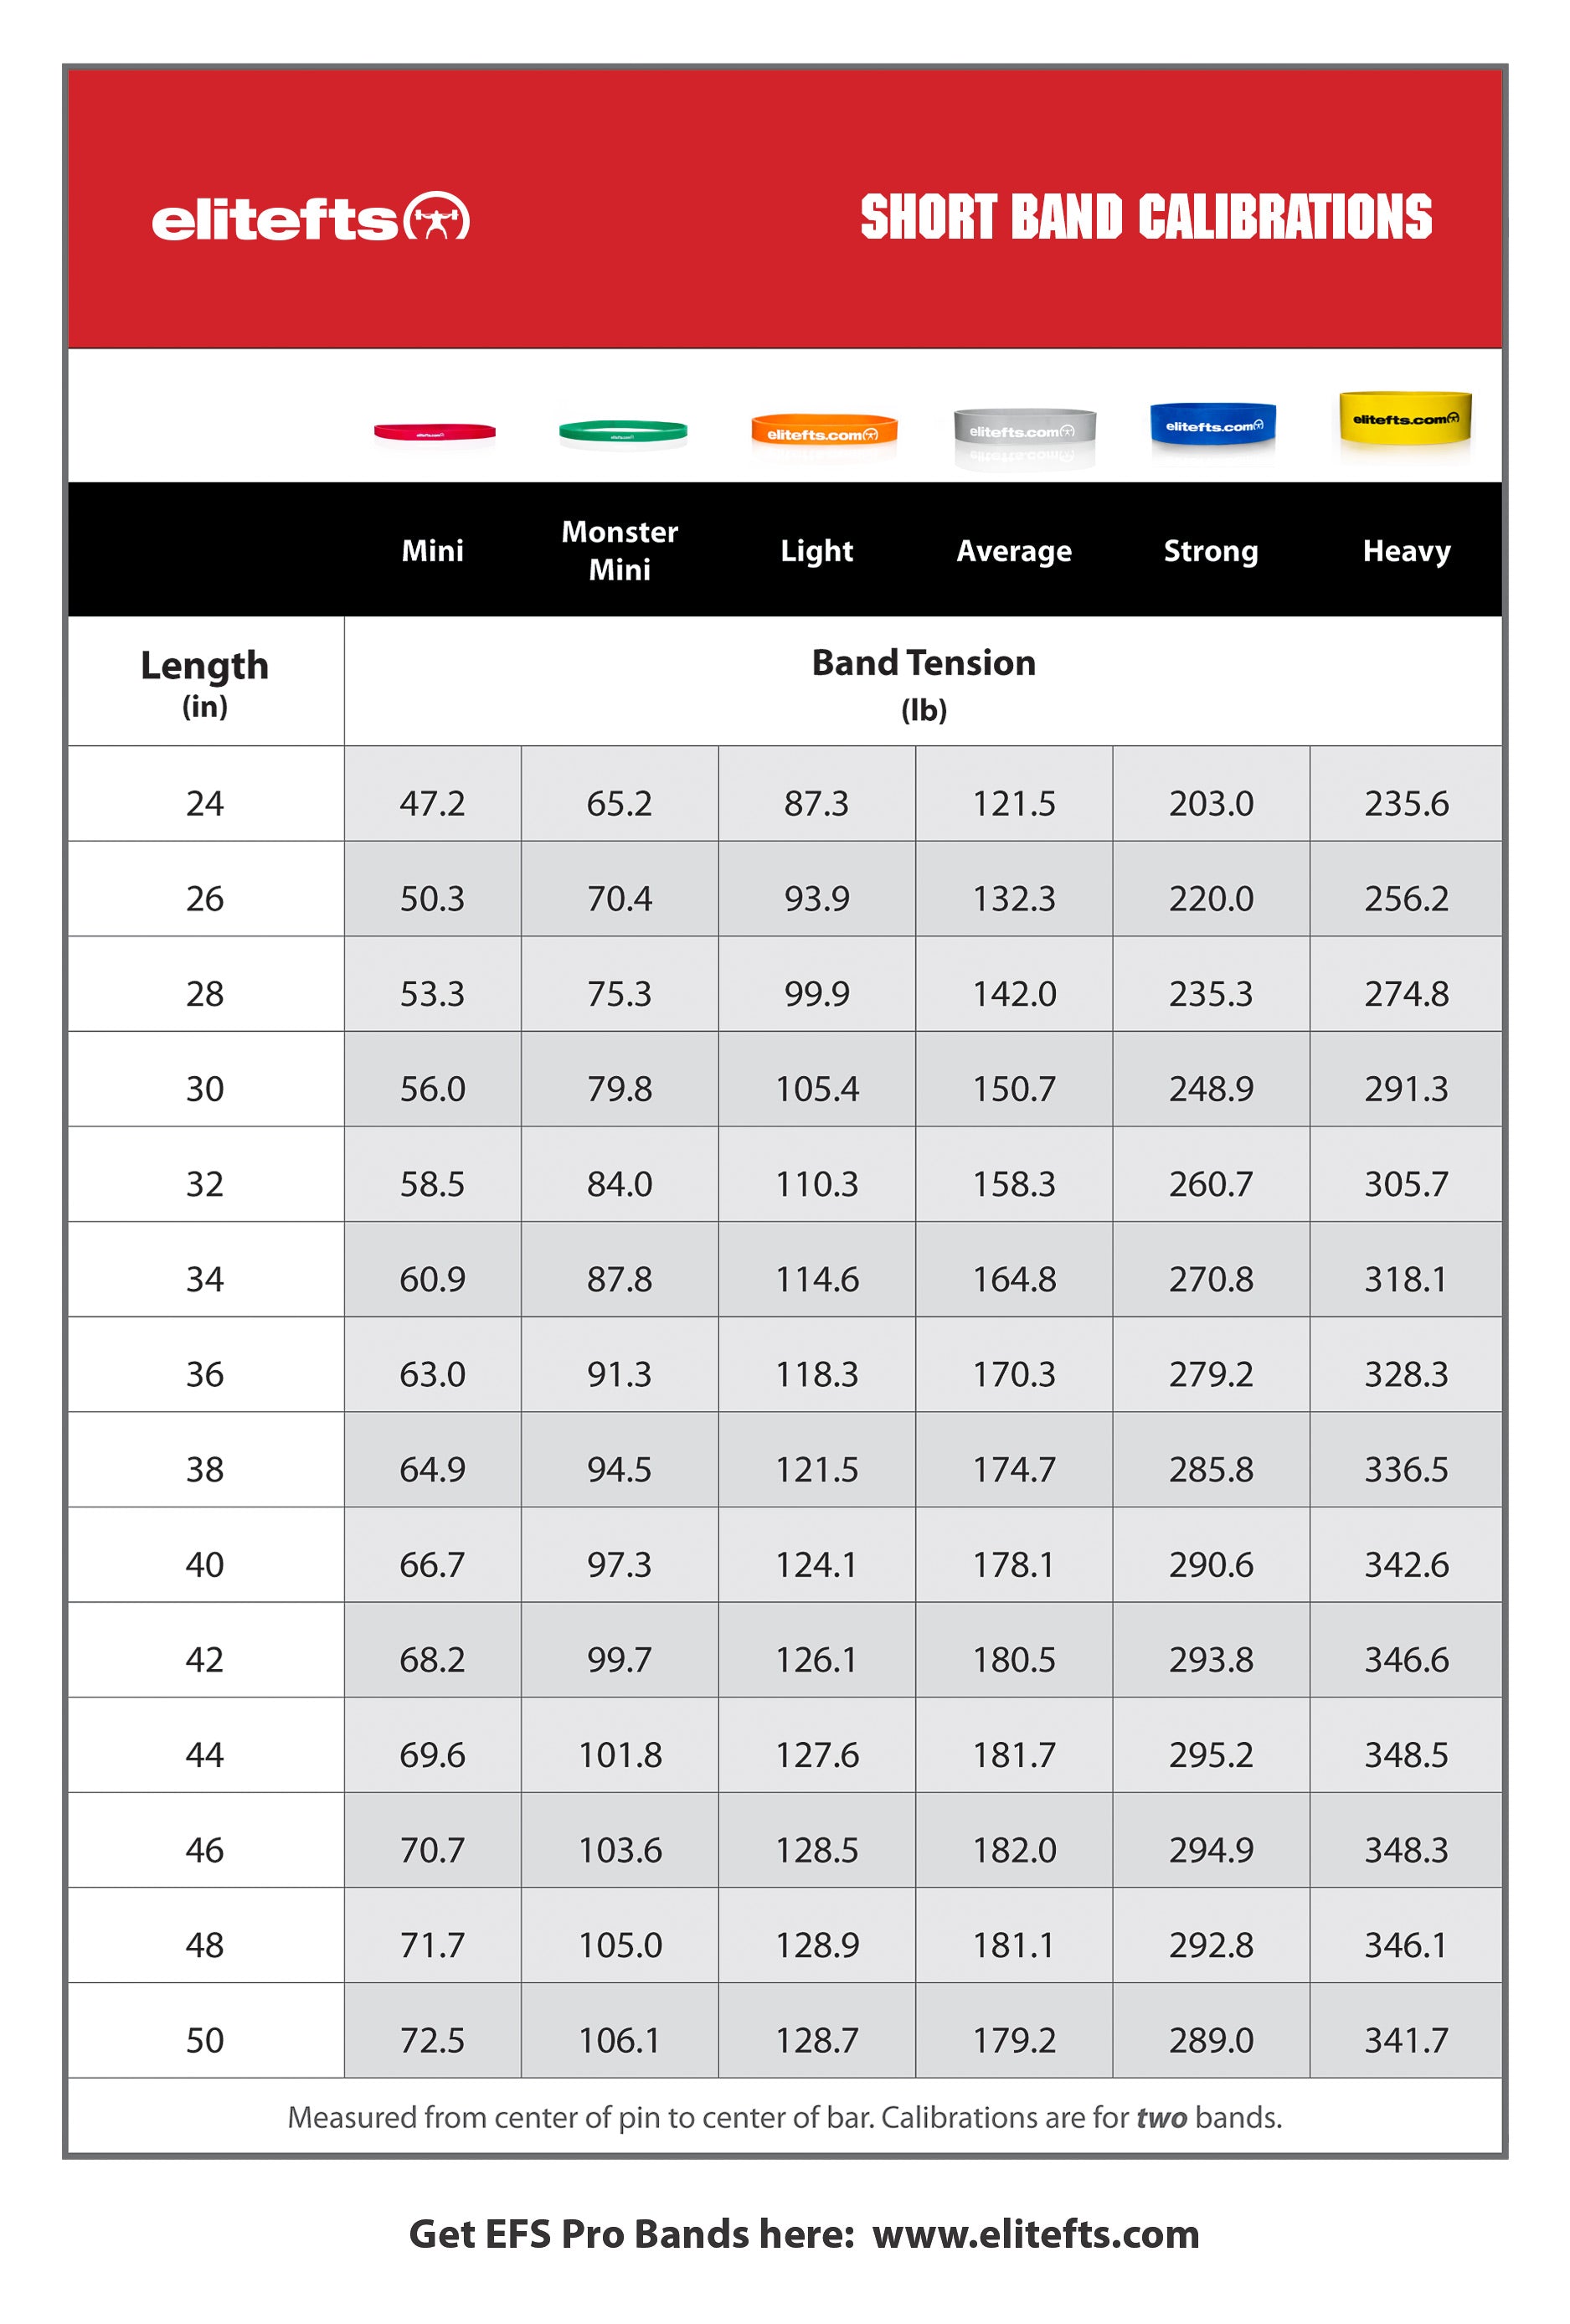
Bands -
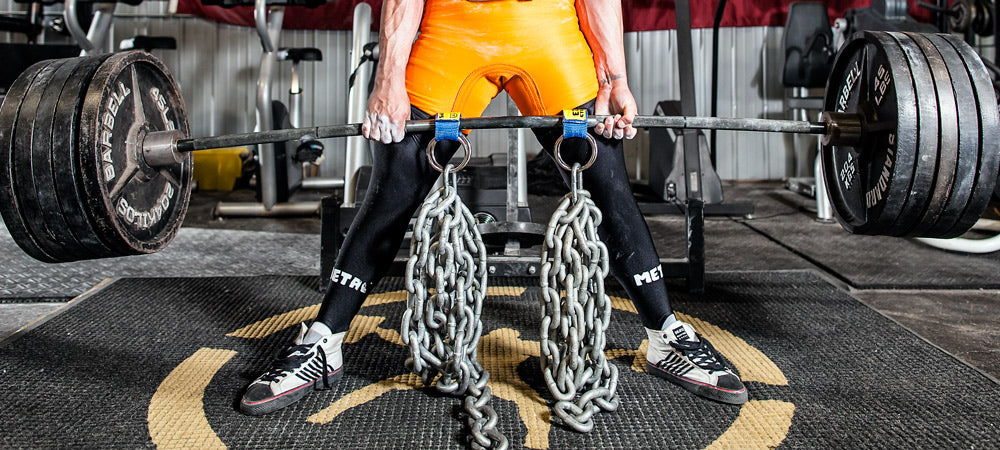
Chains for benching/squatting - Chains for suspended good mornings
-
2, 3, 4, 5 boards for board pressing - A couple of vats of
liniment - Fan
- Space Heater
-
Sled - Stereo
- Various
lat pull handles -
Plyo box that UK threw out that we commandeered for box squatting.

Eventually we added these pieces:
-
Pro Reverse Hyperextension -
Power Bench Rack (2x2) -
Glute Ham Raise -
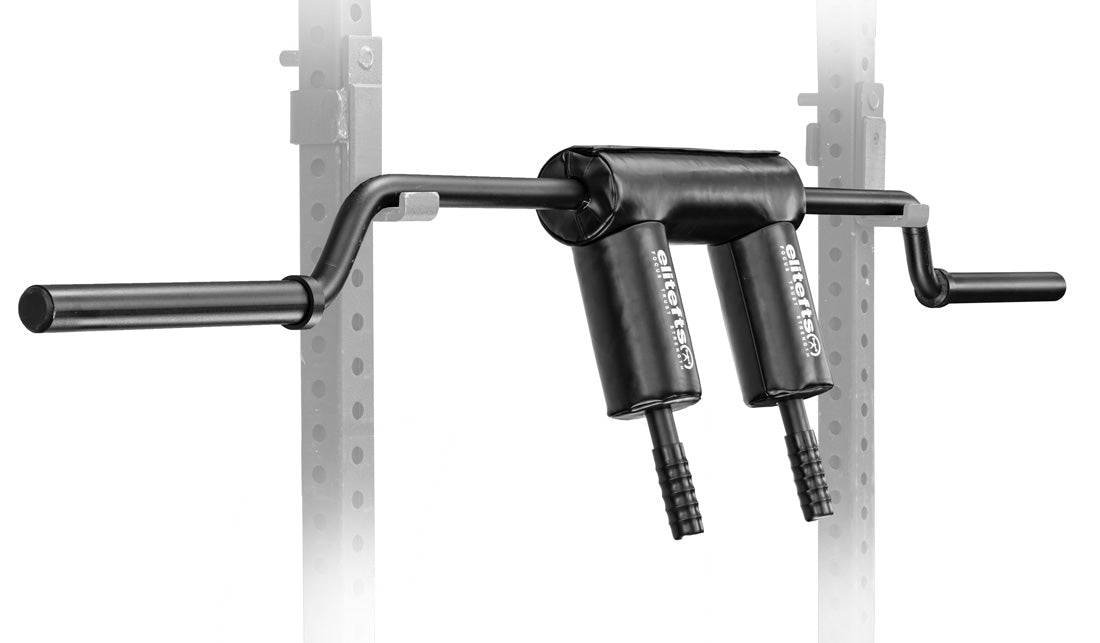
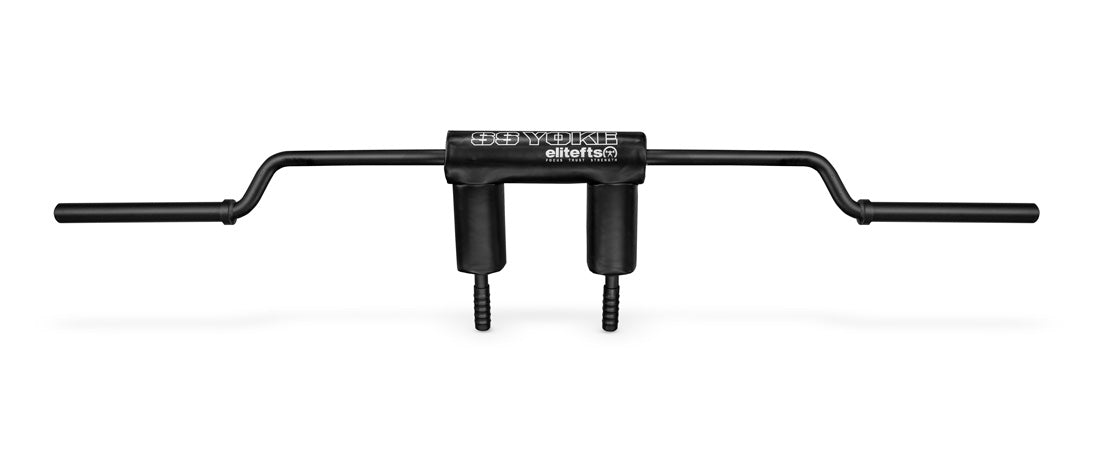
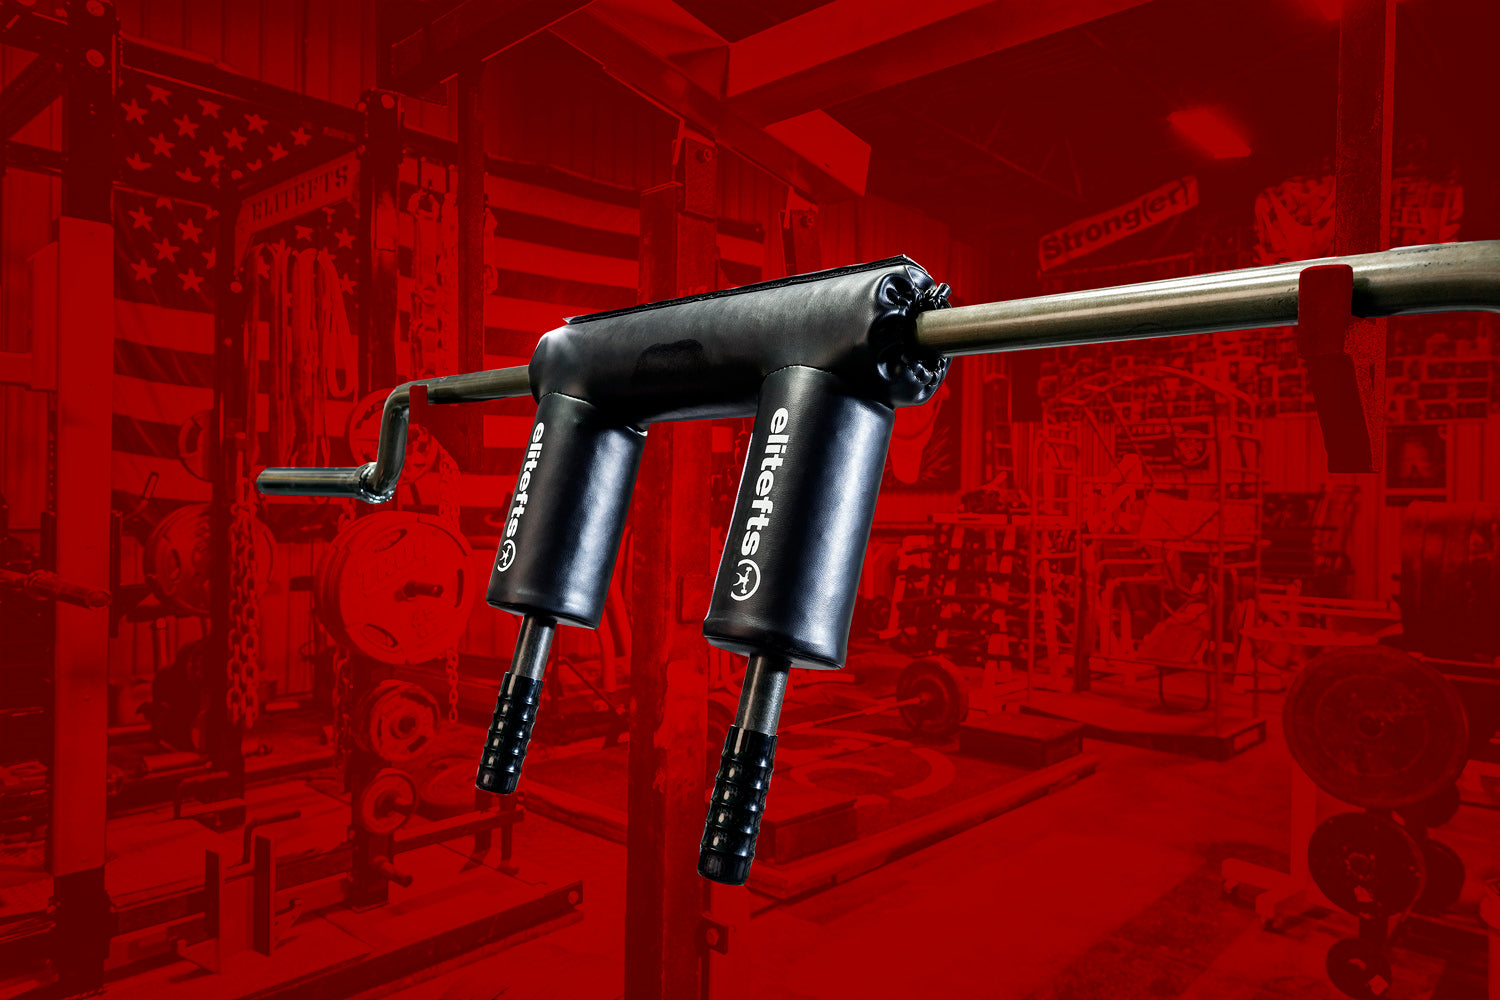
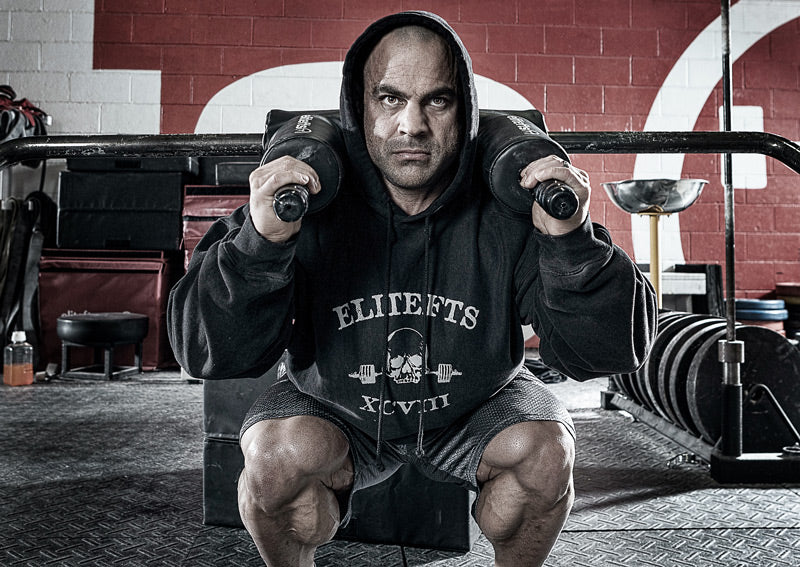
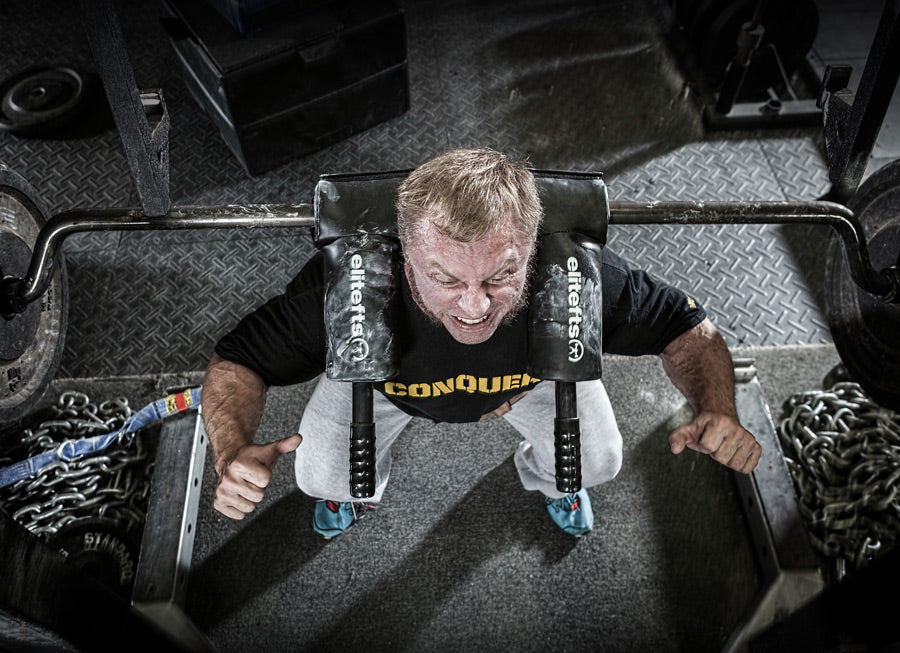
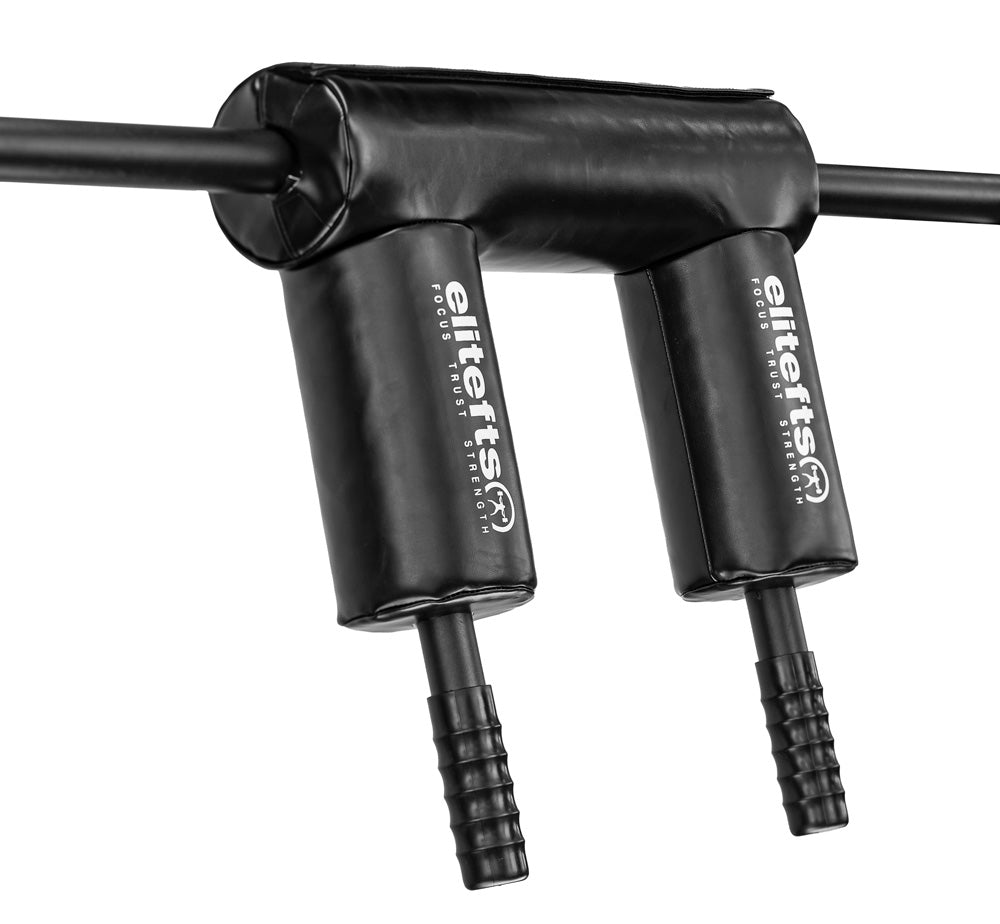
Safety Squat Bar -
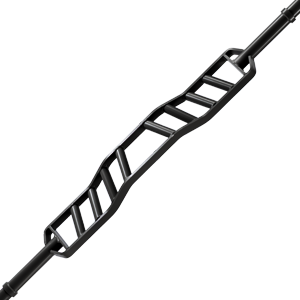
Rackable Cambered Squat Bar -
Jump Stretch Sumo Platform
-
2x2 Power Rack -
Box Squat Box -
2, 3, 4, 5 boards -
Chalk -
Flat Dumbbell Bench -
Texas Power Bar -
A lot of weight

After you have this initial setup, I would look into the following pieces. Having talked to hundreds of people that have set up their own home gyms, these are the more popular items that they get to complete their weight room. Remember that some of these are going to be dependent on space or lack of.
-
Glute Ham Raise - Reverse Hyper
-
Lat Pulldown machine (and some
attachments — usually
the DD handle,
a triceps rope, and a
straight bar) -
45-degree back raise -
Dumbbells or dumbbell handles -
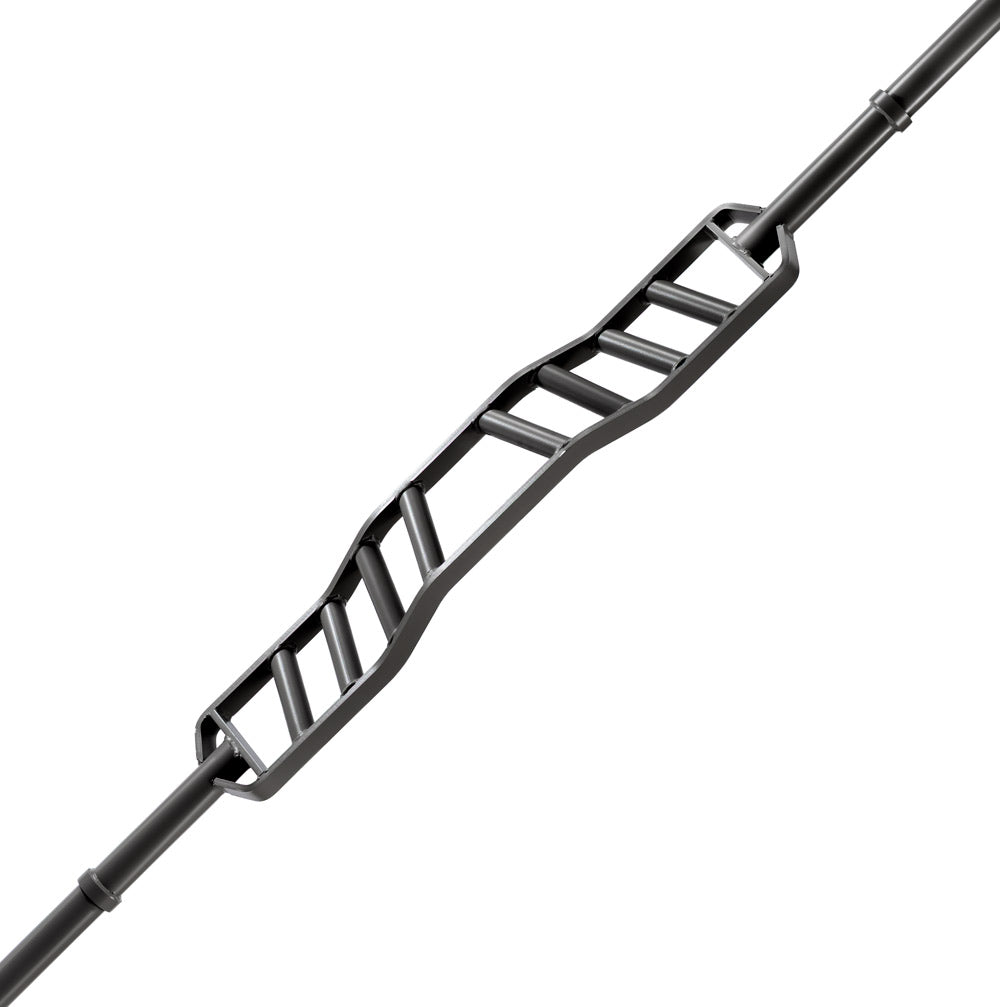
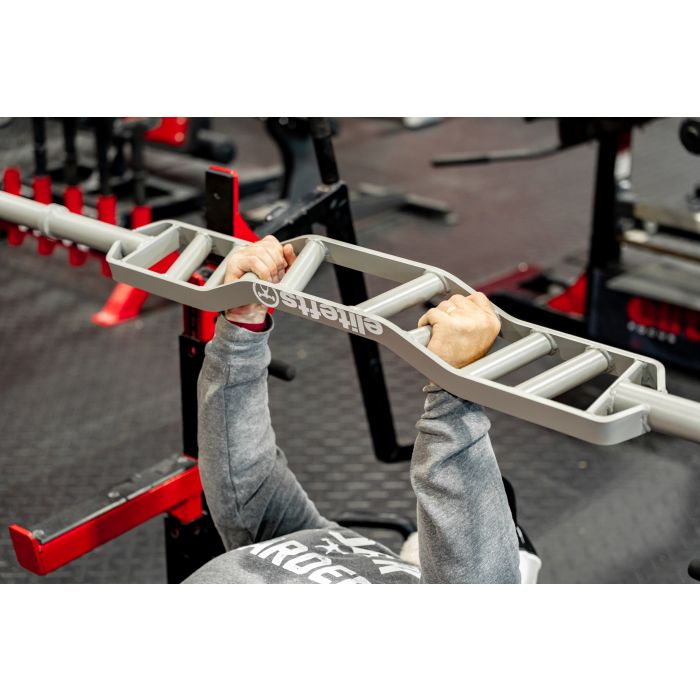
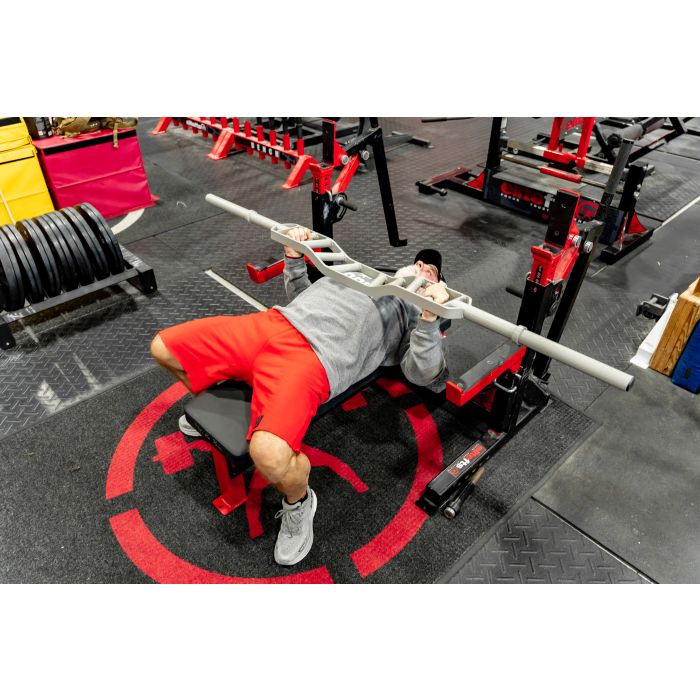
Specialty bars (these include the safety squat bar, rackable cambered squat bar, squat bar, deadlift bar, and cambered bench bar) -
Monolift (this can be done!) -
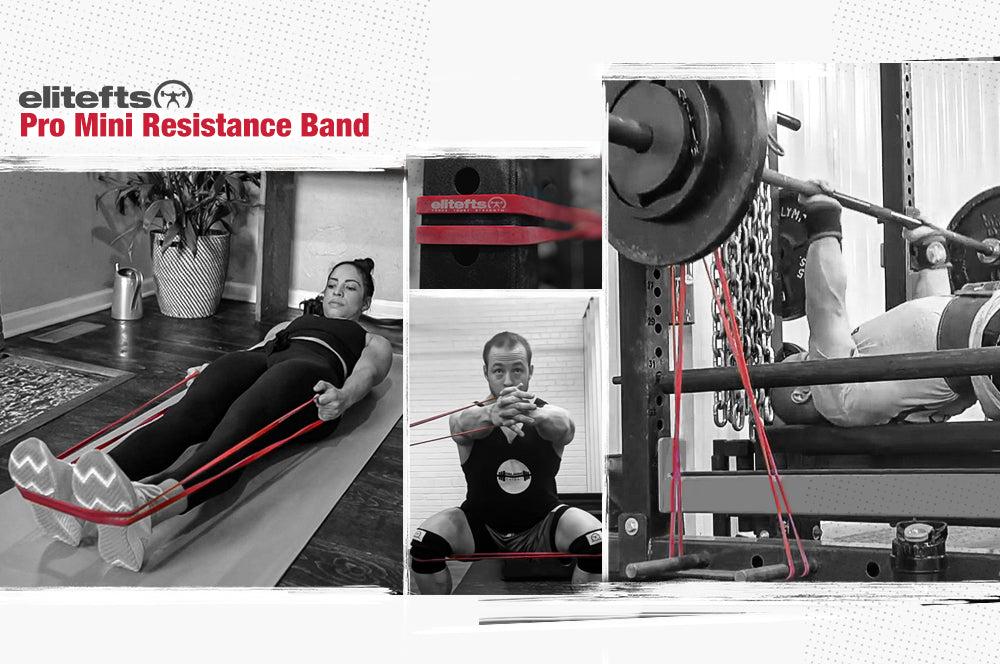
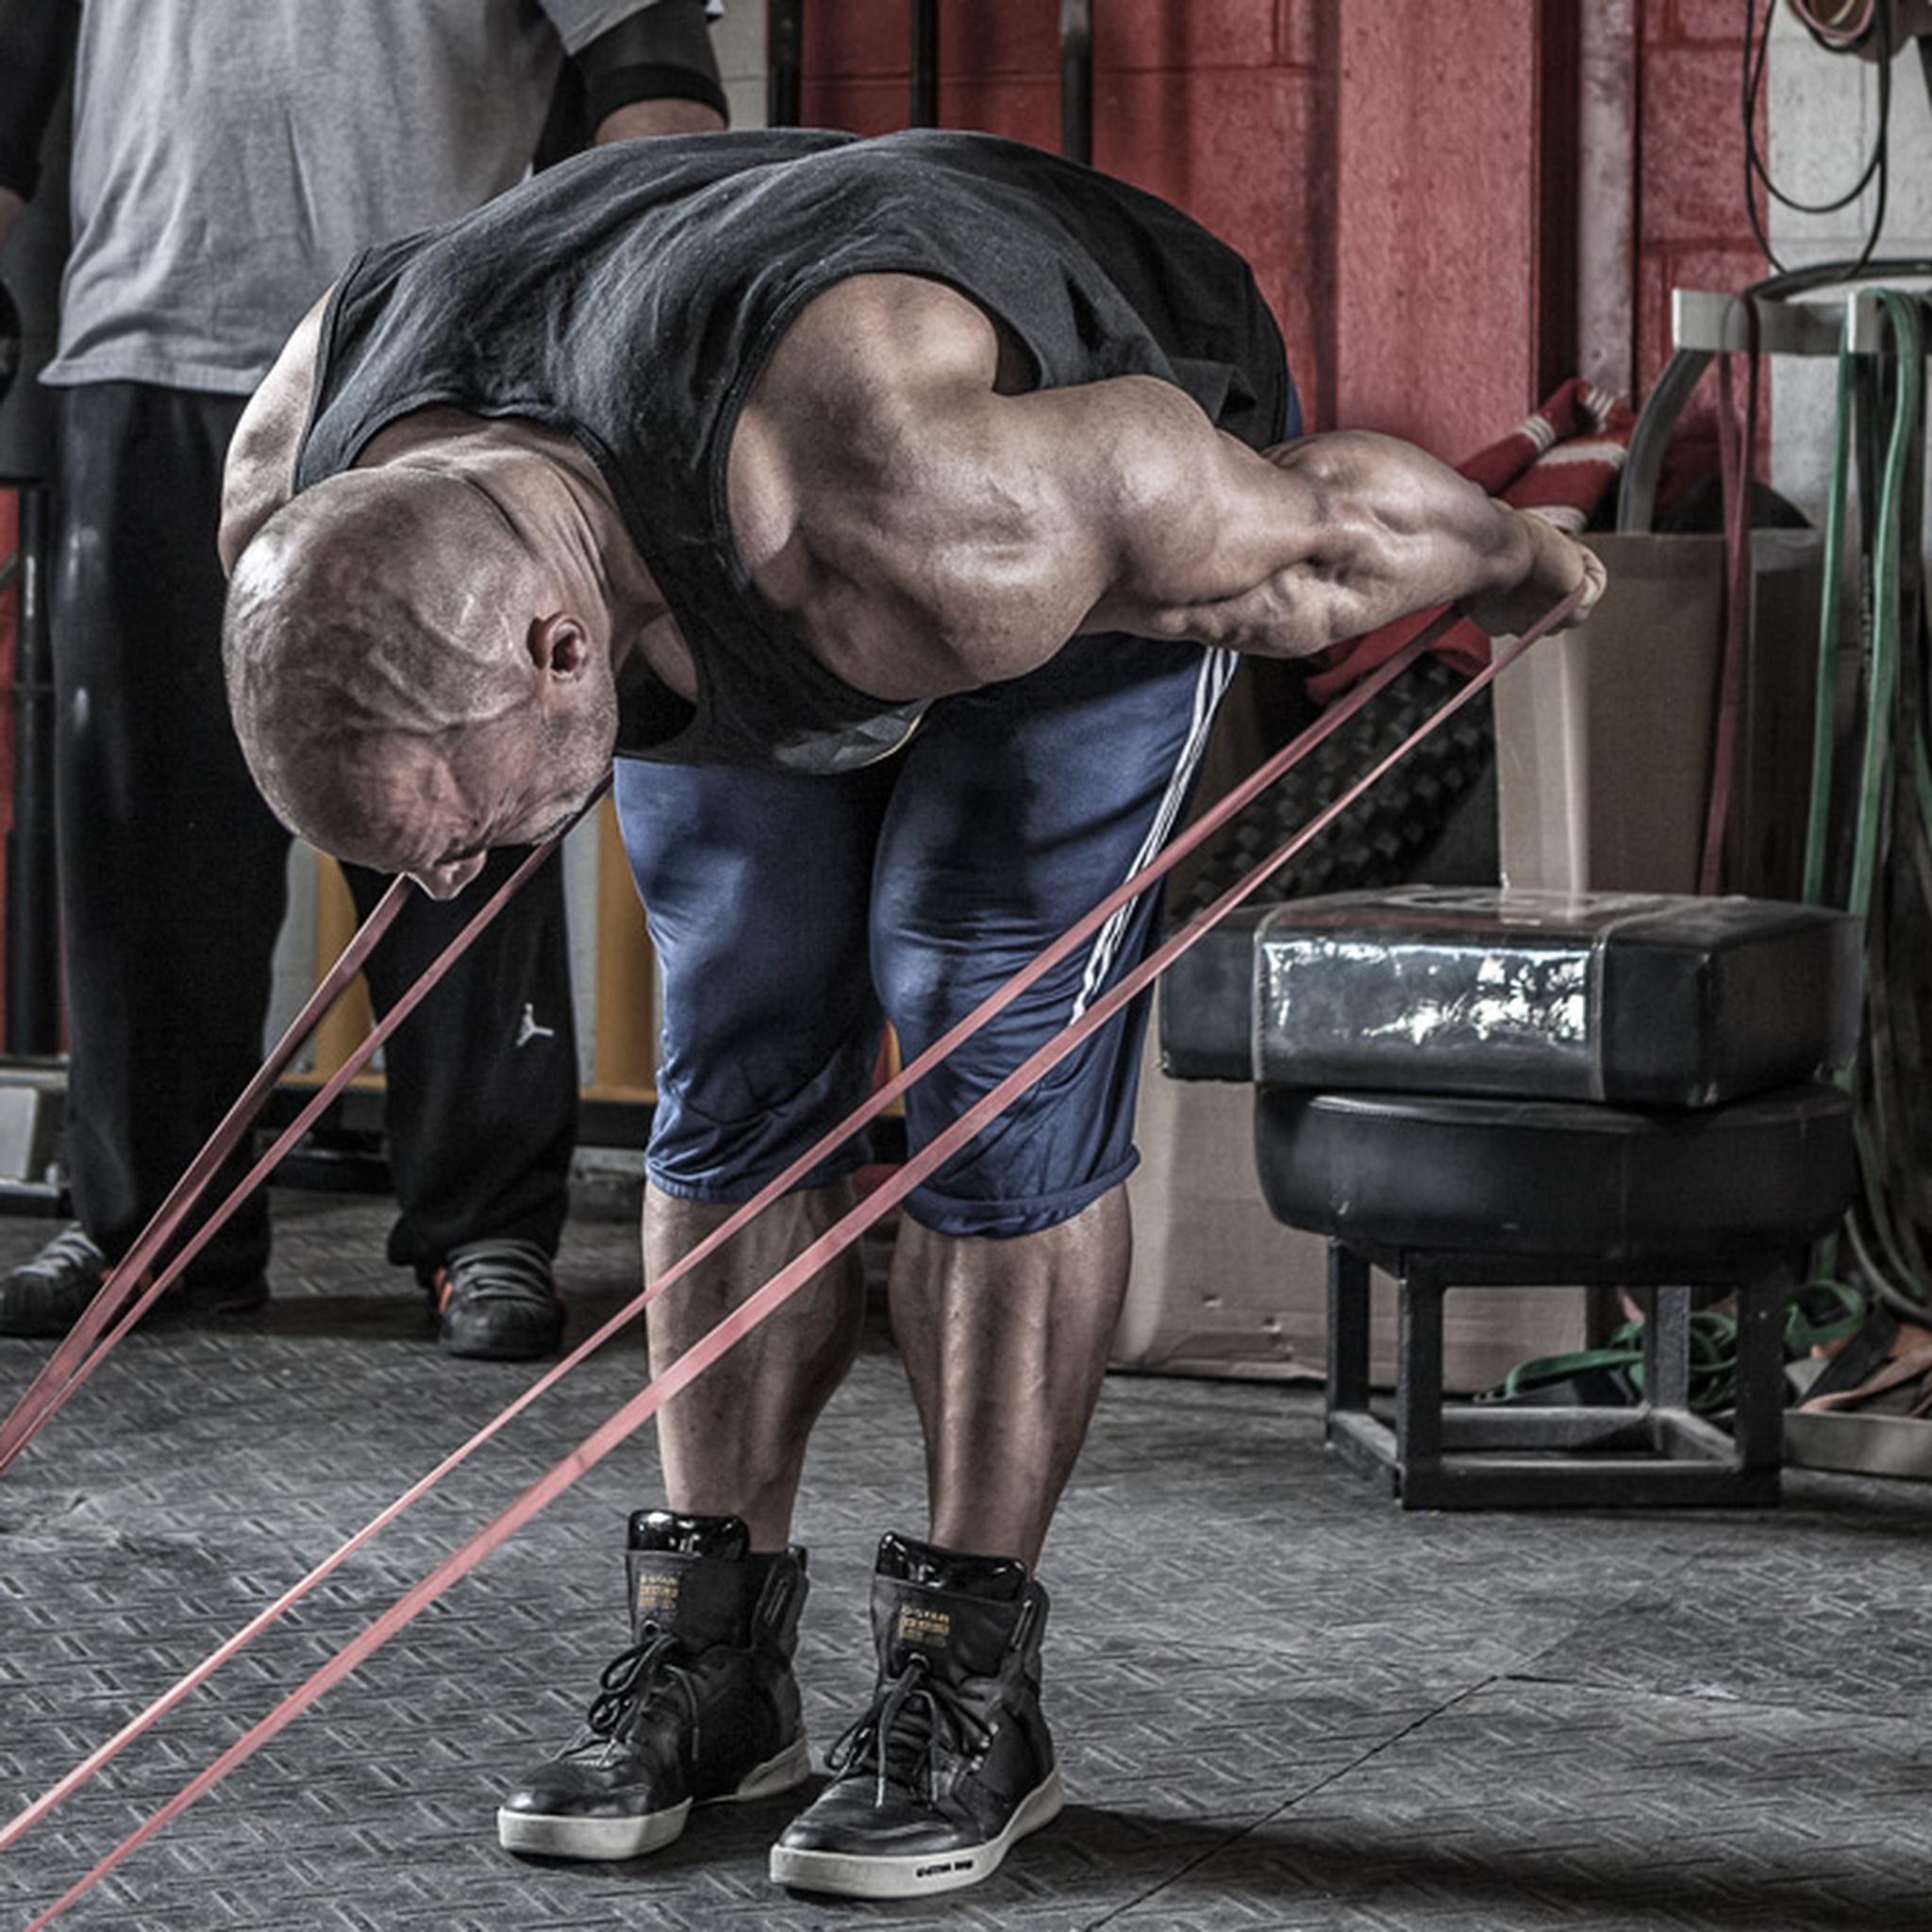
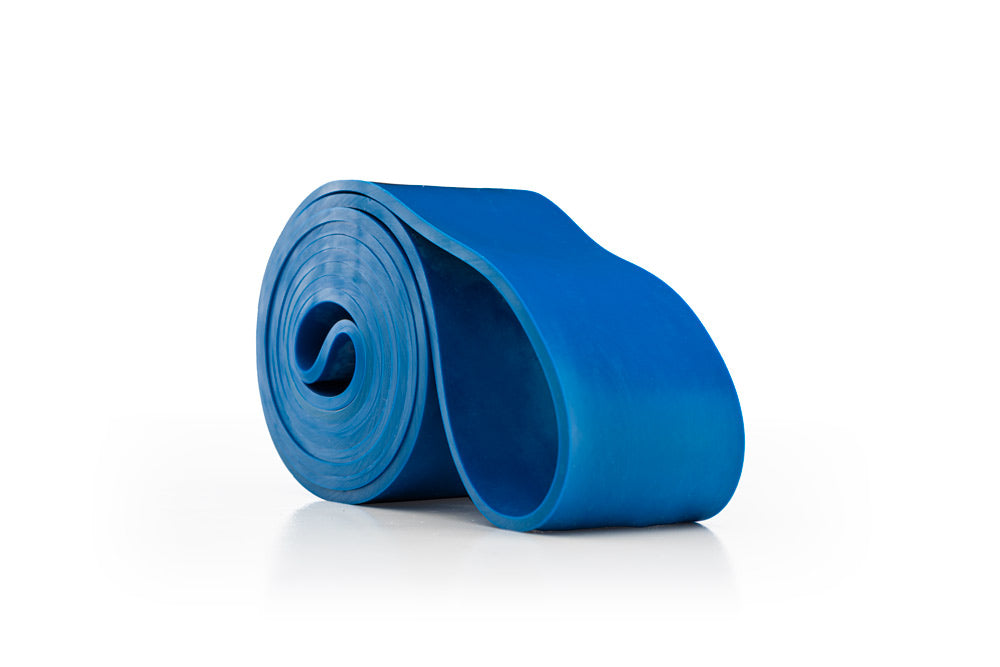
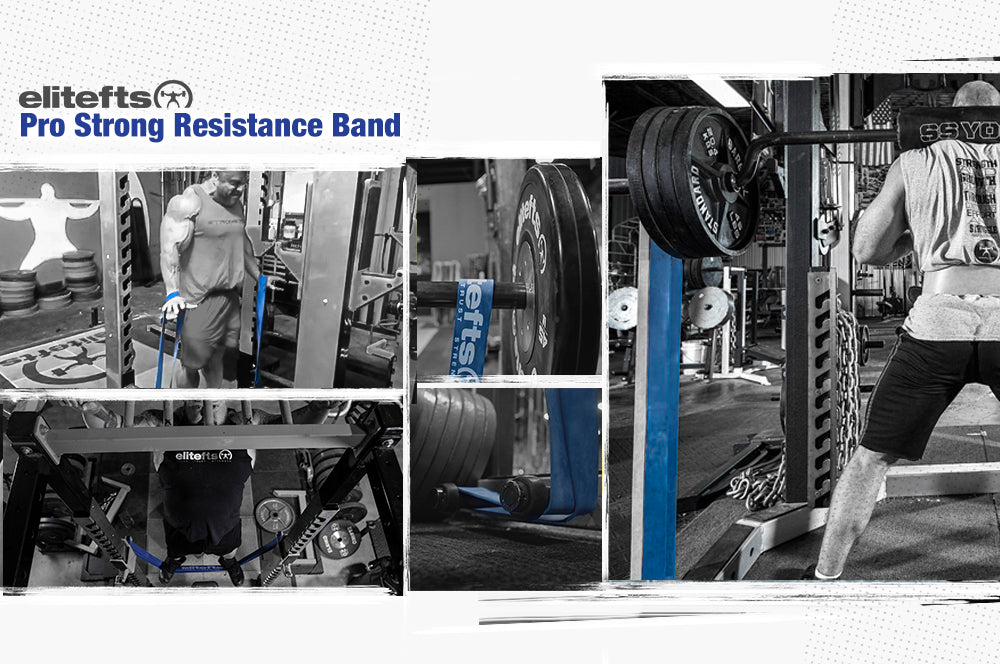
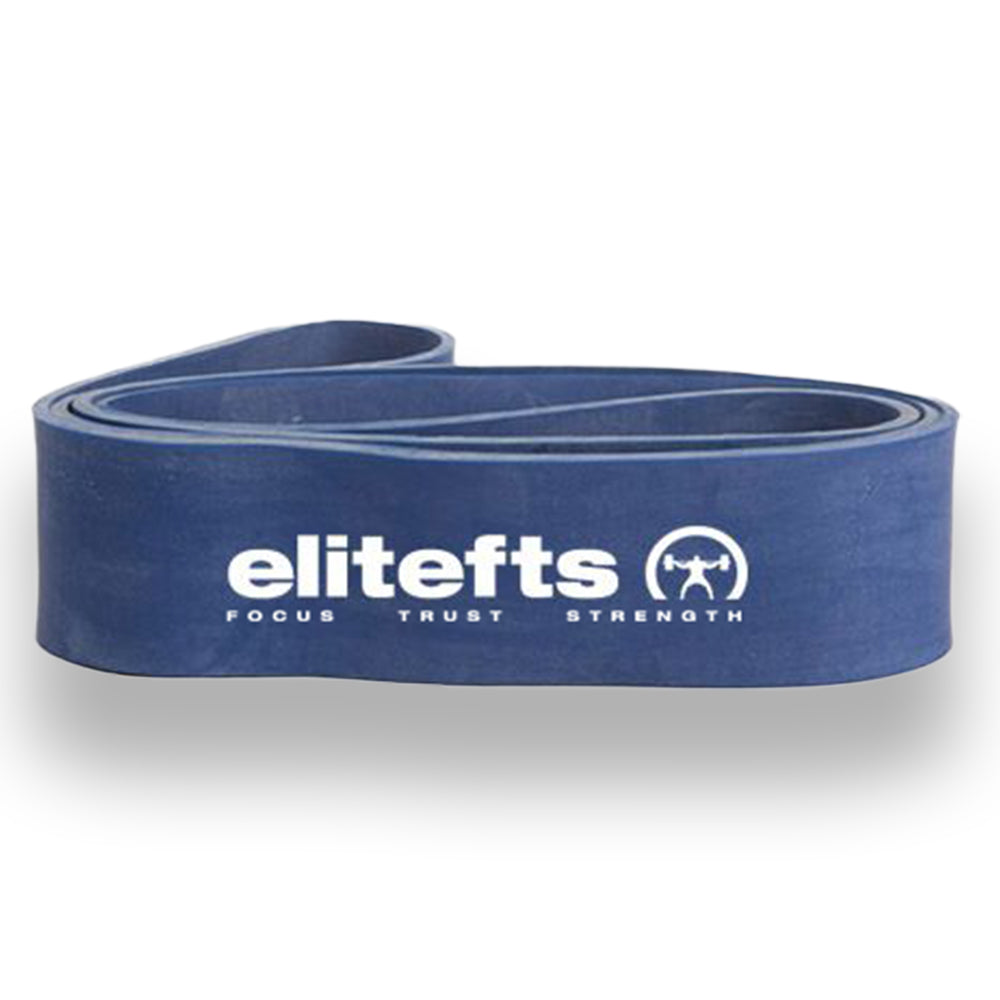
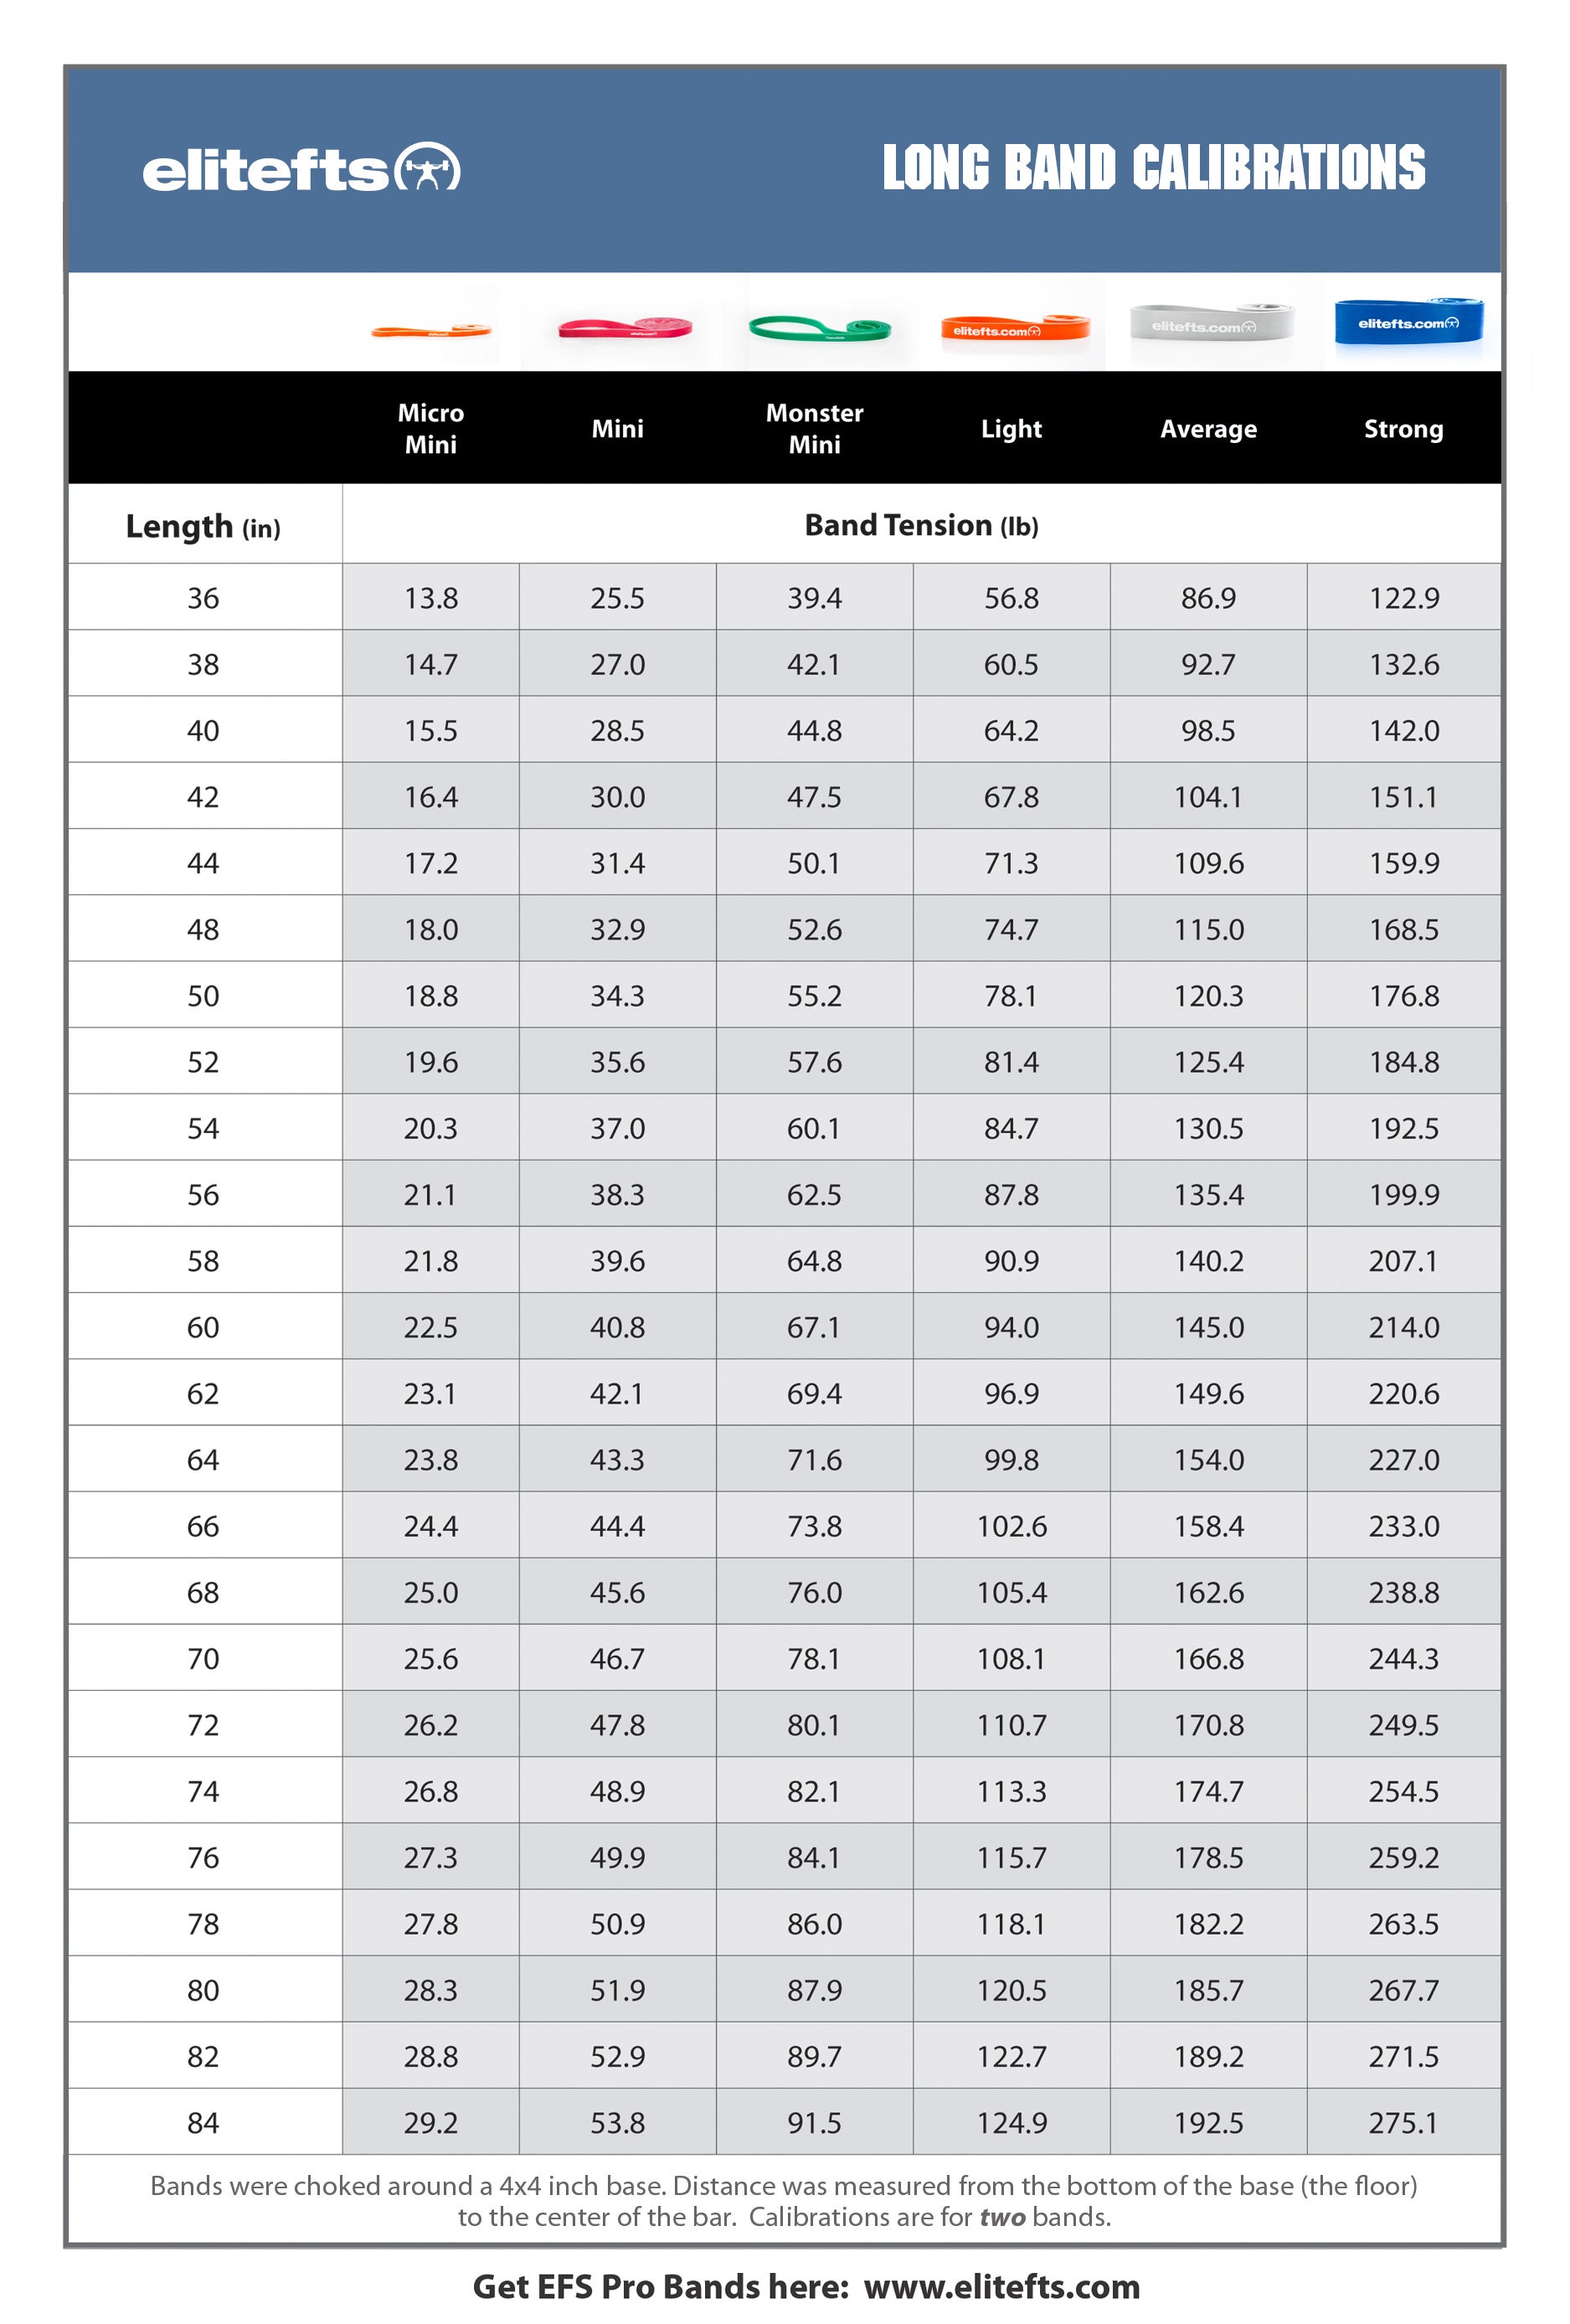
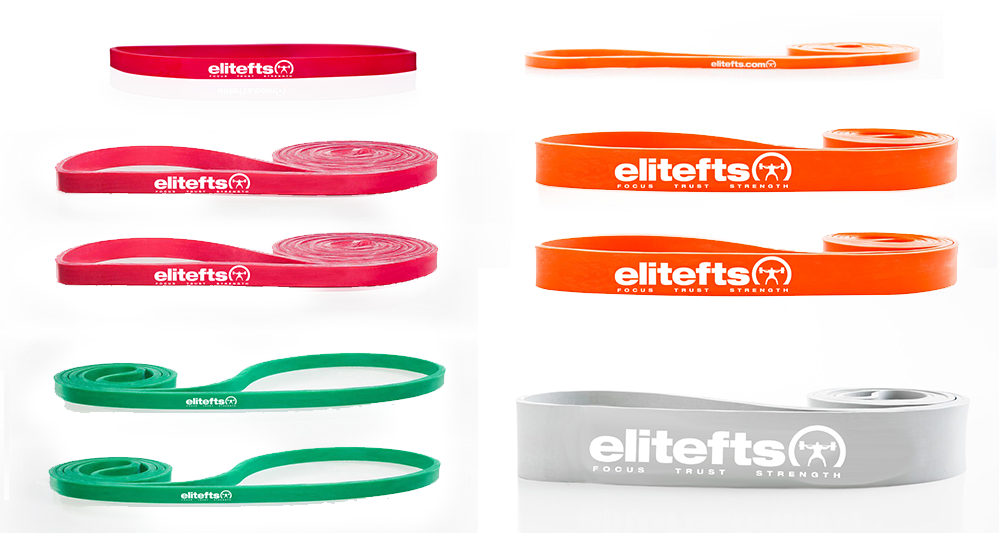
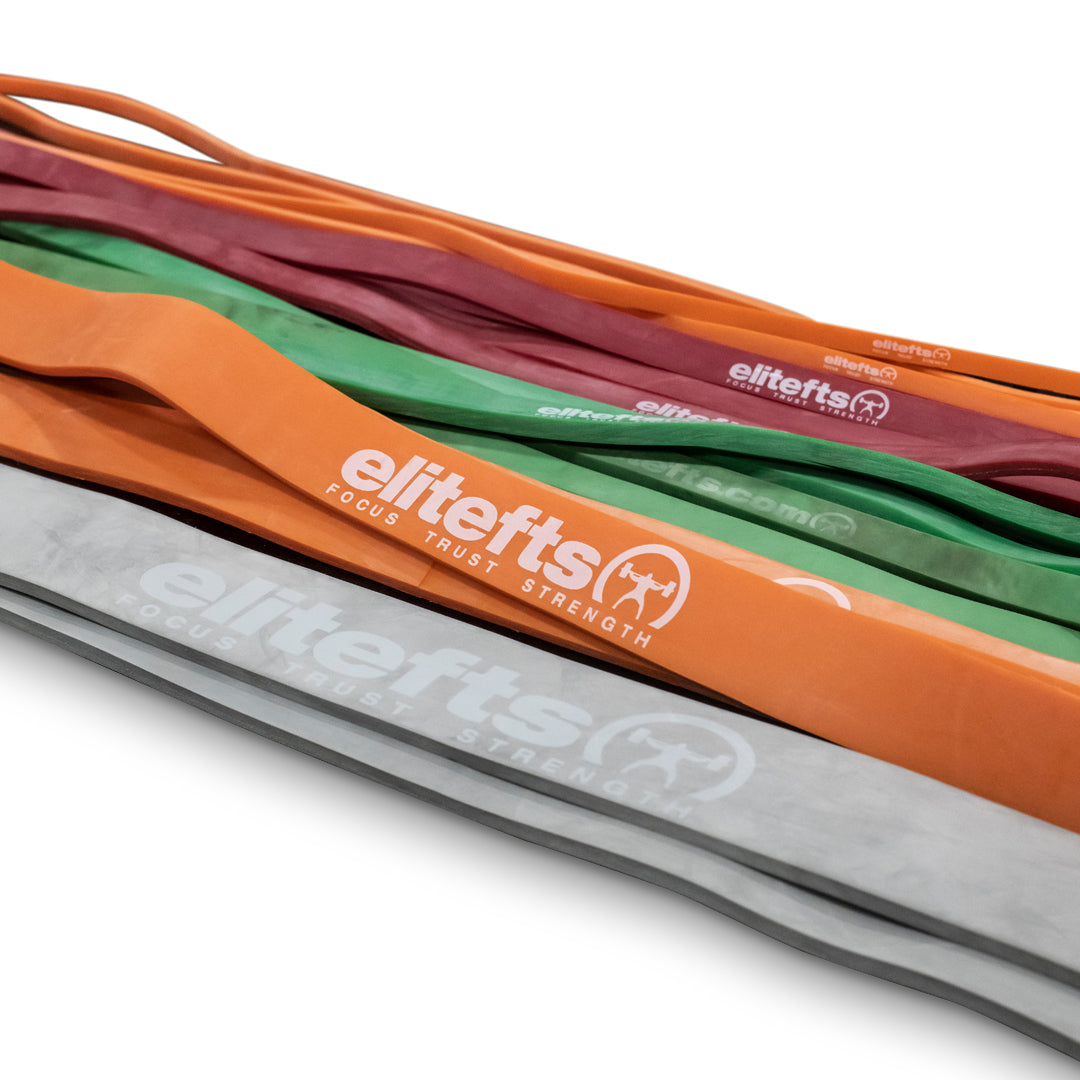
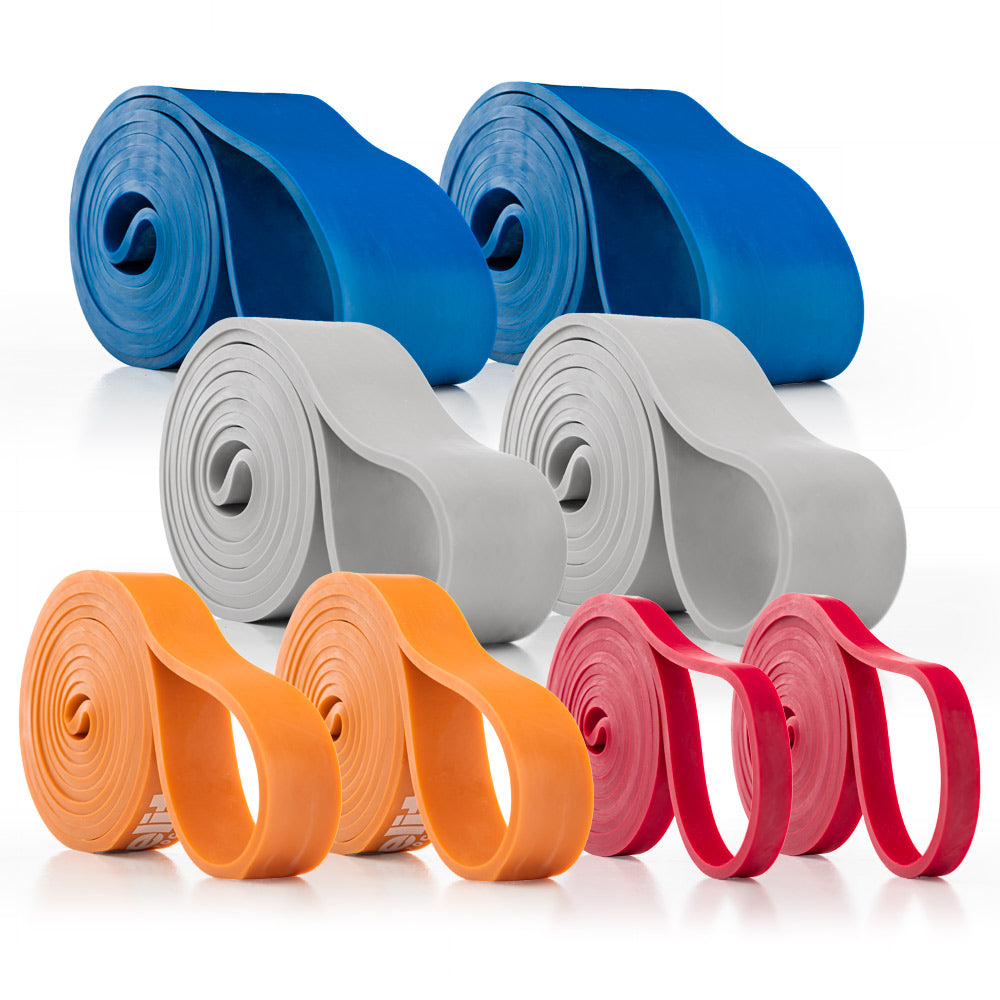
Bands (I recommend getting the band pack as it’s probably your best deal) -
Chains (For most lifters, a complete set of chains and one extra pair of the 5/8” chain will work well)

How did we set all this up and make it work? The first thing that Jason did was lay plywood down, covering the entire garage. He stacked two ¾-inch pieces of plywood on top of each other. To this plywood, we bolted the power rack, the reverse hyperextension, and the power bench rack. Inside the squat rack we stapled thin carpeting. This can be found at any Home Depot and is relatively cheap. We did this to give us traction for squatting and pulling. Carpeting is the best option for squatting as there is almost no chance of your feet slipping. But it must be thin so as not have too much cushion. I think that we had to replace the carpeting after six months of constant use. We also carpeted the area in front of the power bench rack so our feet wouldn’t slip on the plywood. We also had an area in front of the squat rack with carpeting for doing pulls. A word of warning: be sure you have a good layout in your gym BEFORE you bolt anything down. You might look into some feng shui for some tips on setting your weight room up. Important points:
- Lay down plywood and screw your equipment down.
- Use carpeting where you are going to place your feet.
Handling the Weather
Living in Kentucky isn’t too bad in the summer or the winter, but it’s not Hawaii. For the summertime, you must open up the garage door and you must have a fan. Between sets, I recommend going outside for some extra air; it’s always cooler out there. You must have a lot of water and Gatorade. A few towels to wipe off the sweat from the bench aren’t a bad idea either. As bad as the warm weather is, nothing can compare to the winter time. The first thing we did was insulate the garage door. This helped quite a bit. A space heater was also gold. It may take awhile to heat up, but its well worth it. Make sure you dress appropriately and actually do a warm-up. Important points:- Get a space heater.
- Get a fan.

The Training
So how the hell did we train in here? We could never handle more than four people training at once. We’ve had more than that and it became a nightmare. Because we all did the basic four-day WSB split, there wasn’t a lot of guessing on what we would do on each day. At the time, none of us had families. This made our scheduling worked out fairly well.Bench Press
The biggest challenge that we had to face when training the bench press was not max effort or dynamic work; it was the assistance work afterward. Because we had limited space and equipment, our assistance work centered on a few key movements.Shoulders
Standing Military Press: This was easy to set up and easy to move through quickly. This was probably the main movements for shoulders. Incline Press: All we had was a flat dumbbell bench so we had to raise the end of the bench (using boxes and cinder blocks) to make an incline bench. This wasn’t that big of a deal once we learned the correct combination. Because of space, if someone wanted to do these you could not do military presses or dumbbell bench presses. Dumbbell Bench Press/Incline Press: We did have Olympic dumbbell handles but when training in a group of four guys, this can be a huge pain in the ass to change the weights. If one of us were going to use the dumbbell handles, only one other guy usually trained with him. As a side note, when using Olympic dumbbell handles for bench pressing or incline pressing do NOT use spring collars. These will kill your legs when you set the dumbbells on them. I highly recommend using some kind of flat, simple collar that doesn’t stick out too far. Also, make sure that it’s very strong and tight. The last thing you want is the plates falling off and tearing your shoulder or smacking your head. This was not a big part of our shoulder training arsenal.
Triceps
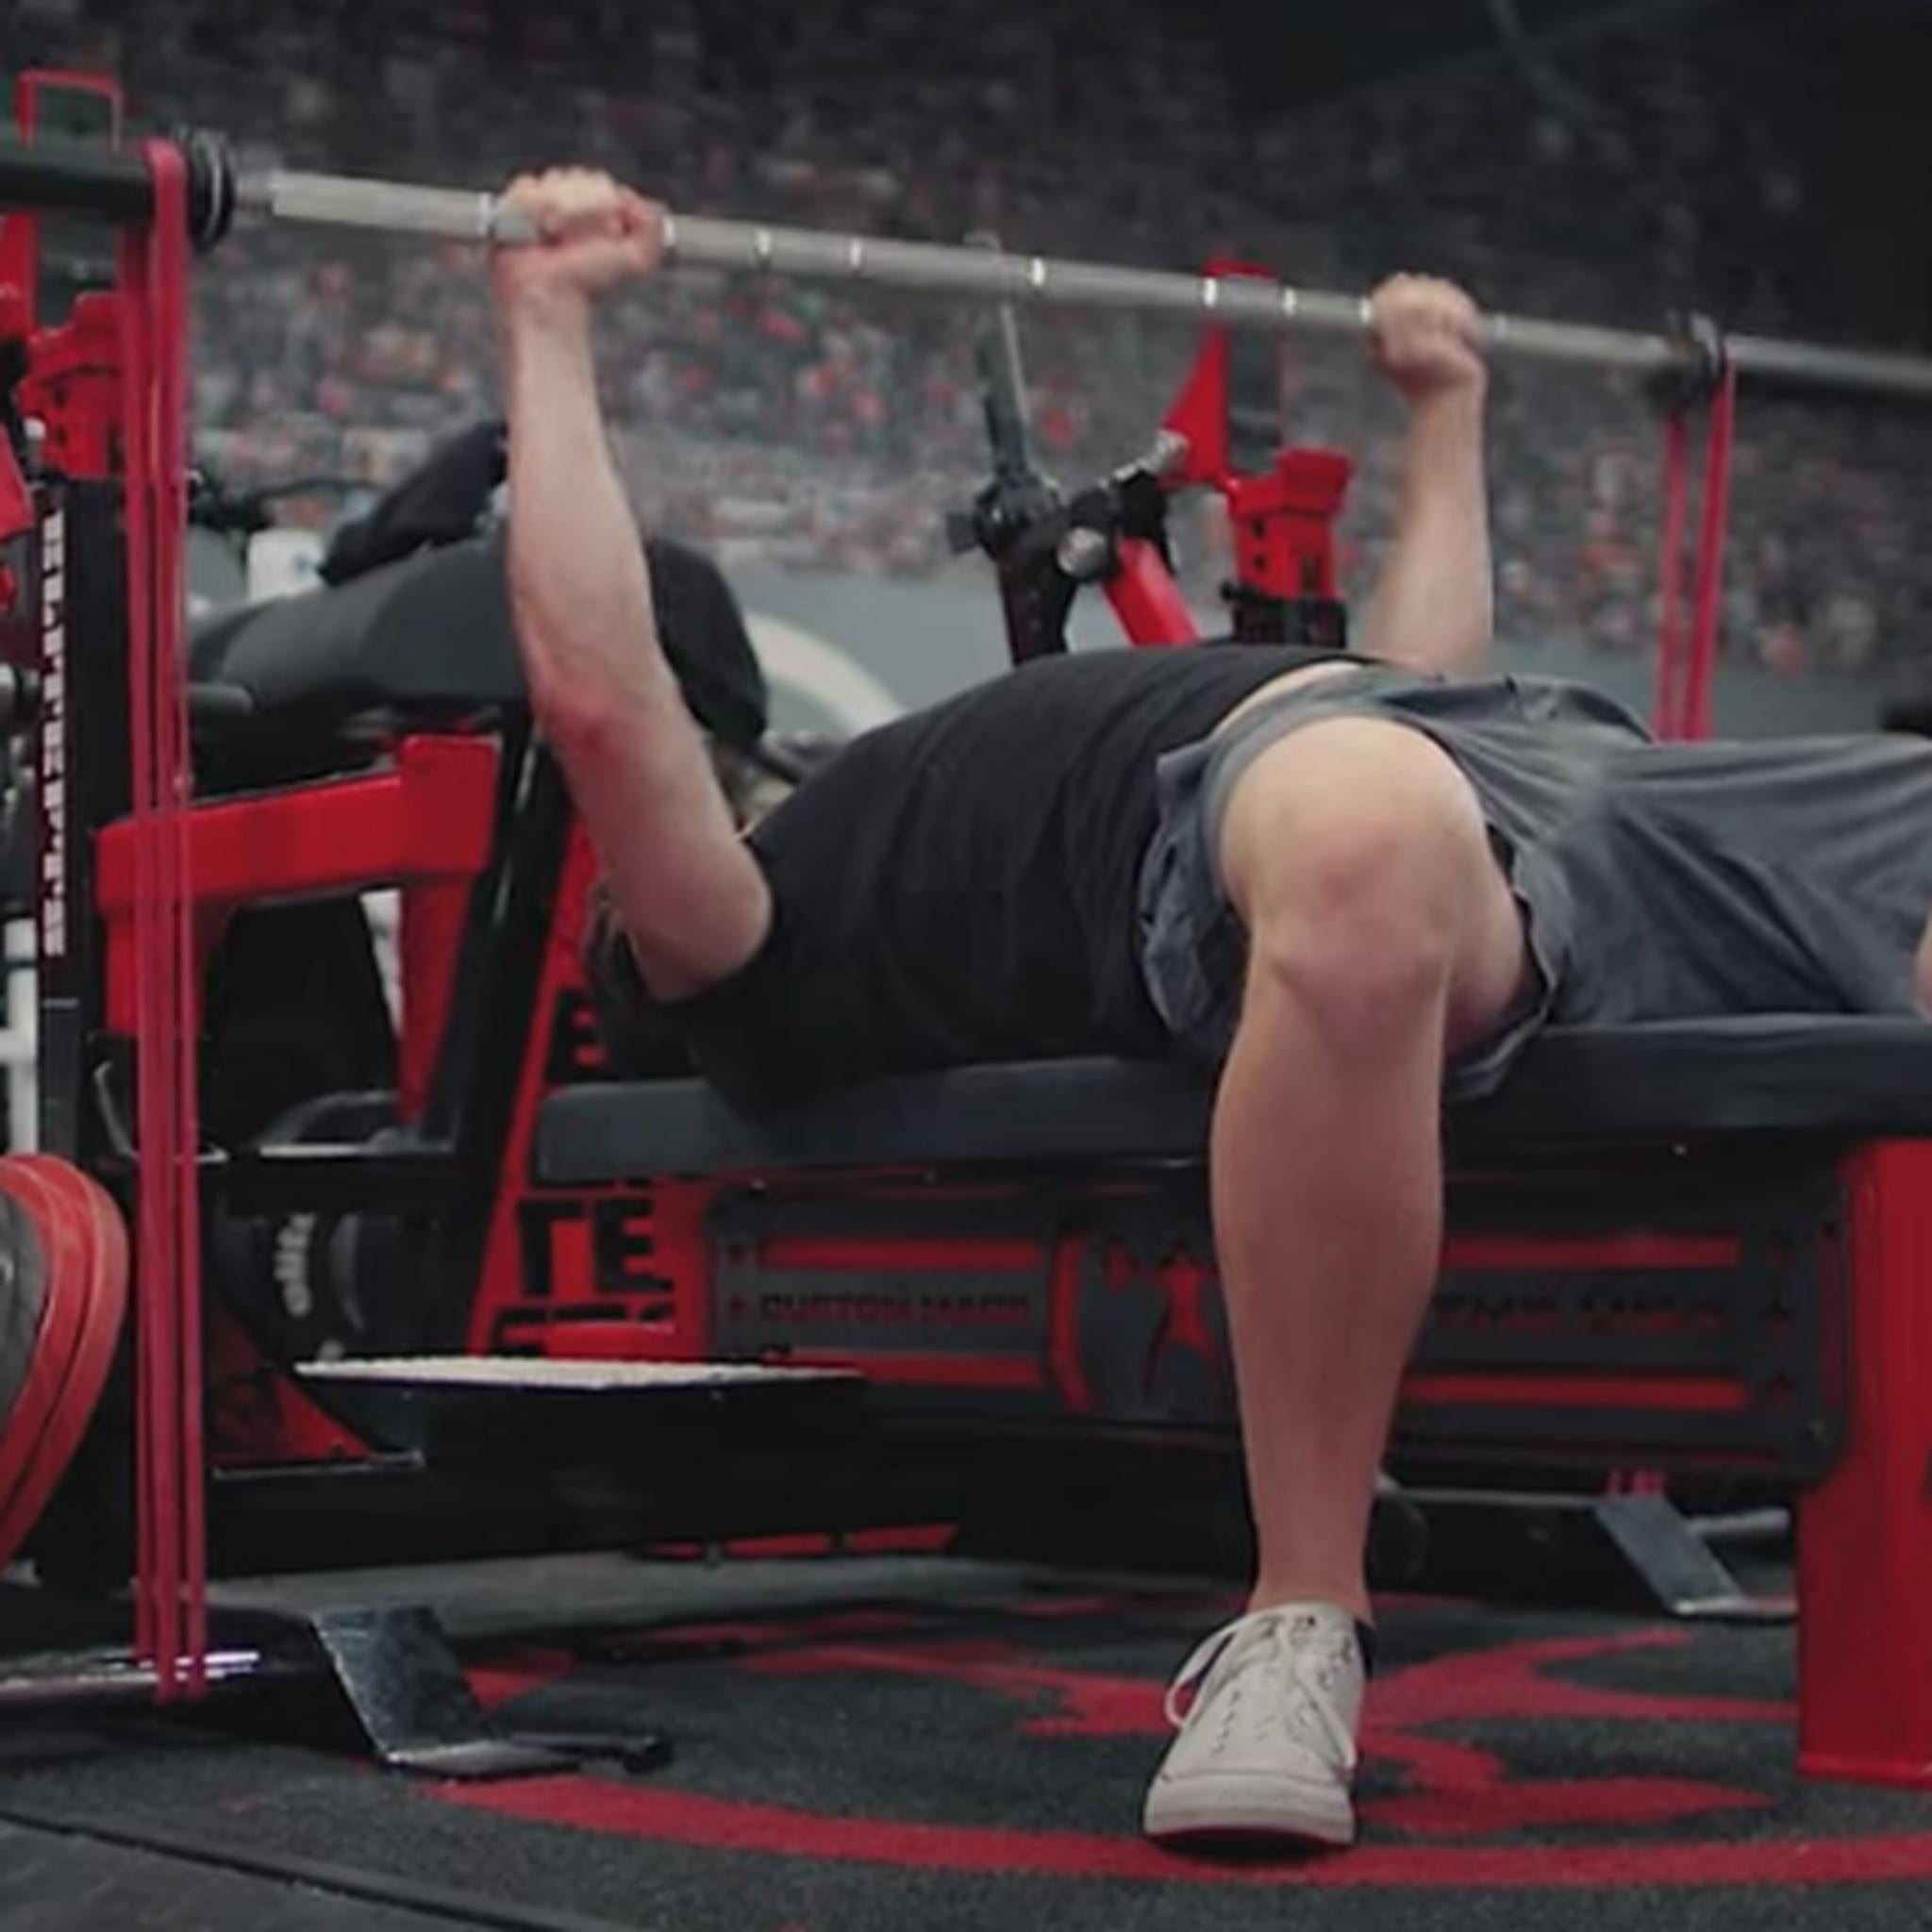
We did some pin lockouts but stuck to doing four and five-board presses with and without bands. We rarely did extensions. Not because we didn’t have dumbbells but because they didn’t work very well.Lats
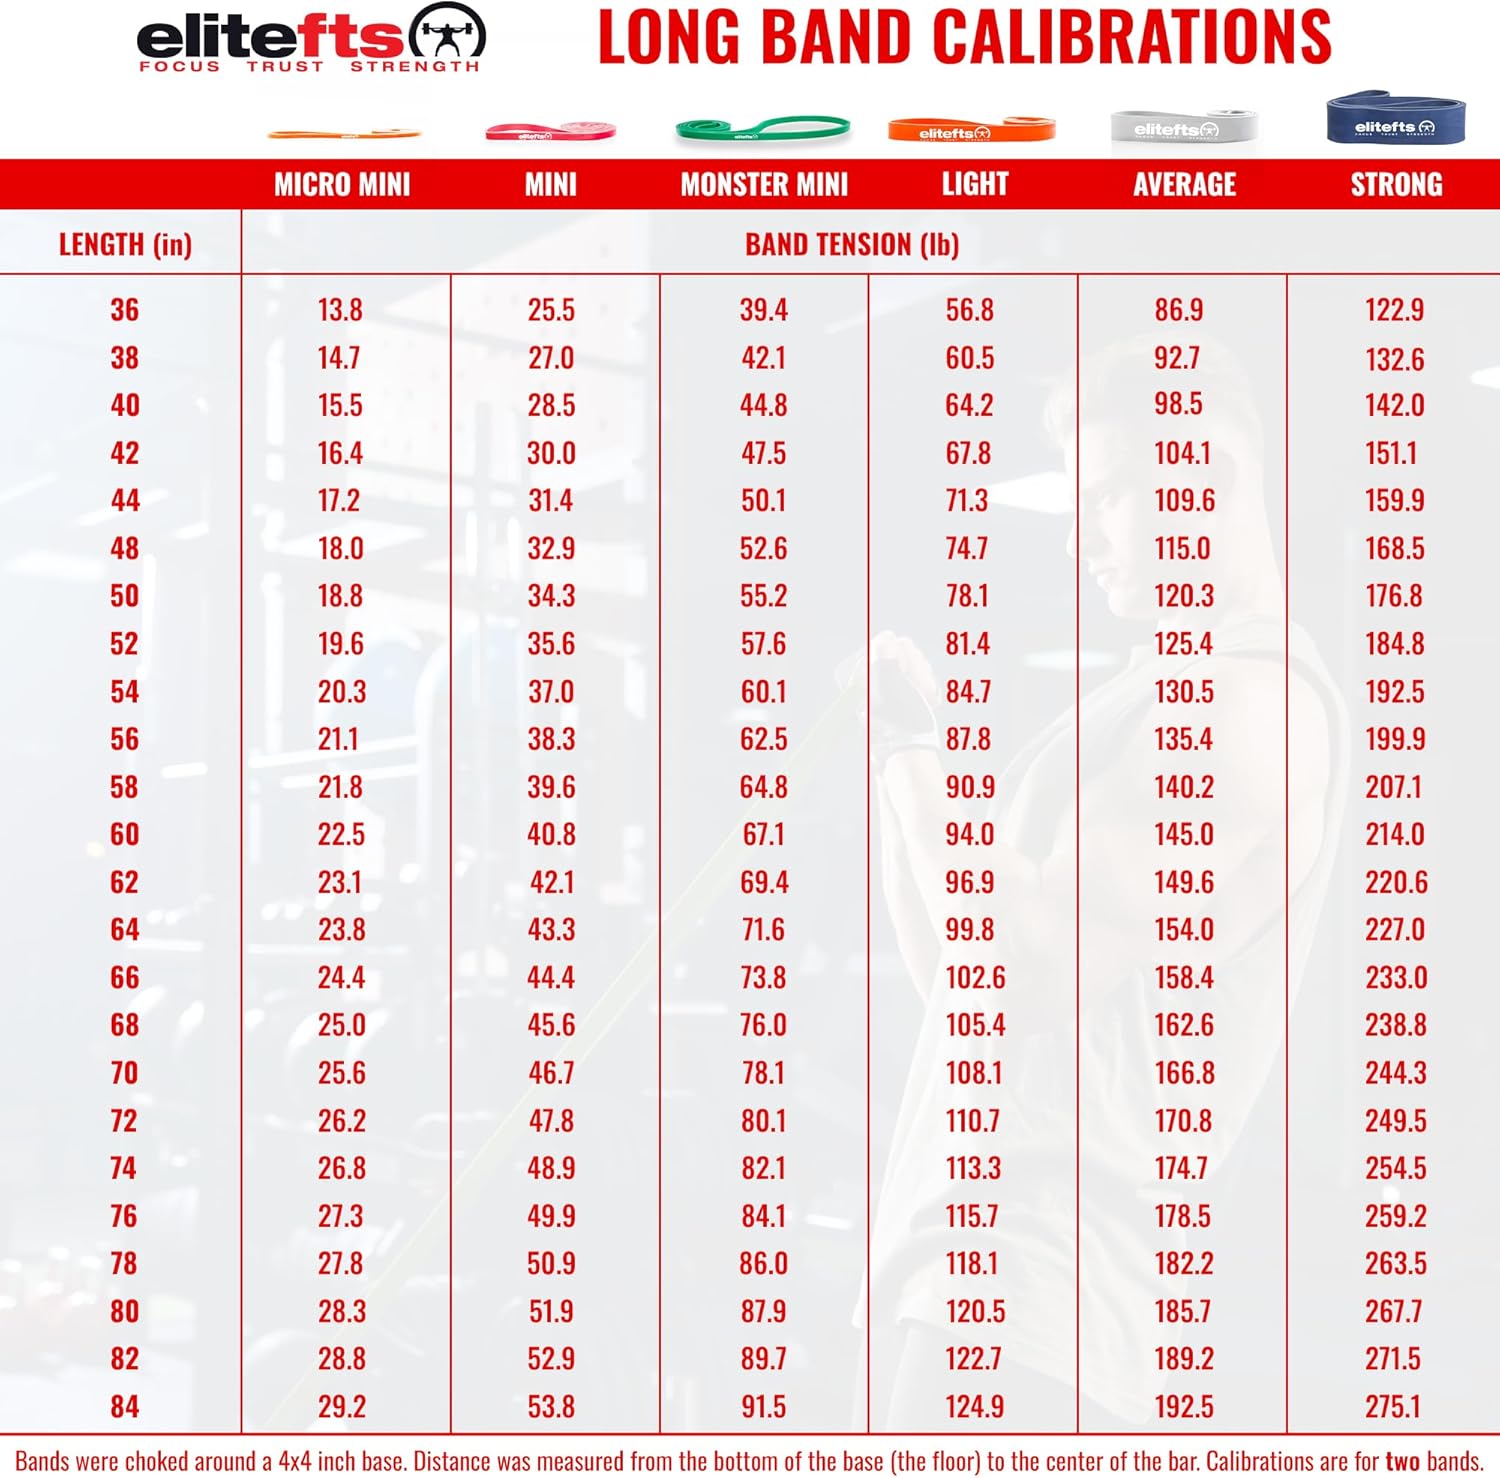
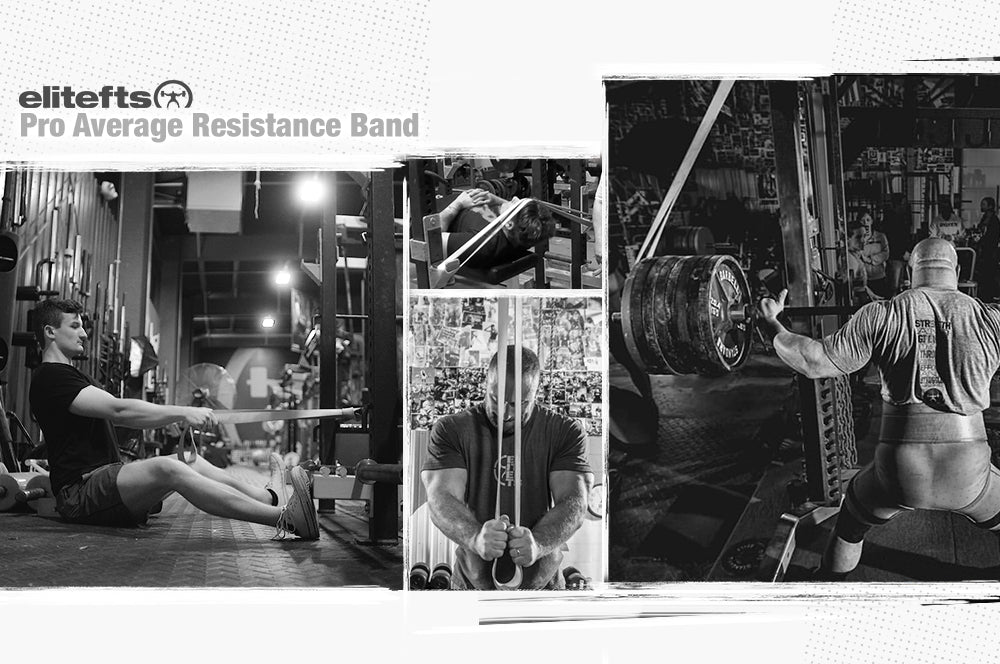
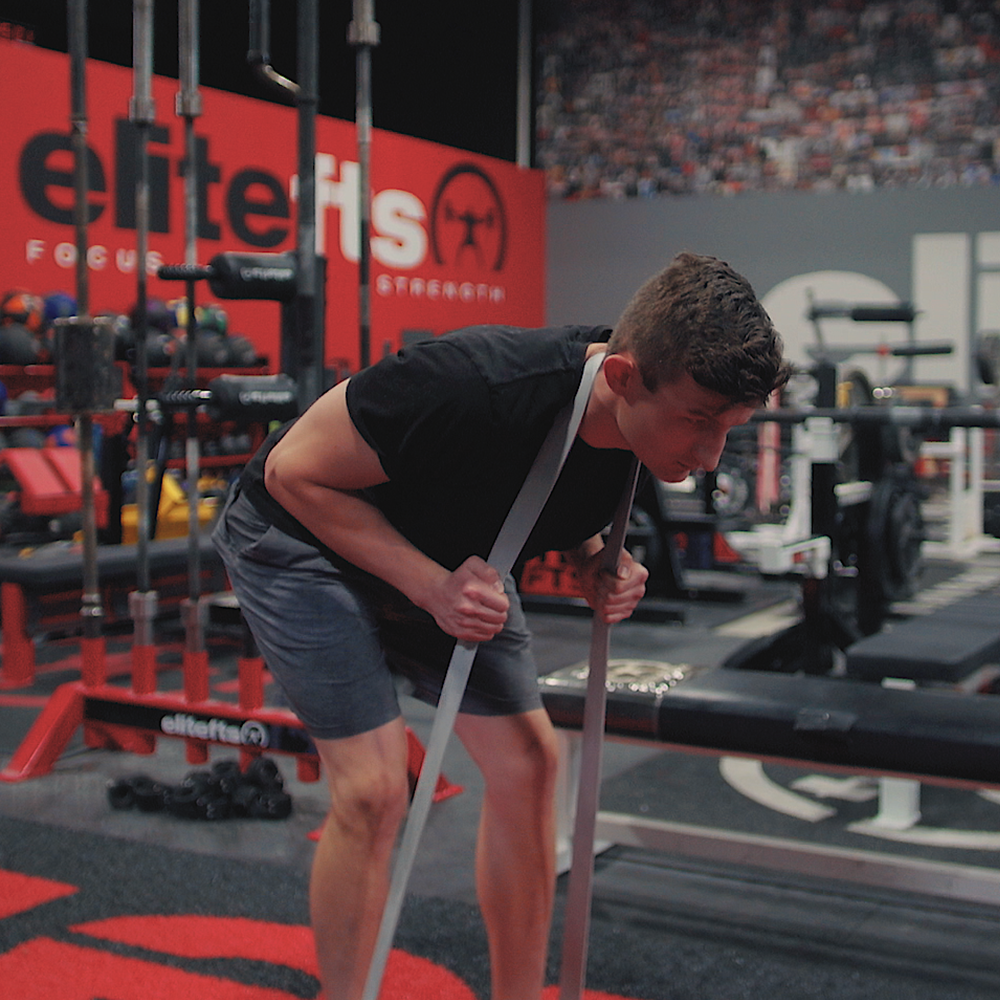
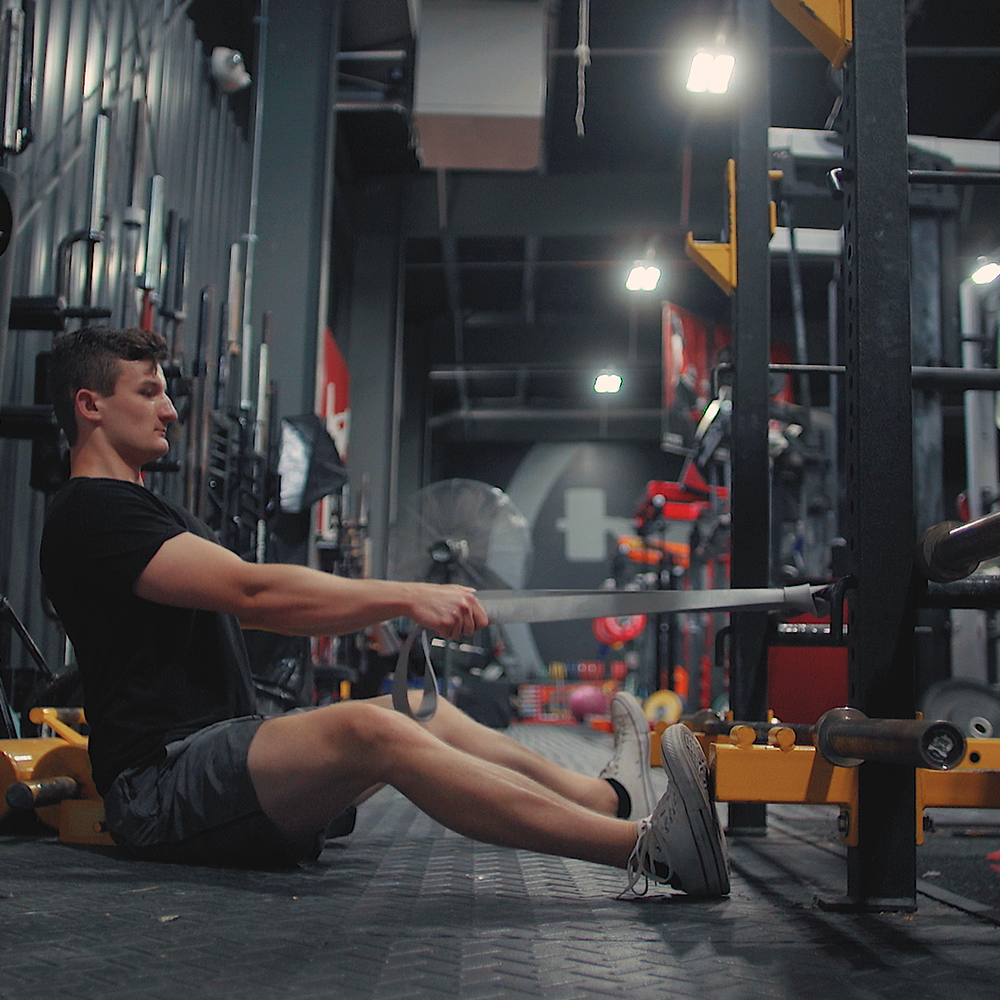
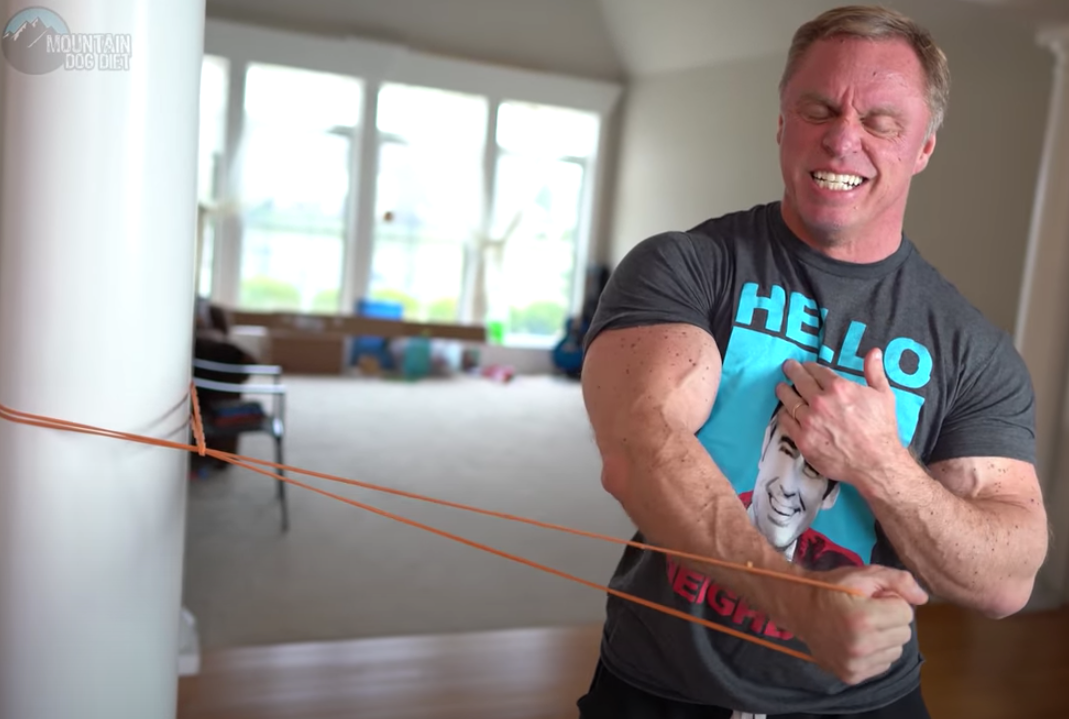
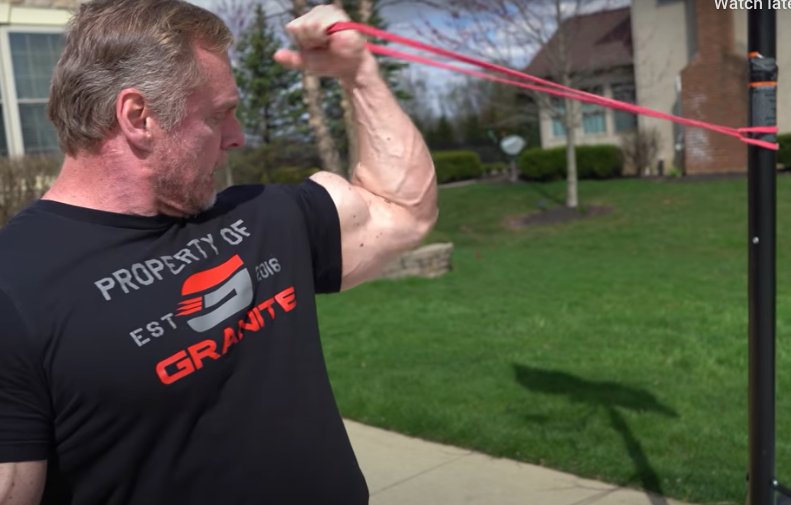
We did have a lat pulldown machine but it wasn’t the best and it was a little shaky. For the most part, we did a lot of dumbbell rows, bent over rows and pull ups for our lat work. We also didn’t have a chest supported row machine, which is my favorite lat movement. A couple of times we would incline the dumbbell bench and perform chest supported dumbbell rows on it. This is a great movement and I highly recommend it. Another great way to do pulldowns is to attach two bands to the top of the power rack, sit on the ground and tug away. Our rack was about seven feet tall, so average bands worked well.Upper Back
For upper back work, we stuck with band face pulls, rear laterals (holding plates, not dumbbells), and seated DB cleans (we also held plates when doing these). This wasn’t too much of a challenge. Important points:- The standing shoulder press, bent over row and pull-up are your friends.
- Olympic dumbbell handles are great, but can be hard to divvy up amongst friends.

The Squat/Deadlift
Dynamic Squat The big day for us was Friday. This was the start of the weekend but only after we got done squatting. Because we had only one squat rack and four guys, we all would take a turn squatting. We never had a set order; we went when we felt good. But here is how we did this:- One guy squatted, two guys spotted/changed weights, one guy warmed up (this means dynamic flexibility work, glute ham raises, abs, etc.) and helped coach. Everyone was very involved in every other lifter's workout.
- The lifter never did anything but lift; he did not change weights, chains or bands.
- Someone always watched the clock.
- There was constant coaching and positive and negative feedback.
- Once you were done, you remained as a coach. You could still do some assistance work during this time.
- After everyone was done squatting, hamstring, low back and abdominal work was done. If the weather wasn’t bad, we brought the GHR outside to give us more room. 99% of our assistance work involved the GHR, the reverse hyperextension and weighted sit-ups.
- After all training sessions, there was a lot of talking. We bounced ideas off of each other and learned a lot of great information. This is the male version of the beauty salon.

Max Effort Squat/Deadlift
Because of the tight quarters, everyone did the same max effort lift. We never mapped anything out, but the majority of our max effort work was:- Cambered bar box squats
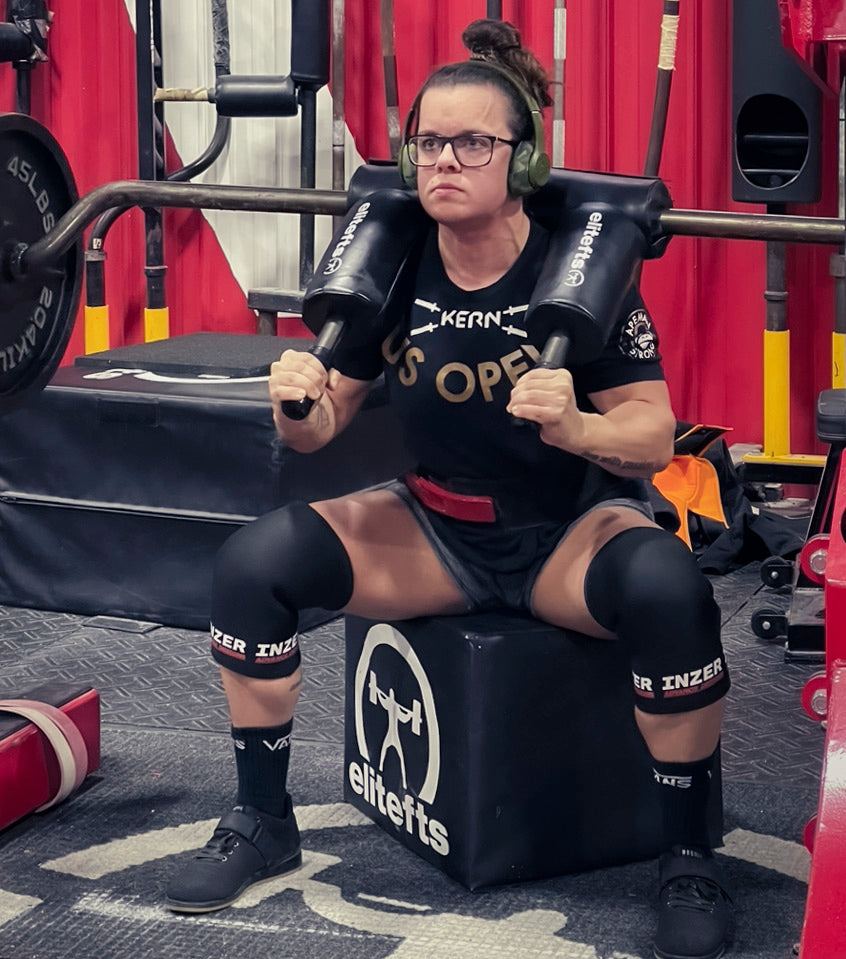
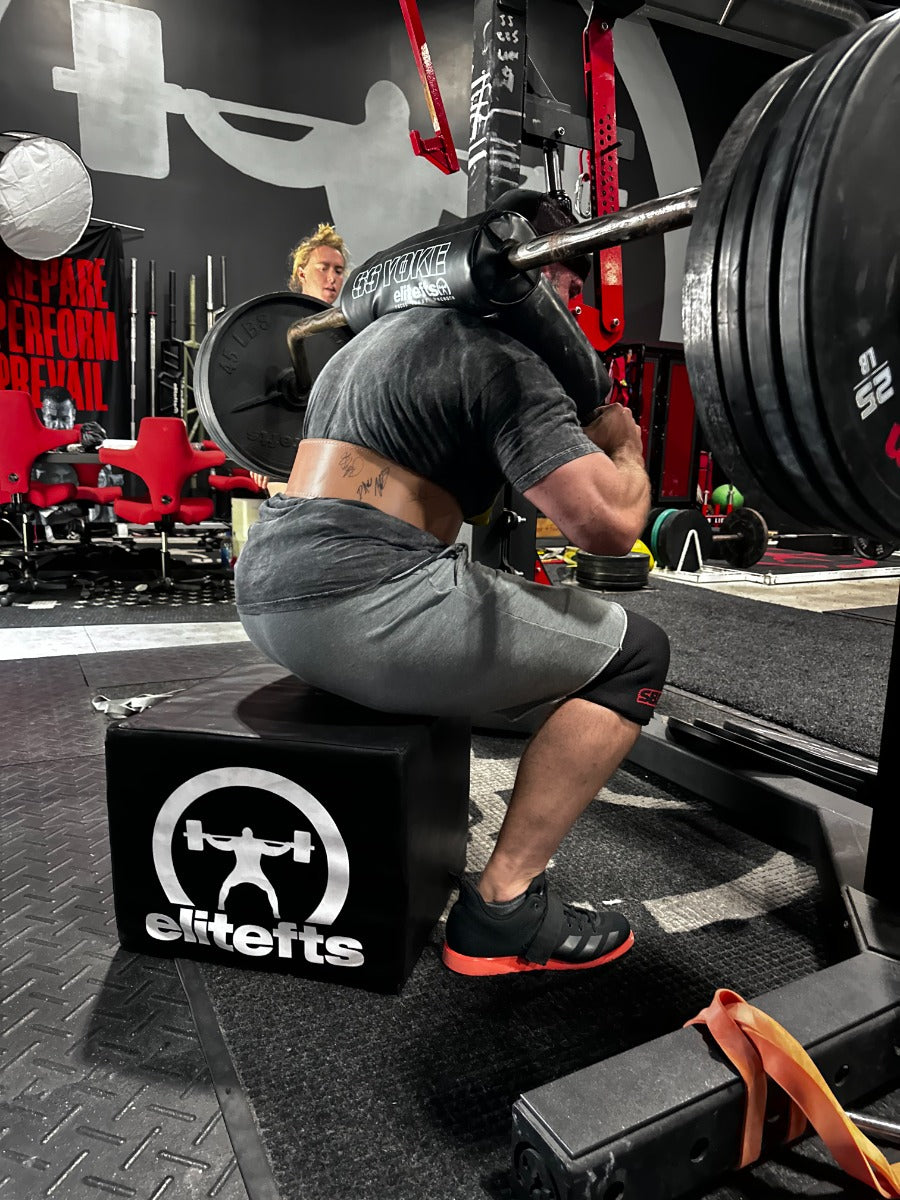
- Safety squat bar box squats
- Cambered bar suspended good mornings
- Deadlifts from elevated platform
- Rack deadlifts

Assistance lifts
Because we had a reverse hyperextension and a glute ham raise, this made up the majority of our assistance work. We also did a lot of sled work when there wasn’t a ton of ice on the street. There is really nothing that we couldn’t do, outside of machines such as a power squat or leg press, in regards to assistance work for the squat and deadlift. We were very limited with space, so lunges were certainly not done unless they were done outside. Important point:- You must work as team.

How to Win Friends and Not Get Kicked Out
When we decided to start this gym our initial fear was that we were going to be kicked out because of the loud music and all the noise. So in order to combat this we simply weren’t assholes to people. We helped people move into their apartments numerous times. We befriended the grounds crew and most of the neighbors that were in the general vicinity of the garage. We also made friends with the crazy guy next door who could weld or bolt anything. We developed good relations with just about everyone so when the music or the noise got too loud we were never “turned in.” Even the loud sled dragging never became an issue. Important point:- Don’t be an ass and you will be rewarded.
- Get a space
- Use plywood and carpet
- Account for the weather
- Get the minimum equipment and expand from there
- Get reliable training partners


