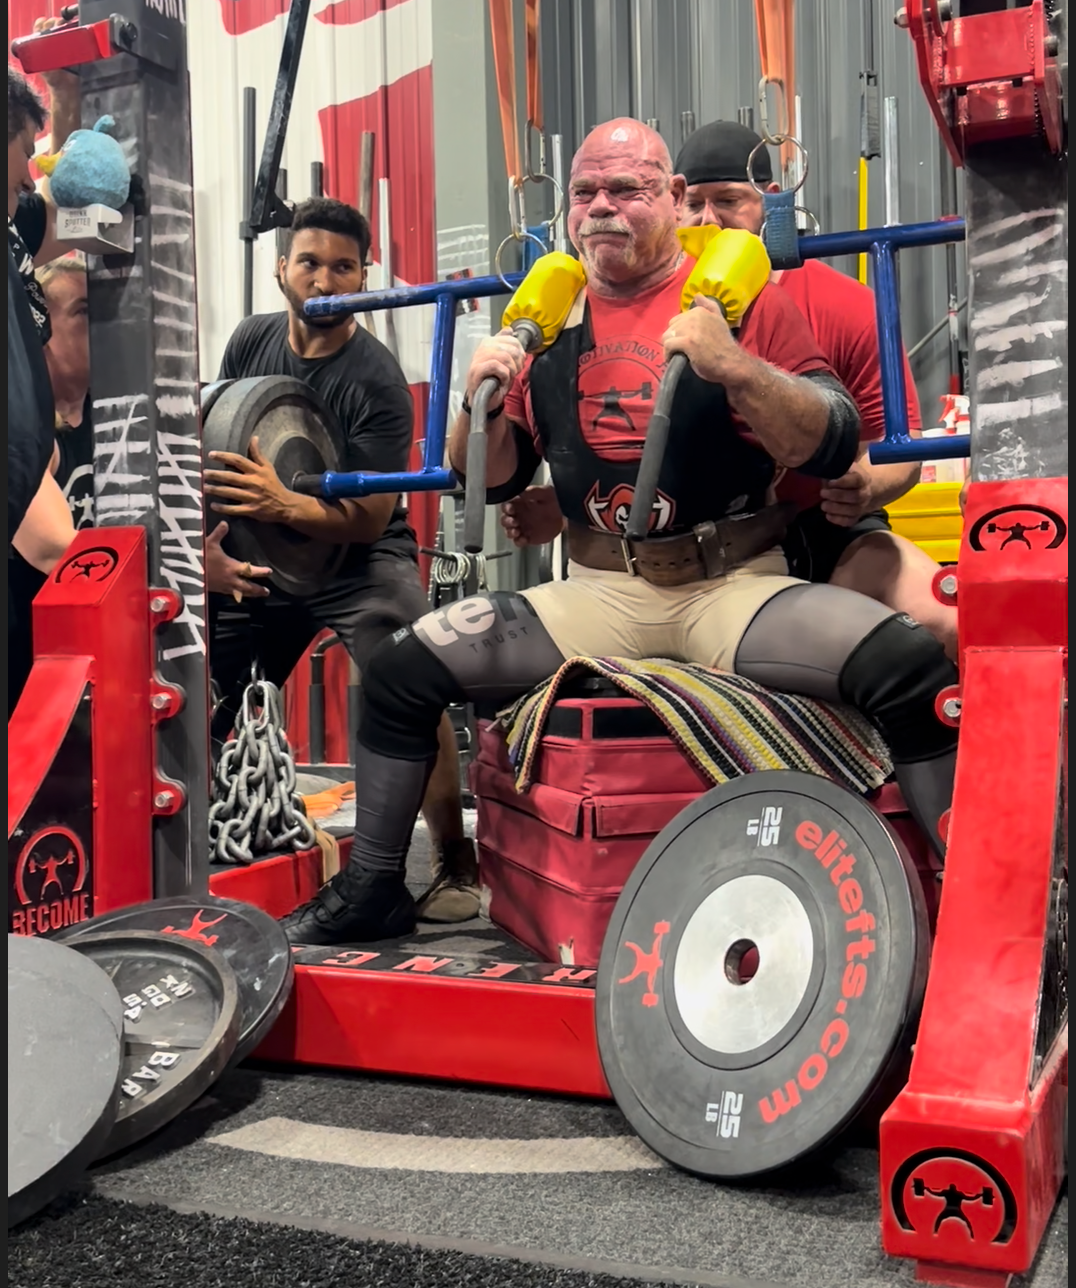
The primary reason I use the
box squat with my athletes is the small learning curve. We could have most of our athletes proficiently doing their primary lower body movement within a week. Another big advantage to box squatting is that it improves their ability to recover from training. Breaking up the eccentric-concentric chain helps the athlete recover from training much more quickly.
Athletes have to deal with and perform well at practice for their given sport. Using the box squat allows us to continually get them stronger and more explosive without trashing them for practice and competition. When done correctly, it will also take a ton of stress off of their knees. Correctly performed box squats allow the athletes to load the glutes and hamstrings, which saves the knees. Everyone talks about stimulating and training the glutes and hamstrings, and a large component of stimulating a muscle is having optimal lengthening on the eccentric portion of the movement. Getting back in the hips and close to depth—which happens in proper box squatting—will allow the athletes to achieve this. Quarter squatting with a narrow stance is NOT stimulating your glutes and hamstrings optimally. Why would any athlete take steroids? To aid in recovery. So why wouldn’t we build recovery into our training when we can?
RECENT: Why You Should Use the Conjugate Method for Your Athletes
The wide stance used when properly box squatting will better prepare the athlete for the rigors of their sport. It’s very common for an athlete's feet to go wider than shoulder width on the field, so we need to have strength out there too. The wide stance and hitting proper depth also helps build mobility in the hips. How many times have you heard a coach describe an athlete as too stiff and say that he can't open up at the hips? Box squatting builds mobility through strength. Proper depth is achieved by setting your box height correctly (shown in the video).
Box squats will also develop first step ability. So much of athletics is first step quickness, or going from a semi-static to dynamic contraction in a split second. When the athlete pauses on the box then explodes into the bar violently, this trains first step ability. Don’t believe me; watch a group of athletes who are accustomed to training with free squats, box squat for the first time. They avoid pausing on the box like there’s a cattle prod on the box because they are so used to drawing on their stretch reflex to reverse momentum.
Box squatting also trains lateral ability. When performed correctly the athlete drives out (laterally) on their feet. This has great transfer to change of direction. We hardly ever did "agility work" and our athletes' agility scores consistently improved. How’s that for sport-specific?
When to Box Squat Your Athletes
We used the box squat 99% of the time with 99% of our athletes. When squatting on dynamic days we always used a wide stance. This allowed us to work on a weak area, the hips, with lower weights. A great way to incorporate some free squatting is to put it in after your speed squats. We had great success lowering the bar weight by about 10%, leaving the accommodating resistance on, pulling the box out, bringing the stance in slightly (shoulder width), and doing sets of three to five reps without the box. The athletes were still encouraged to accelerate the weight on the way up. The new stimulus was enough to get a great training effect without destroying their legs.Athlete feedback was very good with this. These free squats would typically replace speed pulls or kettlebell swings in the template. Again, more work was being done with less weight. On max effort days, after most of the athletes were good at box squatting (usually three weeks), we would wide stance box squat two thirds or half of the time. It’s a good idea to do some close stance work on max effort days every second or third week after they have the wide stance variation nailed down.
Setting Up Your Box Correctly
This may be one of the biggest mistakes I see when I watch people box squat online: thebox height is not set correctly. In order to do this properly, have the athlete stand in front of the box like they are about to squat (stance must be the same). Then, have the athlete sit on the box while maintaining a perpendicular shin angle to the floor. Now, adjust the box height so the top of the kneecap is parallel with the crease of the hip. Knee angle has NOTHING to do with proper box height. Take note of the box height and the number of pads needed for the athlete. The most efficient way I’ve found to ensure depth is to lower all your boxes to the lowest setting then duct tape, weld, or do whatever the hell you have to do to keep the athletes from messing with the adjusting pins. By doing this you make sure everyone starts from the same place and all they have to remember is how many mats to put on the box. There are few things as frustrating as watching an athlete try to adjust their box pins while you are trying to get a training session going.
Make sure you have a large number of mats available. The
foam boxes on our site are a good option for multiple athletes squatting. The picture below is arguably parallel for an athlete. When training athletes, the main priority is that their femur is parallel with the floor. With some of your bigger athletes, the parallel guideline becomes a little fuzzy because of the mass they are carrying in their upper quads and glutes. When dealing with your larger athletes, the example below is an acceptable height.
Coaching the Box Squat
Below is an outline of the teaching points I go through before I let the athletes break off on their own and start squatting. This is what we talk about with them as we demonstrated the lift. This is an extensive list, and if you think you’re going to go through this word for word with your athletes, you will lose them before you get through unracking the bar. I am going to list everything; you’ll have to determine which ones need the most attention with your athletes. These are basically notes of the video above.Unrack
- Bar should be even with the collarbone while in the rack
- Hands even on the bar (width is lifter's choice)
- Chin up
- Fill stomach, push out laterally
- Stand up
- Take two steps back: step, step, set
- Feet wide; slightly uncomfortable but not with your feet on the
monolift - Toes out slightly
- Head in bar
- Elbows forward
- Re-breath into stomach and push laterally
- Settle weight; pressure on outside of feet
- Hips back first
- Knees out hard
- Stomach and knees out on the way down
- Descend all the way to the box
- Pause on the box
- Pressure stays out on stomach and feet while pausing
- Keep pressure out on feet
- Don’t let big toes come up
- Top priority is driving the shoulders into the bar hard
- Try to break the bar in half; when they get this you’ll start to see some pop off the box, which is where a lot of our carryover will come from in sports
- Pressure must stay out on the descent for glutes and hamstrings to be activated in the proper manner for maximal carryover
- Address hips and knees first if they're not doing the right things on the way down
- Do the bar for 15 to 20 reps. This is the standard for ALL squat days. Always start with the bar. Coaching starts now.
- Slowly add weight so that we can find a sufficient speed weight for the day. We patrol the room and assist them with this while they perform sets of two reps.
- The athletes will do sets of two reps until 80% of the group is squatting proficiently. This happens on day one. Yes, we will have to reinforce these things the entire year, but we’re now getting a training effect from one of our most important movements on day one because the athletes have learned the movement and how to accelerate the weight.
Coaching Cues
These are your coaching cues while they are squatting. Limit these to one to four words and only fix one thing at a time. Always fix lower body mechanics first.- Chin Up — Slightly up before unracking will put them in a better position.
- Fill Your Stomach — This must happen before the descent.
- Set Your Feet — They need to let the weight settle before squatting.
- Back and Open — Most people won’t do this all the way to the box. The result is the plop and loss of tension on glutes and hamstrings.
- Stomach Out, Knees Out — If an athlete is losing their arch this usually helps.
- Open and Lean — The athlete has to lean into the squat a little. Very often they’ll try to keep their torso completely vertical. If they continue to struggle with this or rock backward on the box when they sit, take the bar off their back, have them sit on the box as if they’re squatting and hold a proper position (pressure out on feet, leaning forward, knees forced out, chin up). Many times they just don’t understand the proper position, so sitting there and holding it for a few seconds really helps with the above problem.
- Shoulders in the Bar — Again, this top priority on the ascent. This keeps the athlete upright and muscles functioning properly.
Narrow Stance Box Squatting
Start putting a close stance in once the majority of your athletes are good at the wide stance. For people that are new to box squatting this is usually after three weeks or so. Once they have the wide stance down, put a narrow stance in on max effort days every other or every third week.All cues are the same as wide stance and the movement by the athlete is not as extreme:
- Feet shoulder width apart
- Reach back
- Roll knees out (not as much as with a wide stance)
- Lean forward while sitting
Specialty Bar Progressions
SS Yoke BarThe
SS Yoke Bar is an invaluable tool for any athlete and lifter. I can say this because I put one on every rack when I was given the resources to design a weight room. It will take a ton of wear and tear off of your athletes’ shoulders while varying their stimulus. It will expose and raise more weaknesses than a straight bar.
One of these weakness is the upper back. The SS Yoke Bar is also harder than a straight bar for most athletes, so you can elicit a greater training effect with less weight. The exception to this was our taller, lankier athletes. Our basketball players and taller swimmers seemed to prefer this bar to a straight bar when squatting. Once your athletes have learned the squat with the straight bar, there is no reason to use it on a regular basis with them. All of the straight bar cues carry over to the SS Yoke Bar, so there is no need to completely teach a whole new movement.
This is a big misconception with the conjugate system. You really only need to teach a few basic movements, because all the lifts are similar enough that the athletes can handle the variety without excessive time spent on teaching. The big difference with the SS Yoke Bar is that it will round your upper back over and push you forward. To combat this you just have to coach the athlete to keep their shoulder blades, head, and lats locked into the bar while squatting. See, we just exposed a weakness, but by doing so we are able to attack and fix it.
Rackable Cambered Squat Bar
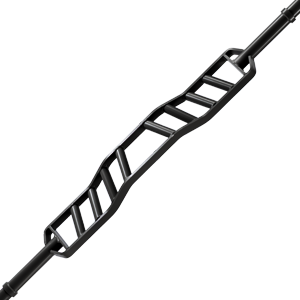
The
Rackable Cambered Squat Bar gives us all the advantages of the SS Yoke Bar but with a slightly different training effect. A big problem with box squatting is the athletes sitting on the box and rocking backward then forward. With the Rackable Cambered Squat Bar you can’t do this because of the camber. If you do rock when you sit, the arms on the bar swing forward and will roll you over and cause you to miss the lift or have to fight backwards into the bar. To use the bar correctly the athlete has to lean forward into the squat (like a proper squat) and hold that forward lean so the bar path is vertical through the entire range of motion. Whether the athlete does it properly or not, the posterior chain gets more stimulus than a traditional straight bar. So again, we did more work with less weight, saved shoulders, and corrected techniques by using a specialty bar.

