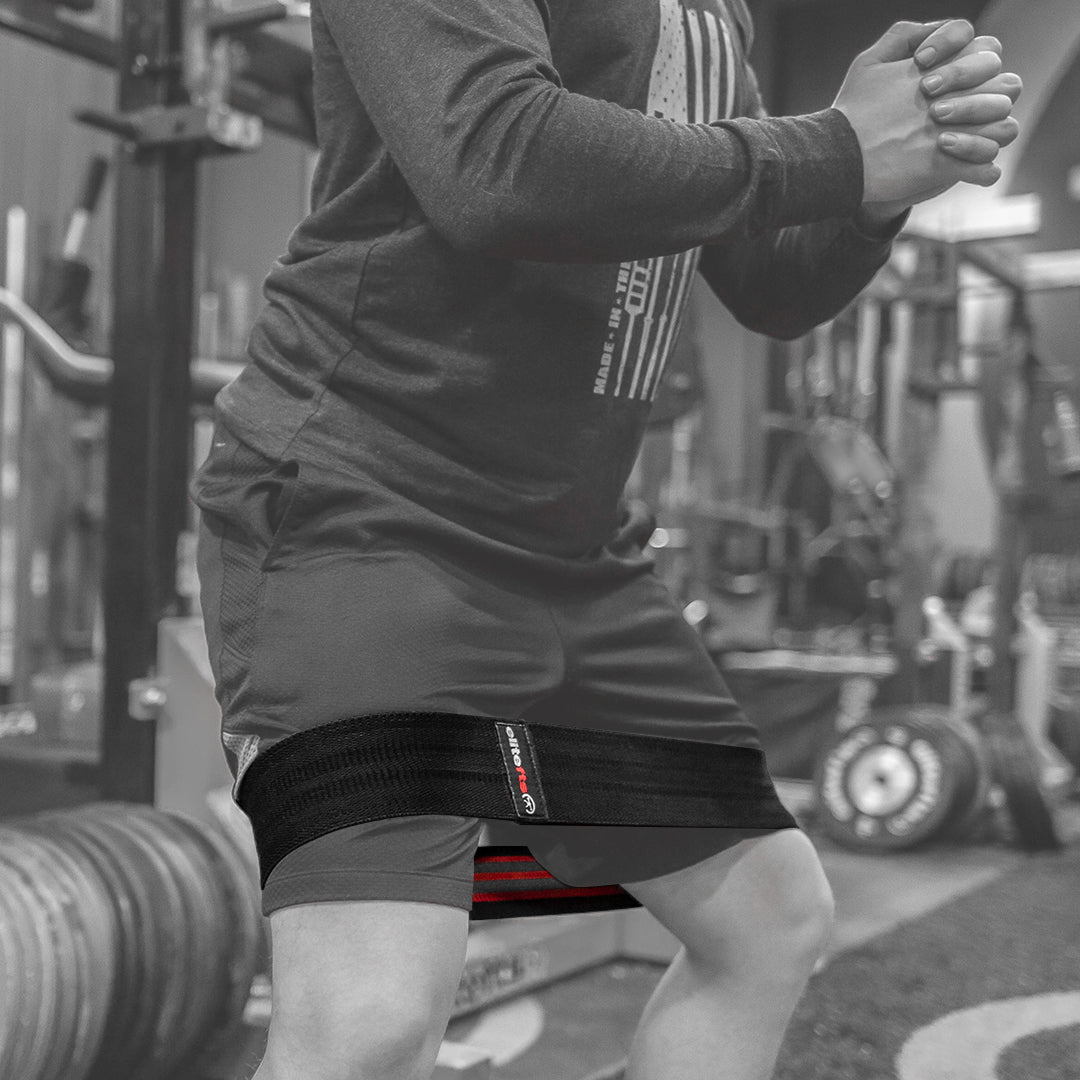
Disclaimer: Usually when performing a hip clam, the setup for the left versus the right will be different. However, the main purpose of this article and video are to help improve awareness of better positioning for general strength! Enjoy! The hip clam is a great functional exercise that, when done correctly, can have a profound impact on your movement. A lack of strength in these muscles can result in low back pain, decreased performance, and increased compensation during everyday activities. It's easy to perform it incorrectly because it takes transverse and sagittal plane stability to really master this frontal plane exercise. Due to this, the movement usually is performed with a good amount of compensation.
RECENT: A New Perspective on Proper Plank Development
In this article and video, we will look at those common compensations and learn an easy fix you can implement into your workout.
Common Compensations
- Poor Upper Body Positioning: Relative to the lower body, most people begin their hip clams with the upper body too far forward. Additionally, the trunk tends to rotate toward that direction as well. What does this do to our mechanics? It starts the movement at a poorly rotated position that can create an easier compensatory contraction from the low back. Why does this matter? One of the big benefits of the hip clams is to strengthen the rotators of the hips to inhibit an overactive low back. Without correcting this problem, you are running in circles and never escaping the pain.
- Poor Hip Position: An improper position is observed at the hips as well. Most people initiate the movement with a top hip that is rotated backward relative to the bottom hip. This allows us again to utilize our lower back if needed and decreases the challenge on the hip’s external rotators. For general strength, the hips should be ideally stacked on top of one another in a “neutral position” (besides my disclaimer at the top of the page).
- Posterior Hip Rotation: Probably the greatest compensation of them all is the posterior rotation that occurs at the hip. As people initiate the movement, they typically begin with hip abduction (correct), but then continue with a posterior hip rotation (incorrect). Part of the reason this occurs is that people overthink or are over-coached to bring the knee as high as possible. However, this poor thought process creates unknowing compensatory rotation at the hip and doesn't strengthen the hip rotators. Don’t worry about how high you can get but about how high you get without posterior rotation of the hip.
The Solution: The Wall
The wall serves as an excellent reference point to teach the brain non-compensatory movement. When setting up on the wall, we want to ensure that the upper body, hip, and feet are all touching. This addresses the improper positioning as noted above. Moving to the hip, the wall blocks any unnecessary rotation as well as demonstrates the proper amount of anterior/posterior pelvic tilt that is needed. Ideally, the hip is put in a slight posterior pelvic tilt prior to movement. You can confirm that you executed this correctly if a small amount of your low back is touching the wall. You are now in a better position to correctly perform the hip clam and begin to feel the benefits that the movement brings. Confused? Watch the video below to see the correct technique.Header image courtesy of maridav © 123rf.com
Brian is the founder and owner of LeRiche Rehab & Performance in Charlotte, North Carolina. Brian utilizes positional asymmetries that exist within the body to help clients, athletes, and patients improve their functional capacity and overall performance. He is a certified strength and conditioning specialist and has a degree in exercise science. Currently, Brian is pursuing his Doctor of Physical Therapy degree and will finish the program in 2020. For additional questions, Brian can be reached at Bleriche3@gmail.com.

