3 x 3 rack. The point of this article is to give all the details on every option available on this rack. You can go through it, decide what’s best for you and pick the rack that best fits your style and your goals. It's the perfect solution to solve all your rack-buying problems or concerns. At the end of this, I’ll even pick my perfect rack to let you know what direction I would choose. It might not be what you want, but it will give you an idea of how to do this. You'll find out it's easy, enjoyable and totally up to you. You literally cannot make a bad choice. The big thing is simply realizing how many different options there are and what the point of each is. Knowing that, you can make a better decision on what you want or maybe learn something new about something you might need. Without further ado, let’s get to it.
Extra Spot Pins:
There are two big reasons why spot pins are crucial to any rack.- The first is if you lift alone or are a powerlifter, it’s a great safety measure. There are videos on our site of guys squatting 500 for 14 reps, then dumping it on the next one. Without spot pins, you couldn’t do that.
- Pins are also big for powerlifters in changing up heights on various exercises, giving you multiple options for something like pin pulls and pin presses to get through your sticking points.
Mastodon bar, because the shock absorption keeps the bar from becoming bent. Your joints will thank you as well because it's a lot easier on your joints. Another way that these stand out is because of the hole spacing. The industry standard is 3 inches, but the EFS racks have hole spacing from 1.5-2 inches, giving you a number of more options. Why is this important? "If your sticking point for the bench press is three inches off of your chest, but your only hole option is one or four inches, you're screwed," Dave said. "In most cases ,however, you won't even have these options because it always seems the pins are either way too low to even use for pin presses, or way too high. This is the same with the squat, deadlift or any other lockout type movement. This is compounded even more so with the bench press. If you just want to bench and use them to spot in case you miss, they will either be too low thus not serving the purpose at all, or so high you will hit the pins before your chest. With this option, you can find the perfect height for everything.” Dave said. If you want to do pin pulls closer to the floor, the holes also go lower for this specific reason. Now, the option here is if you want to add another set of spot pins or if you want to upgrade to quick release spot pins. The quick release pins are, well, quick to adjust, hence the name. It is one solid piece and it's a good option for those that need to make quick adjustments with the rack. “It’s good for high school and colleges because it gives them something easy and something they can use quickly,” Dave said. “Or, if you’re a fast-tempo lifter and want to go from hole 2 to hole 10, you just twist it out and twist it back in.” Dave said he prefers the quick adjust, but the standard 2-piece rod and pipe pins are extremely durable as well. For extra pins, the benefit is having a quicker set-up for a lifter that wants to move from exercise to exercise without wasting much time. It’s not a necessity, but it could be helpful.
Pulling Stand Attachment
This is a great option if you use a lot of Olympic lifts in your training. There two big benefts for the pulling stand attachment.- You can work from explosive points in the lift instead of having to do a full power clean or snatch from the floor.
- They could also be used for rack pulls, though the pins would work fine for that exercise as well.

Pulling Stand Attachment[/caption]
Step-Up Attachment
This is a great accessory that is convenient and offers multiple options. It doesn’t take up much space, hooks right onto the side of the rack and presents multiple lifts in a very small space. Instead of trying to tuck away multiple jump boxes somewhere, you can simply use a step-up attachment and, voila, you have nearly unlimited box jump options. It’s a big space-saver for garage gyms in that regard and that doesn’t even take into account the exercise use. Step-ups with dumbbells and barbells are a great accessory movement and single-leg step-ups can be a big exercise for strengthening the hips. This exercise has made a big difference for EFS lifter Scott Yard, who has preached the benefits. “They’re very, very good,” Dave said of the attachment.J-Hooks
It may seem like a small thing, but the way these J-Hooks are designed is a big advantage over other racks. The lip on the hooks are perfect in that they are big enough to catch the bar and be safe, but they’re not too big where you’re sacrificing the lift and your technique to get the bar out. To bench, you need to pull the bar out. If you push it up and pull it up, you just lost your whole entire bench set-up. You can’t roll the bar out, but you also don’t have to do a half-squat or half-press to get it out, either. In essence, you feel secure and you also stay tight in all our lifts when you’re unracking the weight. To squat, you can just arch the bar out, as the lift was intended. The hooks are also flexible and sturdy, and the pins go all the way through the rack, meaning you don’t have to worry about how strong they are. The UHMW coating also gives you assurance that the hooks won’t get scratched and wear out. Getting an extra pair is the added option here and the benefit would be the time-saving option it would add.Dip Attachment
This is as close to a must-have as any of the options for the rack. It’s easy to store, it attaches easily to the rack and it doesn’t take up much space. Having this adjustable also makes it awesome for 1/4 dips, negative only dips and various leg raises. Those are important parts, but the actual attachment is just as impressive. The dip bar is V-shaped, meaning you can vary your grips. The wider the grip, the more it works the chest, and the closer the grip, the more it works your tricep. The attachment is powder-coated, meaning it won’t scratch, and it fits easily into the hole spacing. Jim Wendler is so sold on the attachment he thinks it’s a mistake to buy a rack without one. Truthfully, it’s hard to argue with him. “In my book, the dip attachment is a 100-percent must,” Jim said. “If you want to get stronger and bigger, you need to do dips.” Well said.
Chin Bar
This is another must-have and there’s no way around it. It’s an absolute necessity no matter your strength level because of how well they work your entire back and your arms. The conundrum is picking from the available options. The good thing, though, is knowing you can’t go wrong with any of them.- Chin Bar Option: With the standard chin bar, you get a straight bar, which is the bare necessity. You can also do hanging leg raises for your abdominals.
- Straight Bar Fat Bar: Just like the chin bar, but with a thicker (2” diameter) bar to test your grip, which will improve your overall strength.
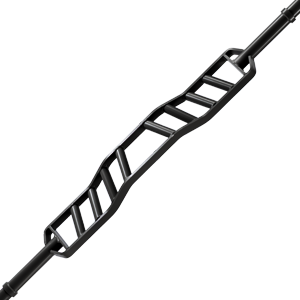
- Cambered Chin Bar with Parallel Grip: You have two cambered parallel bars and two parallel wide grips. This option gives you the ability to perform wide, medium and close grip pull-ups, as well as parallel grip pull-ups.
- Stainless Steel Swivel Handle: This type of chin bar allows you to hit a variety of different angles and it has the athlete in mind.
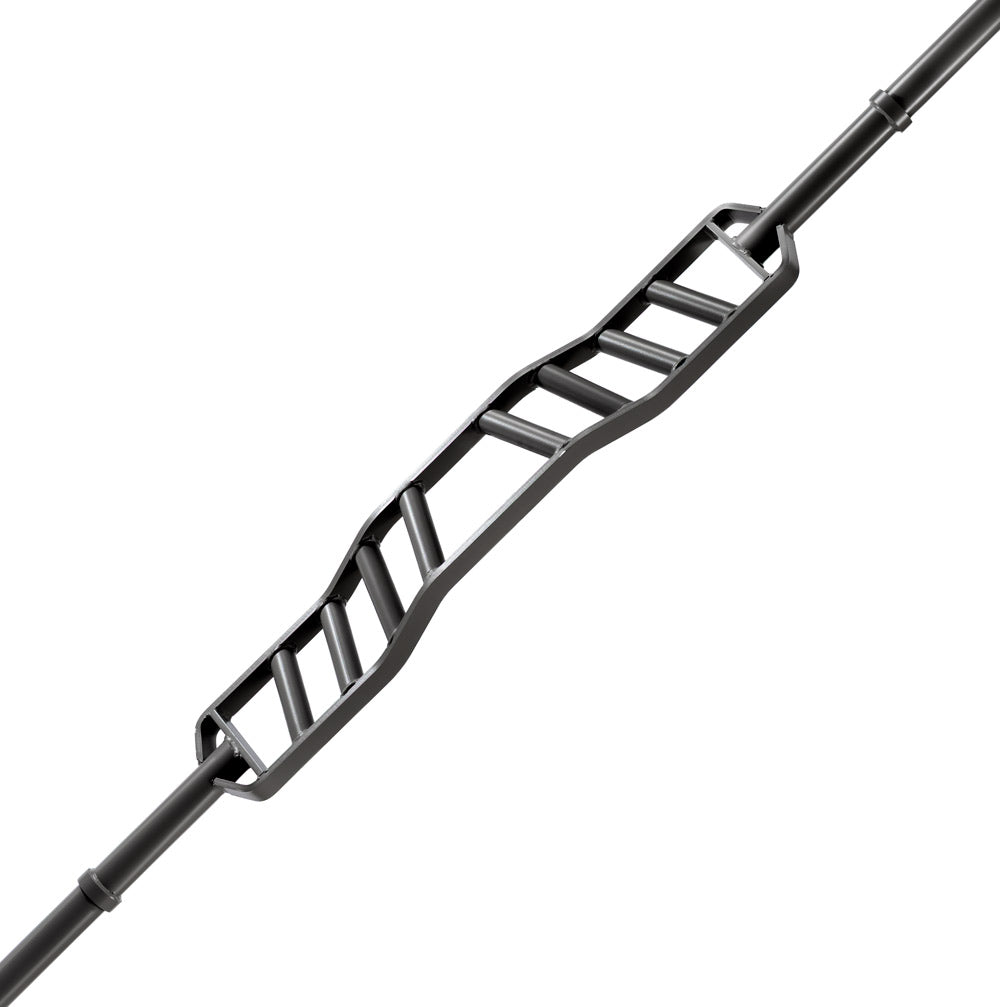
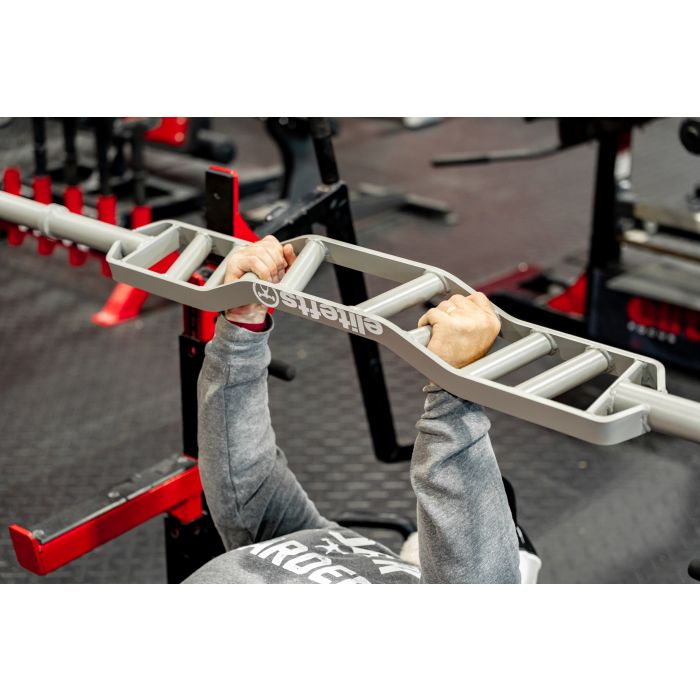
- Monkey Bar Chin Bar: This bar offers the most options, giving you two cambered bars with five parallel grip bars as well. This would likely be your best bet, simply because you will never get bored doing chin-ups and pull-ups with this option.
Band Pegs
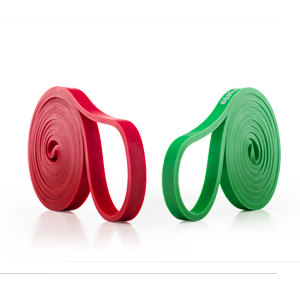
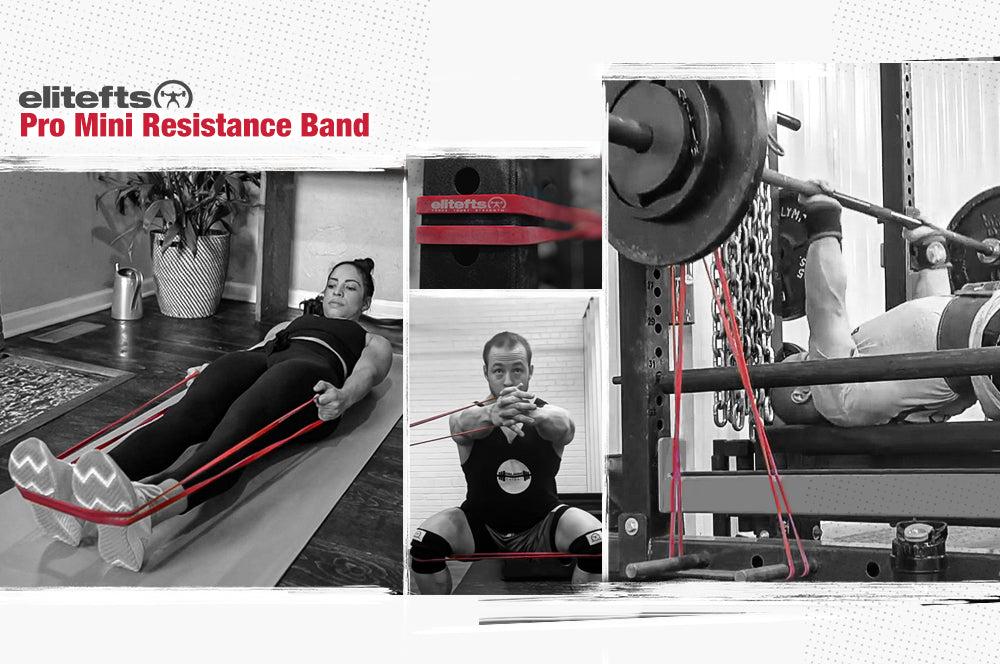
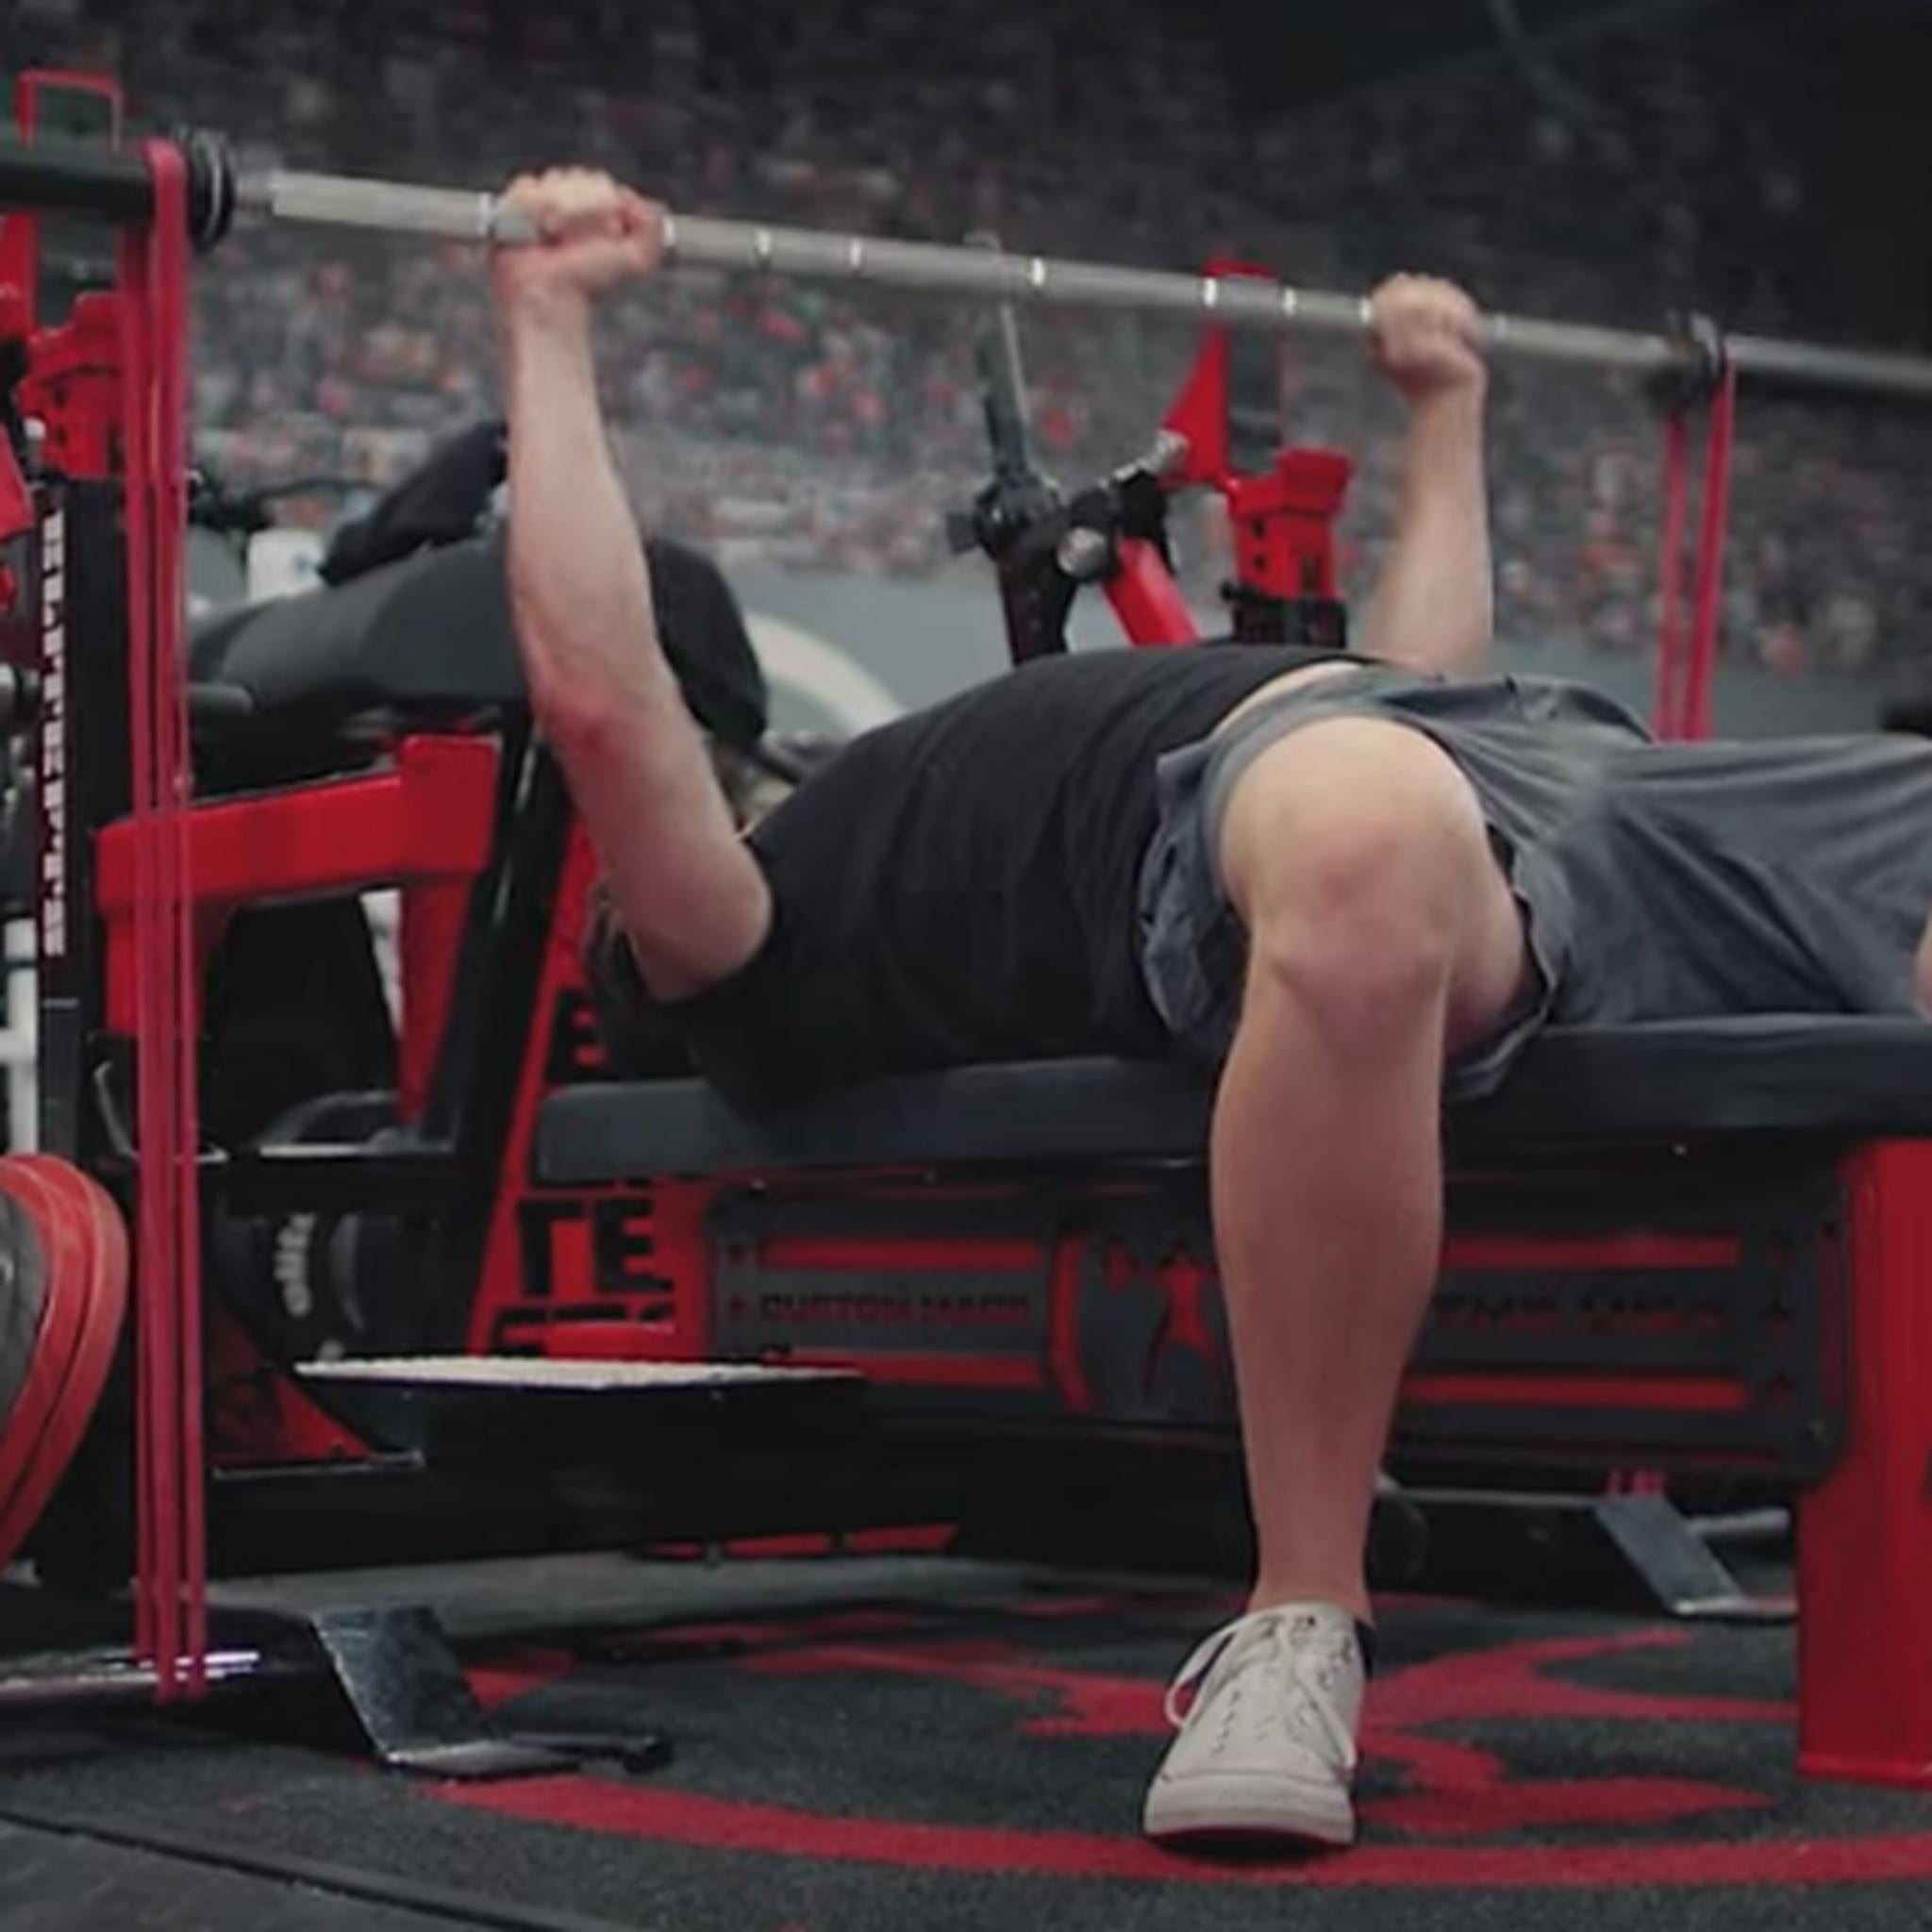
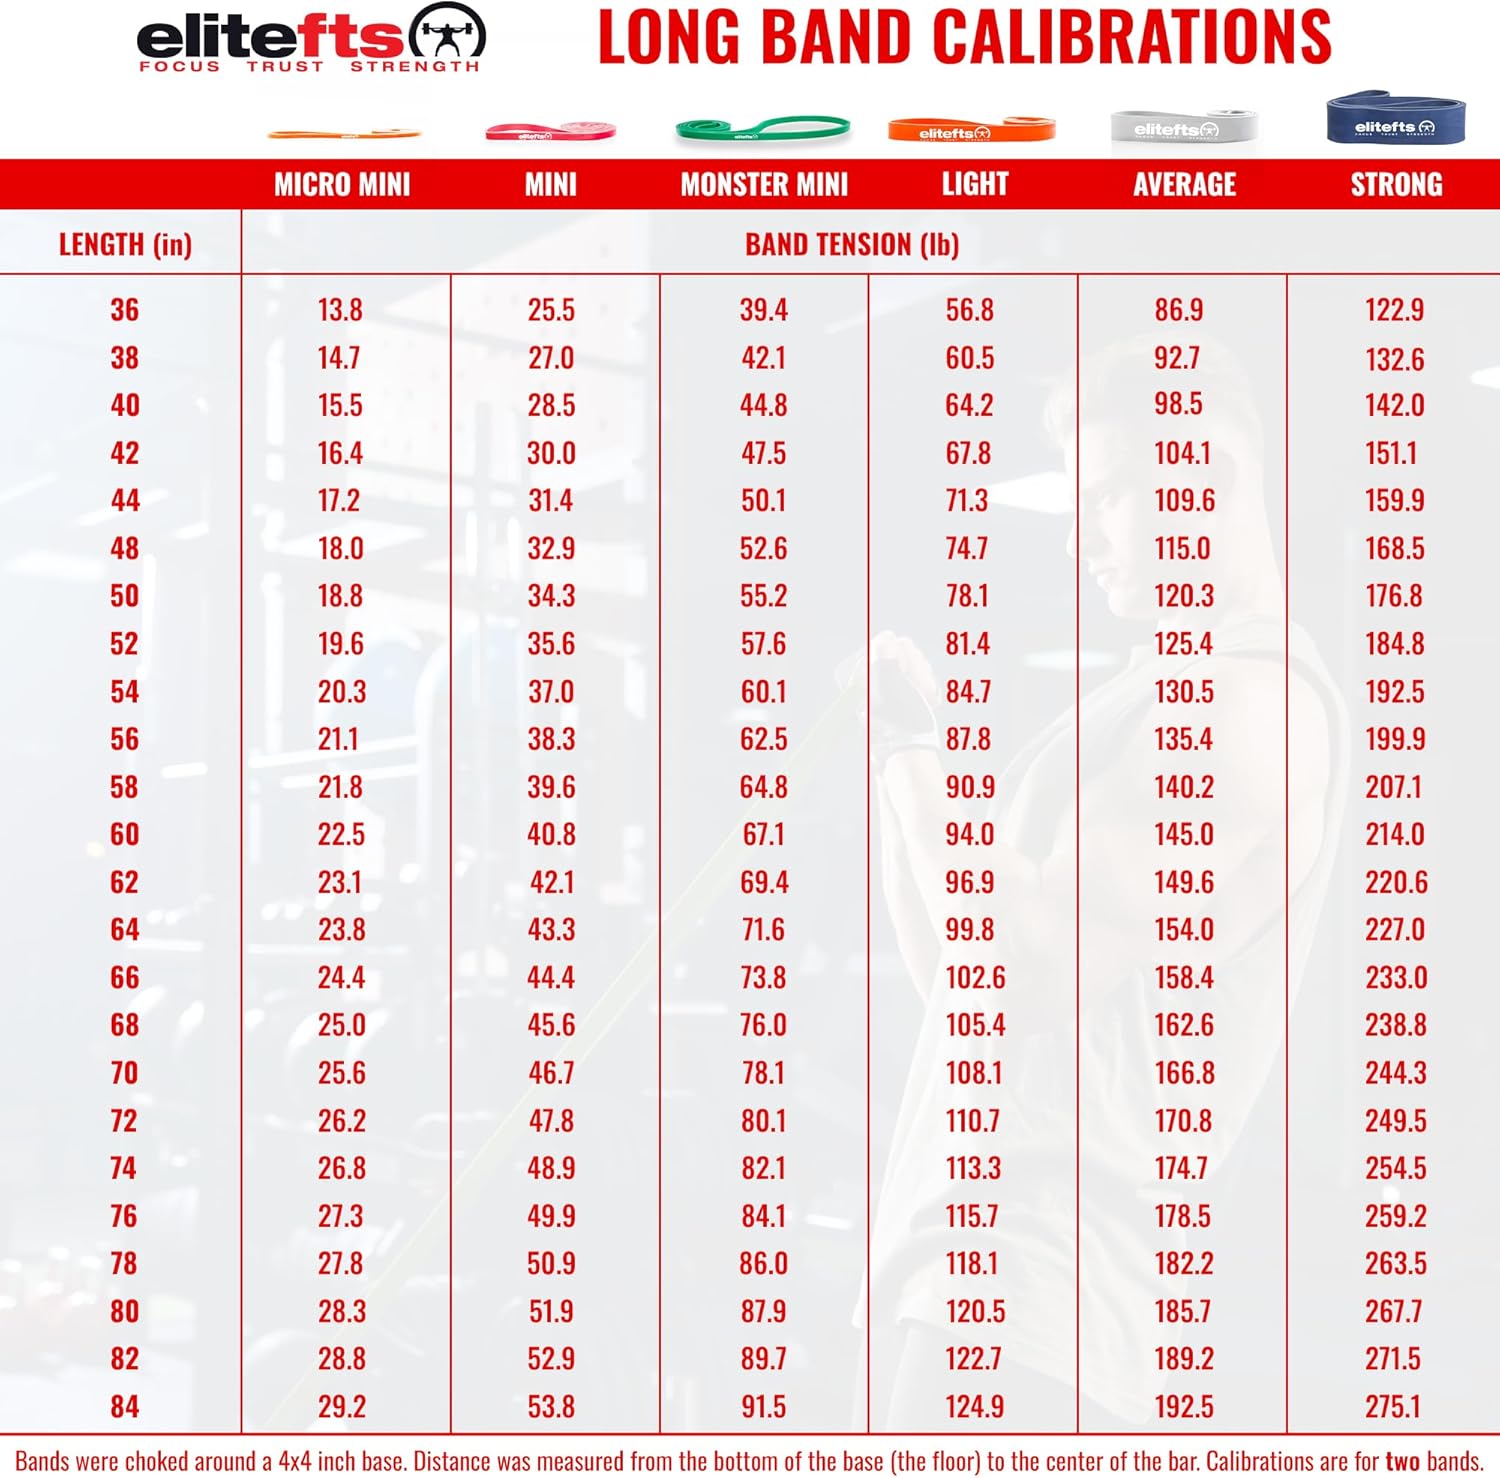
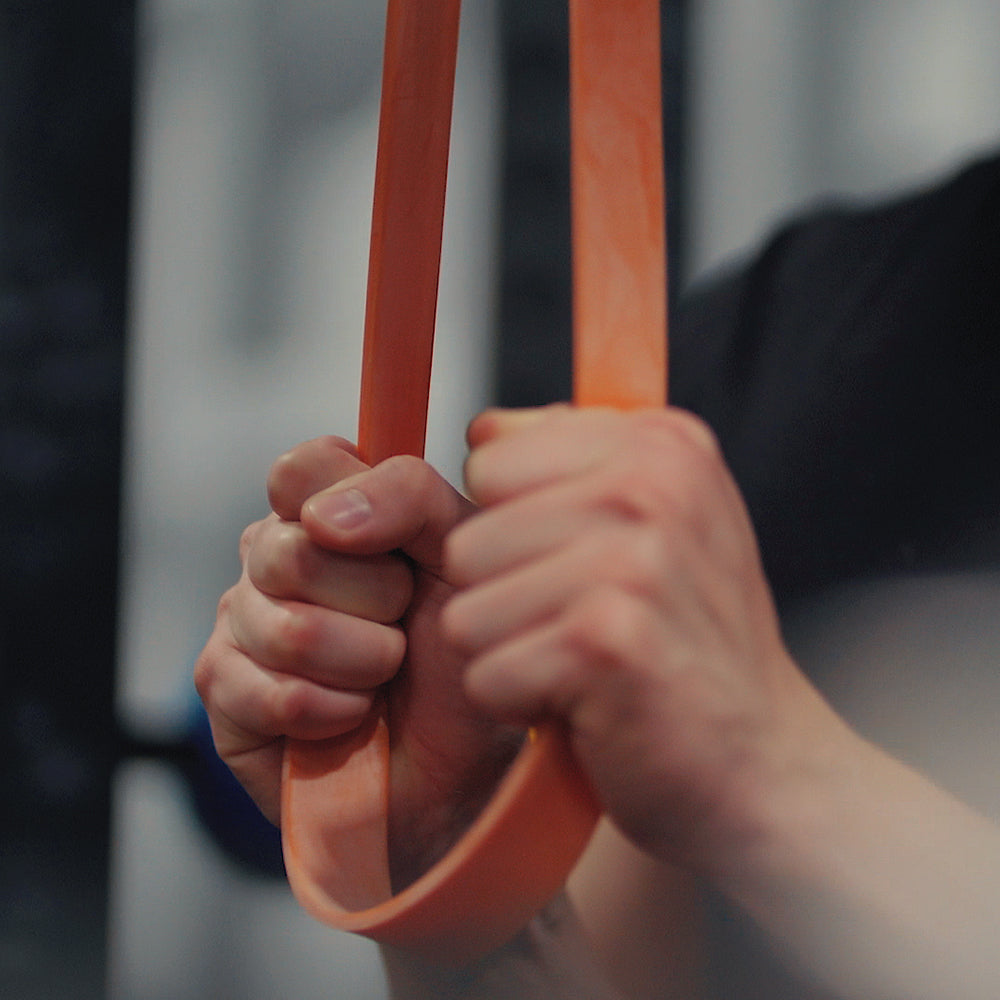
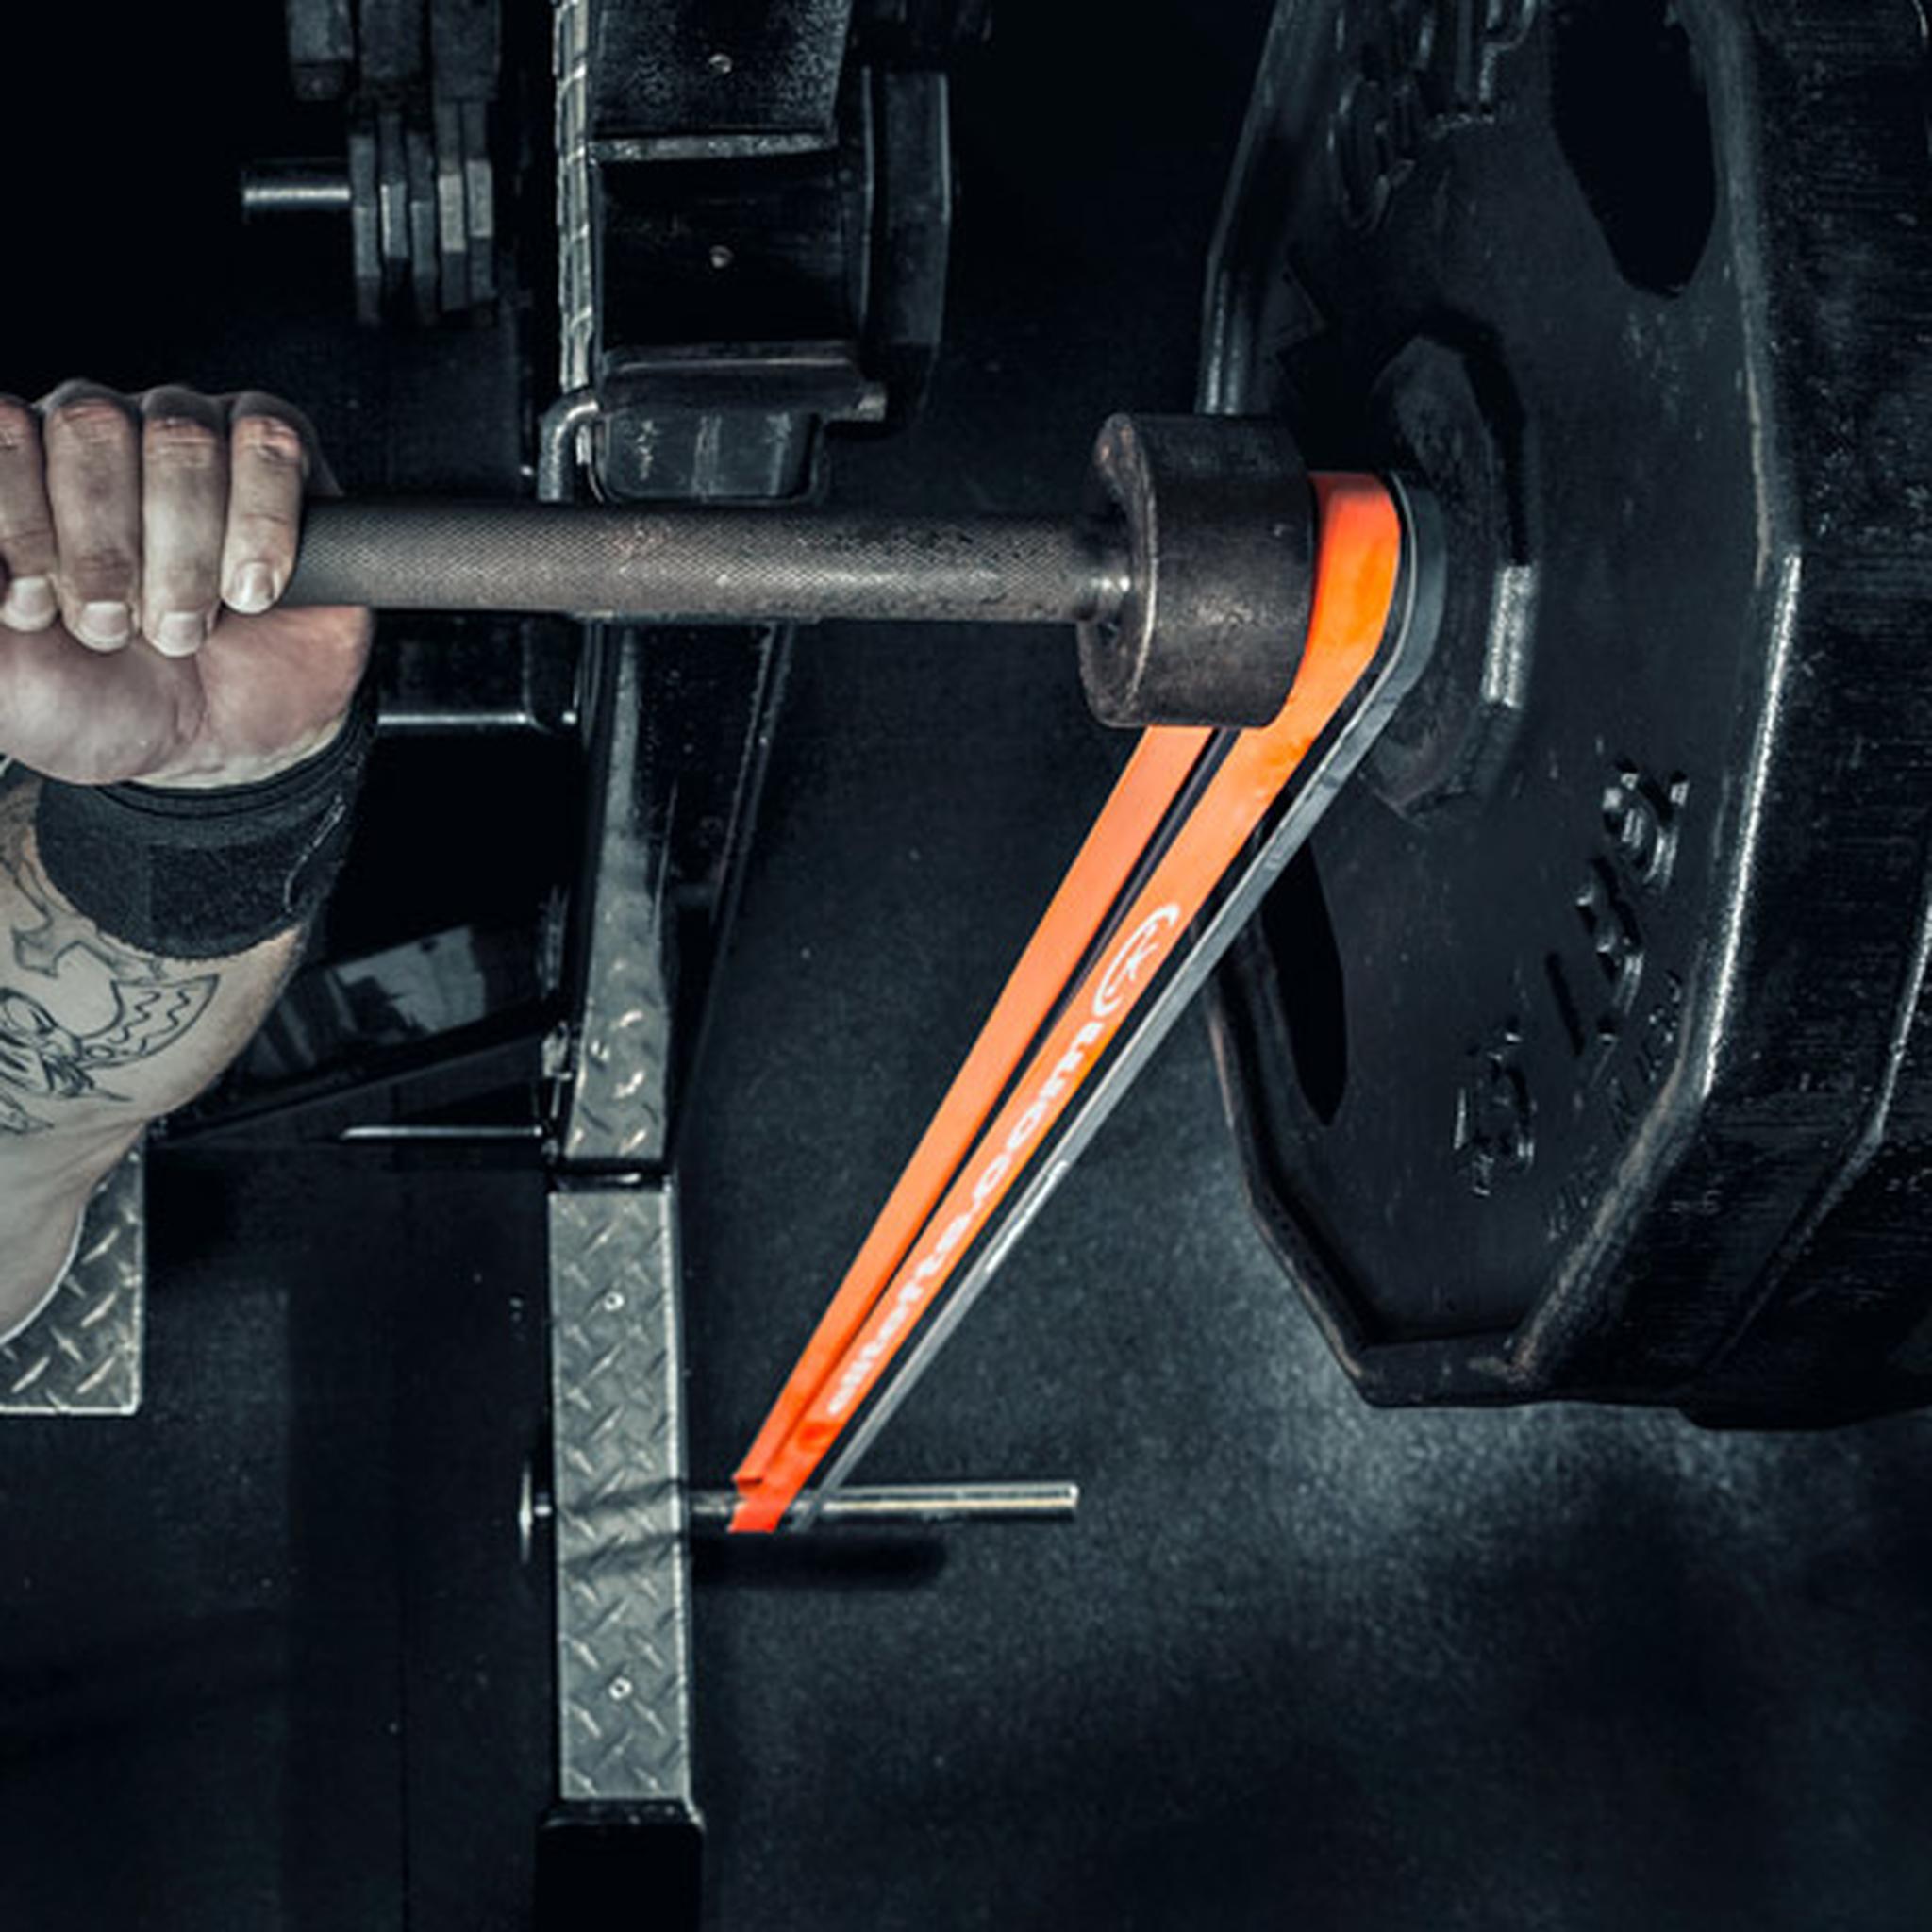
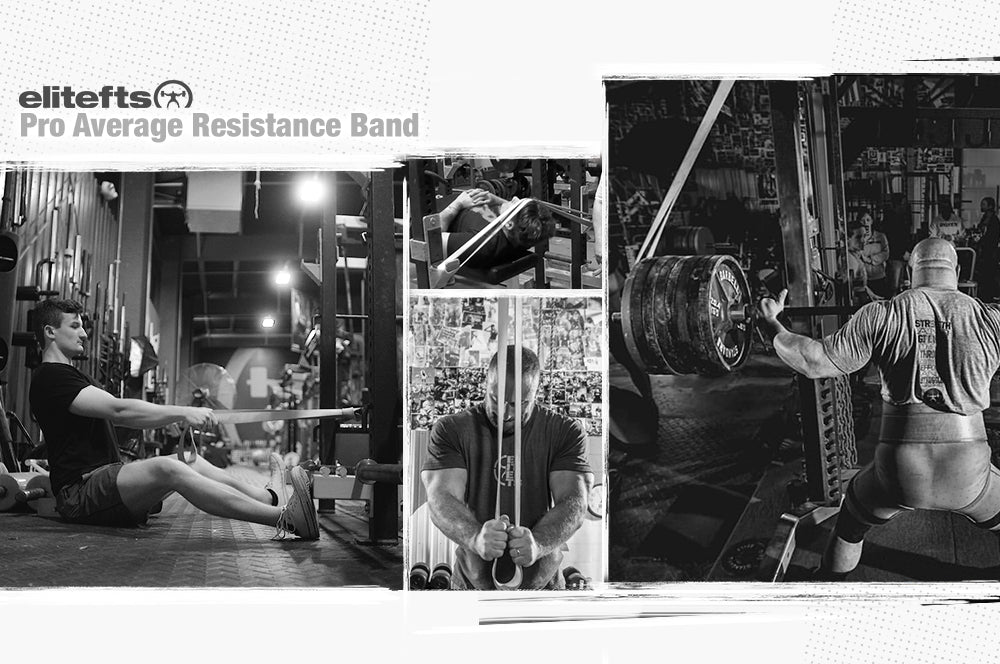
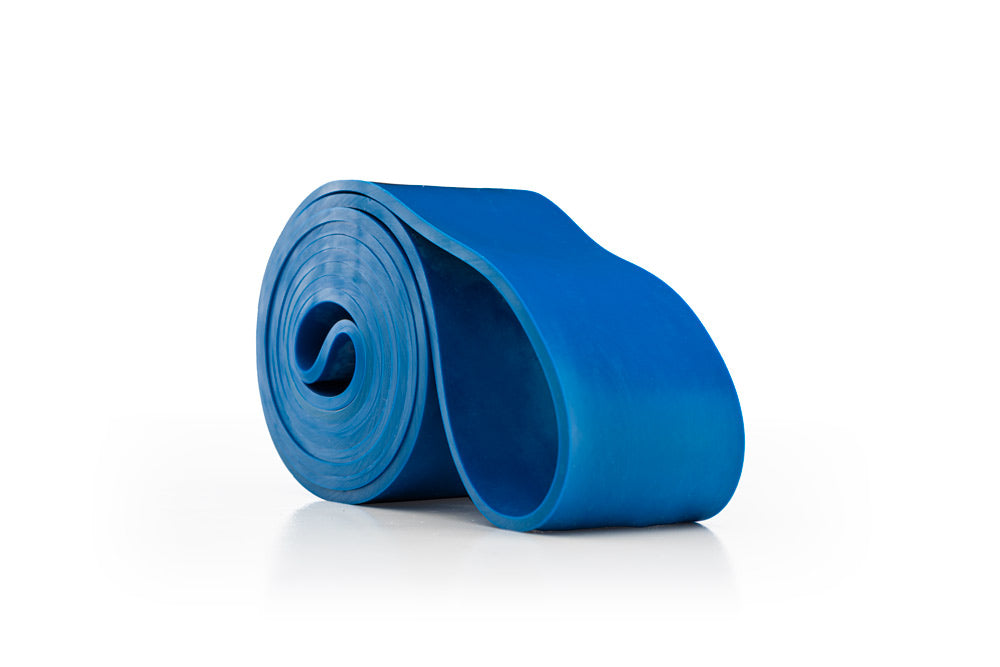
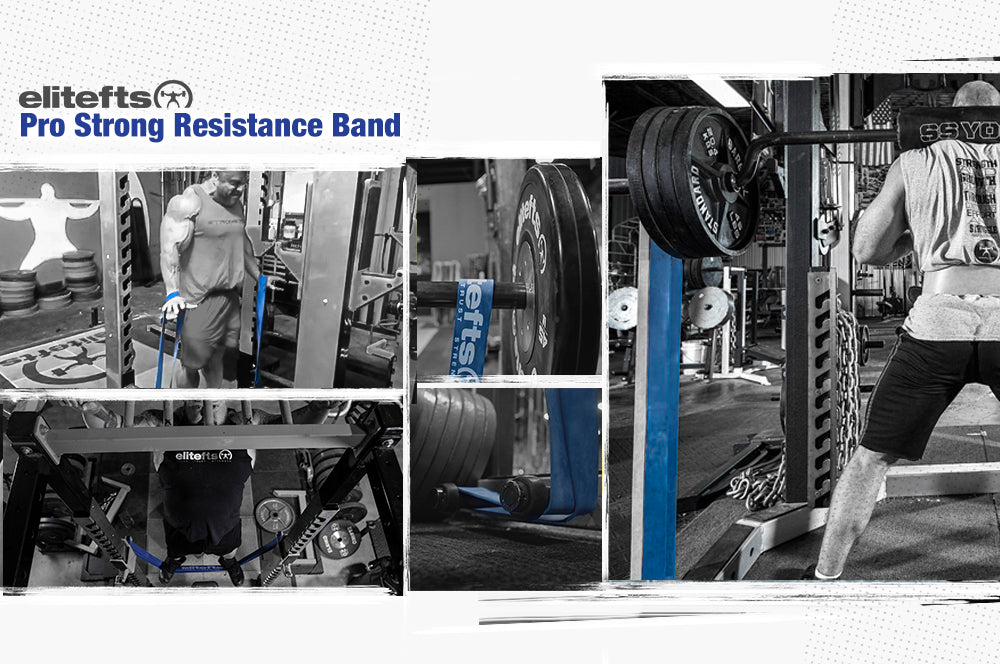
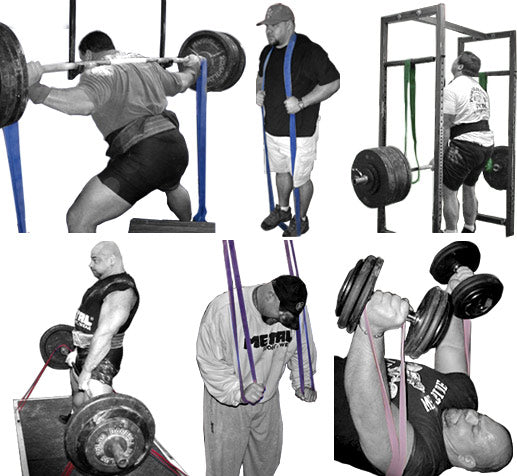
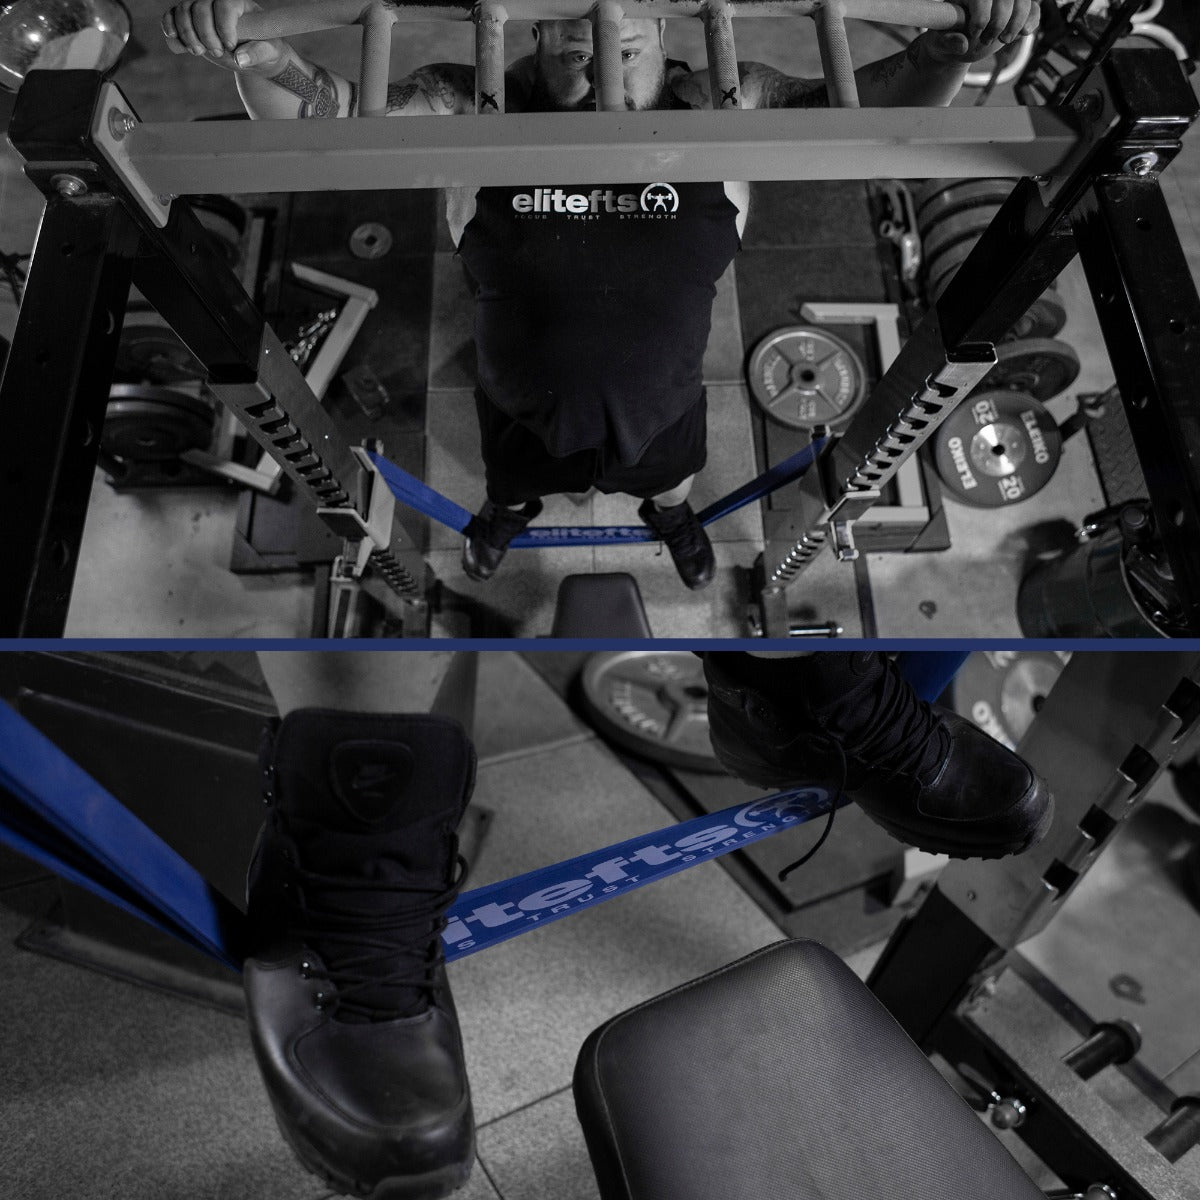
The use of bands has rapidly increased in popularity and for good reason – they can make a big difference in training. This rack was among the first to offer band attachments, but none offer the simplicity of this rack. The pegs are built out of solid chrome steel and are extremely strong. You don’t have to worry about buying dumbbells are creating a safety hazard with some sort of makeshift band pegs. These are easy to set up and are adjustable to find the perfect spot for you. You can also spread the band pegs and adjust the tension, giving you a number of options for exercises. With the number of available slots for band pegs, you’ve multiplied the number of exercises you can do. If you can’t choose both the top and bottom option, but want one, go with the bottom. Both would be preferable – because of the exercise options – but the bottom would be ideal for someone just getting one or the other.Bar Holders
This may not seem necessary, but it’s a great way to save space and keep things in order. If you’re putting your weights away, you want to be able to put your bars away as well. If you have multiple bars – which, of course, adds to your available exercise options – then this is a must. You don’t want bars lying around and you want your personal gym to look its best. The option is a one or two-bar holder, but the two-bar is probably the best option. Keeping a bar in the j-hooks and two in the bar holder, you’ve given yourself the option of having three quality bars without taking up any extra space. These holders are at the back end of the power rack and are easy to use.Chain Storage
Like the bar holders, you don’t want a mass of chains lying all over the place. If you’ve made the financial commitment to your own gym or have a number of racks at your school, uniformity and an organized look undoubtedly creates a better lifting environment. If you don’t use chains, this obviously wouldn’t be necessary, but if they are, this is a must. The storage makes it easier than picking them up because all you have to do and grab them and load them on the bar. "One added benefit of the chain holders is that it provides a very fast and easy place to put the chains if someone is working in with you that isn't using them," Dave said. "It keeps the chains organized for when you need them next."Box Squat Box
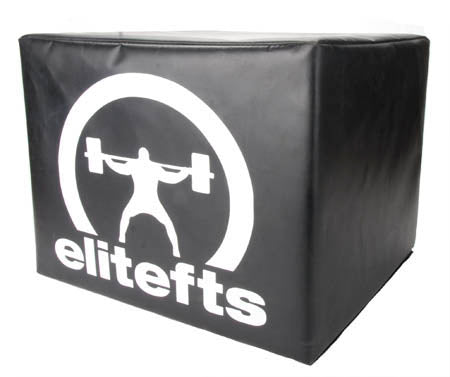
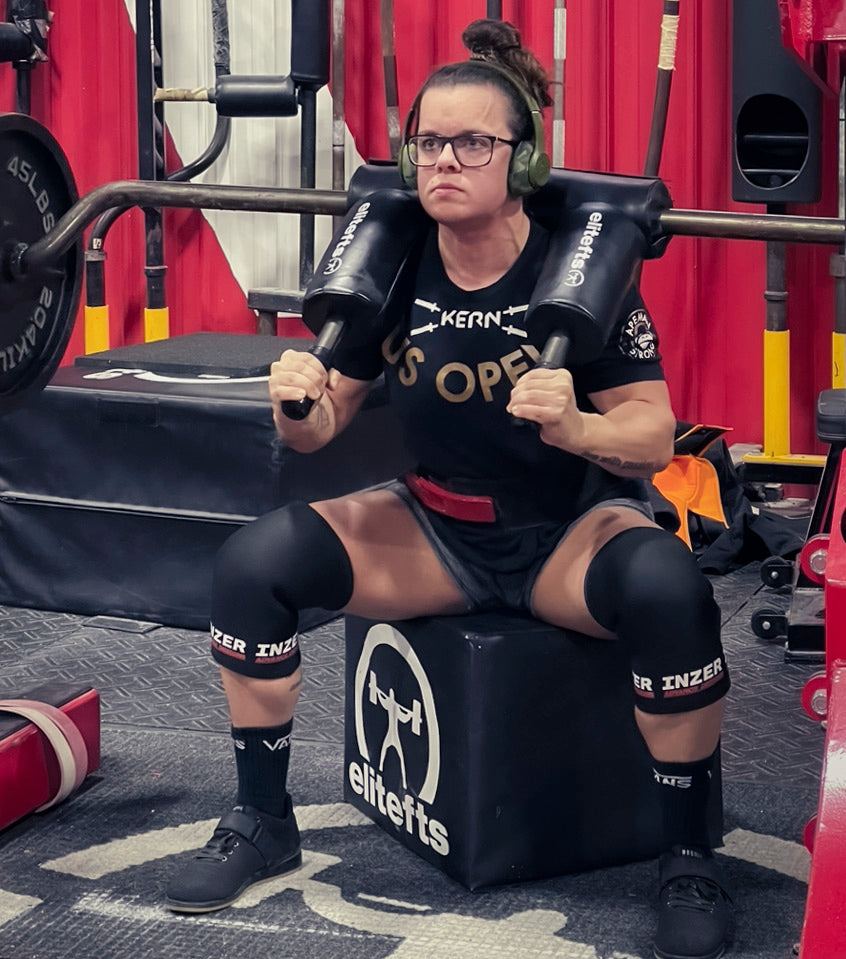
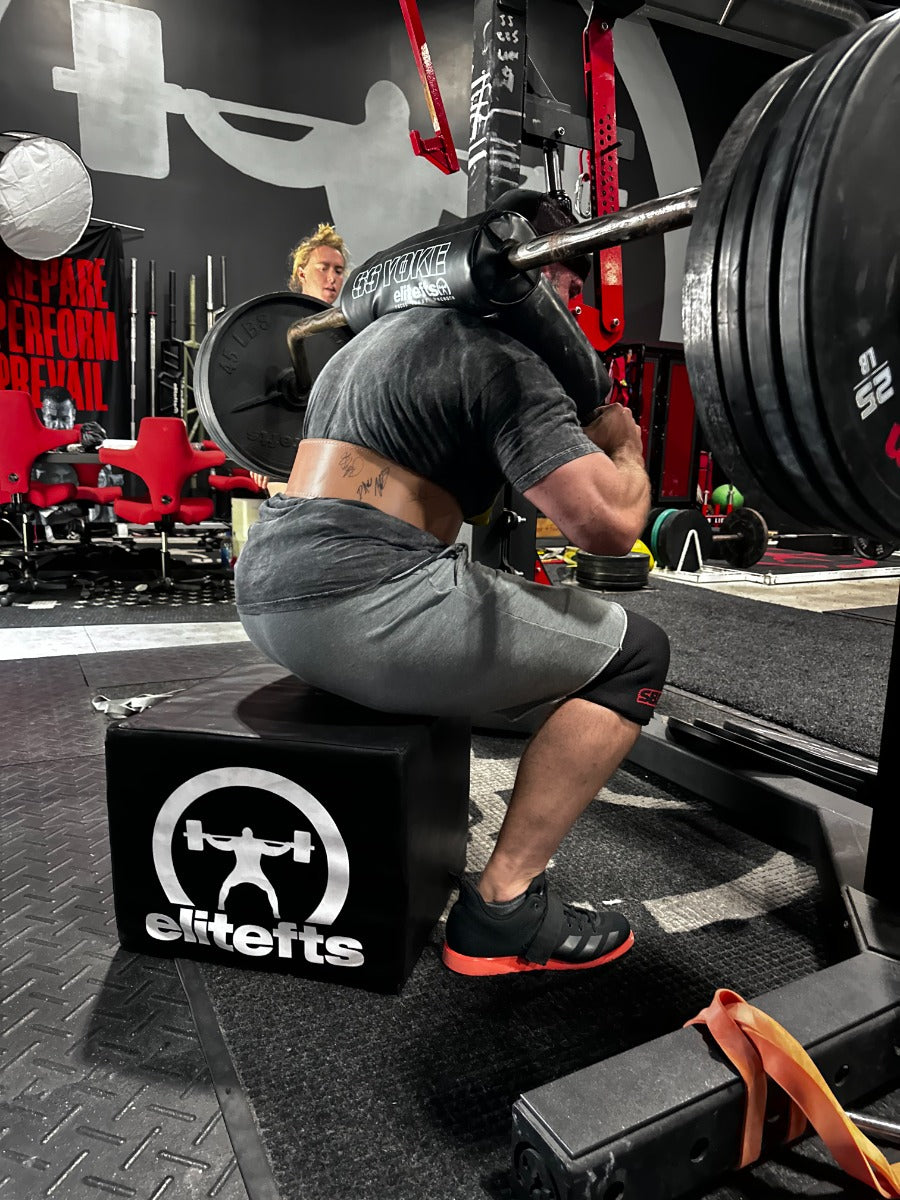
For powerlifters or anyone needing to check depth or break in a suit, a box squat box is probably necessary. A box can also alleviate stress on the knees and is a great spacesaver that adds multiple exercise options. For those that can’t decide between a box and a step-up and only want one, the box is likely the more desirable choice. The box adjusts easily and to a number of different heights (there’s nearly a 10-inch range in heights) and you can still do step ups with it. Obviously, though, you can’t do a box squat on step-ups. The box will also stand the test of time. It is made of solid 2 x 2 11 gauge texture-coated steel to ensure maximum loads and comes complete with a slide-in post pin and lock down screw. What else do we need to say about box squats that hasn't been covered before? ReadTHIS for more information.
Deadlift Platform
These look impressive, are heavy duty and can be a great addition, but make sure you have the room for one first. The platform is either 6 x 8 or 8 x 8 and won’t exactly tuck into the corner of your garage. If you’ve got the space and resources for it, it’s a wise investment. These platforms give you a good, stable, hard surface to perform every lift, but most notably - the deadlift. The platforms are made from 11-gauge tubing and the rubber for the platform is ¾-inch rubber, meaning it will withstand weight dropping on it. You can purchase horse mats from a tractor supply story, but they can fall apart easily. If you’re interested in big deadlifts and big squats – and who isn’t – your best bet is going with one of these platforms if you’ve got the space. As far as options, stick to the rubber and go with the 6-by-8 platform. It gives you everything you need without breaking the bank.Bench
Again, this is a no-brainer; it’s simply a matter of choosing the one that’s best for you.- The first option is a flat bench, which is strong and sturdy but doesn’t offer many options.
- The next is the 0-90 flat to incline bench. The gap between pads is very small and the incline capabilities offer more exercise options than the flat bench.
- The last option is the 0-90 walk-up bench. Usually, there’s a small gap between the pads and then there’s pin that can get lost. However, this no pop-pin design offers maximum durability and there’s very little gap between the back pad and the seated pad.

Rack Height
The standard rack height is 7 ½ feet, but there's an option of cutting it down to 7 feet. That’s a great option for people that want to have a gym in the basement but don’t have a tall ceiling. The rack is also wide enough to accommodate your sumo-based lifters, giving you plenty of options for your all of your lifting needs. "This really comes into play when you're trying to get this into a basement and only have so much ceiling height to play with," Dave said.My Rack
Again, this doesn’t have to be what you select, but is instead more of a guide to help you go about the process. I’m not giving myself unlimited resources, and this would be my final decision in building my own 3-by-3 rack.- I would get a set of quick release spot pins as my first option and then add an extra set of J hooks.
- I would add a dip attachment as well.
- For the chin bar, I would get the monkey bar.
- I would add bottom band pegs and get the two-bar bar holder.
- A box squat box would be added, as well as a rubber 6-by-8 platform and a 0-90 walk-up bench.
Most Popular Options
In case you're wondering, based on what we've sold, these are the options most people get with the Build Your Own 3 x 3 Rack.- Extra quick release spot pin
- Extra J-hooks
- Mokey bar chin attachment
- Band Pegs - top and bottom
The Best Value!
That’s the beauty of this build your own 3-by-3 rack – it’s all up to you. You design it, you build it to your own specifications and you’ve got a rack that’s totally suited for you. You’ve also got the added assurance you’ve got the best rack around and one that will stand the test of time, no matter how strong you get. This is the perfect value for the hardcore gym or home user. Why? Our highest end stainless-steel Signature Rack does not appear on our Web site because it's phone-order only (mostly to Universities using Purchase Orders), but it STARTS at $3,000 BEFORE options and our Econo Rack doesn't have the individual features you can get with the others and starts at $749. That leaves our Professional Rack that starts at $1,449.99! It has ALL the specific features you want and need to break PR's at an affordable price making it the biggest bang for your buck! [caption id="attachment_8989" align="aligncenter" width="246"]
Signature Rack *starting around $3000.00[/caption]
[caption id="attachment_8993" align="aligncenter" width="258"]

Classic Rack (*Starting around $1449.99) Best Hardcore Value![/caption]
BEST HARDCORE VALUE!
[caption id="attachment_8995" align="aligncenter" width="245"]
Economy Rack *starting around $649.00[/caption] If you have any questions about this rack or any others please post below or feel free to call us toll free at 888-854-8806.

