I came up with the TEAM SKIP Training Protocol back in 2012. Over the years, it has remained relatively unchanged as far as what is available to the public. Behind the scenes, I have made changes for my clients based on their individual needs and the feedback I have received from them—hundreds of them—in the last ten years. Obviously, many more have used my training protocol, but I don't embellish numbers. The point is that there has been a lot of feedback over the years, and I also had my own input based on my experience while using it for my training.
I decided it was time to update the public version of the TEAM SKIP Training Protocol after receiving a lot of questions over the years that would require me to repeatedly say, "Yeah, that is still correct, but I have made a lot of subtle changes over the years to make it even better." That response is always followed by, "Where can I find the updated training plan?" I am forced to respond with, "It's a work in progress," which basically means that I would love to finish it up, post it publicly for free, and not have you pay me to find out how to make your training plan even more efficient.
RECENT: #134 IFBB PRO Ken Jackson | U Of M Football 97', John Meadows
So, why am I posting it for free now? Because I'm tired of answering the questions. Plus, the changes make for a much more optimal system that is even better than the original, and it doesn't look good if someone Googles my training protocol and finds the 2012 version.
The Design
Before I dig into the nuts and bolts of the plan, I want to go over a few reasons why I designed my training plan the way I did.
Most people struggle with three main things when it comes to optimally programming a hypertrophy training plan, and I call it FIV:
- Frequency
- Intensity
- Volume
All three of the above variables must be considered regarding maximum stimulus vs. maximum recovery. Too much of one and not enough of the other will not be optimal.
Frequency
Frequency is the most black and white of the three. I like frequency to be locked in at a specific rate and left alone. If you train with the same training schedule or rotation, this factor (frequency) will remain constant.
Intensity
Intensity is up next, and I make this as black and white as possible. Working sets need to be performed to failure. Failure means that you either failed when attempting a rep or will fail if you attempt another rep. Even though you are training to failure, form absolutely must remain constant. If you cannot maintain form, the set is done whether you feel you are at failure or not. Warm-up sets are not counted—only work sets. This makes for another black-and-white variable that will remain constant.
Volume
With the other two variables being constant, I like to focus on different levels of volume to find out where a client will progress best. This is where the "progressive" part of progressive volume comes into play. My training protocol starts with lower volume and builds over the course of a six-week cycle. Technically, it would be a seven-week cycle if I count the deload/cruise week. With the intensity and frequency being very rigid, I use volume to determine what workload works best.
What may seem counterintuitive is that when I find the amount of volume that works best for a client, I don't focus only on that amount. I continue to use the progressive-volume approach, which allows the client to build recovery ability with the lower volume, grow optimally with the volume they respond to the best, and then push their body further with the higher volume. I am sure we can all agree that if you think you have found something that works well for your training, if you sit there and continue to do the same thing over and over, it will end up not causing a different stimulus for the body to have to adapt. The constant changing of volume keeps the body off balance to continue to provide a different and unpredictable stimulus.
The progressive-volume approach is a six-week blast cycle followed by a one-week deload/cruise week for a total of seven weeks. It looks like this:
Week 1 and 2 - 1 working set per exercise.
Week 3 and 4 - 2 working sets per exercise.
Week 5 and 6 - 3 working sets per exercise.
In Week 7, you will deload/cruise for one week, returning to one working set per exercise. After this deload/cruise week, you will restart the six-week training cycle with one working set per exercise.
A deload or cruise week means you train light and fast. You will do the same exercises but will not train to failure. Failure means that every working set is an all-out effort until you cannot get another rep. While cruising, you want to drop your weights to roughly 70% and leave a couple of reps in the tank instead of going 100%. This will allow you to train but increase recovery during that week so that you are stronger the following week when you return to 100% effort.
IMPORTANT: Do not think that deload/cruise weeks are not productive due to training lighter and not training to failure. Nothing could be further from the truth. You grow when you recover, and you grow optimally when recovery is maximized. Deload/cruise weeks do just that. They help to keep recovery maximized.
It is important to note that you do not have to increase the volume every two weeks unless you feel you can handle the increased volume. It is an option to offer you the opportunity to increase it if you want to, but it is not a requirement. If you feel your recovery is compromised, stay with your current level of volume and do not increase it.
Training Schedule and Rotation
Workout 1
Chest/Back/Rear Delts/Traps
Workout 2
Delts (side and front)/Triceps/Biceps (if you have sore, inflamed, or irritated elbows, do biceps before triceps)
Workout 3
Quads/Hams/Calves
Abs are to be trained at least once every three-day rotation and if abs are a weak point (not due to body fat but from an underdeveloped musculature), do them twice every three-day rotation.
The three-day-per-week schedule maximizes recovery more than all of the training schedules. This is NOT a "starter" or a "newbie" plan. This three-day-per-week schedule has been used by top bodybuilding amateurs, in addition to almost every competitive division—to maximize recovery and grow again.
The 3-day rotation looks like this:
Monday – Workout 1
Wednesday – Workout 2
Friday – Workout 3
Any other variation of this rotation is acceptable (Tue/Thur/Sat or Sun/Tue/Thur, etc.). This rotation will remain consistent every week.
The four-day-per-week schedule is a rotation that changes every week. The muscle groups you train for the first session of the week will be trained again for the last session of the week. Each week is different for three weeks until the cycle repeats itself.
The 4-day rotation looks like this:
Mon-1
Tues-2
Thurs-3
Fri-1
Mon-2
Tues-3
Thurs-1
Fri-2
Mon-3
Tues-1
Thurs-2
Fri-3
The following Monday, it starts the cycle over with 1/2/3/1.
Again, the structure doesn't have to be M/T/Th/F. It can be any combination of days of the week as long as the off days are balanced and you don't train more than two days in a row. You could also split up the Thursday and Friday workouts by pushing the Friday workout to Saturday. I prefer that you keep the same consistent schedule every week, though, unless something unexpected happens.
The five-day-per-week rotation is rarely used. It's a frequent schedule, and recovery must be incredible to progress on this rotation. And I do not mean that as a challenge or that I'm saying, "You can't do this because you're weak." I'm saying that nine-and-a-half out of 10 people will overtrain on this schedule within weeks. This rotation is an option, but it is only for special occasions when someone has a recovery ability that 95 out of 100 people do not have.
The 5-day rotation looks like this:
Mon-1
Tues-2
Wedn-3
Thurs-1
Fri-2
Mon-3
Tues-1
Wedn-2
Thurs-3
Fri-1
Mon-2
Tues-3
Wedn-1
Thurs-2
Fri-3
On Monday, the rotation starts over at 1/2/3/4/1.
Exercise Methodology and Ideology
Each muscle group will have an "opener" that is an isolation exercise. The focus of this opening movement is not to push max weights but to get the muscle warm, activation even from left to right, and get the muscle ready for the heavier compound exercises to follow. Openers should be considered a "stretch-and-squeeze" exercise that almost exaggerates the range of motion. This means that you are stretching as much as is naturally possible and then contracting that muscle as much as possible for each rep.
If using a lat-pulldown as an example, full stretch at the top with scapula protracted, hesitation at the top, pull into a controlled and full contraction with the scapula retracted, and hold that contraction. That is one rep. Openers are about controlled movements through a full ROM. The weight is too heavy if you cannot perform all of your reps in a set with full control, full stretch, and a squeeze.
Openers should be performed with meticulous form and in the rep ranges of 12-15, with 15 being the goal. You do not go to failure on openers. You should be able to get another couple of reps if someone was holding a gun to your head. A good rule of thumb is to leave roughly two reps in the tank.
Because openers are the first exercise for each muscle group, there should be a few lighter warm-up sets before the first working set. How many warm-up sets are needed is an individual thing. I usually do about three warm-up sets, but someone else may need one or two, while someone else may need four. The focus of warm-up sets is simple: get blood into the muscle, increase the temperature of the muscle, and work out the snaps, crackles, and pops. When those three things are done, you are ready to get to work.
The Grow Stuff
Openers are important, but they are essentially just setting up the following exercises to be more productive, efficient, optimal, and injury-free. The Grow Stuff (GS) refers to the sets that follow the openers and are the progress-driving sets for that muscle group. Notice I said "sets" instead of "exercises." I did this on purpose because I believe that almost any exercise can be used for growth and progress. If done correctly and with good form, dumbbell flyes can be incredibly productive and beneficial for chest growth. I don't like to label one exercise better at producing more growth than another. I would rather rely on mechanics and effort/intensity for progress.
Most muscle groups will have at least two Grow Stuff exercises. These exercises can (and likely will) be compound exercises, but it isn't a rule that they have to be compound in nature. There are a lot of isolation exercises that are great for growth. Again, my approach is more about how much stress you can apply to a muscle vs. strictly training heavier and heavier over time.
Repetition ranges for Grow Stuff exercises are recommended to be in the range of 12-15 for the first exercise and then 10-12 for the second exercise and any exercises that follow for that muscle group.
Repetition Ranges
I don't care what you say and how you argue it; low reps are easy compared to higher reps. Failure at six reps or failure at 15 reps shouldn't even be compared or discussed in the same sentence. Failure at six reps will not have you feeling like you want to die, but failure at 15 reps will make some people never want to train again.
The above being said, there is more of a stimulus for hypertrophy in the higher rep ranges. So, I prefer that you shoot for 12-15 reps on the first Grow Stuff exercise, and if you come up short, you will still be north of 10 or 12 reps. Shoot for 10-12 reps on the second Grow Stuff exercise, and any Grow Stuff exercises that follow for that muscle group. Dropping the rep range for the second and third Grow Stuff exercises is significantly safer than doing it for the first exercise. If you try to maintain high rep ranges with high intensity, you will find that fatigue will stop the set short. Using these two slightly different rep ranges for Grow Stuff exercises allows you to train in two different rep ranges.
It is important for me to note that I am not married to log-book progression in micro-cycle format. I believe that increasing strength with solid form is productive, but I don't believe that strength has to improve every workout or every week to grow. If you train to failure and your recovery is maximized, you will get stronger over time without your entire focus being on getting stronger. Training to failure with great form is more productive than focusing entirely on strength increases and here's why:
If you hit 315 for 13 the last time you bench pressed, you are going to want to hit 315 for 14 or 15 to show progression in your log book. There is no way to keep all variables the same when going into a set where you KNOW you have to get at least one more rep at a weight that last time felt like it was going to crush you. Without consciously being aware of it, you go into this set of 315 with a slightly quicker pace to your reps, and you get 15 instead of 13. Is this true progress? Without consciously being aware of it, you go into the set of 315 and stop one inch short of lockout on every rep, allowing you to get three more reps. Is this progress? What if you go into this set of 315 after resting for five minutes versus two-and-a-half minutes, and you get 16 reps? Is this progress?
The answer? If you went to failure, then it IS progress. You can't go past
One-hundred percent and failure with lockouts that are short by one inch, or a rep tempo that is slightly quicker than last time, is still f****** failure. Failure is a stimulus the body has not seen, so adaptation will take place provided all other factors are considered (diet, sleep, hormone levels, stress, etc.). The TEAM SKIP training protocol also calls for working sets to be taken to failure. The difference is that I am not preaching that you need to use the heaviest weights you can and risk injury. I am saying go as heavy as you can but with control of the weight and perfect mechanics. This will provide the stimulus needed without an increased risk of injury.
Finishers
I don't program finishers because I don't think they are very productive. A finisher is basically the same thing as an opener but as the last exercise for a muscle group instead of the first exercise.
I prefer isolation work at the beginning of the workout because when contractile force is high, the muscle is strong. In my experience, trying to get an isolation movement to "stretch and squeeze" is not going to do much after busting your ass with Grow Stuff and an opener. If you get to the end of your workout and you can still get a strong contraction on an isolation movement, you need to figure out what you are doing wrong in all of the prior sets.
Total Volume For Each Muscle Group
Chest –
1 opener, 1 flat or decline GS, 1 incline GS, 1 flat or decline GS
Back –
1 opener, 2 row GS, 1 lat-pull GS (if your lats are weak, go with 2 lat GS movements and 1 row GS movement)
Delts –
1 opener for side delts, 1 GS for side delts, 1 GS for front delts, 1 GS for rear delts
Triceps –
1 opener, 2 GS
Biceps –
1 opener, 2 GS
Quads – (Can open with extensions and quad-dominant press like hacks, pendulum, etc.)
1 opener, 3 GS
Hams – (Can open with leg curls but can also use leg curls for GS)
1 opener, 1 GS
Calves –
3 GS
Abs –
1 opener, 2 GS
Traps –
1 GS
If pulling deads, deads will replace one of the row GS sets.
NOTE: I recommend NOT pulling deads and squatting in the same week. Rotate deads one week and squats the next.
Always do deads as your last exercise for back.
Never pull deads to failure. Always leave reps in the tank.
I understand it's trendy and controversial (I prefer "novel" but whatever) to consider deads a leg exercise. I don't, and I never will. Clearly, the entire body has to work during a deadlift, but the back is taking the brunt of the stress/stimulus. If you want to argue this, take it somewhere else because I'm done arguing it.
List of Openers
Below is my list of Openers. There are many more, but I am listing the openers that I prefer.
Chest –
-
Cable Flyes - Pec Deck (preferably one that allows the elbows to come very close together at the top of the movement)
- Machine Flyes
Back –
- Standing Iso-Lateral Cable Lat Pulls (it's a combination of a row, and a Lat Pull – much like the angle of the Hammer Strength Lat Pull)
- The above Hammer Strength row can also be used as an opener
-
Assisted Chin Machine - Standing Cable Low Rows (essentially a cable t-bar row)
Delts –
- Cable Side Laterals (low cross cables)
- Any seated or standing Side Lateral Machine
(You will not need an opener for rear or front delts, and always start delt workouts with side delts)
Triceps –
- Any Cable Pressdown with different bar attachments
- Seated Machine Skull Crusher
Biceps –
- Seated Iso-Lateral Curl Machine
- Standing EZ Bar Cable Curls (standing away from the pulley)
- Scott Curl with cable or barbell (NOT preacher curls, Scott Curls are different)
Hams –
(NOTE: Leg curls can be used for Growth Stuff and for openers)
Quads –
-
Leg Extensions (ONLY if you can do them first without any discomfort in the knee) -
Hack Squats or Pendulum Squats (NOTE: These can be used as openers AND Grow Stuff. Some people cannot do extensions first because the knees hurt or there is discomfort.)
Calves –
There are no openers for
calves. All calf movements are isolation movements and are considered GS.
Abs –
- Machine Crunch (where the feet are on a foot bar or under pads, and the knees come up at the same time that the shoulders go down)
- Standing or Kneeling Rope Crunch
REMINDER: There are no openers for calves, rear or front delts, traps, lower back.
Grow Stuff Exercises
Below is a list of Grow Stuff exercises that I recommend. There are a myriad of exercises that can be used, so know that if an exercise isn't listed in my list, that doesn't mean it can't be used. I can't possibly list every single exercise, so I am listing the exercises I recommend.
Any iso-lateral or dumbbell exercises can be done both sides at the same time or alternating left/right/left/right, etc. Try to avoid doing all of your reps on one side first and then all of your reps on the other side.
Chest (Any of the below exercises can be performed on an incline, decline, or flat) –
- Dumbbell Presses
- Dumbbell Flyes
- Hammer Strength Presses
- Numerous other machine presses
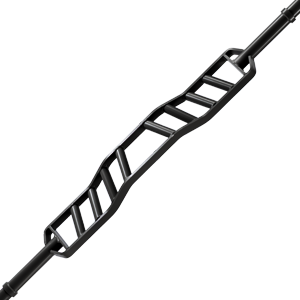
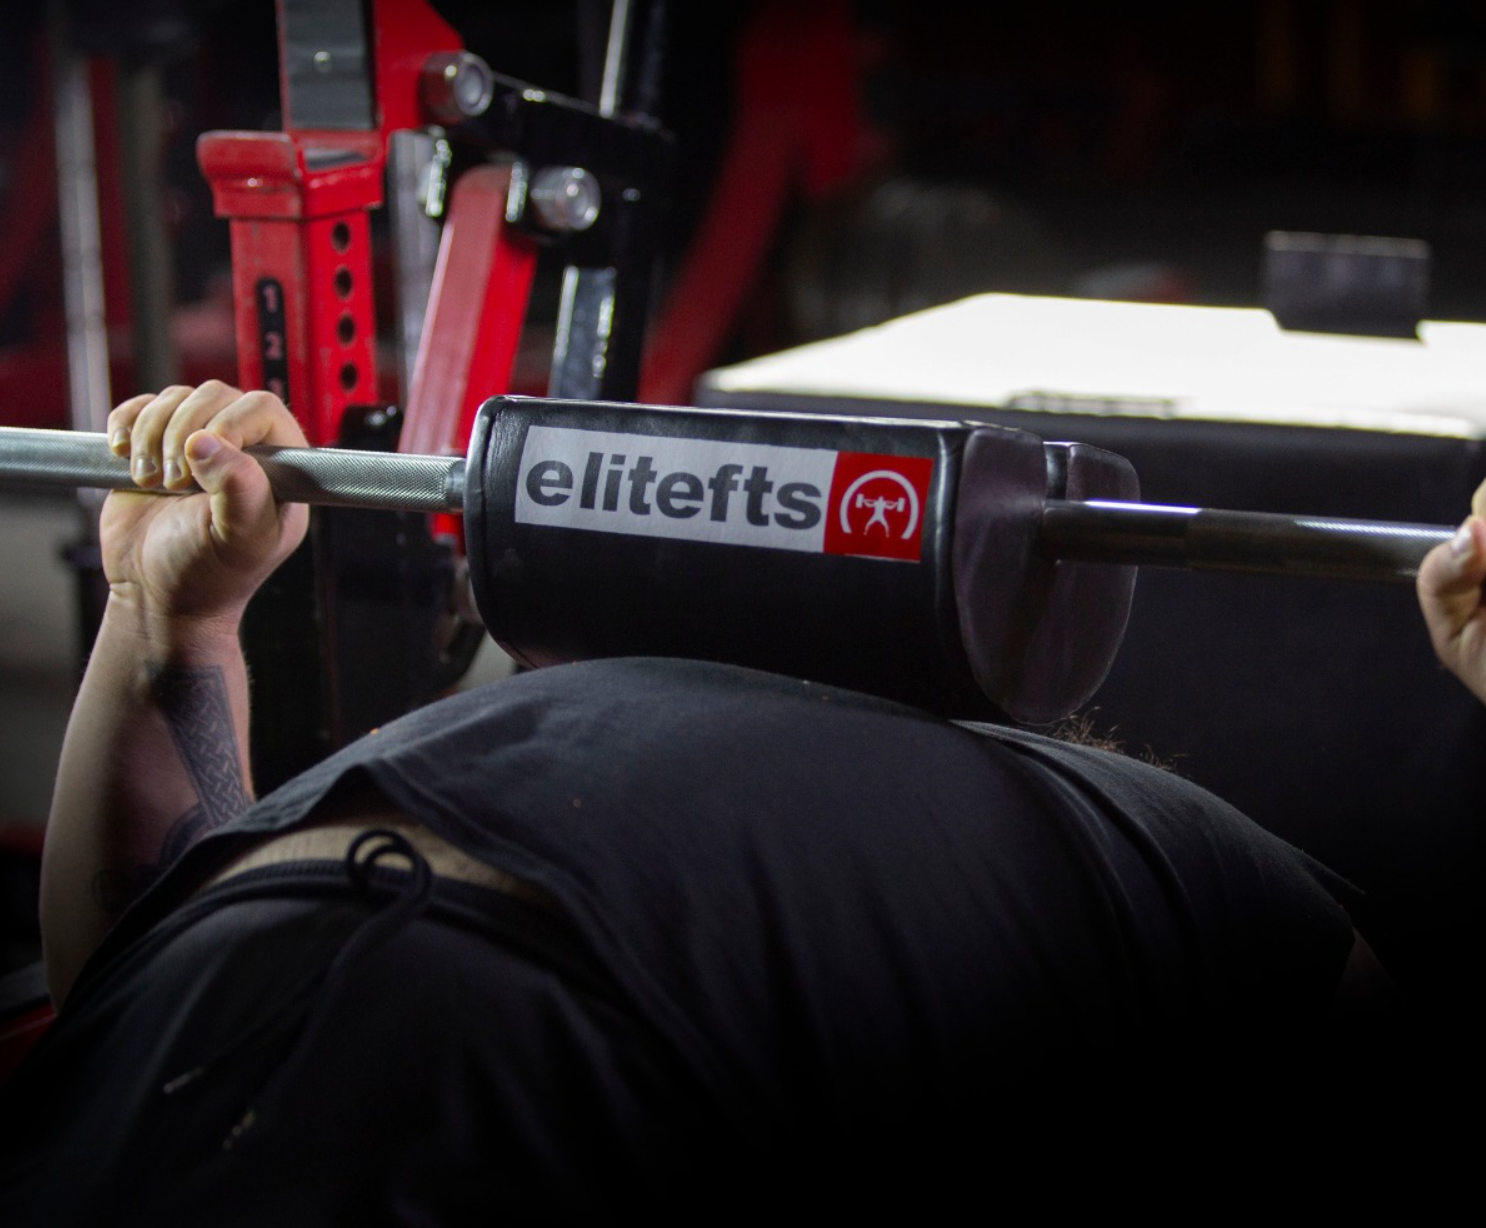
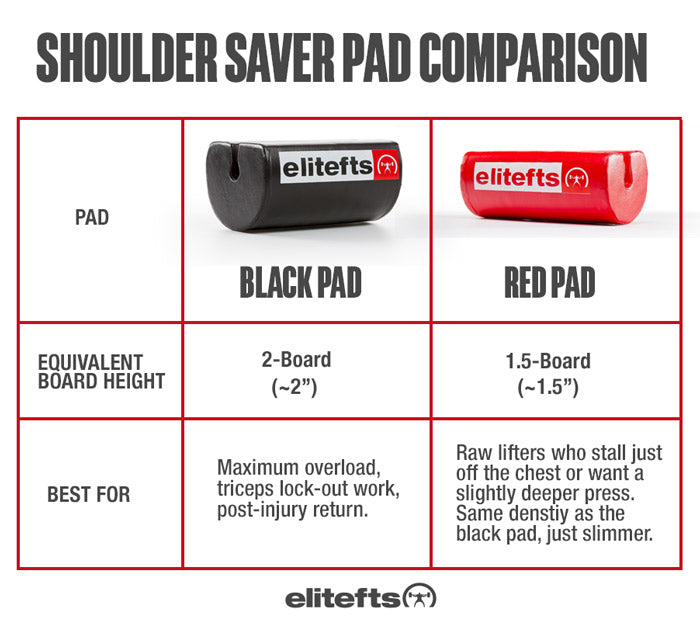
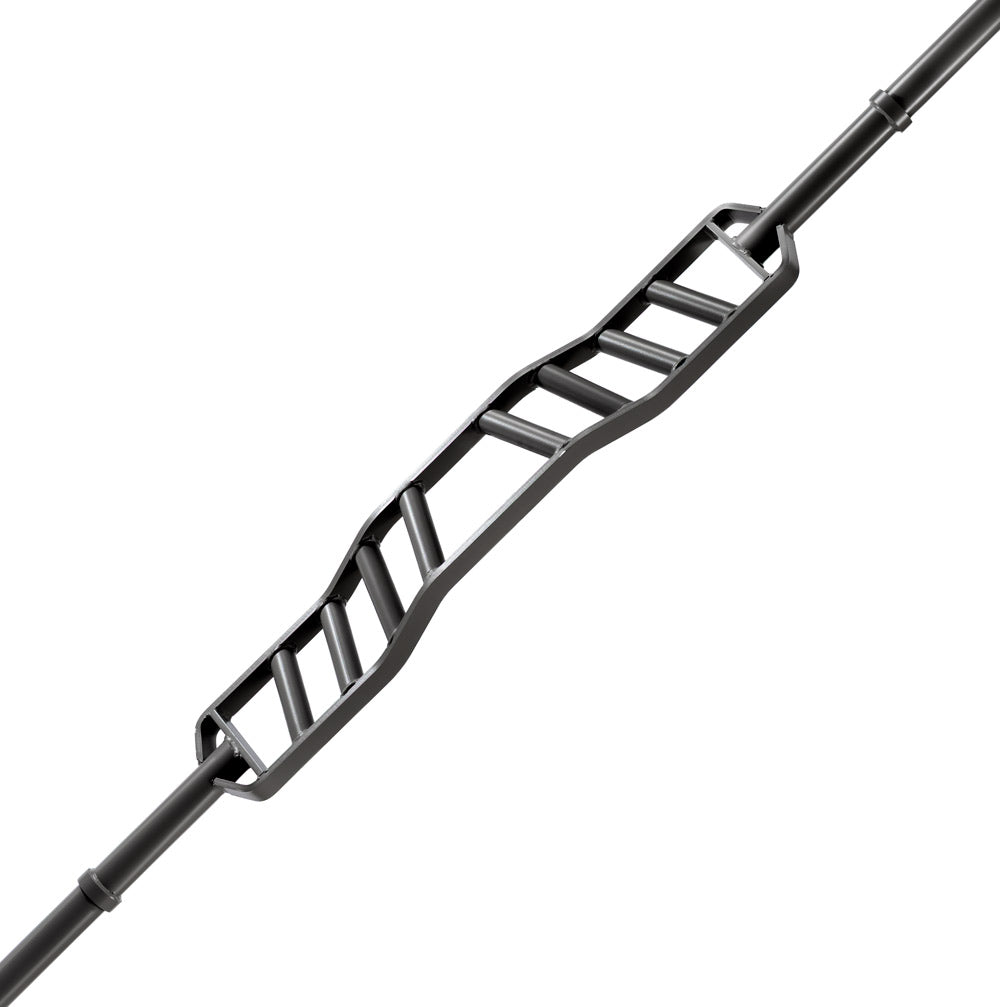
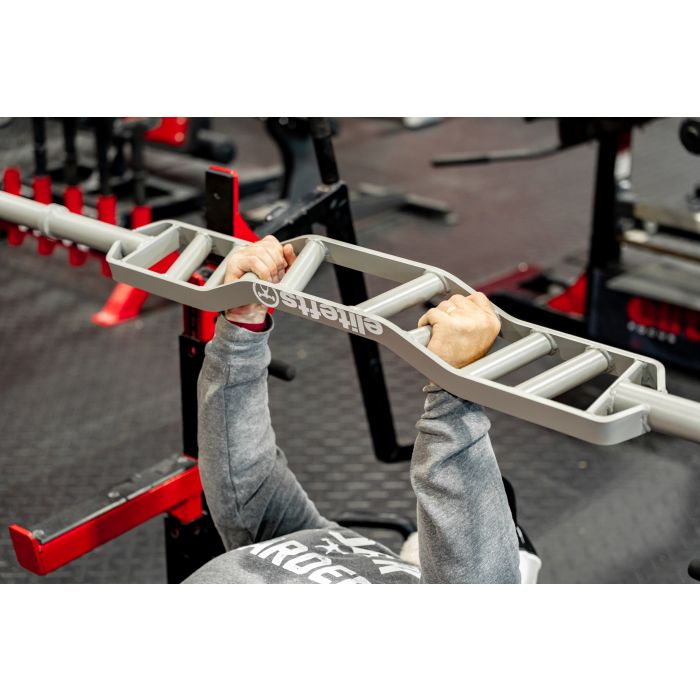
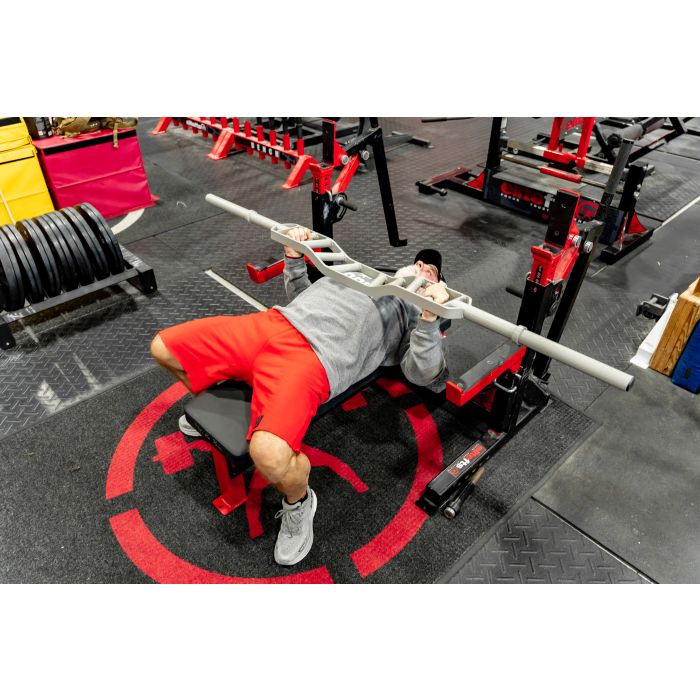
- Bench Press with different bars, including the American Cambered Bar from elitefts (bench presses are better utilized as the last exercise for chest)
Back (Lat-Dominant) –
- Chins
- Hammer Strength
Lat-Pulldown Machines (or a different brand) - Cable Pulldown with different attachments
- Dumbbell or Machine Pullovers (provided the machine allows for a full stretch)
Back (Row/Upper/Back Dominant) –
- Barbell Rows or
Smith Rows (pulling with the angle if the Smith Machine is angled) - Hammer Strength Row Machines (or other brands of row machines)
- Standing Dumbbell Rows either one arm at a time or both at the same time
- Dumbbell Rows lying on an incline bench
- Long Pulley Rows with different attachments
- Deads
Side Delts –
- Standing or Seated Dumbbell Side Laterals
- Dumbbell Side Laterals Leaning into a High-Incline Bench
- Smith PBN (the bar only goes as low as the base of the skull (eye level)
- Dumbbell Upright Rows
Front Delts –
- Seated Overhead Dumbbell, barbell or smith press
- Standing Push-Press with dumbbells, barbell, smith press, or machine
- Hammer Strength or another machine overhead press
Rear Delts –
- Rear Machine Laterals
- Bent-Over Dumbbell Laterals
Triceps –
- Dumbbell Extensions w/neutral grip on incline, flat, or decline
- EZ Bar Extensions (skull crushers) inline, flat, or decline
- High-Incline Overhead Extensions with one dumbbell in both hands (these can be done leaning back against a preacher curl, as well)
- Dips (assisted or machine dips are fine)
Biceps –
- Barbell, Dumbbell Curls seated or standing
- Preacher Curl Machine or with barbell or EZ bar
- Dumbbell Curls leaning into a High-Incline Bench
- Barbell Drag Curls
- Incline Dumbbell Curls (wide)
Hams –
- Lying or Seated Leg Curls
- RDL
Quads –
- Barbell or Smith Squats
- Barbell Front Squats or Smith Front Squats
- Leg Presses
- Hack Squats
- Pendulum Squats
- Lunges (walking, smith, dumbbells, etc.)
- Bulgarian Split Squats
-
Belt Squat (Pit Shark) - Seated Leg Press (fixed or iso-lateral machine)
- V-Squats either facing in or facing out
- Linear Hack Squat
Calves –
- Donkey Calf Raise Machine (best calf exercise ever)
- Standing Calf Raises
-
Calf Raise on Leg Press Machine - Seated Calf Raise (for soleus)
Abs –
- Ab Crunch Machines
- Hanging Leg Raises
- Lying Leg Raises
- Plank Crunch
Traps –
- Any variation of a typical or traditional Shrug (up and down ROM)
- Shrugs leaning forward into a high-incline bench (up and back ROM)
- Cable Shrugs standing away from the pulley (up and back ROM)
The TEAM SKIP Training Protocol of 2012 was very successful. As with everything, we learn more over time and tweak and fine-tune our methods. While some of the original plan remains the same, other components have been updated to make the entire system more productive and optimal for 2022.
Ken “Skip” Hill has been involved in the sport of bodybuilding for almost forty years and competing for twenty-plus years. Born and raised in Michigan, he spent 21 years calling Colorado home with his wife and their four children. Four years ago, he and his wife traded the mountains for the beach, relocating to South Florida. His primary focus is nutrition and supplementation, but he is called upon for his years of training experience, as well. He started doing
online contest prep in 2001 and is considered one of the original contest prep guys (when the bodybuilding message boards were still in their infancy). Skip’s track record with competitive bodybuilders is well-respected, and he also does sport-specific conditioning, including professional athletes.

