Squats and deadlifts are two of the absolute best movements you can do to help increase the amount of muscle you add to your frame. If we were to look at an upper body lift for adding muscle, it would have to be the pull-up. In my eyes, the pull-up is best described as “the upper body squat” and for good reason.
I luckily started doing pull-ups at a really young age through wrestling. I was also the kid who has a pull-up bar in the garage as well as a peg board. Man, I can remember all the pull-ups I used to do when I was bored. Back then, you didn’t even think of it as “training.” Back then, I just “did it” to do it. It helped me build some serious strength up to this day. But not everyone grew up the way I did doing pull-ups all the time. There are people out there who can’t even do one stinking pull-up! It really isn't that hard if you work at it!
Pull-ups require a good amount of body weight strength.Strength is a skill and therefore needs to be trained over and over. Just like any other skill out there, it will get better with constant time put into improvement.
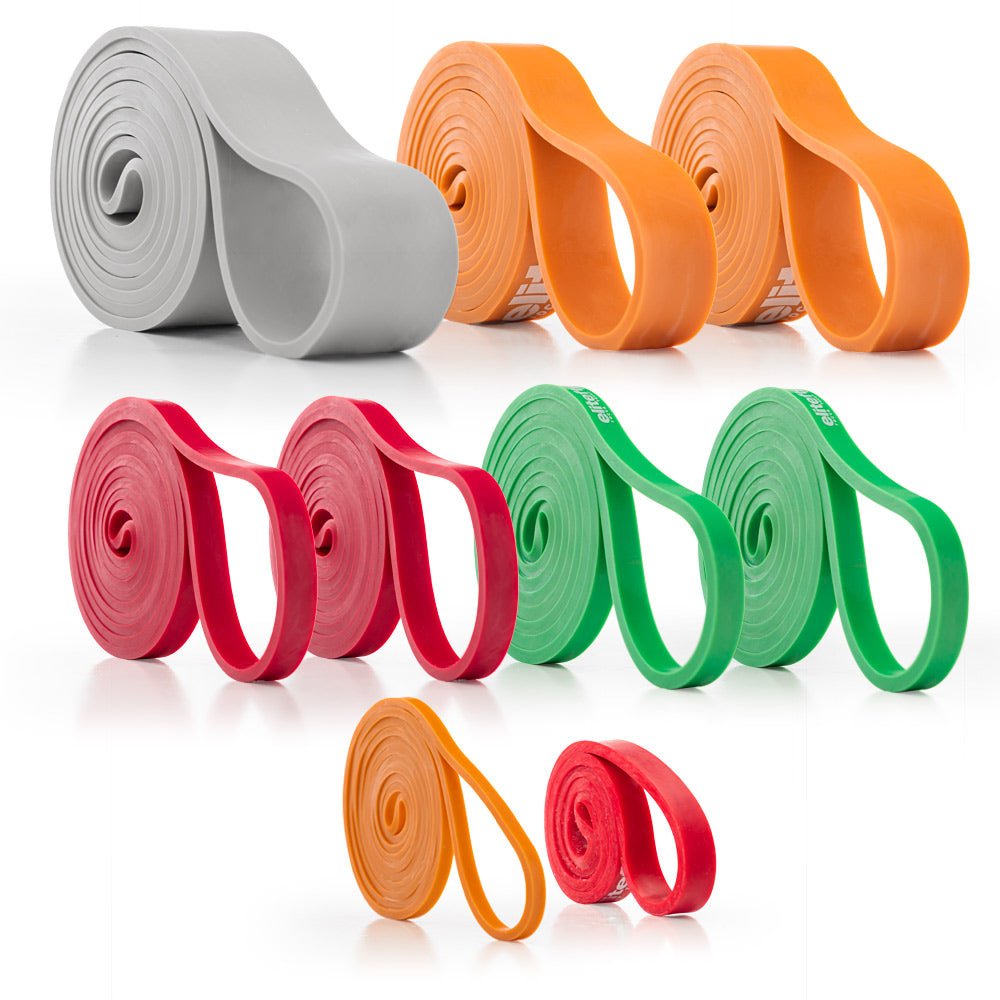
What I want to do is give you the progressions to being able to do pull-ups. I'll warn you—I'm against the use of a band to assist in learning how to do pull-ups. Call me old school, but I feel that you’ll get stronger quicker with straight body weight pull-ups and progressions than if you have to use a band to “cheat.”
Before I get into the basic progressions of pull-ups and chin-ups, know that you don't want to stick within the vertical training plane. In other words, to get your back stronger, you want to perform other “assistance” type work as well. Other movements that will aid in your quest for more pull-ups and chin-ups are:
- Deadlifts
- Barbell bent rows
- Single arm bent dumbbell rows
-
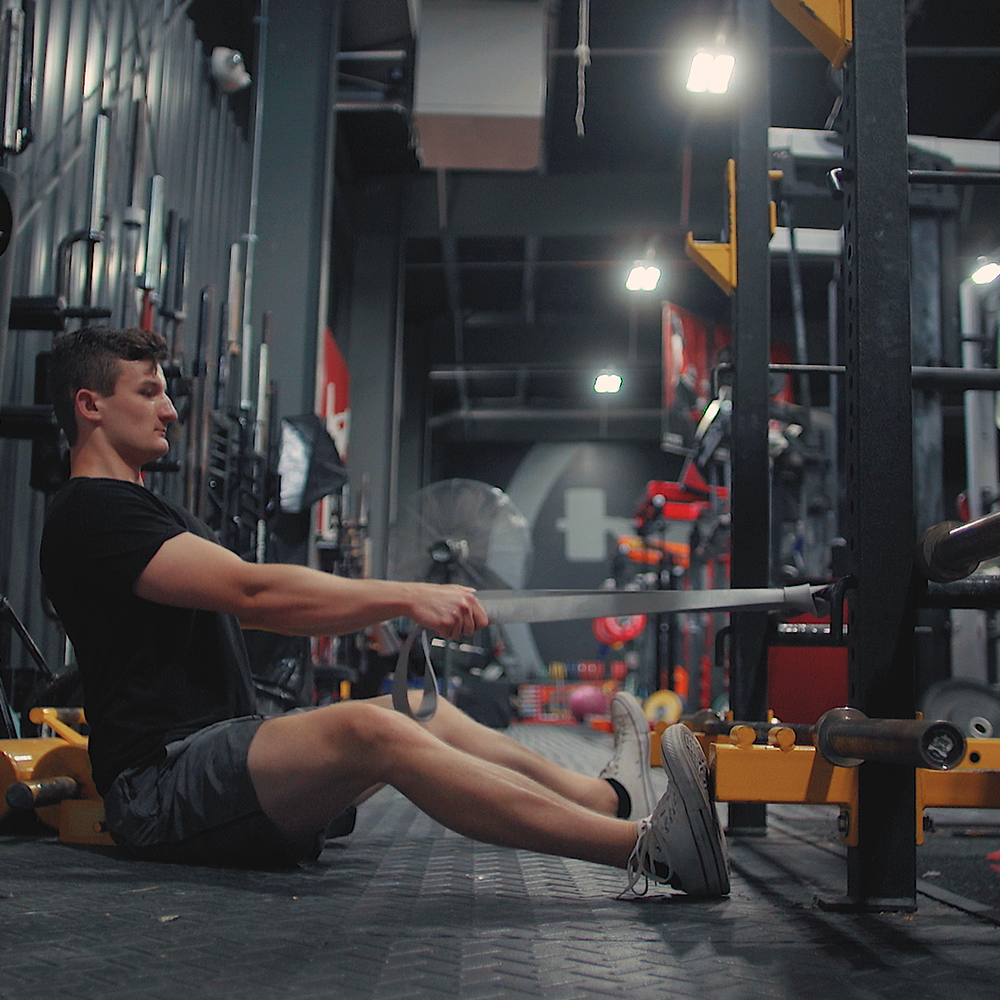
TRX/recline rope rows - TRX/recline face pulls
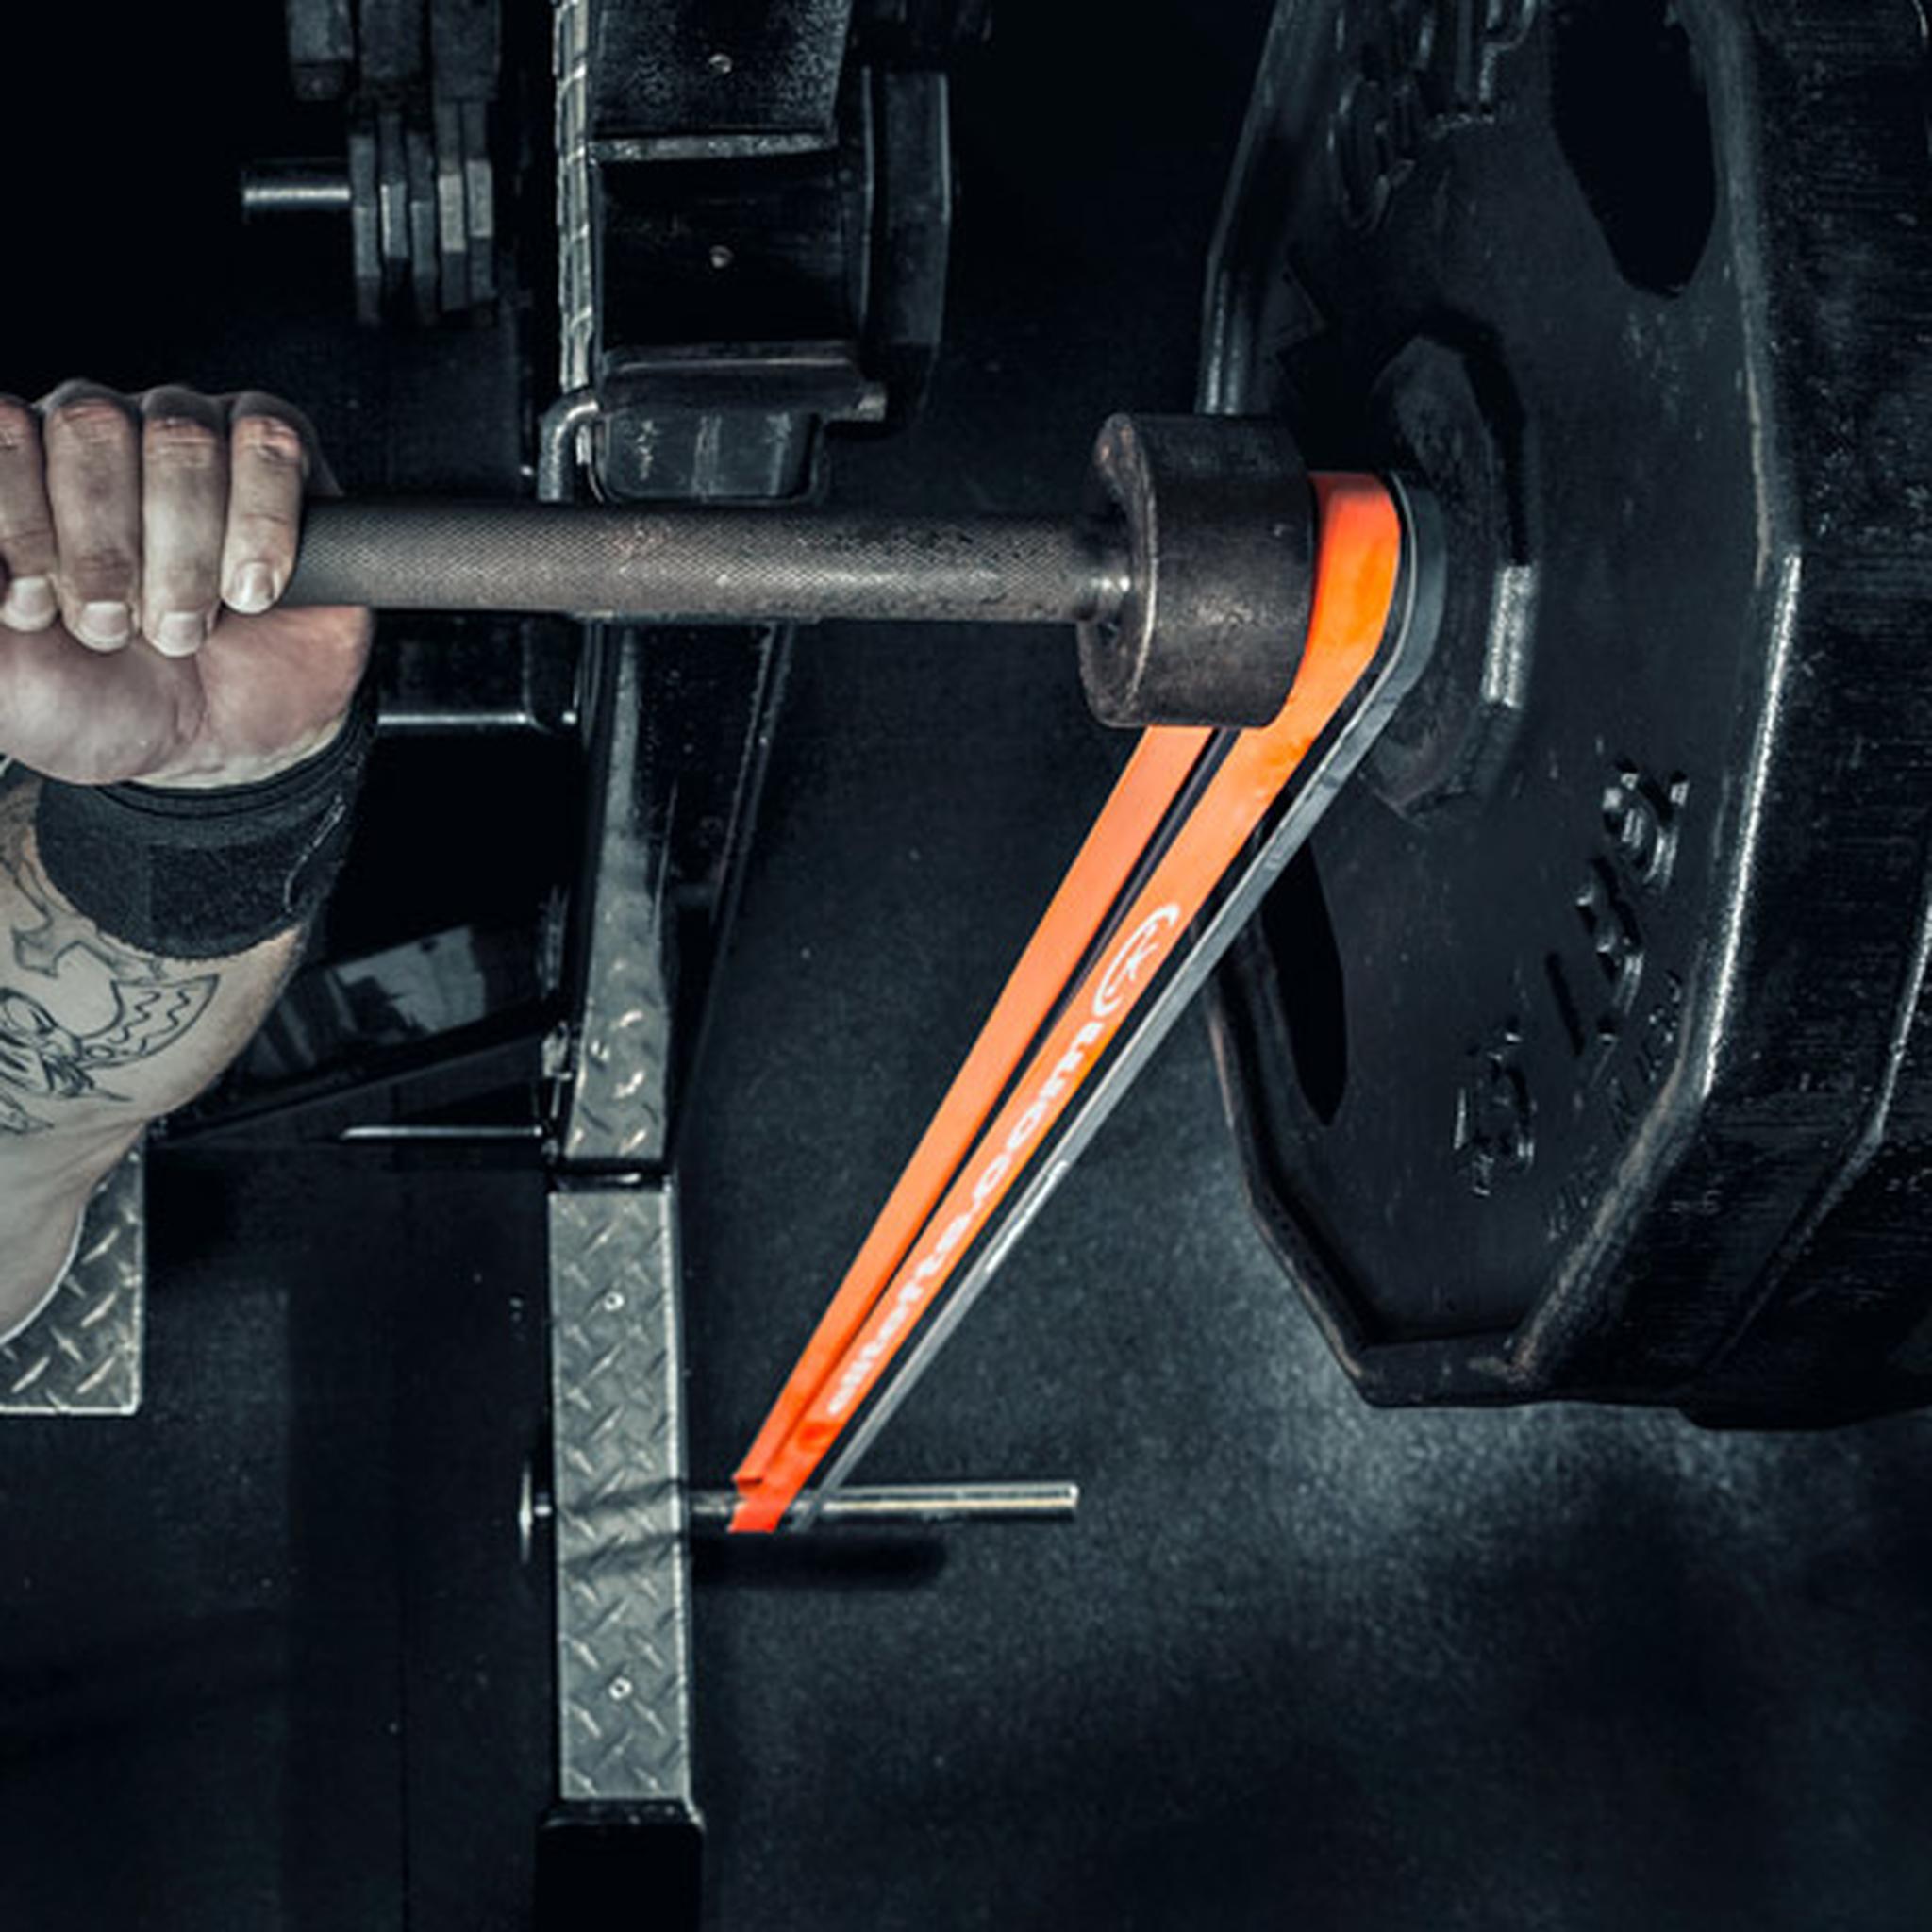
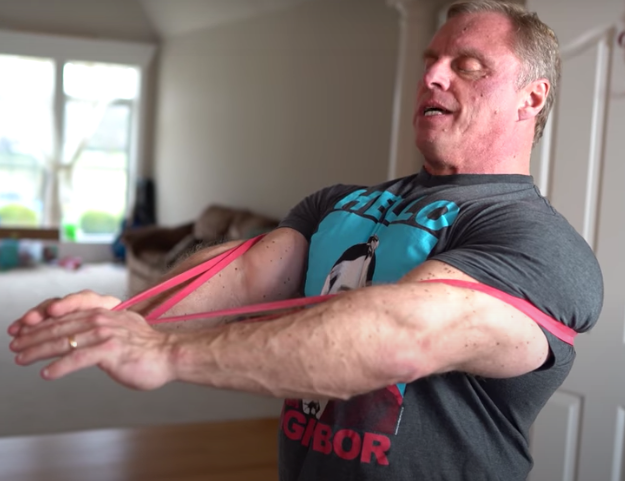
- Band pull aparts
- Superman holds
- Heavy farmer's walks (for grip mostly)
One quick note, to get faster results, make sure you’re always experimenting with different types of holds and grips. Here are some different types:
- Regular grip (palm away)
- Wide grip
- Palms in
- Close grip
- Baseball grip (alternate grip)
- Rope grip (use a rope)
Progression 1: Scapular retractions from the hang
The first thing we must do is get our scapular retractors stronger. To do this, we do a simple exercise called “hanging scap pull-ups.”
It’s simple really. Hang from a bar or rings and contract your shoulder blades together by squeezing your scaps. Once you can get yourself to doing 3 sets of 15–20, you should be good enough to progress to the next level.
Progression 2: Iso holds
Now that we have strengthened up our retractors, it’s time to put them under some real live tension in various pull-up positions. There are three different positions we want to work in:
- The top (chin well above bar)
- The middle (eye level with bar)
- The hang (just above the absolute bottom with a little bit a room to spare)
Progression 3: Slow negatives
Now that we have strength in our retractors and are able to keep tension in our back for at least 15–20 seconds consecutively, we can start to work the negative portion of our pull-ups and chin-ups. Just like the step above, it’s smart to have a box handy so that you can jump into the top position of a pull-up or chin-up.
For negatives, all you do is jump into the top position of the movement and slowly lower yourself down to the bottom. Always keep tension in your back through the entire movement. For reps and sets, I recommend doing 3–4 sets of sub-max reps. Don't go to failure because you’ll burn your body out and you’ll never progress over time.
Make sure that for each set you’re leaving just a bit in the tank. Over time, you should be increasing in strength and, as you do, you’ll be ready for the next progression!
Progression 4: Your first pull-up!
If you’ve been doing the progressions above as well as integrating in the assistance movements listed above, you should be in good position to hit your first pull-up. If you haven’t already tried, you need to get the first one out of the way! Once you're able to get your first pull-up, it’s all cake after that. You simply start to build on your first pull-up.
Say you finally get to one solid pull-up. You get your chin over the bar with ease, but when it comes to getting your second in a row, you fail. Have no doubt, you will get stronger. What you will do is “volume training” with your pull-ups. So if you can do one pull-up, your goal would be to do 20 total pull-ups during your workout. You’ll scatter your pull-ups throughout your workout.
So for example, if you were squatting, go ahead and hit your set of squats and immediately after the set, walk over and do one pull-up. Do this after each set of squats and any other movements you do that day. Simply superset one pull-up with each movement you do unless you’re doing a pulling movement. This way, each time you perform a pull-up, you'll be fresh so you'll hit full range of motion without failure.
Over time, as you work, you’ll start to get two pull-ups in a row and then three and then four.
You’ll keep applying this “volume style of training” until you’re getting around five or six solid, chin above the bar pull-ups in a set consecutively. Once you get there, you’re pretty much set!
After that, to further your progress even more, start incorporating weighted pull-ups. Once you're to this point, feel free to start playing around a bit…
Live aggressively and get strong!

