As a strength and conditioning coach, it is your responsibility to have and know the progressions and regressions for all exercises that you plan to coach. You will also need a system of how you will implement and teach your exercises. When coaching a large group you need to pick the variations that most novice lifters can pick up on pretty easily and variations that can get your athletes a lot of solid reps (volume).
RELATED: Start from the Ground Up: Building High School Athletes Instead of Destroying Them
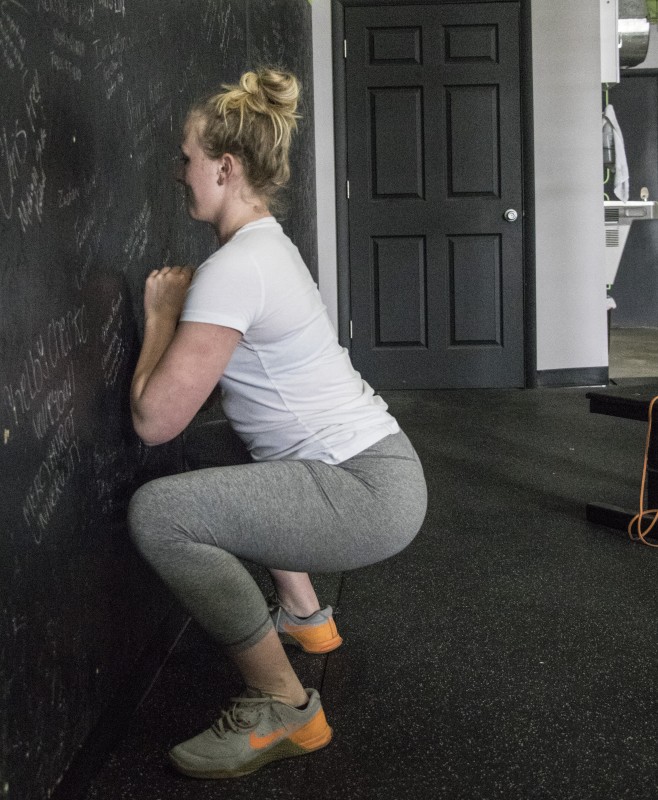
Most athletes should be able to do a bodyweight squat. But if they can’t, do a wall squat variation or just make wall squats and/or bodyweight squats part of your warm-up routine. The biggest thing when teaching a beginner how to squat is to teach the proper form from the beginning. I know a lot of newer coaches like to over-coach things, but make your job easier. Just ask the kid to squat and if it looks good then move on to the next progression. If their chest falls over or knees come in a bit, a simple “chest up” or “knees out” will work. I personally don’t like the knees out cue for athletes; we typically want that knee to be in-line with the second toe. So coach them to maintain that position. There is no need for our athletes to drive their knees out over the sides of their feet or roll onto the outsides of their shoes. This just teaches bad mechanics from the start.
The big thing here is to not throw your whole cue index at a new lifter on their first day. Most of you can’t “spread the floor” in your squat, so don’t try to cue a new lifter how to. With that said, if your goal is to get your athletes to back squat proficiently then you must slowly start to integrate the cues they will need for a back squat with your bodyweight/wall squats. Keep it simple. Make it easy, even if it takes them three years to get a bar on their back.
Sample cues that you can use for your whole squat progression:
- Belly/Brace
- Upper Back Tight
- Lats Locked In
- Screw Your Feet/Big Toe In
- Chest Up
- Sit
Now, remember with any progression that you don’t have to start your athlete with step one. You can always start them where you feel they are strongest and go from there.
Sample Squat Progression
All athletes must establish movement proficiency to progress to the next step. All athletes must earn the right to put a bar in their hands.
1. Wall Squat
Key Points:
- Great way to teach upright squatting pattern.
- Great for hip mobility and opening upper back.
- Add to warm-ups to engrain pattern.
- Start a foot a way from the wall and slowly move closer.
- Start to teach bracing to carry over into all other variations.
- Neutral chin, upper back tight.
- Can overload movement with a kettlebell or dumbbell (like a deadlift).
- Overloading the movement will engage the lats.
- Add hands behind head to help engage and open upper back.
- Add mini band overhead; pull band and shrug up to engage upper back more.
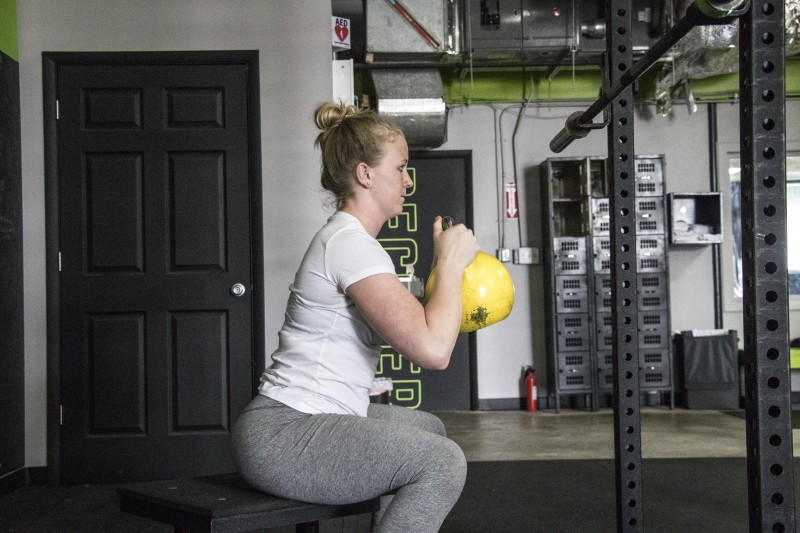
2. Goblet Squat to Box
Key Points:
- If an athlete has good mobility and demonstrates good body control, you can begin to overload the pattern with a limited range of motion.
- As you progress through this you can increase the range of motion by lowering the box. Doing so will help to develop strength and mobility for your athlete in this new range of motion.
- Coach your athlete to control the weight and their body through the whole movement.
- Focus on tension and stability within the body.
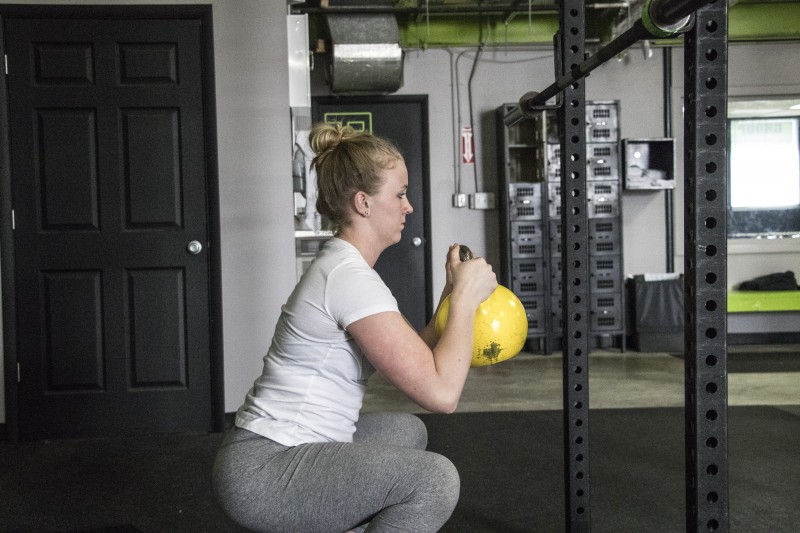
3. Goblet Squat
Key Points:
- Use full range of motion squats here.
- Have some type of goal that your athletes must hit in order to move onto the next step.
- Example: 50-pound kettlebell for 25 reps.
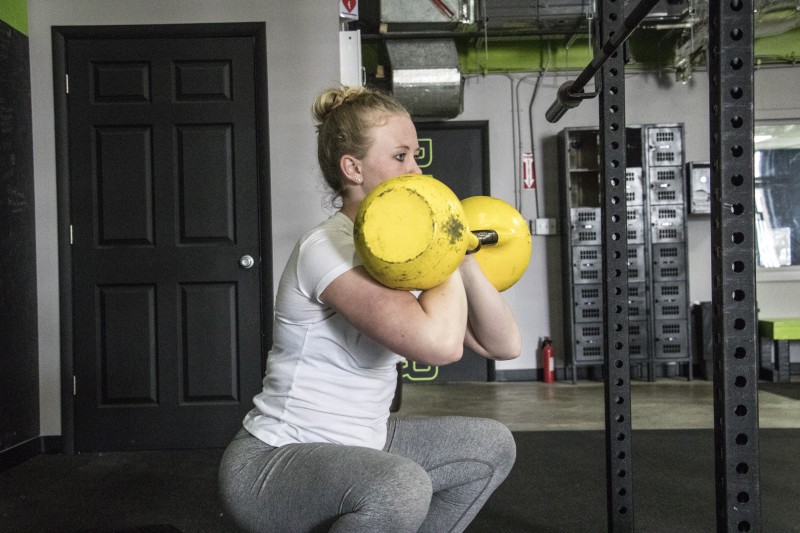
4. Double Rack Position Squat
Key Points:
- Will help teach athlete how to create upper back tension (which is need for back squatting).
- Any anterior-loaded movement can be used.
- Double rack position teaches the athlete how to create a higher level of tension through out their body.
- Have some type of goal here that your athlete must hit in order to move onto the next step.
- Example: Two to 50-pound kettlebells for 10 reps.
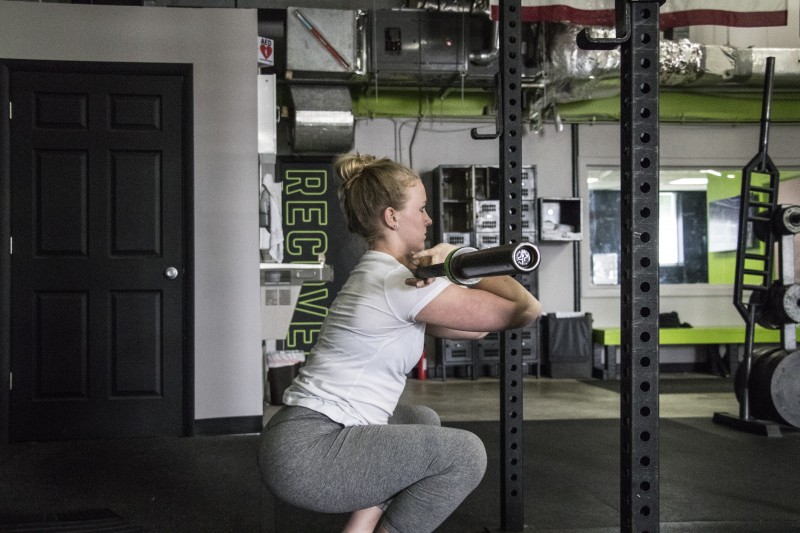
5. Front Squat
Key Points:
- Elicits similar levels of muscle recruitment and activity as back squat.
- Use whatever rack position is most comfortable for your athlete.
- Shoulder friendly compared to back squat.
- Upright torso angle reduces shear stress on spine.
- Easy to teach, self-correcting, and awesome for hip mobility.
- Self-limiting strength exercise.
- Have some type of goal here that your athlete must hit in order to move onto the next step.
- Example: 80-90% of their body weight for 10 reps.
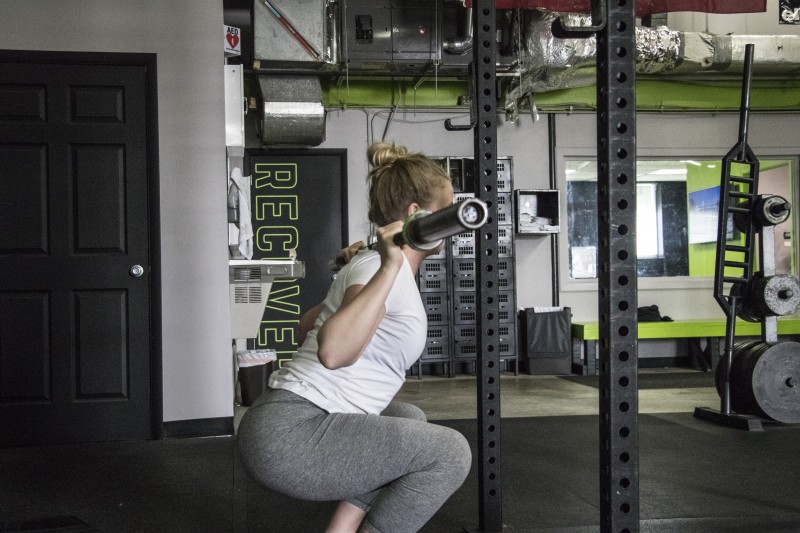
6. Back Squat
Key Points:
- Remember that your athletes aren’t powerlifters.
- Great for developing strength and hypertrophy.
- Athletes can handle more weight with this variation with proper form.
- Have a cutoff point of twice bodyweight .
- Once they hit twice body weight, look into velocity-based style of training or moving to a sport squat.


