


Quadrant Management System
Ashley Jones
The Quadrant Management System (QMS) has been a core element of my strength training philosophy for many years. It developed from my background in education and from reading management journals, particularly the Harvard Business Review, where a version of this first caught my eye and prompted me to adapt it to the strength-training process. As a by-product of this systematic approach to training development, it also created a high degree of player autonomy and buy-in by allowing players to choose how to develop their individual programs under the strength coach's eye.
The key to this system is continued education of the playing group, which is paramount if the coach is asking them to make informed decisions about how they manage and develop their program over time. There is no set time frame for movement through the quadrants, and players may decide to stay at a particular level and have the coach program elements for them. I have had senior players with a high training age tell me that they prefer to be told what to do in the weight room and trust what I put in place for them, while others prefer to be more free-range in their decision-making around the components of a session.
Whichever group they fall into, the key—and I believe this to be the Holy Grail of gym programming in team sports—is to ensure that each player's program is individualized to their particular needs. Regular formal monthly meetings should be scheduled, as well as check-ins with each player before and during every gym session. Ideally, no two programs should be identical. Apart from showing that you recognize each program reflects the needs of that particular player, it also shows that you care about them as a person first and that, as a coach, you are not generating generic programs and trying to fit players into them.
Q1 — Full Coach Control
Since there are no degrees of freedom in Q1, the coach is responsible for all elements of the program, after, of course, discussing them with each player and the medical team. The coaching staff knows what is required to ensure that each player is game-ready each week during the season and is doing the required loading for development during the off-season and pre-season.
In Q1, it is also important for the coach to ensure that players are exposed to a variety of exercises, sets-and-reps protocols, and week plans (full body, split body, and movement-category approaches) to give them the tools for the decisions they will be asked to make as they progress through the system.
Q2 — Exercise Selection Freedom
In Q2, players can self-select exercises that yield the greatest return on their training investment. I have used an exercise selection chart based around specific movement categories, heavily influenced by both Bill Starr and Dan John. It is updated regularly as I review each training year and decide if there is a need to add or subtract certain movements based on the specific group I am coaching. This is my most recent version:
Players are asked to stay with a particular exercise for at least one three-week loading cycle before selecting an alternative movement, as I once read: "Variation hastens adaptation." By changing movements over time, each player has a better chance of avoiding accommodation to the exercise stress and having progress stagnate.
Q3 — Weekly Structure Freedom
In Q3, players can self-select their week plan. There is literally a plethora of options, so I usually provide a reduced list that considers the other elements of the training week plan that are more set in stone, helping avoid scheduling issues and potential injury risk. In season, the sport—in my case, rugby—takes priority, so discussing what the coaching staff requires first will help you decide which variations you can appropriately offer the players.
In-Season Gym Week Plans (Saturday Game Day)
| Type/Day | Monday | Tuesday | Wednesday | Thursday | Friday |
|---|---|---|---|---|---|
| Size | Upper Body Size | Lower Body Size | Recovery | FB Strength & Power | Recovery |
| Strength | Upper Body Strength | Lower Body Strength | Recovery | FB Strength & Power | Recovery |
| Power | Upper Body Strength & Power | Lower Body Strength & Power | Recovery | FB Strength & Power | Recovery |
| Fitness | Circuit + UB Strength | Circuit + LB Strength | Recovery | FB Strength & Power | Recovery |
In-Season Option
| Session One (Monday) Lower Body - Mechanical |
Session Two (Wednesday) Upper Body - Mechanical |
Session Three (Thursday) Full Body - Neural |
|---|---|---|
| Movement Prep as required | Movement Prep as required | Movement Prep as required |
| 1: Squat | 1a: Bench Press | 1a: Power Cleans |
| 2: Romanian Deadlift | 1b: Pendlay Bent-over Row | 1b: wk1 – Band Assisted Vertical Jumps 1b: wk2 – Borzov/Bulgarian Hops 1b: wk3 – Depth Jump + Vertical Jump |
| 3a: Bulgarian Sprinter's Squat | 2a: Military Press | 2a: Jump Split Squats |
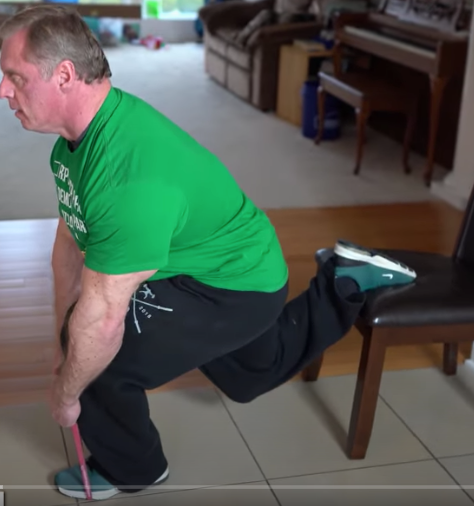
| 3b: Single Leg Hip Thrust | 2b: Chin Ups | 2b: wk1 – Single Leg Bench Drives 2b: wk2 – ½ Kneeling Hop to Box 2b: wk3 – Knees to One Foot Landing |
| 4a: Lateral Lunges 4b: Single Leg Back Extensions |
3a: ½ Kneeling Landmine Press 3b: ½ Kneeling Single Arm Pulldown |
3a: Push Press 3b: wk1 – Clap Push-Ups 3b: wk2 – Feet Elevated Plyometric Push-Ups 3b: wk3 – Explosive Push-Ups to Box |
| LB CARE (choose 3–5 movements): Hamstrings, Lower Back, Loaded Carry, Knee, Calf, Hip Flexor, Hip Mobility | UB CARE (choose 3–5 movements): Neck, Rotator Cuff, Core, Thoracic, Grip, Arms | FB CARE (choose 2–3 movements for upper body and lower body) |
Sets & Reps
Monday/Tuesday: Bilateral — wk1: 4 x 6, wk2: 4 x 2, wk3: 4 x 2. Unilateral — wk1: 3 x 10, wk2: 3 x 8, wk3: 3 x 6. CARE — 2 x 12.
Thursday: Primary movements (a's) — wk1: 4 x 6, wk2: 4 x 4, wk3: 4 x 2. Contrast movements (b’s) — wk1: 4 x 12, wk2: 4 x 8, wk3: 4 x 4. CARE — 2 x 12.
Off-Season and Pre-Season Variations
Off-season and pre-season training present their own unique challenges, and here are a couple of variations that I have used.
Option One
3 days a week. Alternating gym weeks. Neural: explosive pull, push, and squat, straight exercise only. Mechanical: hinge, squat, upper push, upper pull. CARE after each gym session. Conditioning 3 sessions a week on non-gym days.
| Day/Time | Monday | Tuesday | Wednesday | Thursday | Friday | Saturday | Sunday |
|---|---|---|---|---|---|---|---|
| AM | Gym G1/Skills G2 | Conditioning G2/Skills G1 | Gym G1/Skills G2 | Conditioning G2/Skills G1 | Gym G1/Skills G2 | Skills | OFF |
| 15' Transition | 15' Transition | 15' Transition | 15' Transition | 15' Transition | SVU | ||
| Gym G2/Skills G1 | Conditioning G1/Skills G2 | Gym G2/Skills G1 | Conditioning G2/Skills G1 | Gym G2/Skills G1 | |||
| L | U | N | C | H | |||
| PM | Skills | Speed | Education | Skills | Speed | ||
| Games | BJJ | Recovery | Games | BJJ |
Option Two
Alternating gym sessions, 4 days a week. Lower: primer + contrast + mechanical lower body (Monday/Thursday). Upper: primer + contrast + mechanical upper body (Tuesday/Friday). CARE after each gym session. Speed 2 sessions per week before the lower-body gym, conditioning 2 sessions per week after the upper-body gym, and a circuit session on Saturday morning.
| Day/Time | Monday | Tuesday | Wednesday | Thursday | Friday | Saturday | Sunday |
|---|---|---|---|---|---|---|---|
| AM | Speed | Conditioning G2/Gym G1 | Education | Speed | Conditioning G2/Gym G1 | SV' | OFF |
| 15’ Trans'tion | 15’ Transition | Rec'very | 15’ Trans'tion | 15’ Transition | |||
| Gym G2/Skills G1 | Conditioning G1/Gym G2 | Gym G2/Skills G1 | Conditioning G1/G'm G2 | ||||
| 15’ Trans'tion | 15’ Trans'tion | 15’ Trans'tion | 15’ Transition | ||||
| Gym G1/Skills G2 | Skills | Gym G1/Skills G2 | Skills | ||||
| L | U | N | L | U | |||
| PM | Skills | Skills | OFF | Skills | Skills | ||
| Games | BJJ | Games | BJJ |
Gym-Only Programs Based on Specific Needs
The following are gym-only programs that offer a variety of options based on specific needs. They have been designed for specific players but can be easily adapted for anyone.
Three Days per Week Programming Based on Movement Patterns
Bill Starr Inspired (Pull, Push & Squat)
| Session One | Session Two | Session Three |
|---|---|---|
| Power Clean | Deadlift | Clean Pull |
| Push Press | Bench Press | Incline Bench Press |
| Back Squat | Front Squat | Box Squat |
| Full Body CARE | Full Body CARE | Full Body CARE |
Dan John Inspired (Squat, Hinge, UB Push, UB Pull, Loaded Carry)
| Session One | Session Two | Session Three |
|---|---|---|
| Box Squat | Front Squat | Zercher Squat |
| Romanian Deadlift | Deadlift | Hip Thrust |
| Bench Press | Incline DB Bench Press | Military Press |
| Bent-over Row | Incline DB Row | Chin Ups |
| Farmer’s Waiter's | Waiter’s Walk | Sandbag Carry |
| Full Body CARE | Full Body CARE | Full Body CARE |
John Rusin Inspired (Squat, Hinge, Lunge, Upper Body Push, Upper Body Pull, Loaded Carry)
| Session One | Session Two | Session Three |
|---|---|---|
| KB Goblet Squat | Zercher Squat | Front Squat |
| Contralateral Landmine RDL | Single Leg Hip Thrust | Trap Bar Deadlift |
| Forward Lunge | Lateral Lunge with a Slosh Bar | Reverse Lunge |
| DB Bench Press | — | KB S"v"ckas “Z” Press |
| DB One-Arm Row | Gorilla Row | Chin Ups |
| Waiter’s Combo | Yoke Walk | Zercher Walk with Earthquake Bar |
| Full Body CARE | Full Body CARE | Full Body CARE |
Paul Chek Inspired (Squat, Hinge, Lunge, Upper Body Push, Upper Body Pull, Rotational, Gait)
| Session One | Session Two | Session Three |
|---|---|---|
| KB Front Rack Squat | BuSprinter’s Squat | KB Overhead Squat |
| KB Contralateral RDL | Hip Thrust | Sumo Stance Deadlift |
| Lateral Lunge with a Slosh Bar | Zercher Reverse Lunge | Single KB Front Rack Walking Lunge |
| One-Arm DB Bench Press | Javelin Press | ½ Kneeling Landmine Press |
| One-Arm Seated Low Cable Row | Chin Ups | ½ Kneeling Single-Arm Pulldown |
| Standing Push Pull with Cable | ½ Kneeling Cable Woodchop | Banded MB Rotation |
| Waiter’s Combo | Yoke Walk | Zercher Walk with Earthquake Bar |
| Full Body CARE | Full Body CARE | Full Body CARE |
Upper Body Dominant Off-Season Plan
Change exercise selection every three weeks (one cycle). This can be easily adjusted to a two-day-a-week plan if desired.
| Monday | Wednesday | Friday |
|---|---|---|
| Horizontal Push – Bench Press | Diagonal Push – Incline DB Bench Press | Vertical Push – Military Press |
| Horizontal Pull – Bench Pull | Diagonal Pull – Incline DB Row | Vertical Pull – Chin Ups |
| Diagonal Push – Standing Single-Arm Cable Incline Press | Vertical Push – Javelin Press | Horizontal Push – Dips |
| Diagonal Pull – Incline Rope Pulldown | Vertical Pull – DB Shrugs | Horizontal Pull – Low Cable Seated Row |
| Vertical Push – KB Single-Arm S"v"ckas “Z” Press | Horizontal Push – Seated Cable Bench Press | Diagonal Push – ½ Kneeling Landmine Press |
| Vertical Pull – Seated One-Arm Pulldown | Horizontal Pull – One-Arm Landmine Row | Diagonal Pull – ½ Kneeling One-Arm Pulldown |
| Upper Body CARE | Upper Body CARE | Upper Body CARE |
| Weeks/Type | Bilateral | Unilateral & Cable |
|---|---|---|
| 1 | 4 x 6 | 12, 10, 8, 8 |
| 2 | 4 x 4 | 10, 8, 6, 6 |
| 3 | 4 x 2 | 8, 6, 4, 4 |
Two Sessions per Week, Standard Balanced Off-Season Plan
| Tuesday | Friday |
|---|---|
| Horizontal Push – Bench Press | Vertical Push – Military Press |
| Horizontal Pull – Pendlay Row | Vertical Pull – Chin Ups |
| Diagonal Push – ½ Kneeling Landmine Press | Horizontal Push – Dips |
| Diagonal Pull – ½ Kneeling Single-Arm Pulldown | Horizontal Pull – KB Gorilla Row |
| Vertical Push – Seated DB Arnold Press | Diagonal Push – Incline DB Bench Press |
| Vertical Pull – Trap Bar Upright Row | Diagonal Pull – Incline DB Row |
| Upper Body CARE | Upper Body CARE |
Off-Season Squat/Deadlift Cycle
Week/Cycle 1 — Establishment. Week/Cycle 2 — Development. Week/Cycle 3 — Attainment.
Cycle 1
Week 1: 4 x 6, bar weight only
Week 2: 4 x 4, bar weight only (1st work set is the weight of the pweek'ss week’s last set)
Week 3: 4 x 2, bar weight only (1st work set is the weight of the pweek'ss week’s last set)
Cycle 2
Week 1: 6 x 3 reps @ 40% bar weight + 33% band tension
Week 2: 5 x 3 reps @ 50% bar weight + 33% band tension
Week 3: 4 x 2 reps @ 60% bar weight + 33% band tension
Cycle 3
Week 1: set 1 — 2 reps @ 45% + 60% band tension; set 2 — 2 reps @ 50% + 60% band tension; set 3 — 2 reps @ 55% + 60% band tension; set 4 — 1 rep @ 57.5% + 60% band tension.
Week 2: set 1 — 2 reps @ 45% + 60% band tension; set 2 — 2 reps @ 50% + 60% band tension; set 3 — 2 reps @ 55% + 60% band tension; set 4 — 1 rep @ 60% + 60% band tension.
Week 3: testing week — 5 progressively heavier singles, bar weight only, or a recovery week.
| Monday | Thursday |
|---|---|
| Modified Olympic movement (change every 3 weeks) | Unilateral Olympic movement (change every 3 weeks) |
| Squat (as per above) | Deadlift (as per above) |
| Unilateral hinge movement (change every 3 weeks) | Unilateral squat movement (change every 3 weeks) |
| Hamstring-specific movement (change every 3 weeks) | Hamstring-specific movement (change every 3 weeks) |
| Lower Body CARE | Lower CARE |
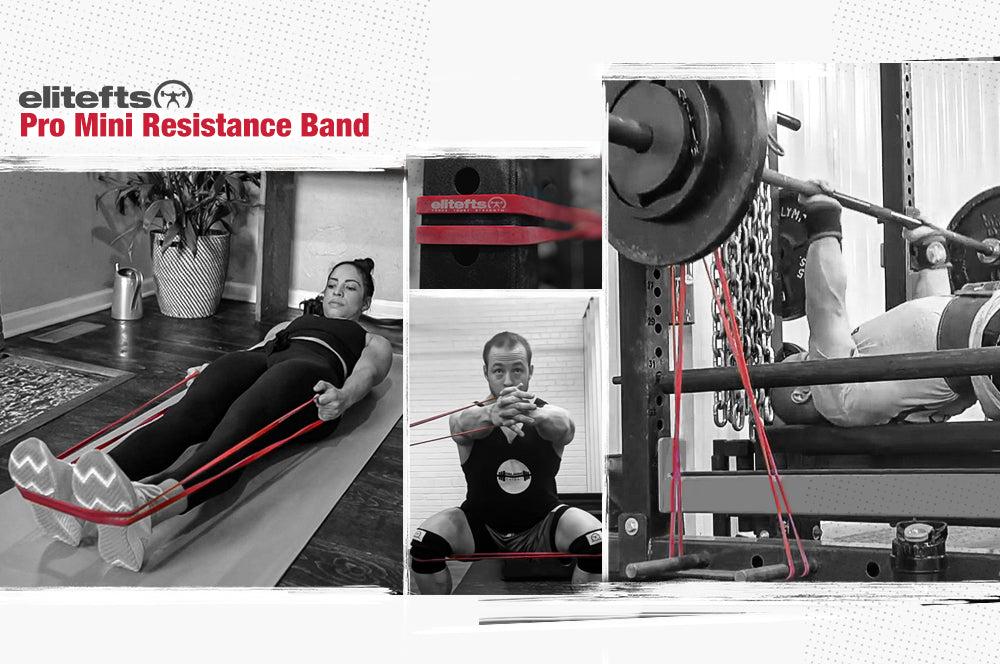
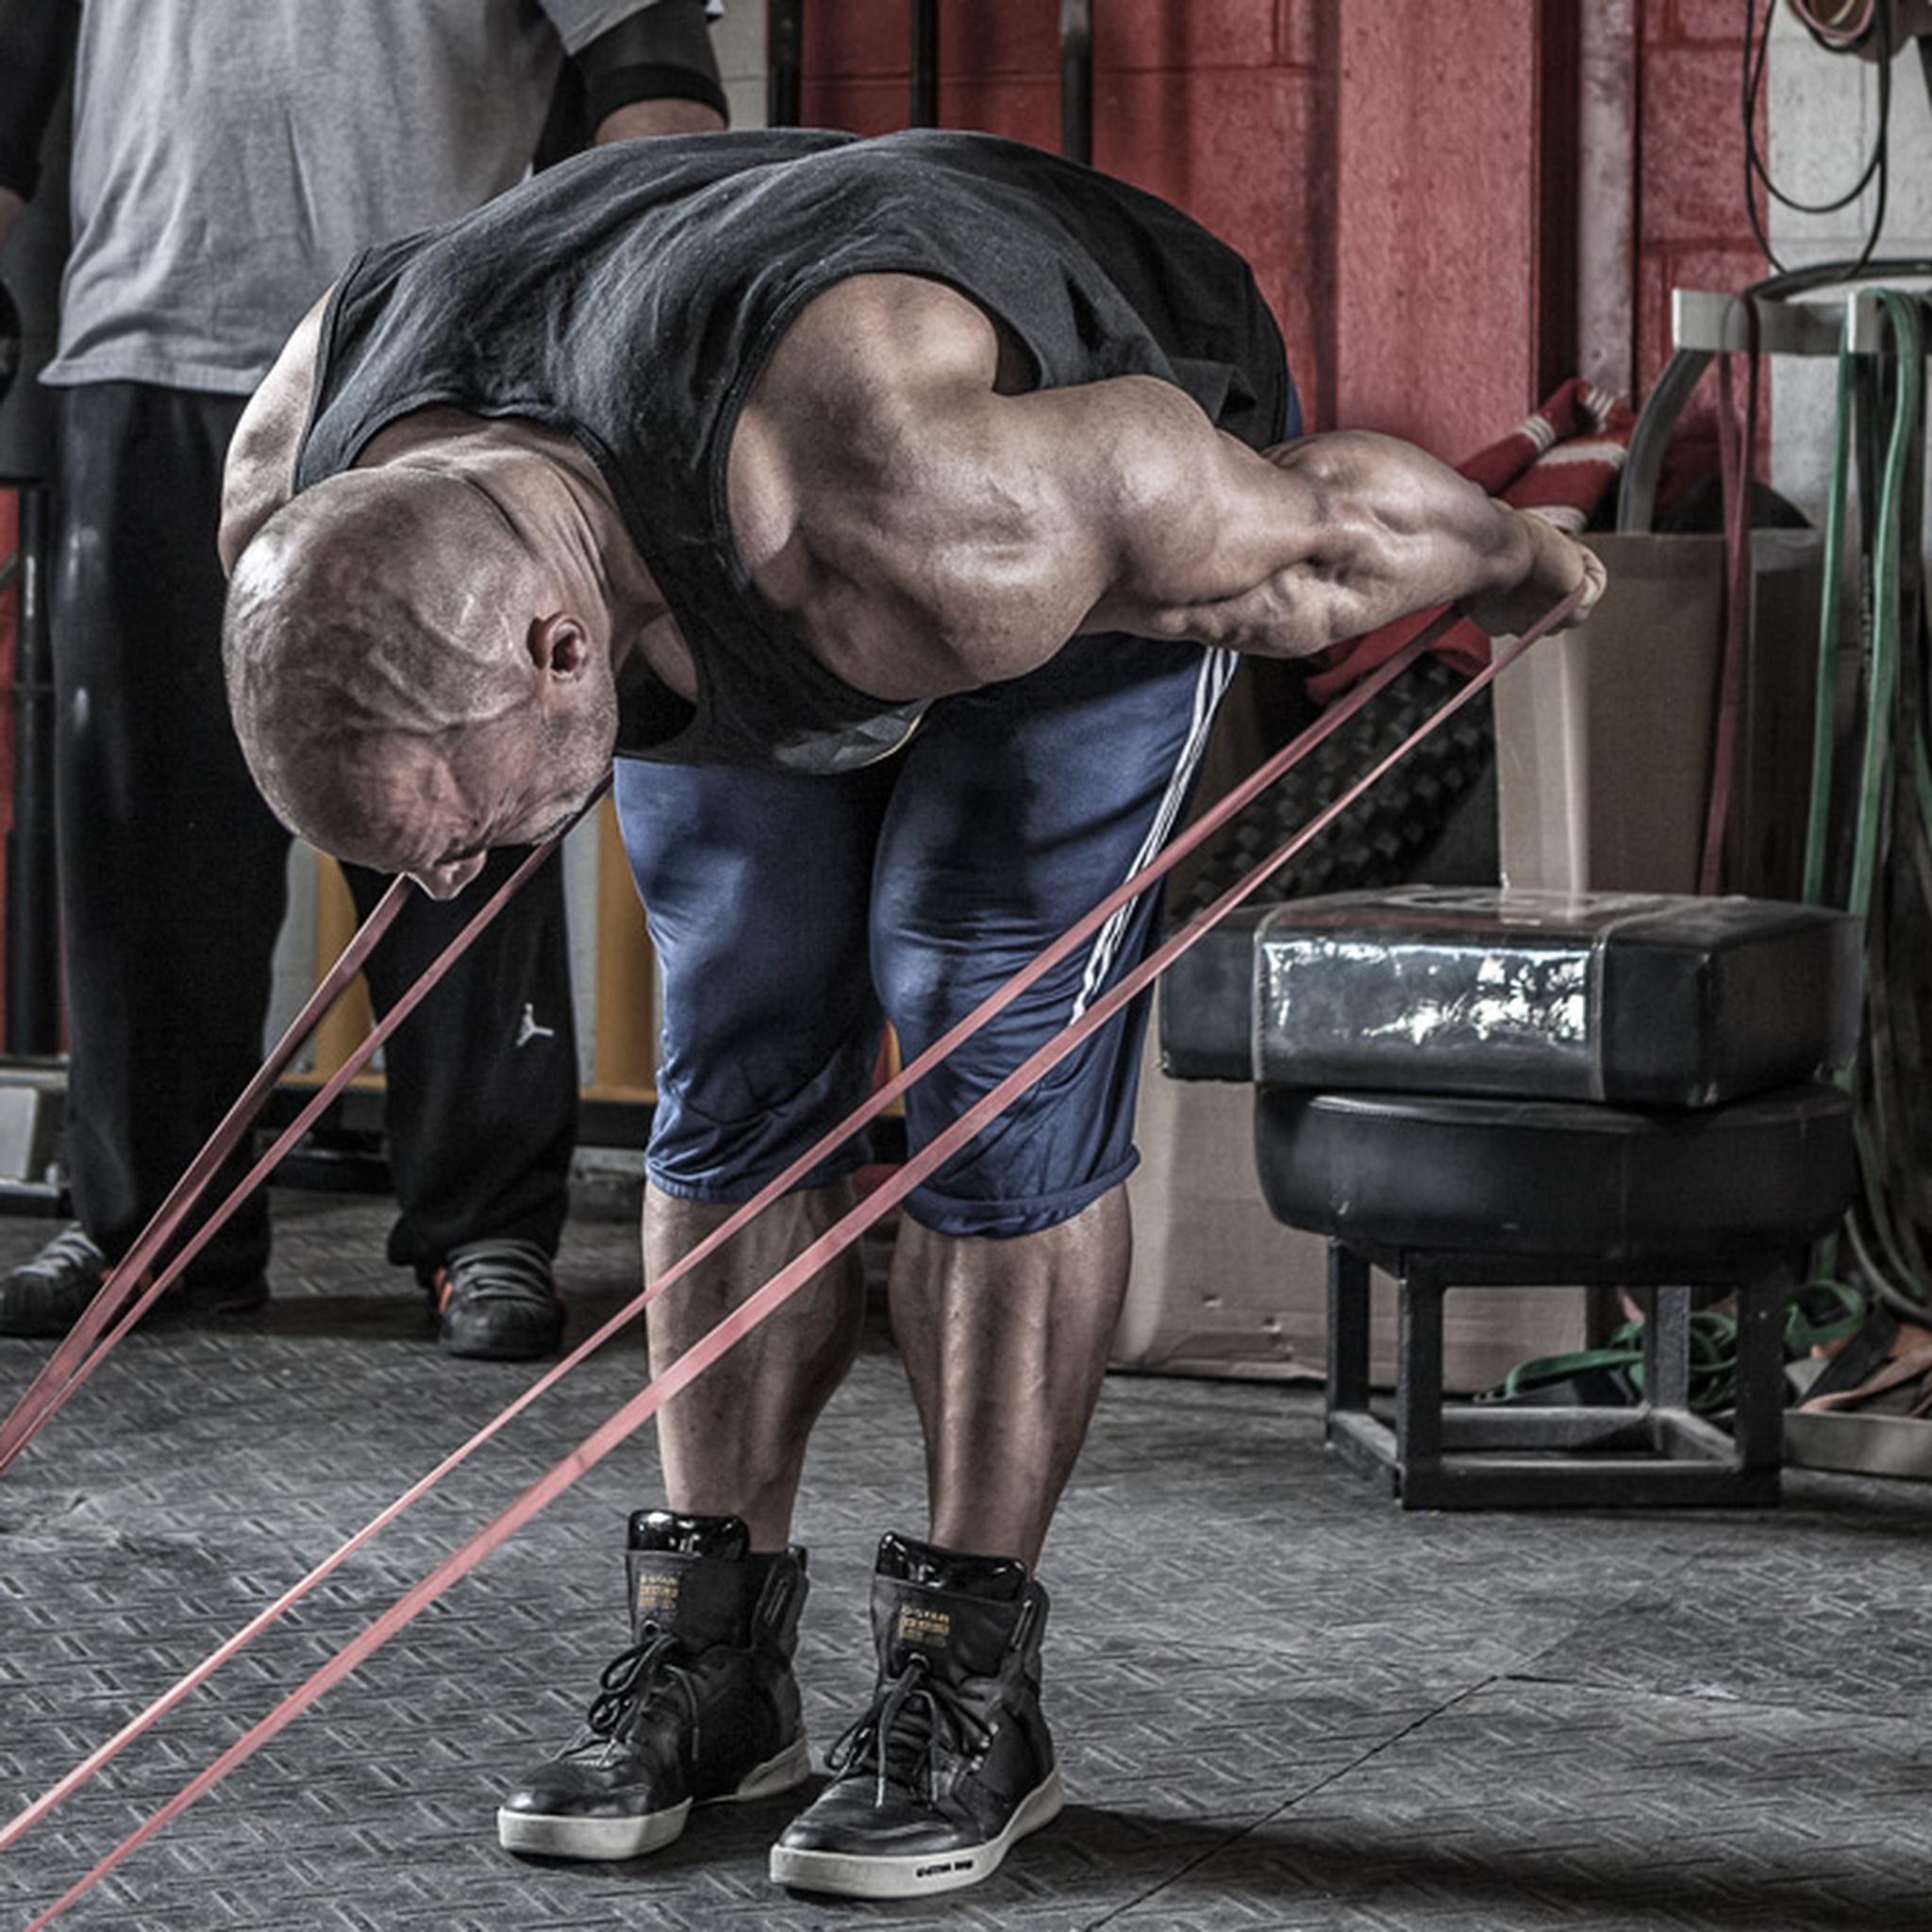
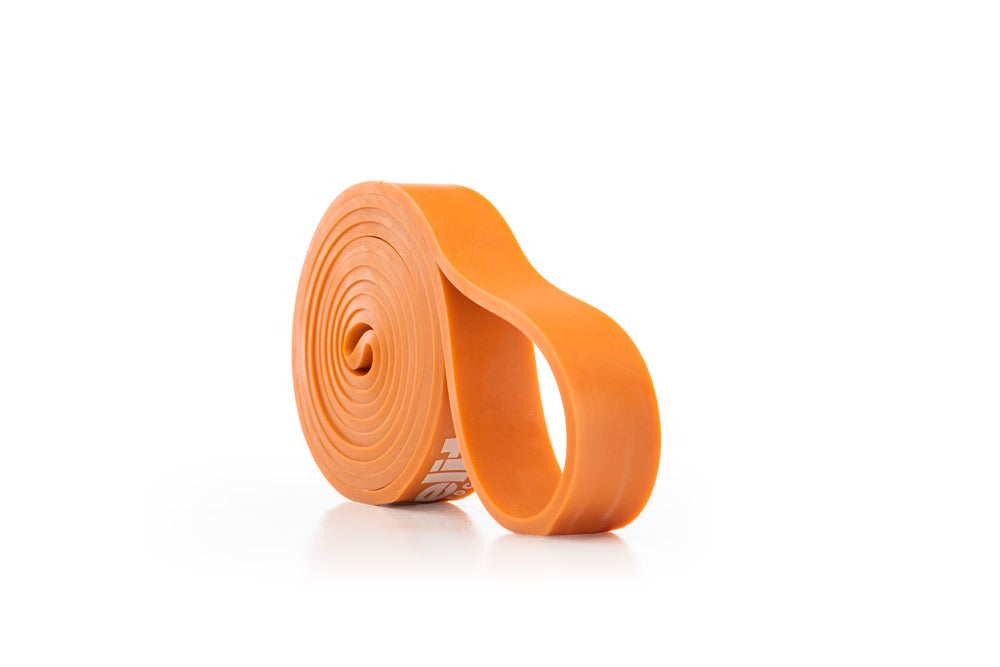
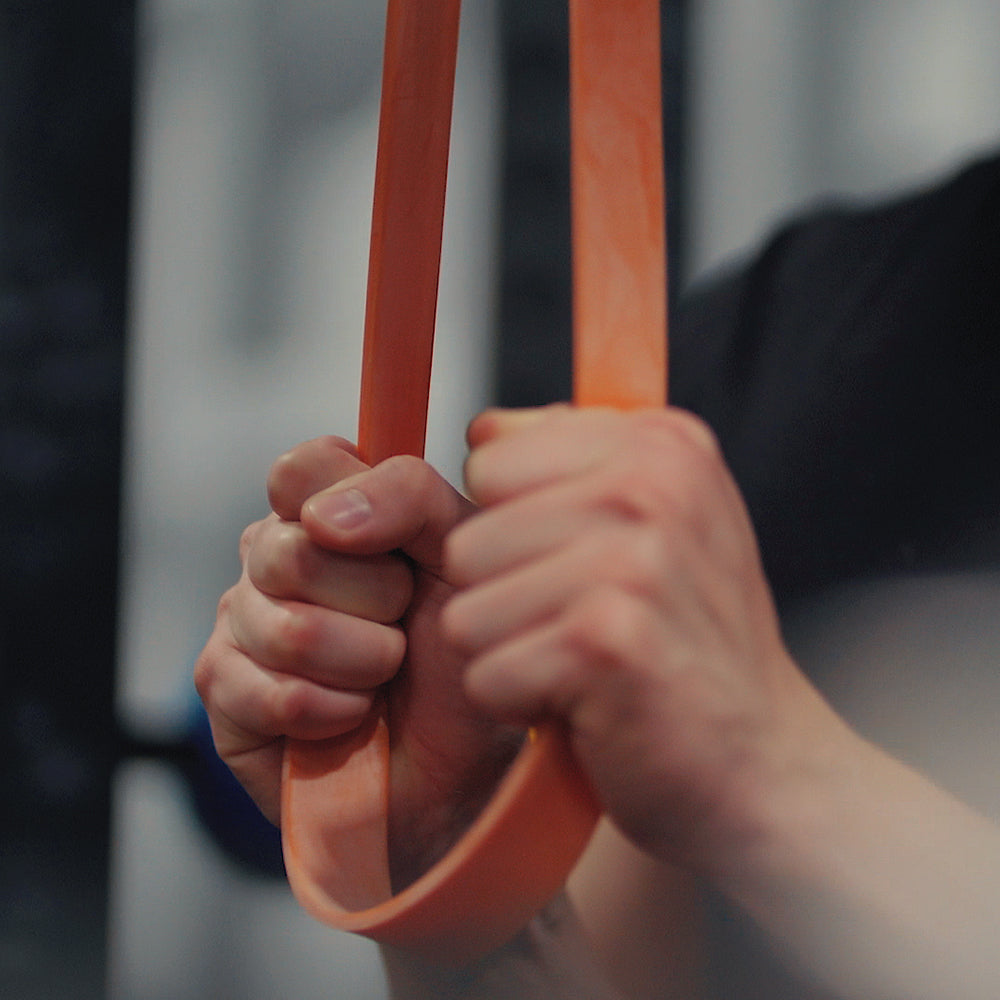
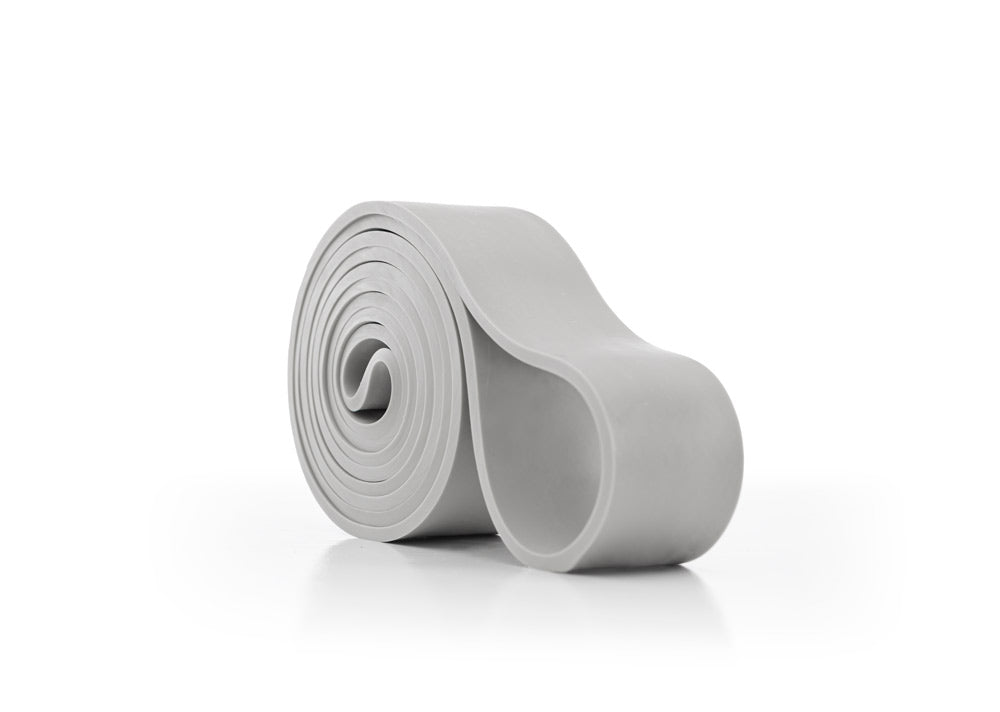
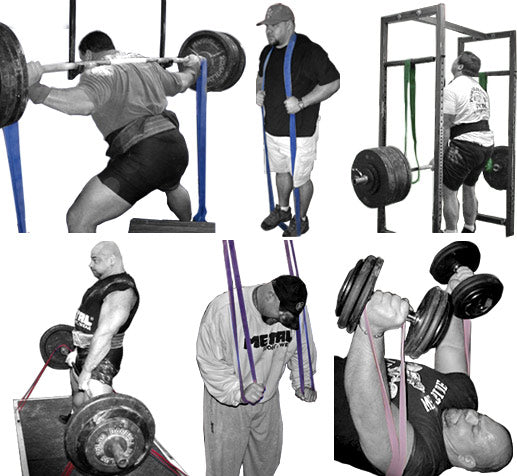
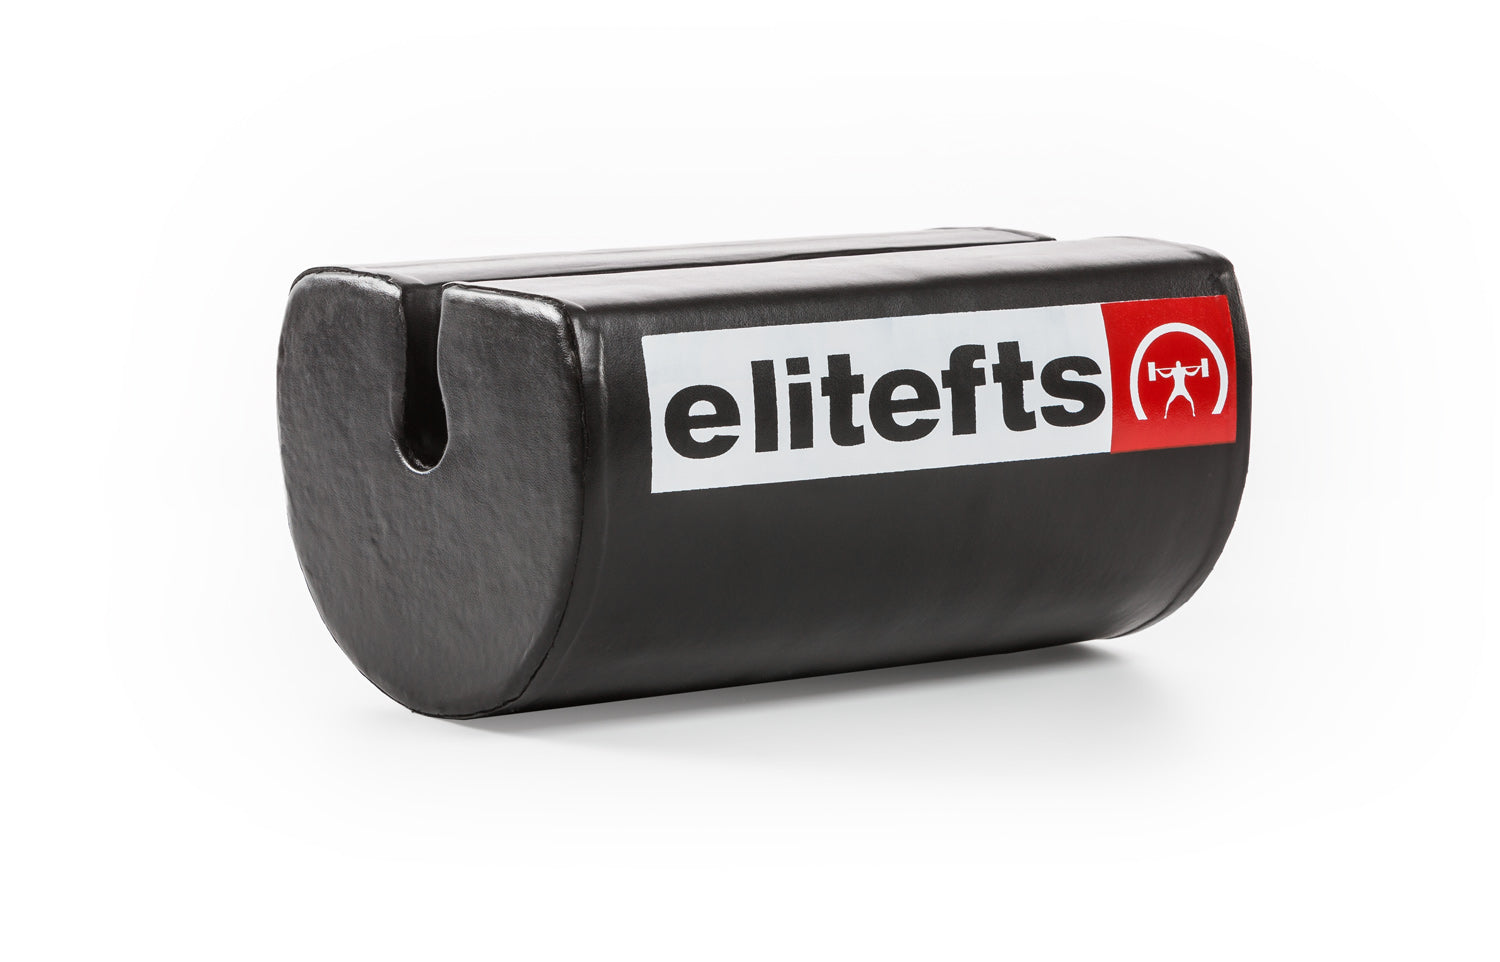
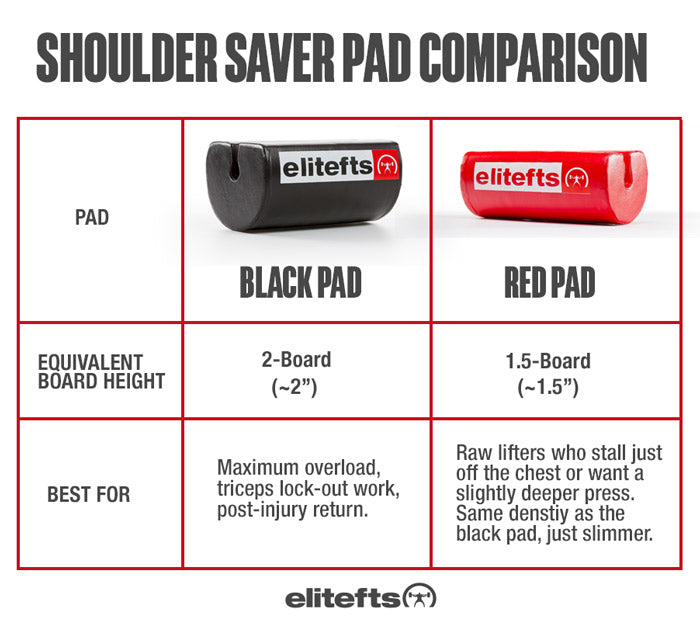
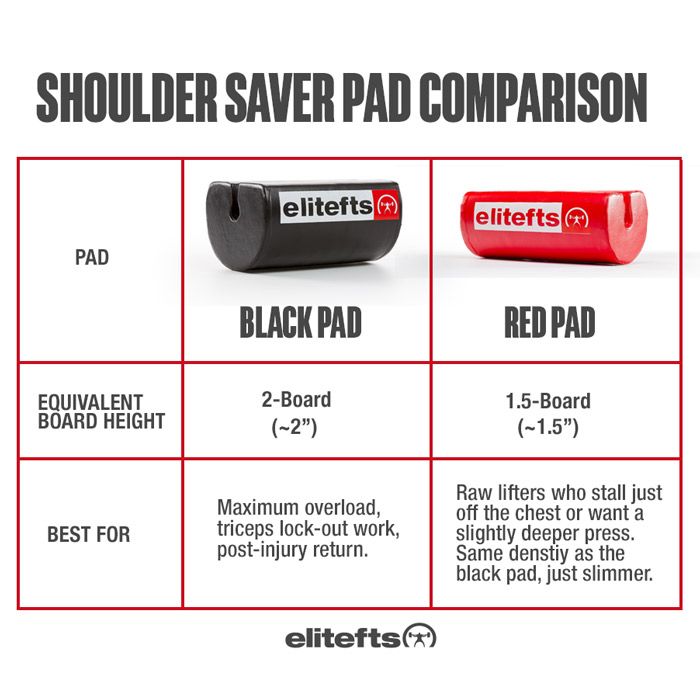
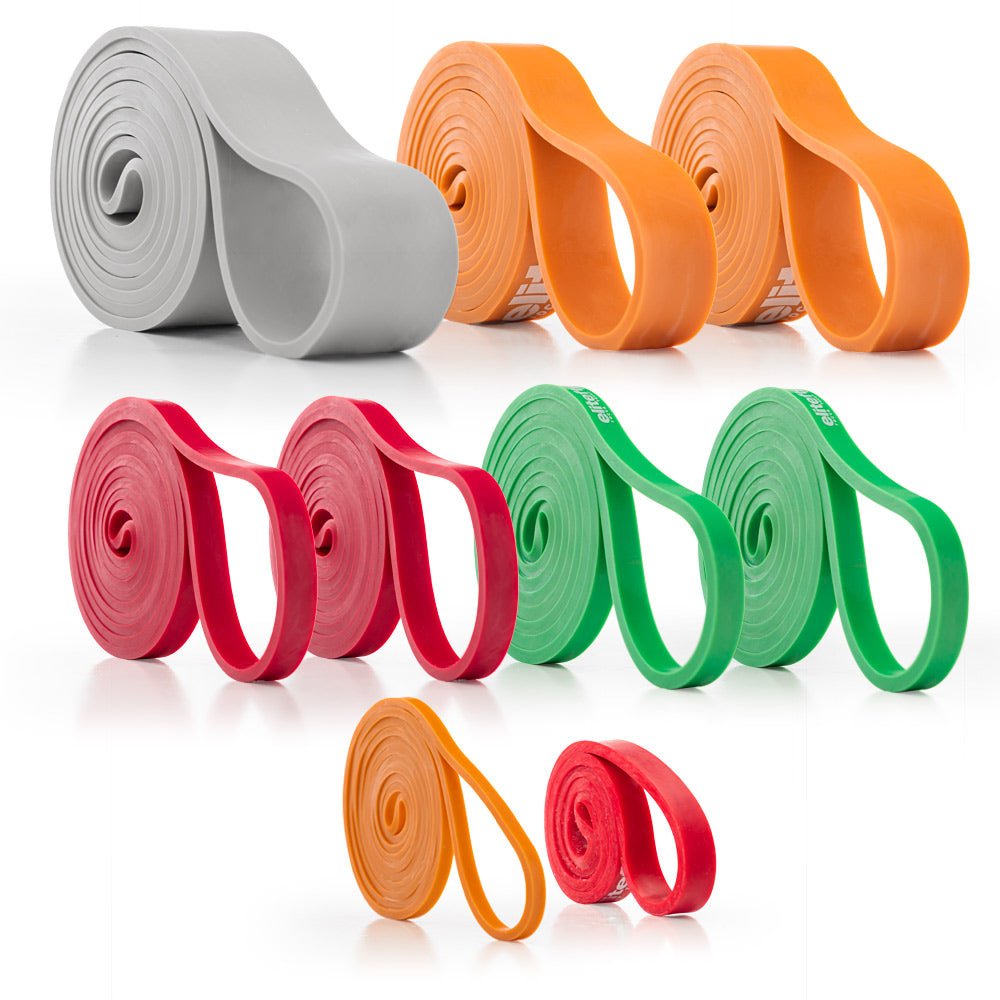
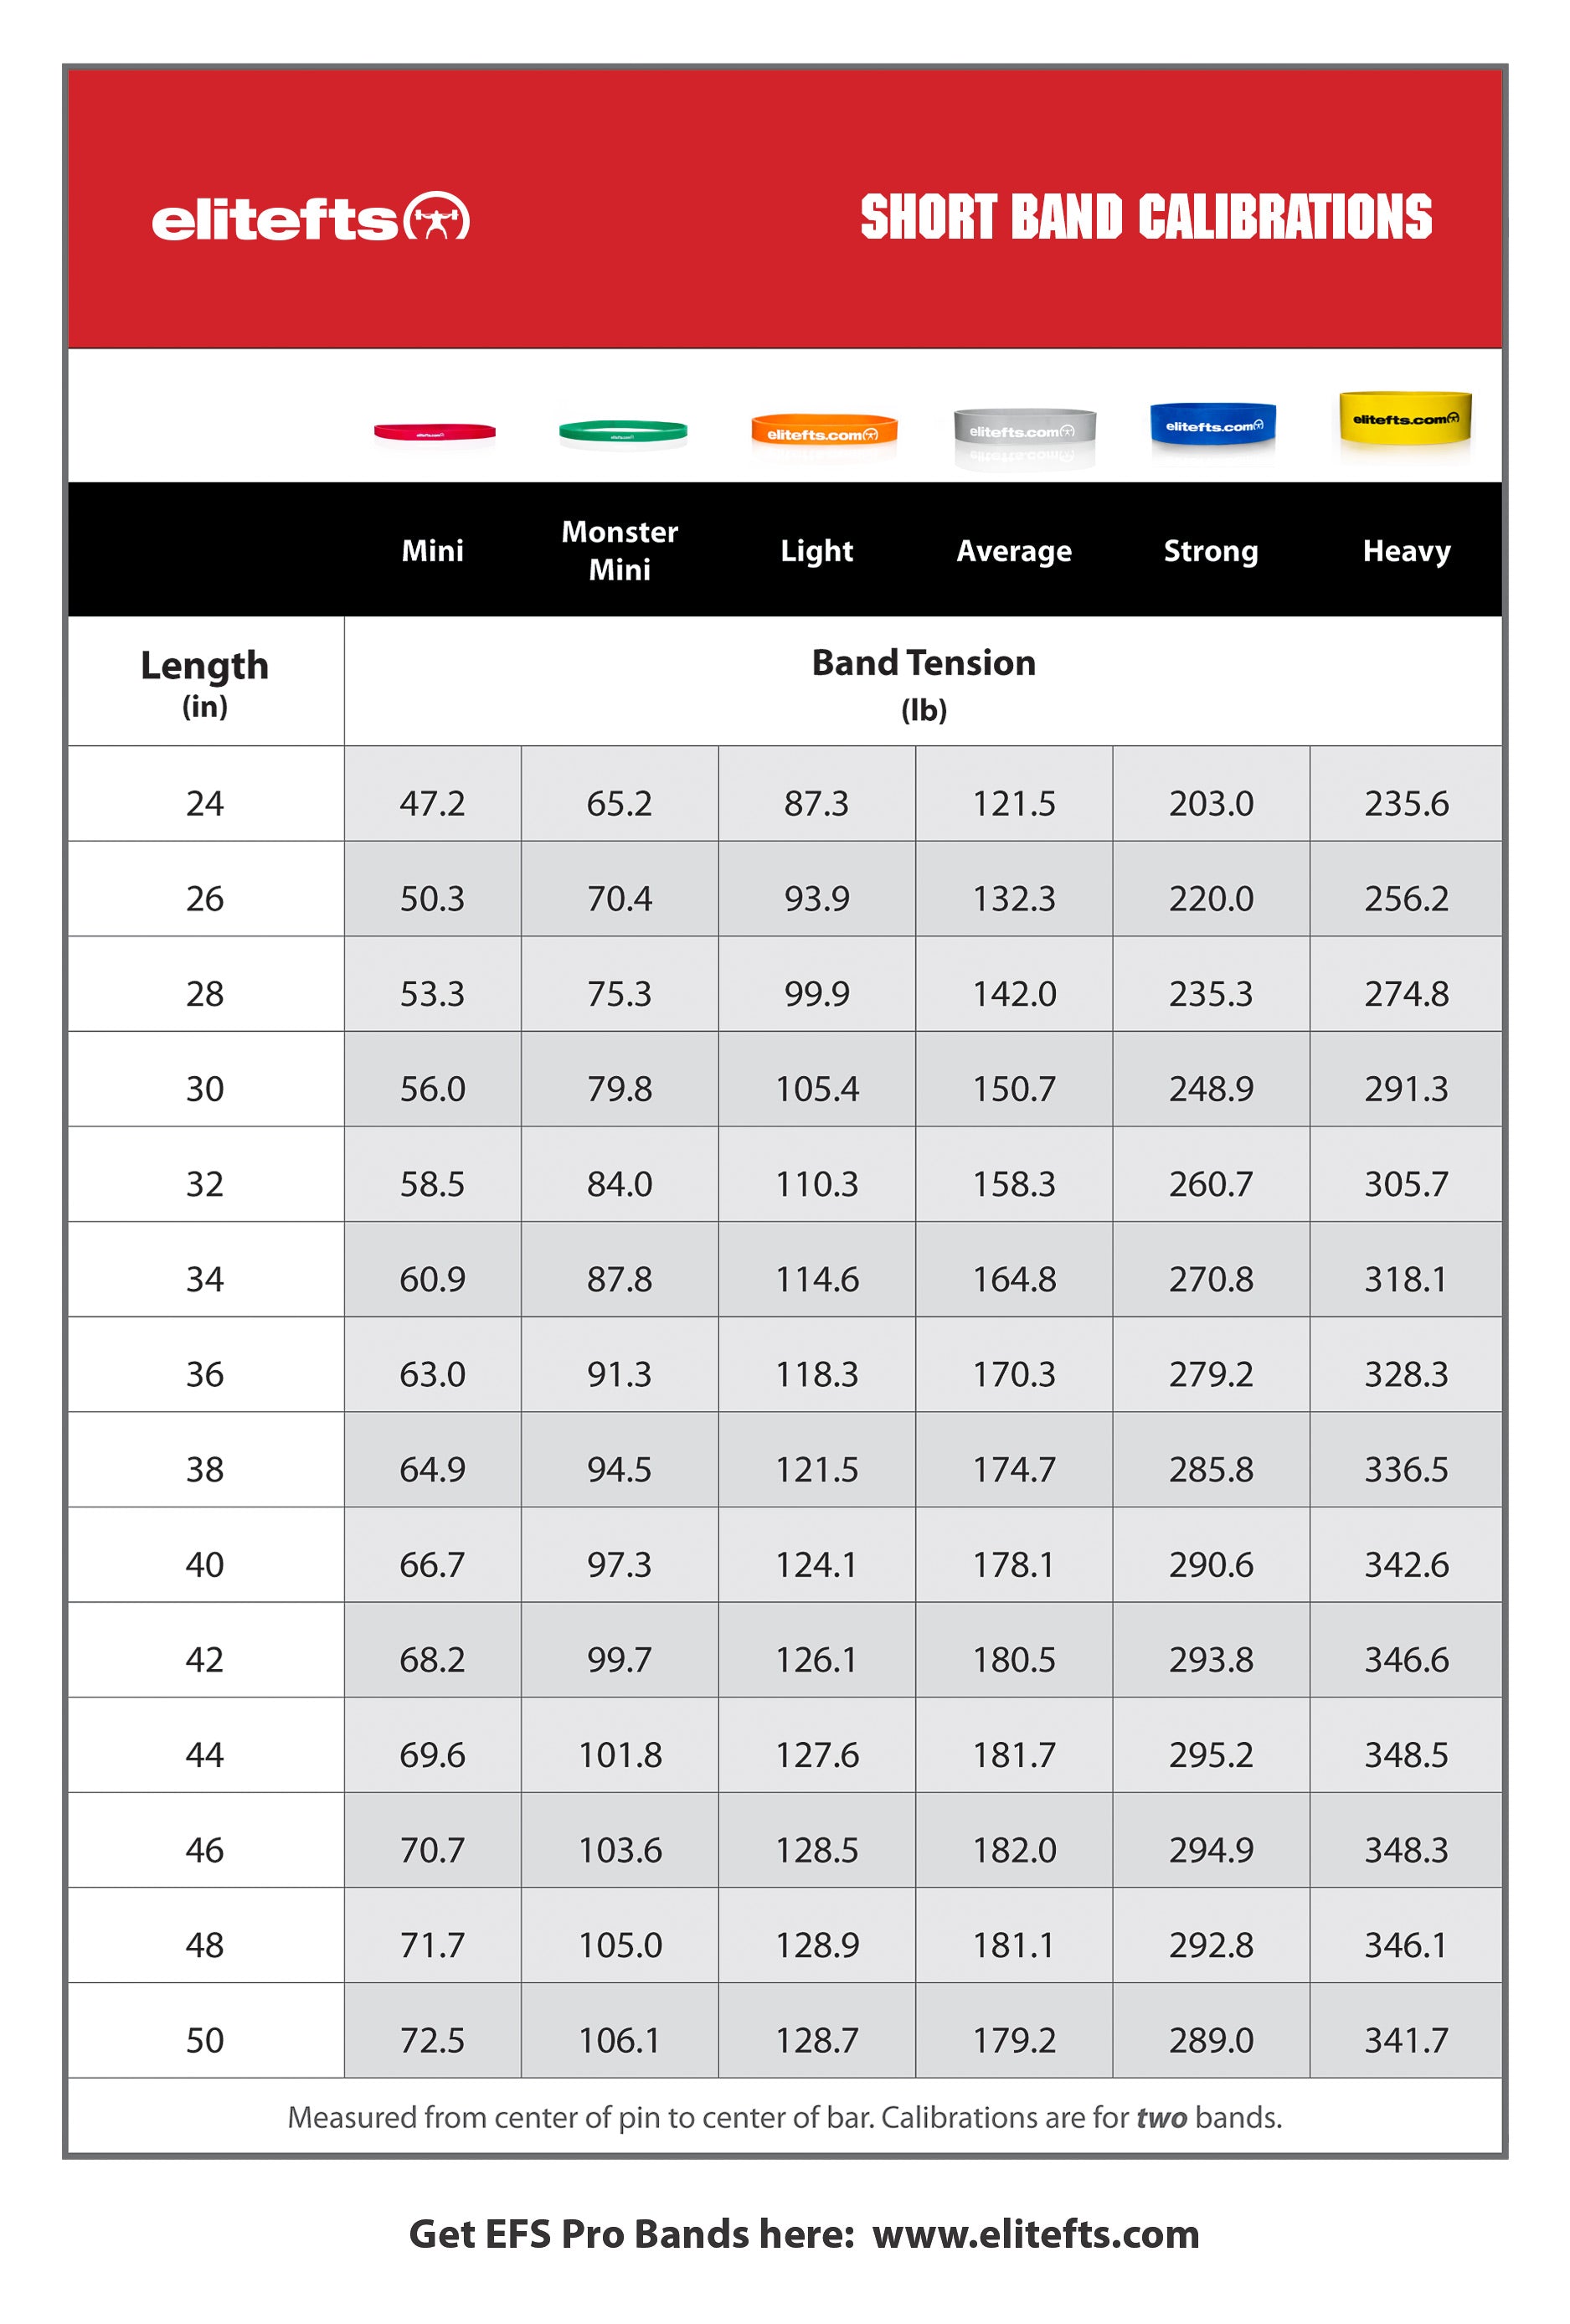
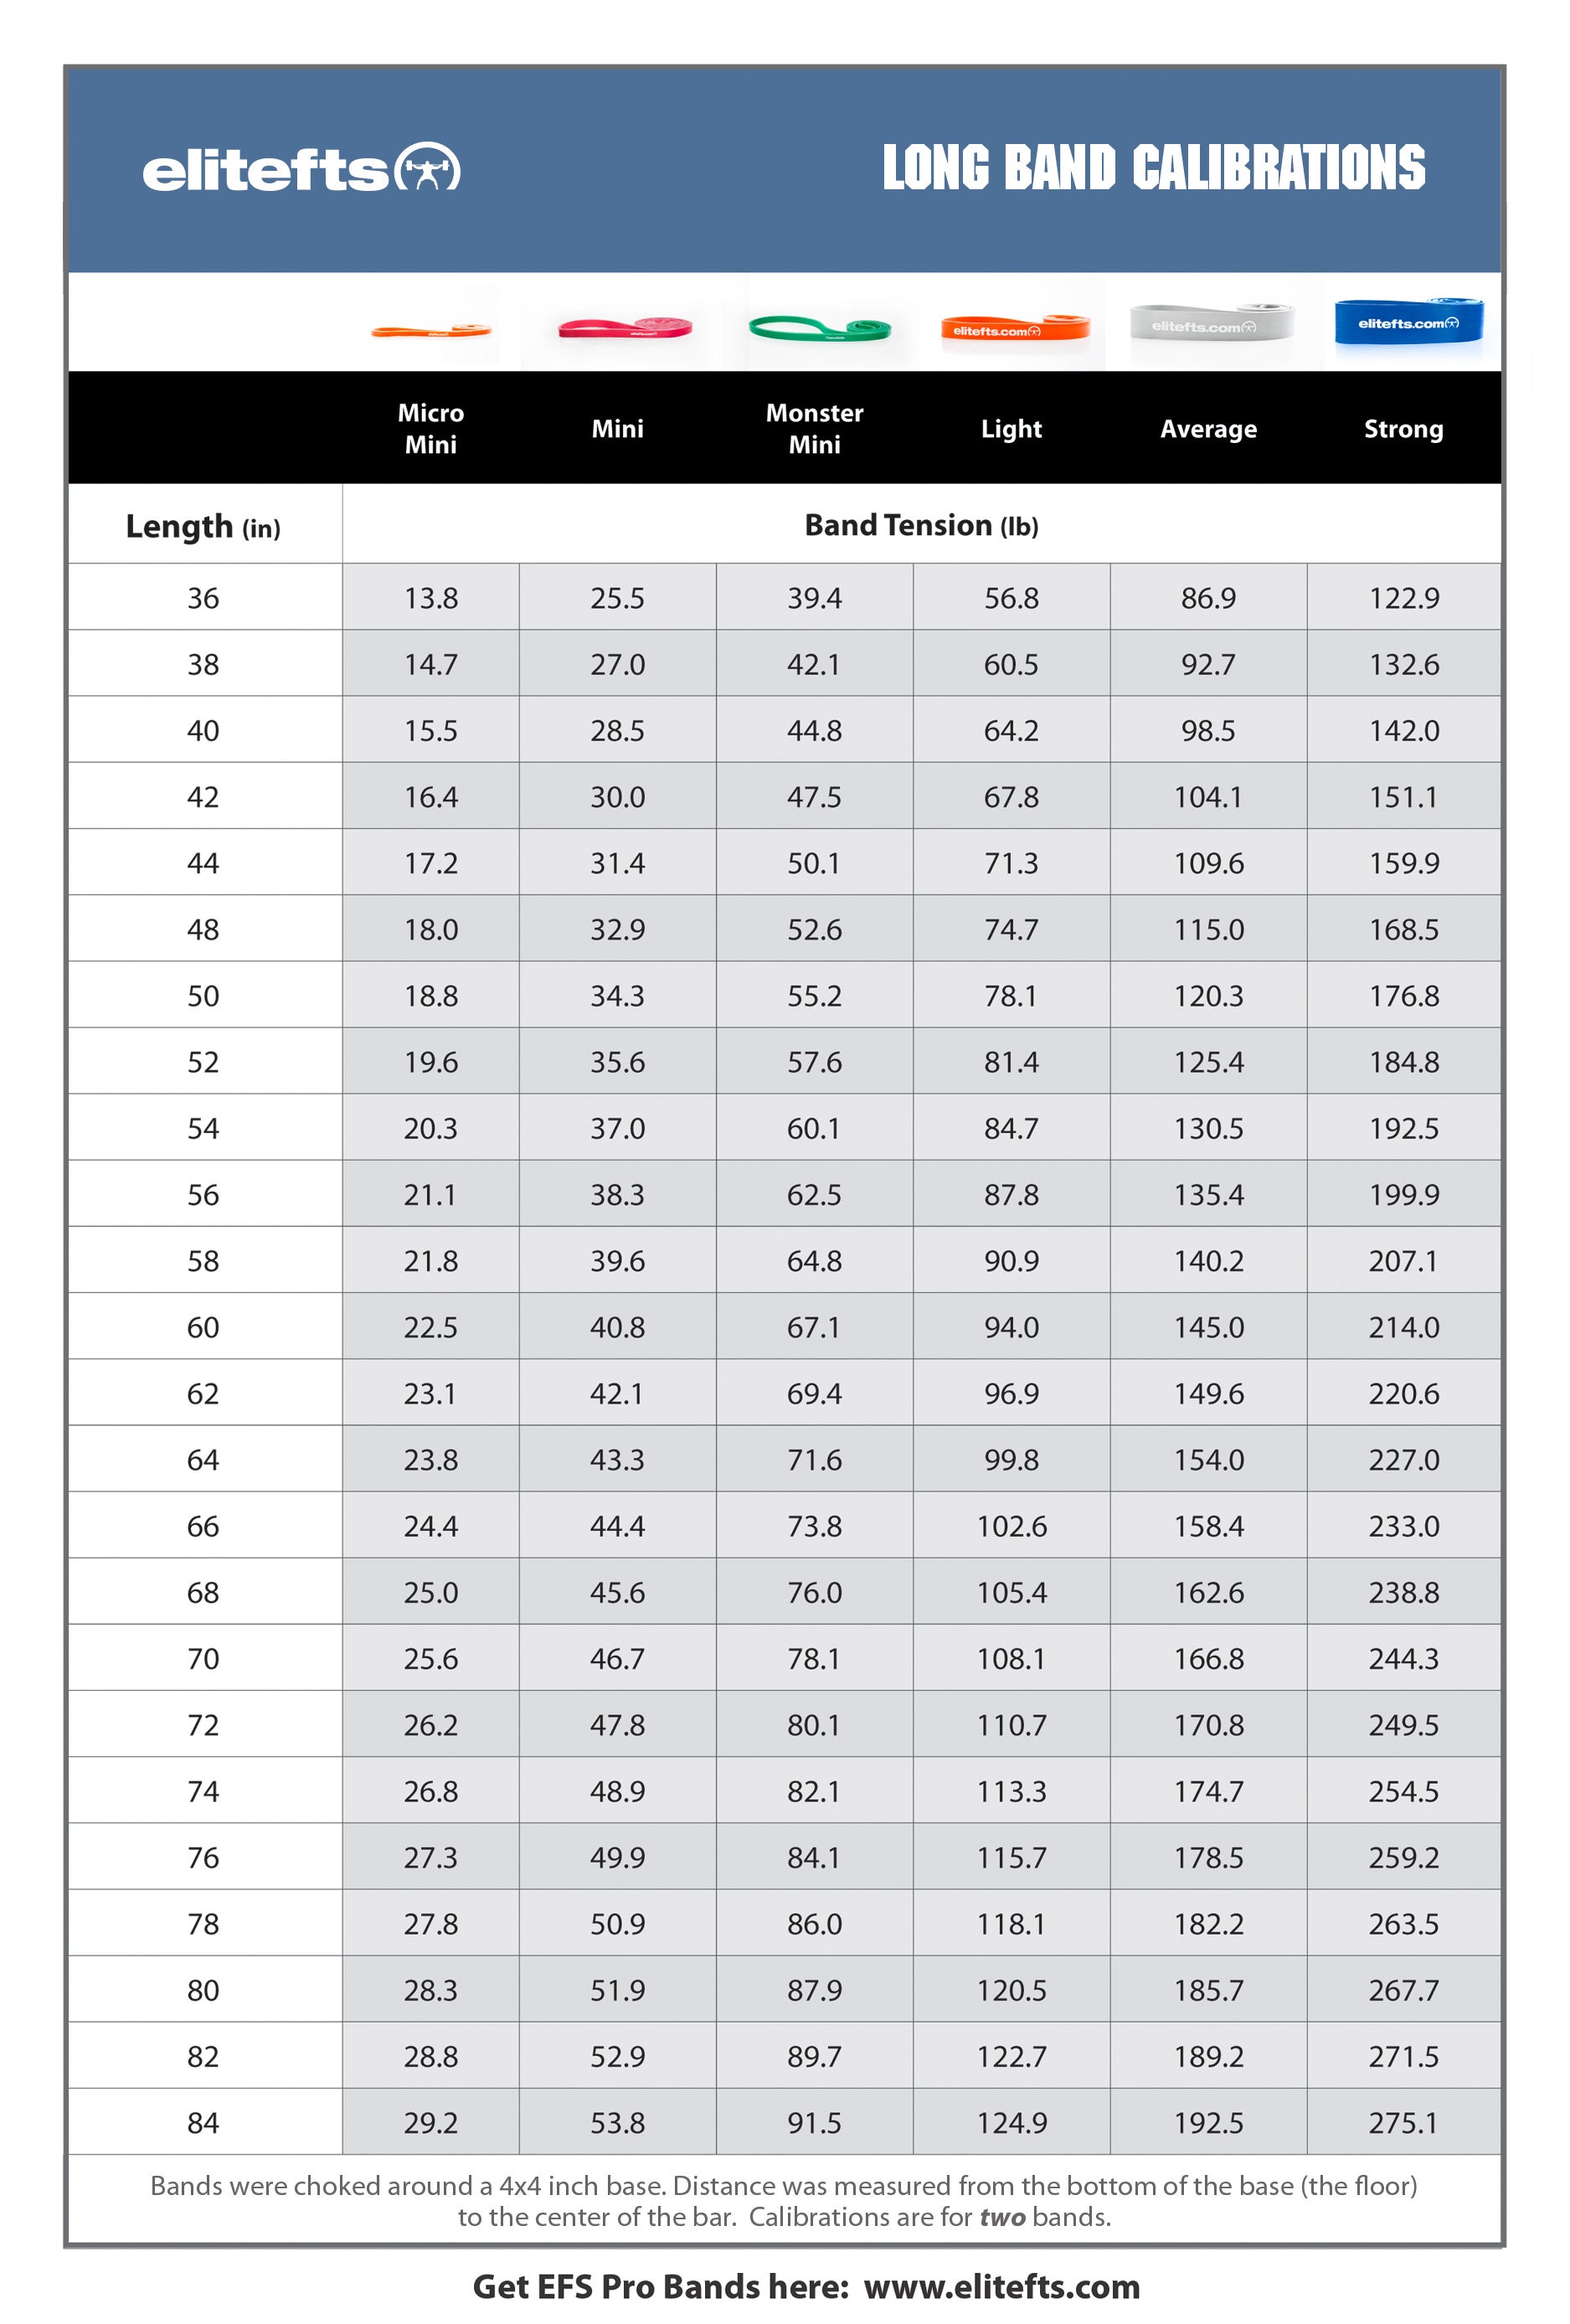
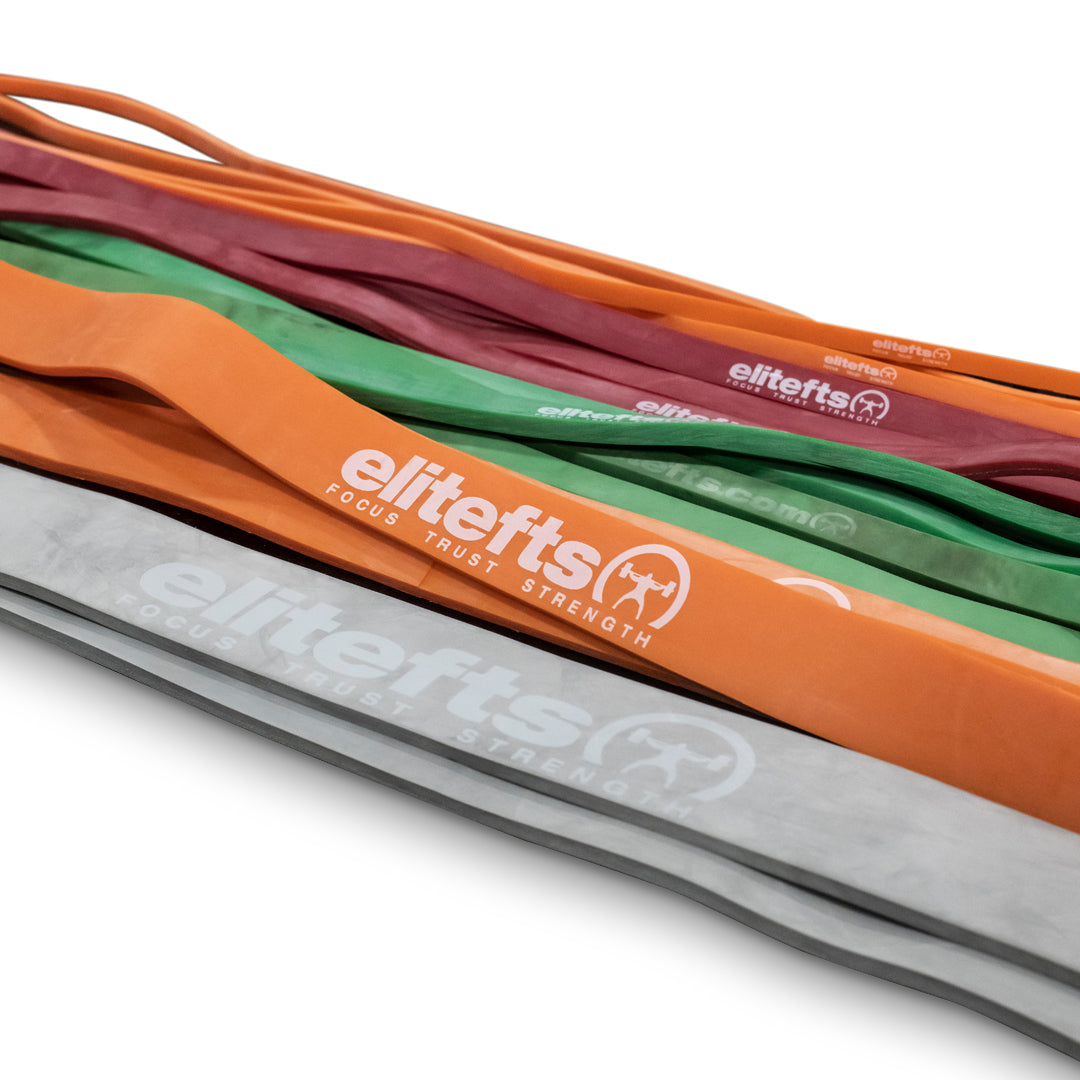
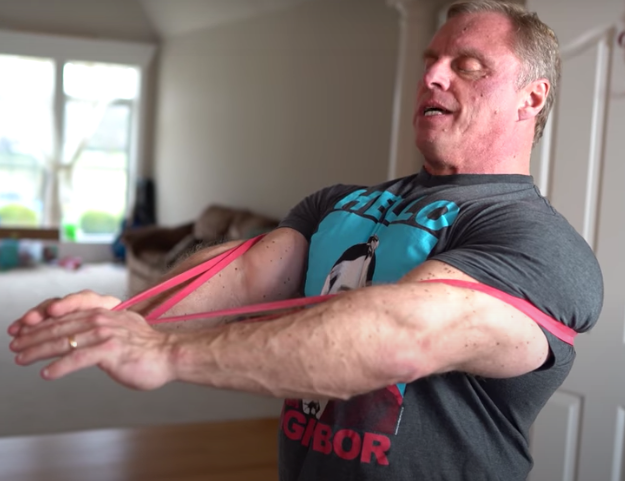
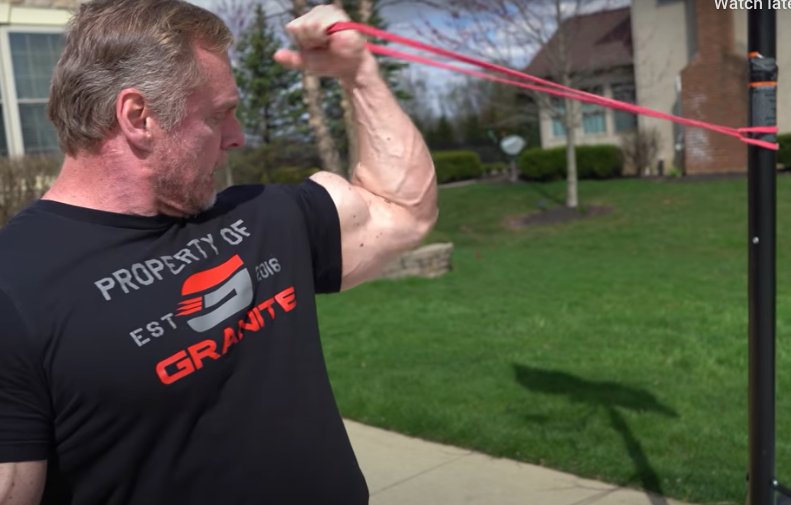
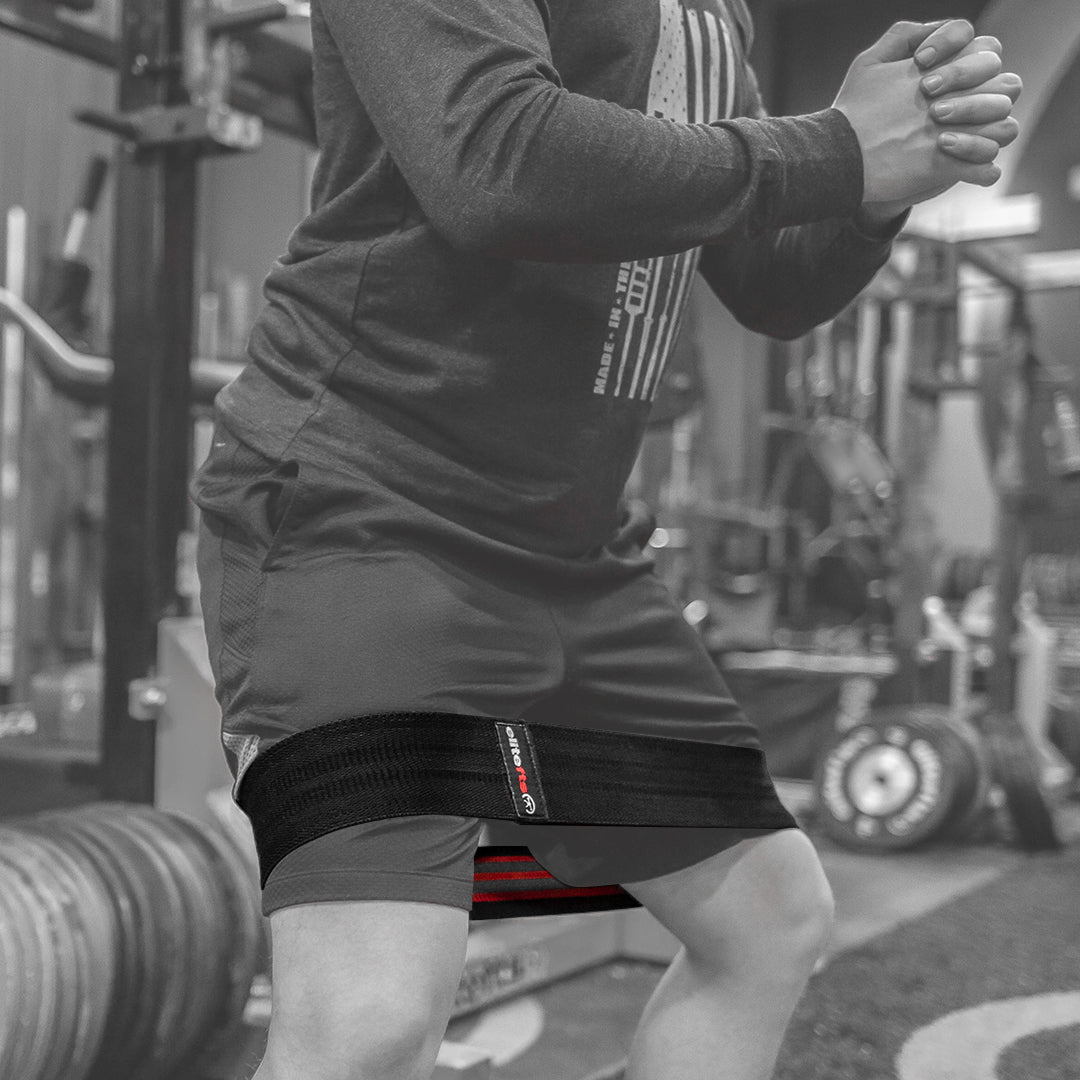
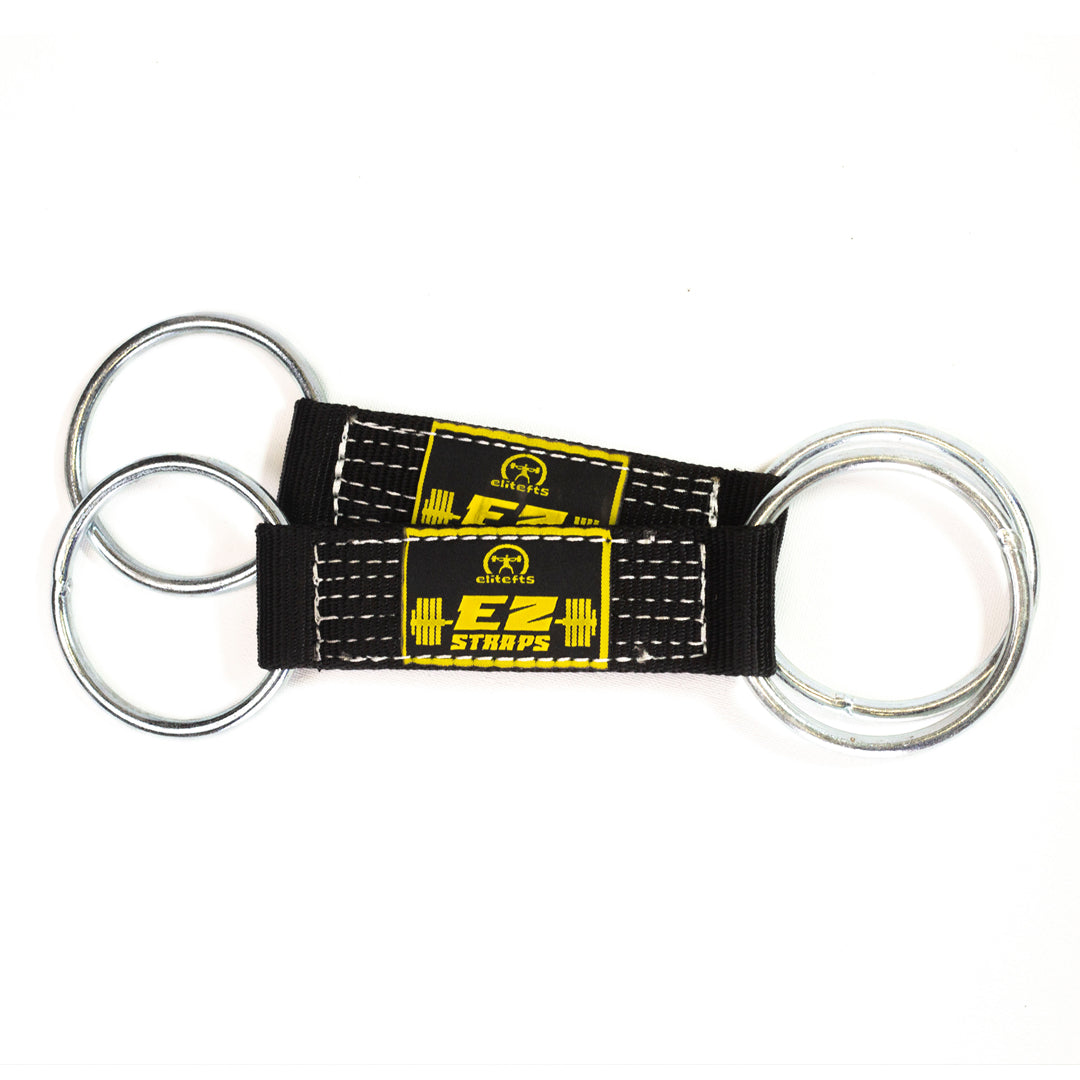
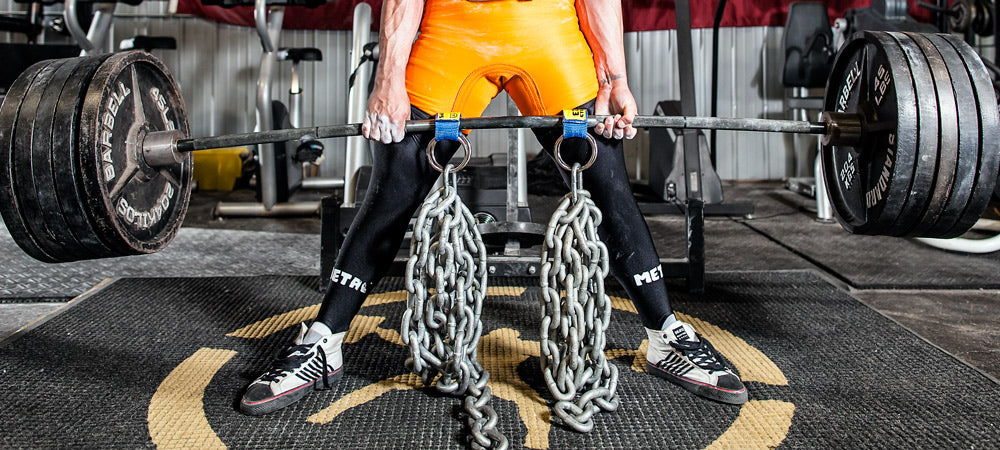
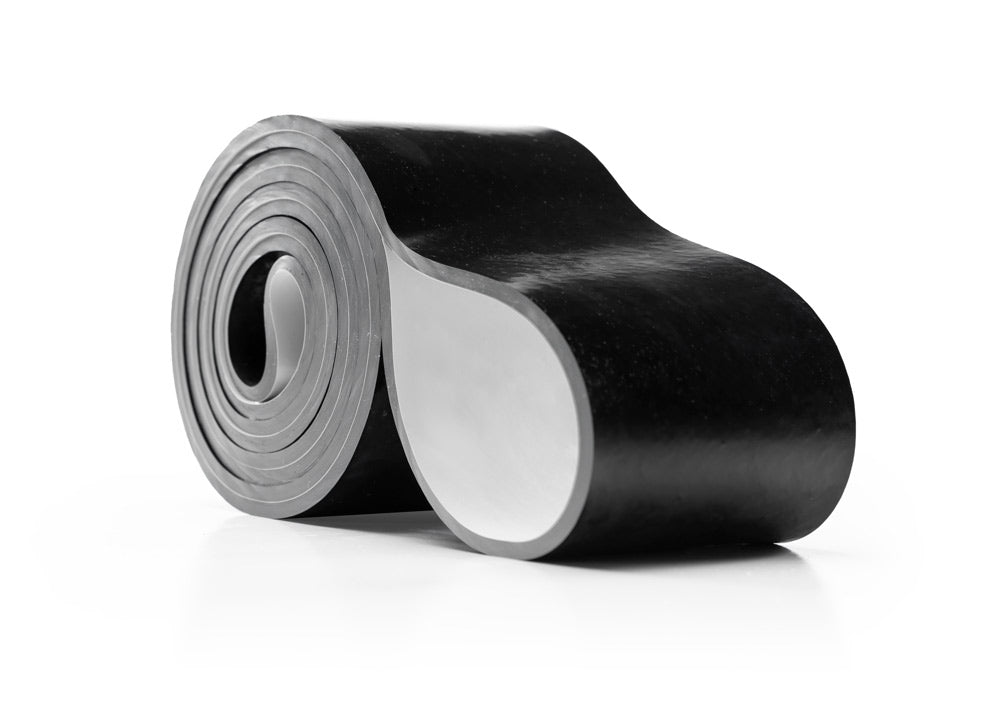
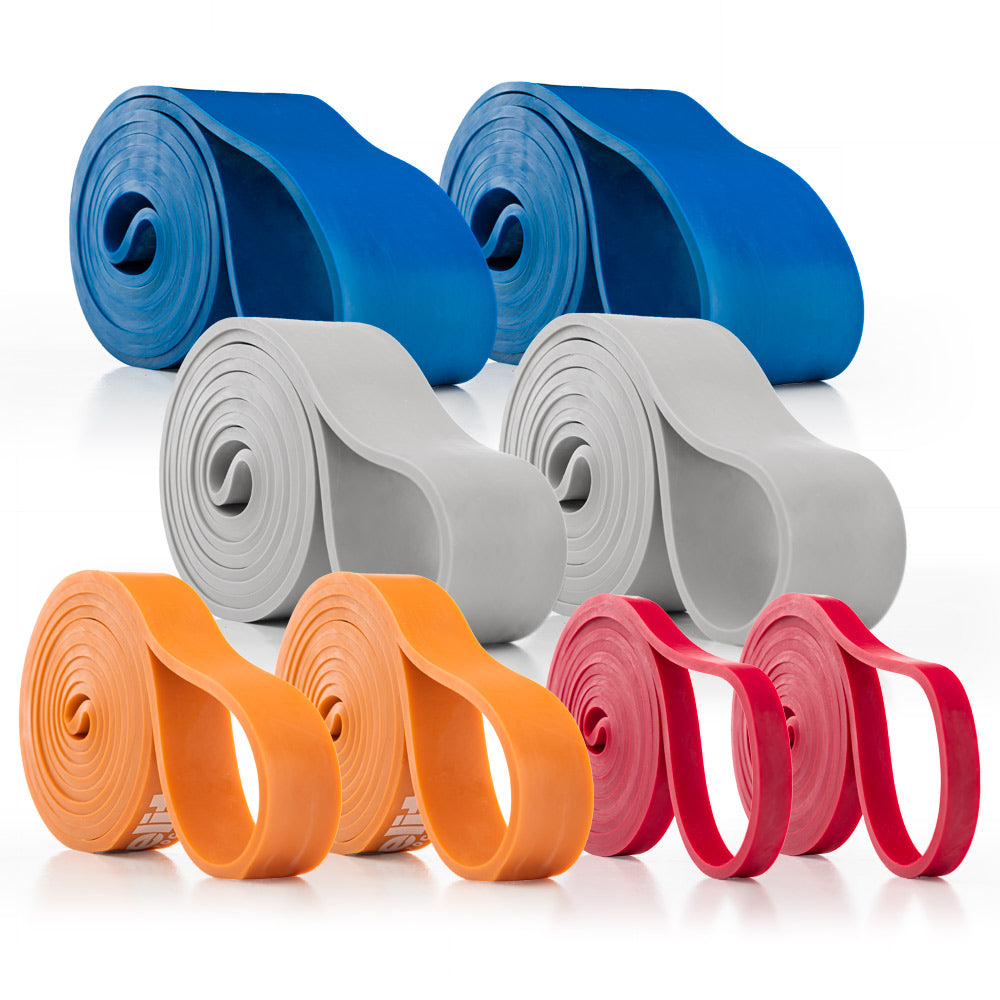
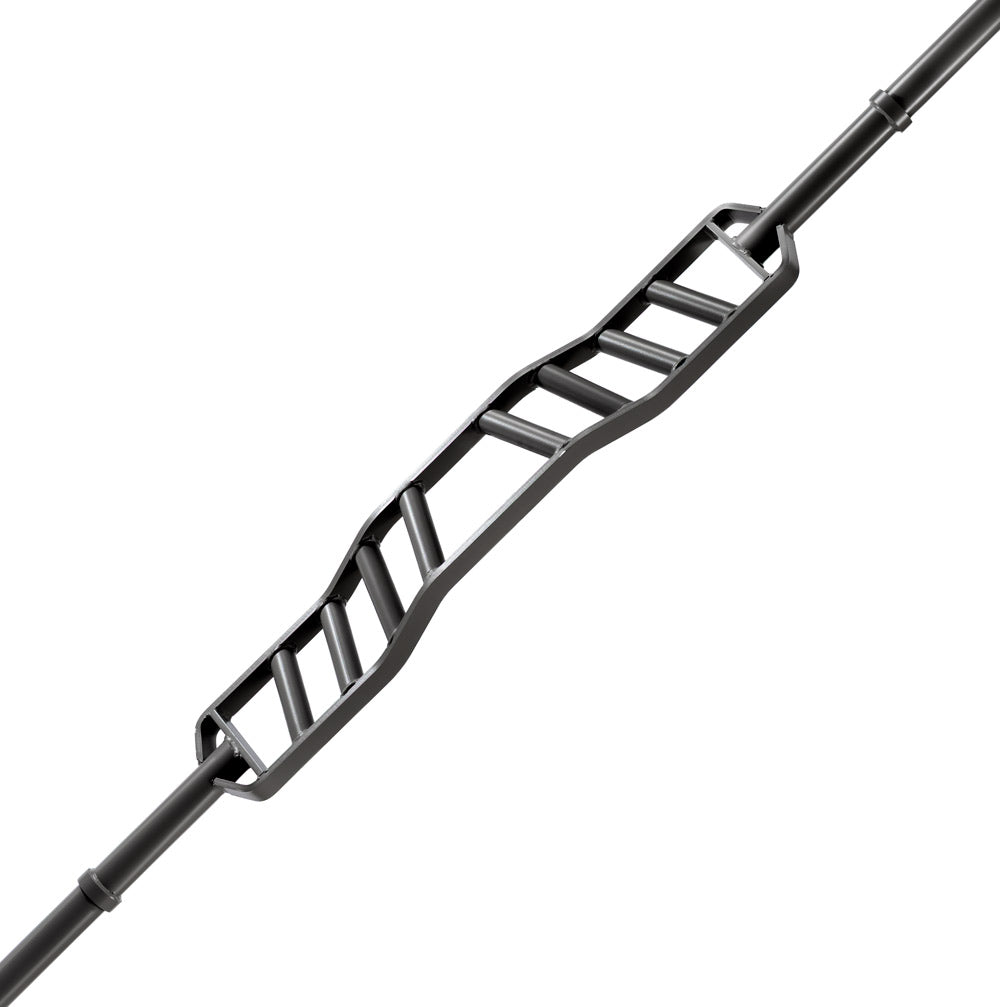
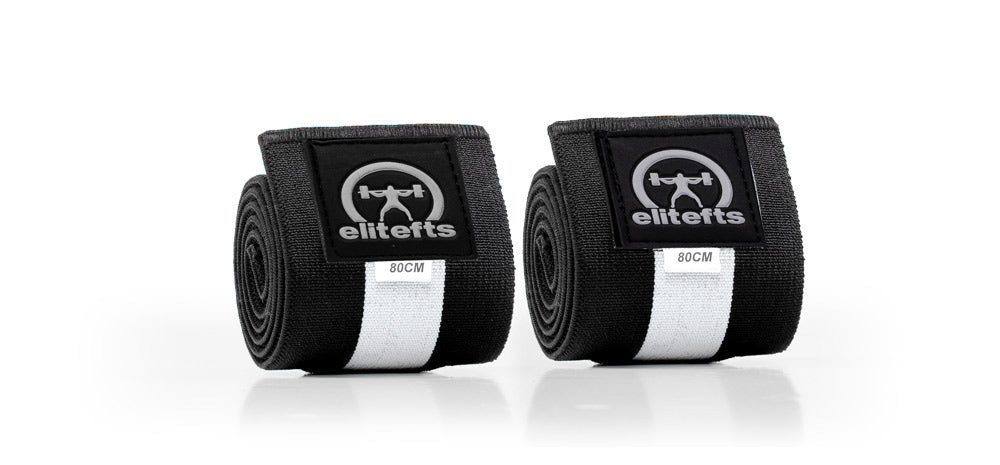
Useful add-on: Short bands from EliteFTS can complement band-tension work, jumps, and contrast methods.
Q4 — Sets, Reps, and Loading Freedom
In Q4, players now have the option to self-select the sets-and-reps plans they feel give them the best results in the gym and the greatest transfer to the field. They will have had experience with most of these programming options while still in Q1, enabling them to make informed selections. I primarily program in three-week loading cycles, heavily influenced by the writings of Louie Simmons and the conjugate periodization style.
As you can see in the chart below, I tend to use a loading cycle in the 70–80% range and a recovery or deload cycle in the 60–70% range. This chart details strength-and-power programming, or, in my classification, mechanical and neural programming. I use a completely different sets-and-reps plan when discussing hypertrophy programming with players; for example, in my articles where I use an armor-plating/body-part approach.

Loading MethodPrilepin’s Chart to Determine the Sets & Reps Element of Q4
| % of 1RM | Reps per Set | Optimal Total Reps | Range of Reps | Sets & Reps |
|---|---|---|---|---|
| 60–70 | 3–6 | 24 | 18–30 | I use this for a recovery or down week or as an introduction. |
| 70–80 | 3–6 | 18 | 12–24 | (6 x 3), (4 x 6), (3 x 6), (4 x 5), (5 x 4), 6/5/4/4 step load, 3 x 3/5 ratchet, 3 x 3 + 3 cluster |
| 80–90 | 2–4 | 15 | 10–20 | (3 x 5), (5 x 3), (4 x 4), 5/4/3/3 step load, 2 x 4/3/2 wave, 4 x 1/3 contrast, 4 x 2 + 2 cluster |
| 90+ | 1–2 | 7 | 4–10 | (4 x 2), (5 x 2), (5 x 1), 4/3/2 step load, 3/2/1 step load, 4 x 1 + 1 cluster |