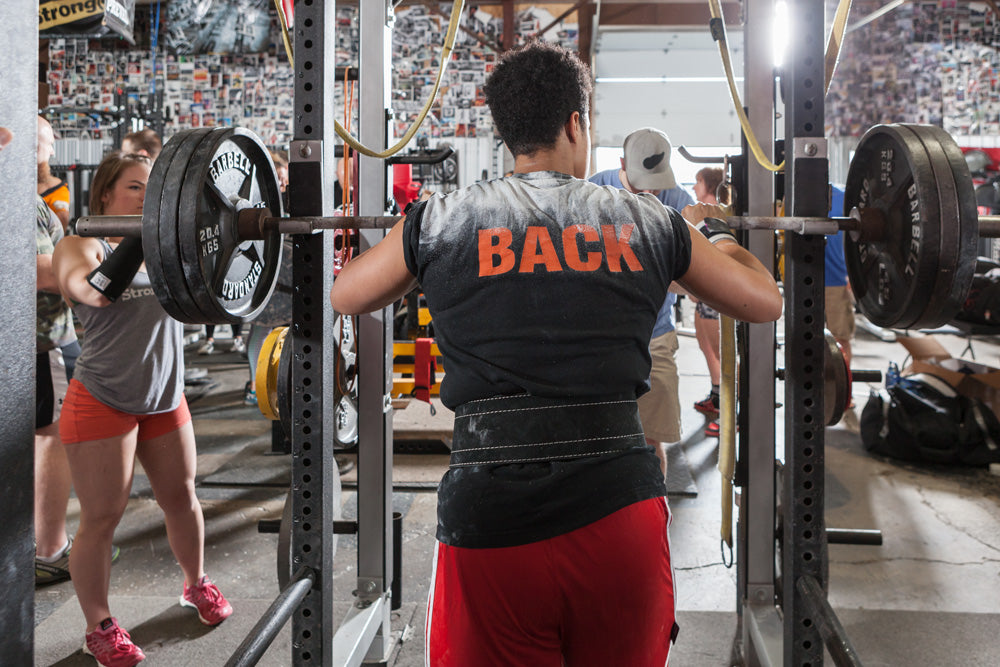


Traditionally our baseball guys have been a great group to work with. They are meatheads through and through. If I gave them the option they would reverse band bench, board press, pin pull, and reverse band pull every week. They've always trained at 6:45 AM and still bring tons of energy. There have honestly been days when I was dragging ass until they'd come in and blast Lamb of God and get things going. You can talk all the strength coach crap you want about "being the thermostat" but I’m here to tell the truth: there are days when you are smoked. Ten minutes into their training I felt like I needed to get under a bar myself. This is another good example of a team that used the eight-day split for their training because they only lift three days per week. Again, the term "phase" refers to an eight-day period, or the time it takes to get through the four workouts. Baseball has always trained on Tuesday, Thursday and Saturday. Another team that used this with great success was women's basketball. A full description of the split and rotation of days is in the article
here. If you compare the position workouts with the pitchers, you'll see there isn't a lot of difference. With the pitchers we are a little more cautious with the shoulders. Other than that, power is power and strength is strength. No matter what position you play, we have to develop both to the greatest potential. All squats are done to a box unless noted otherwise. Always. We also try to push the pace of training, especially on accessories. When my partner hops off, I'm on. I want him leaning on shit and sucking wind by the end of the session. These guys (as were our other athletes) are encouraged to push the weight on all accessory movements. If it says 10 reps and you could’ve gotten 12, increase the weight, as long as form stays intact.
Phase I
Position Players (Fielders and Catchers) Day 1, Phase 1: Max Effort Lower: Position Player- Rolling/Soft Tissue Work
- Back Extension or Reverse Hyper: 2x20
- Seated Weighted Footslam Box Jump: 4x5 or 20 Total with 10-Pound Dumbbells or 20-Pound Medicine Ball
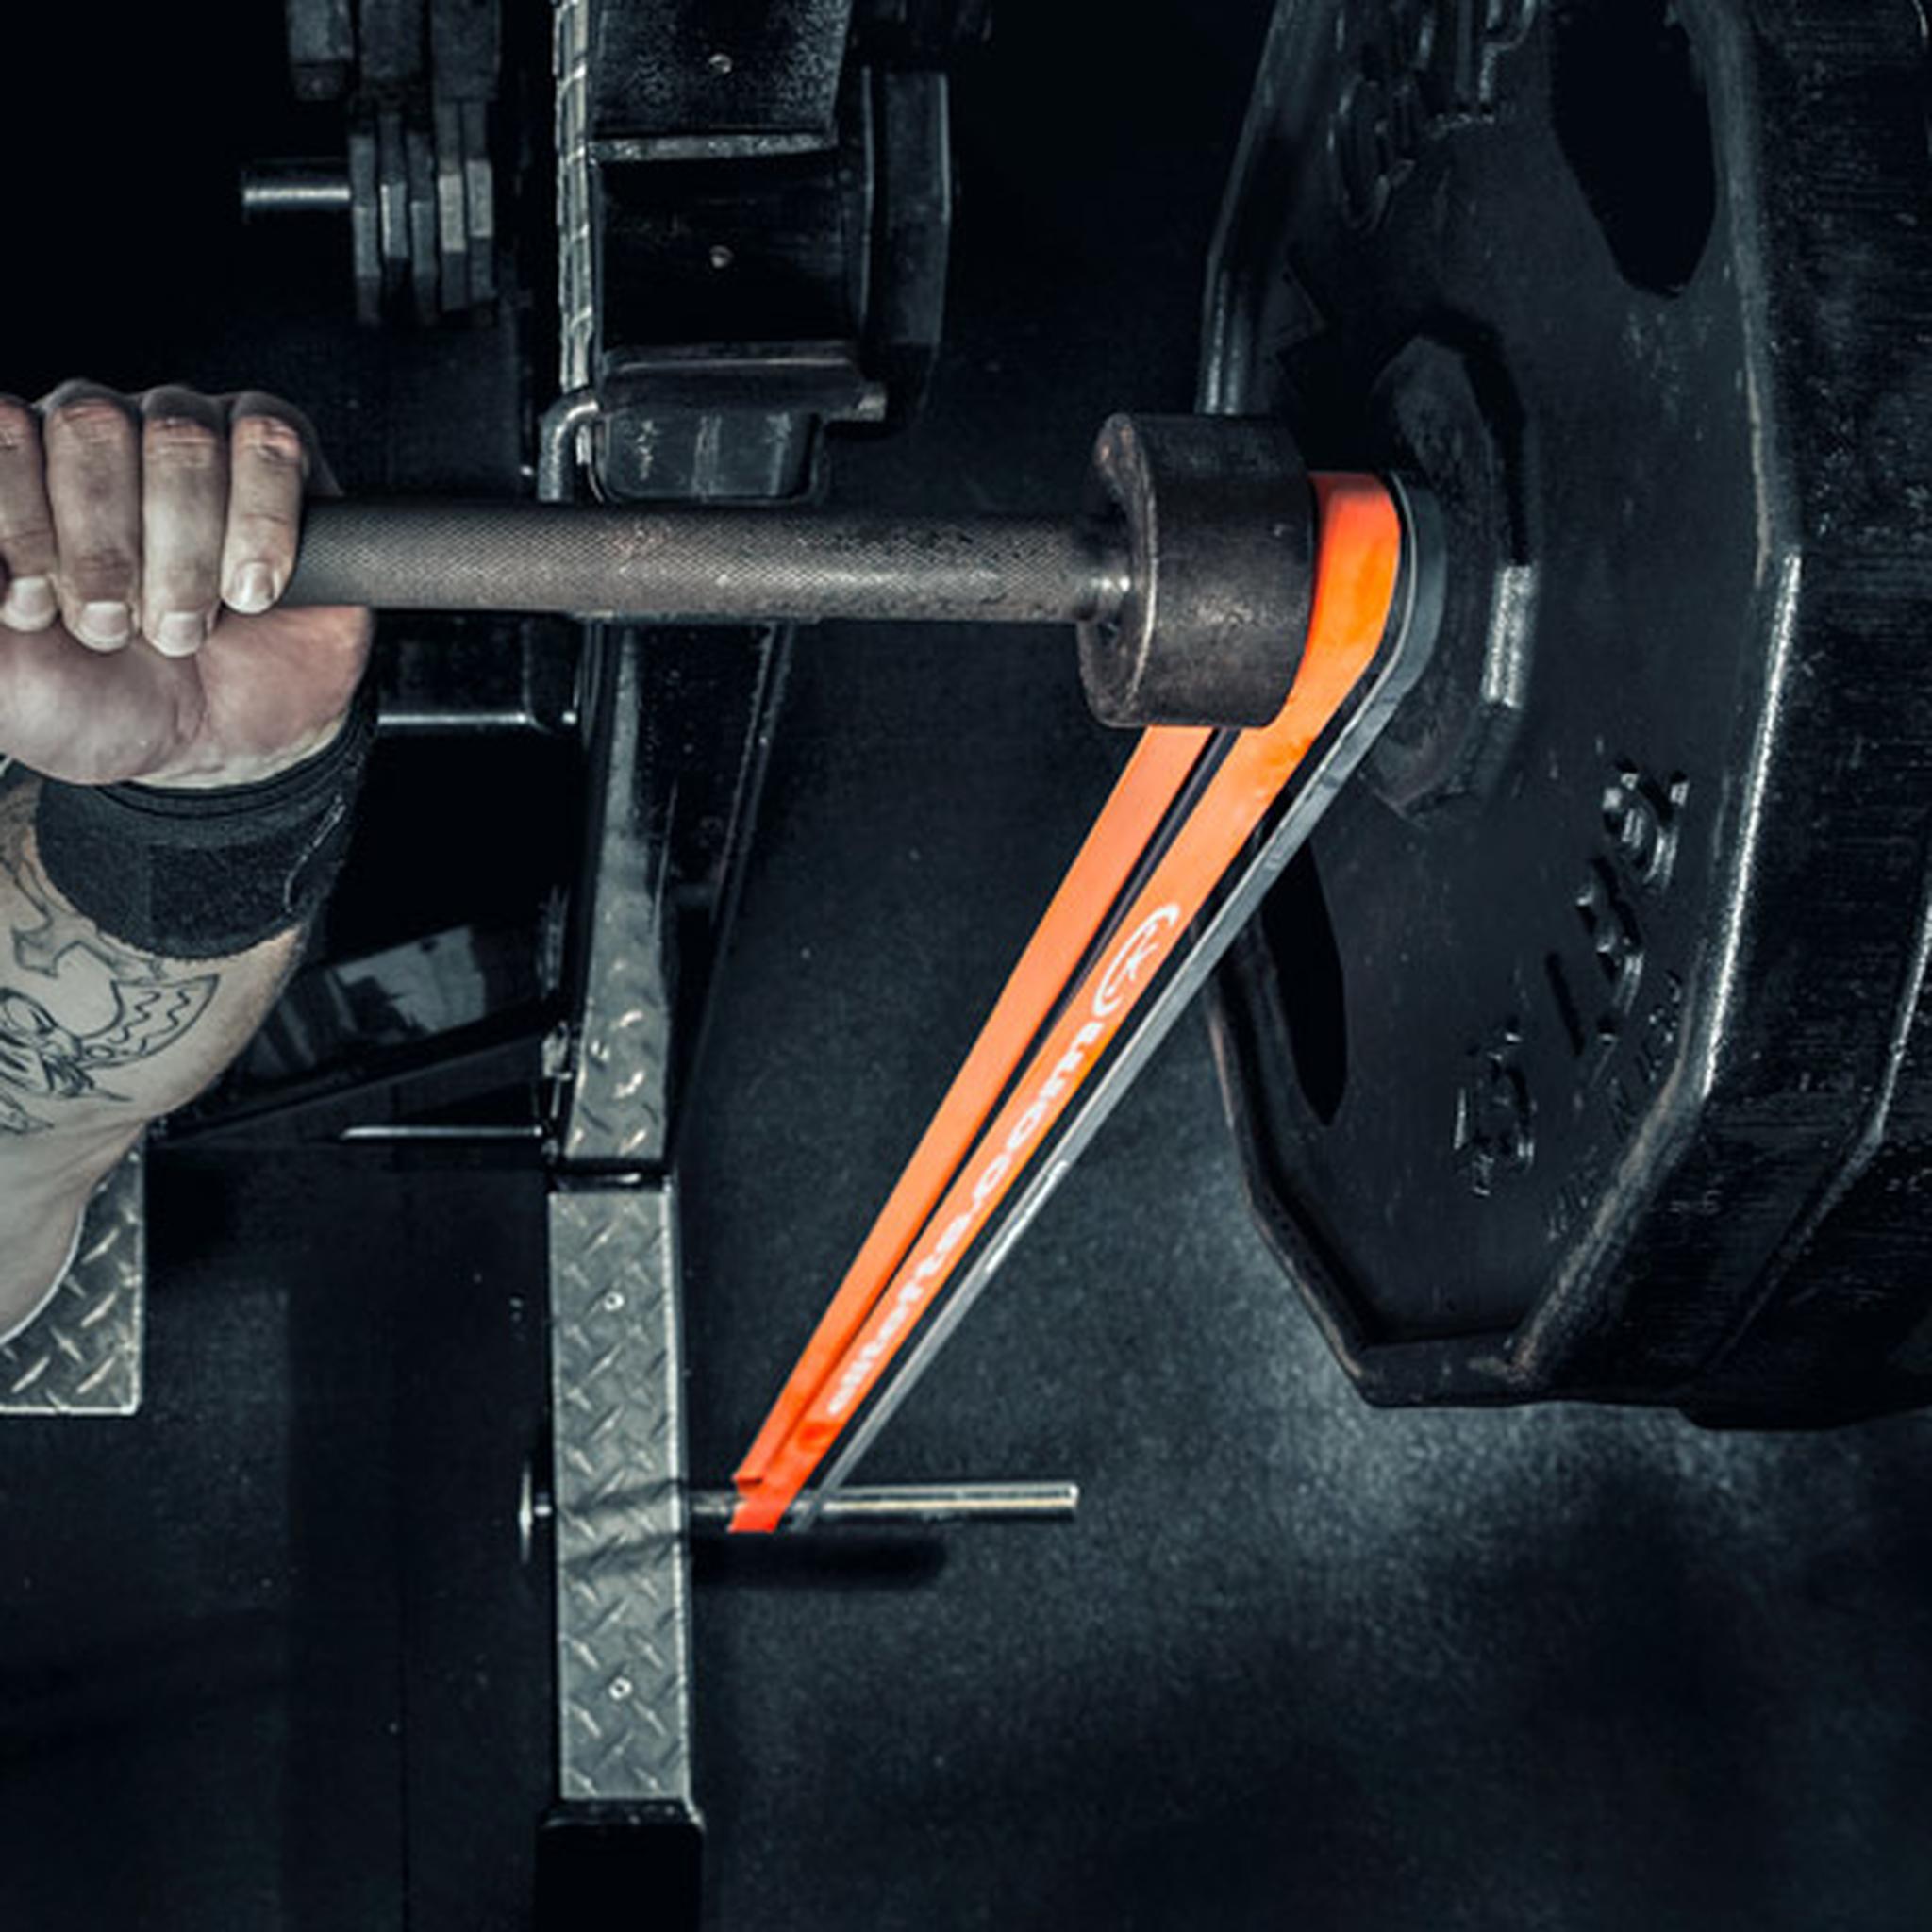
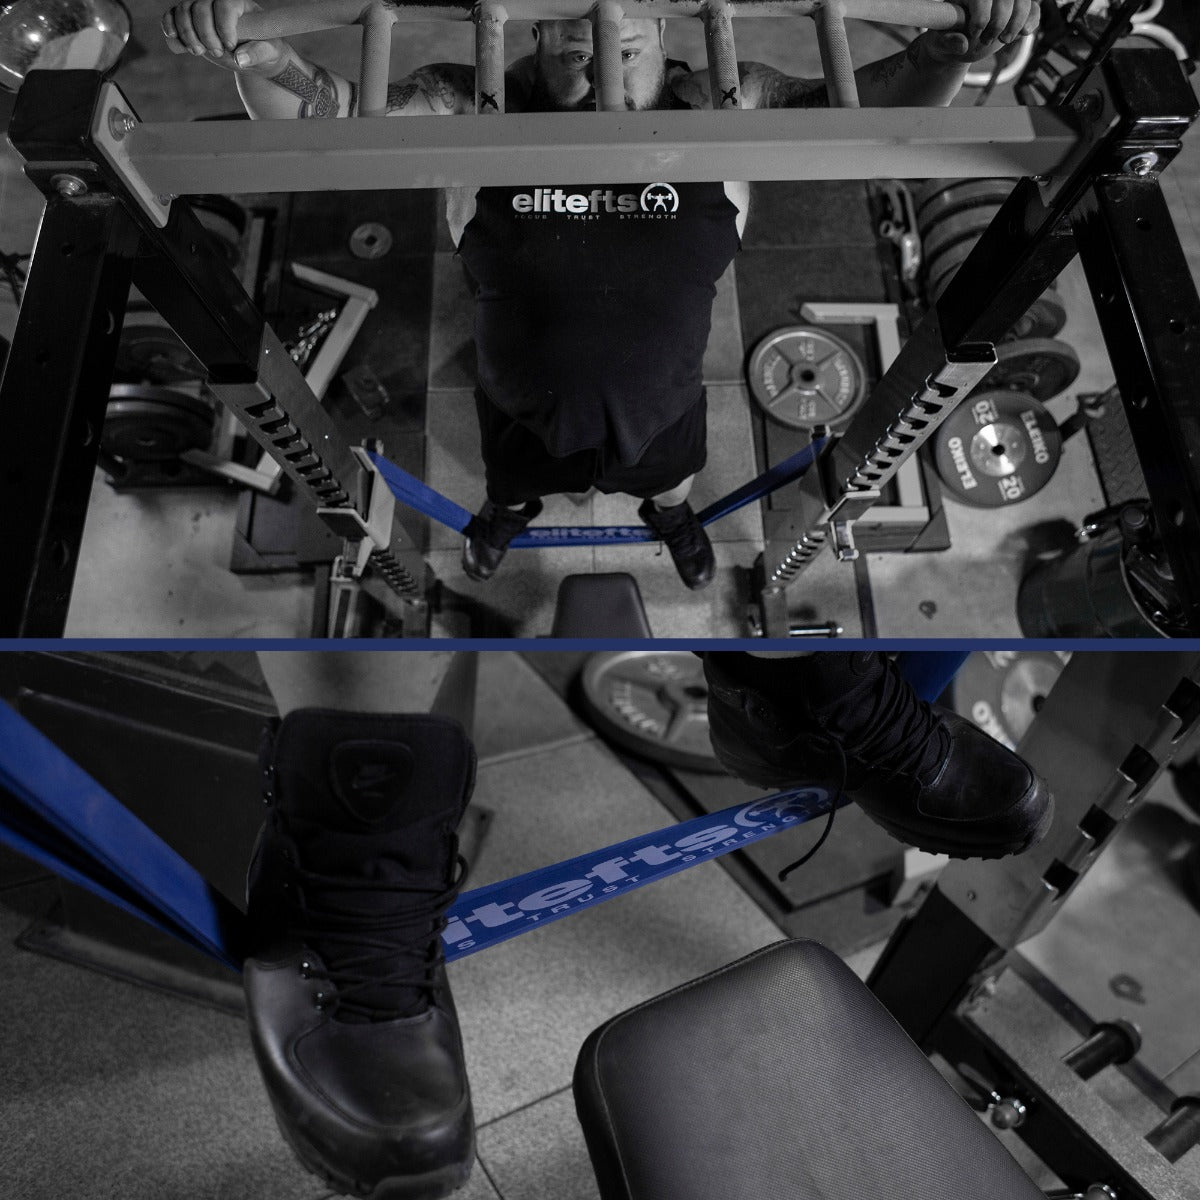
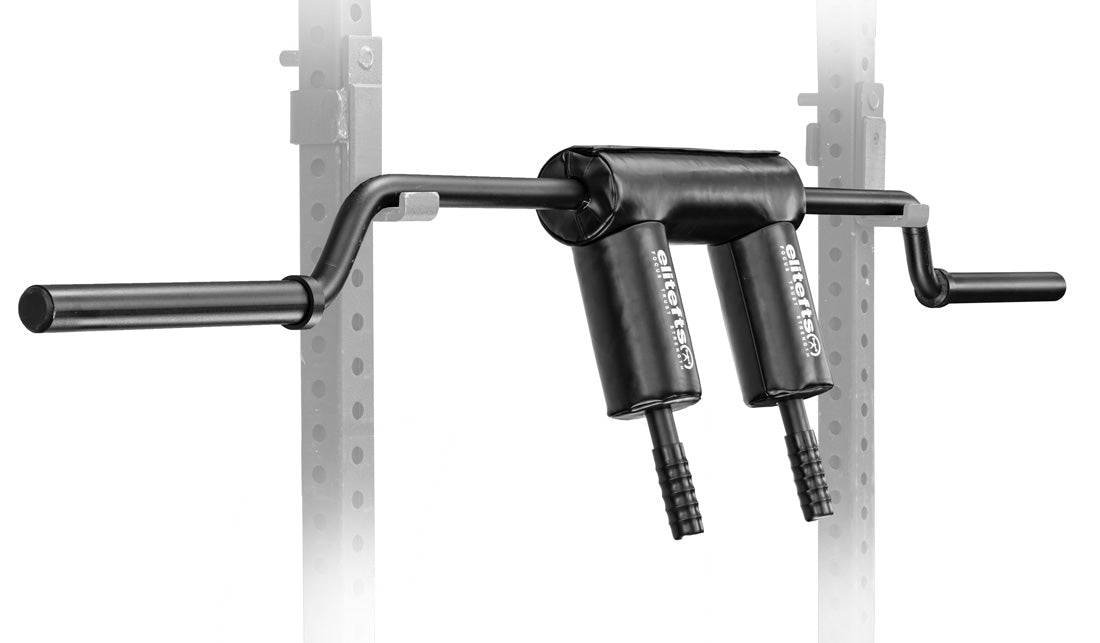
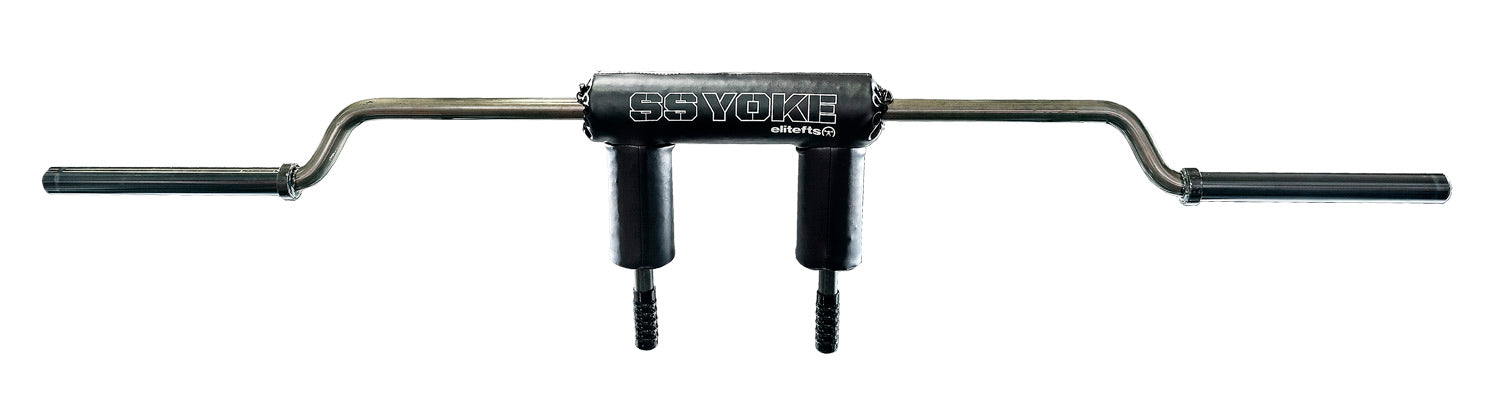
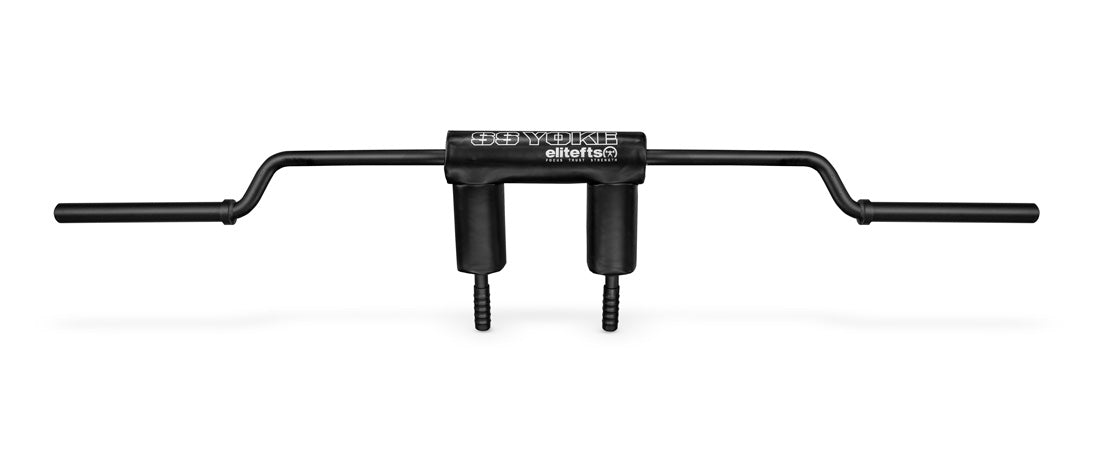
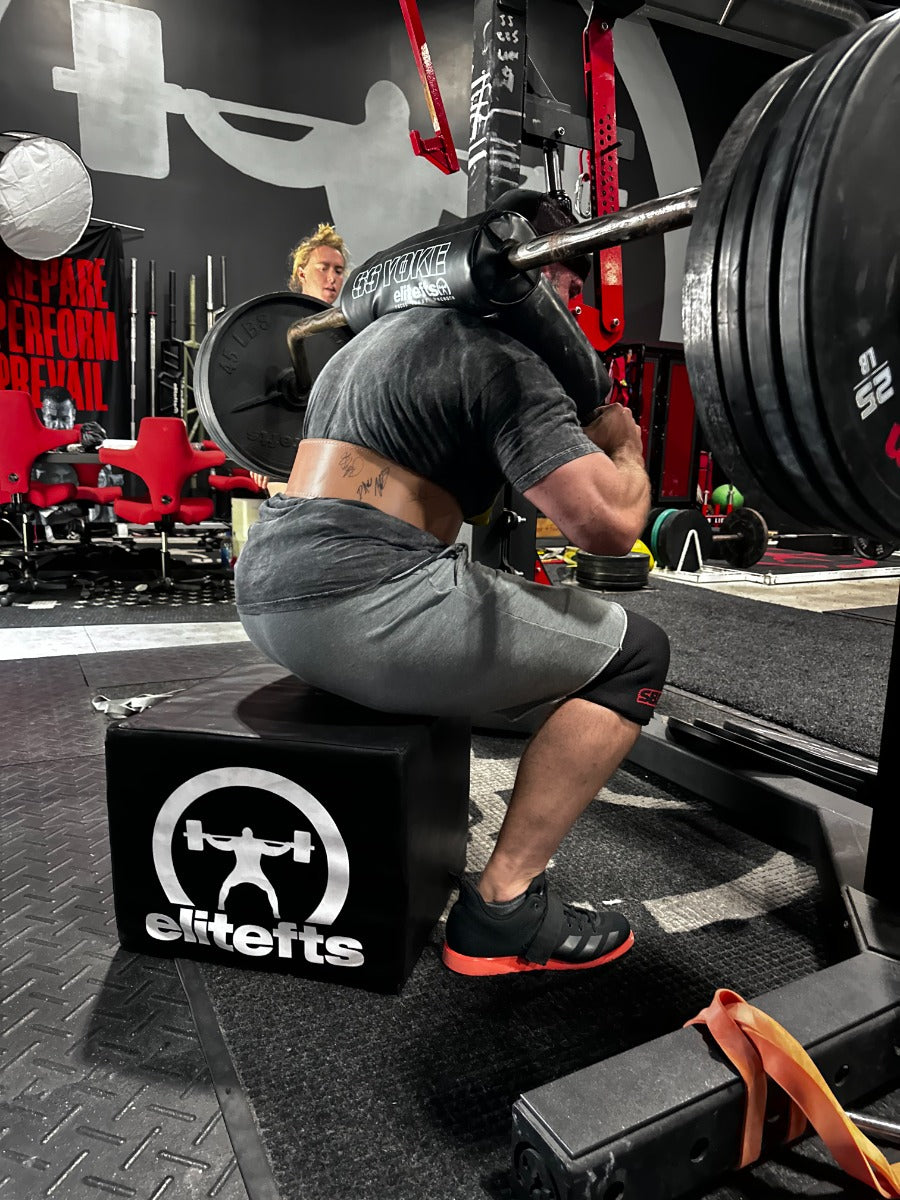
- SS Yoke Bar Medium Stance Squat with Two Chains: 3RM (Bar x 20, 95x5, then triples)
- Reverse Lunge with
SS Yoke Bar: 3x6
- Single-Leg Back Extension: 3x10
-
GHR: 3xFailure - Rollout Abs: 4xFailure
- Chin-Ups: 3x6-8
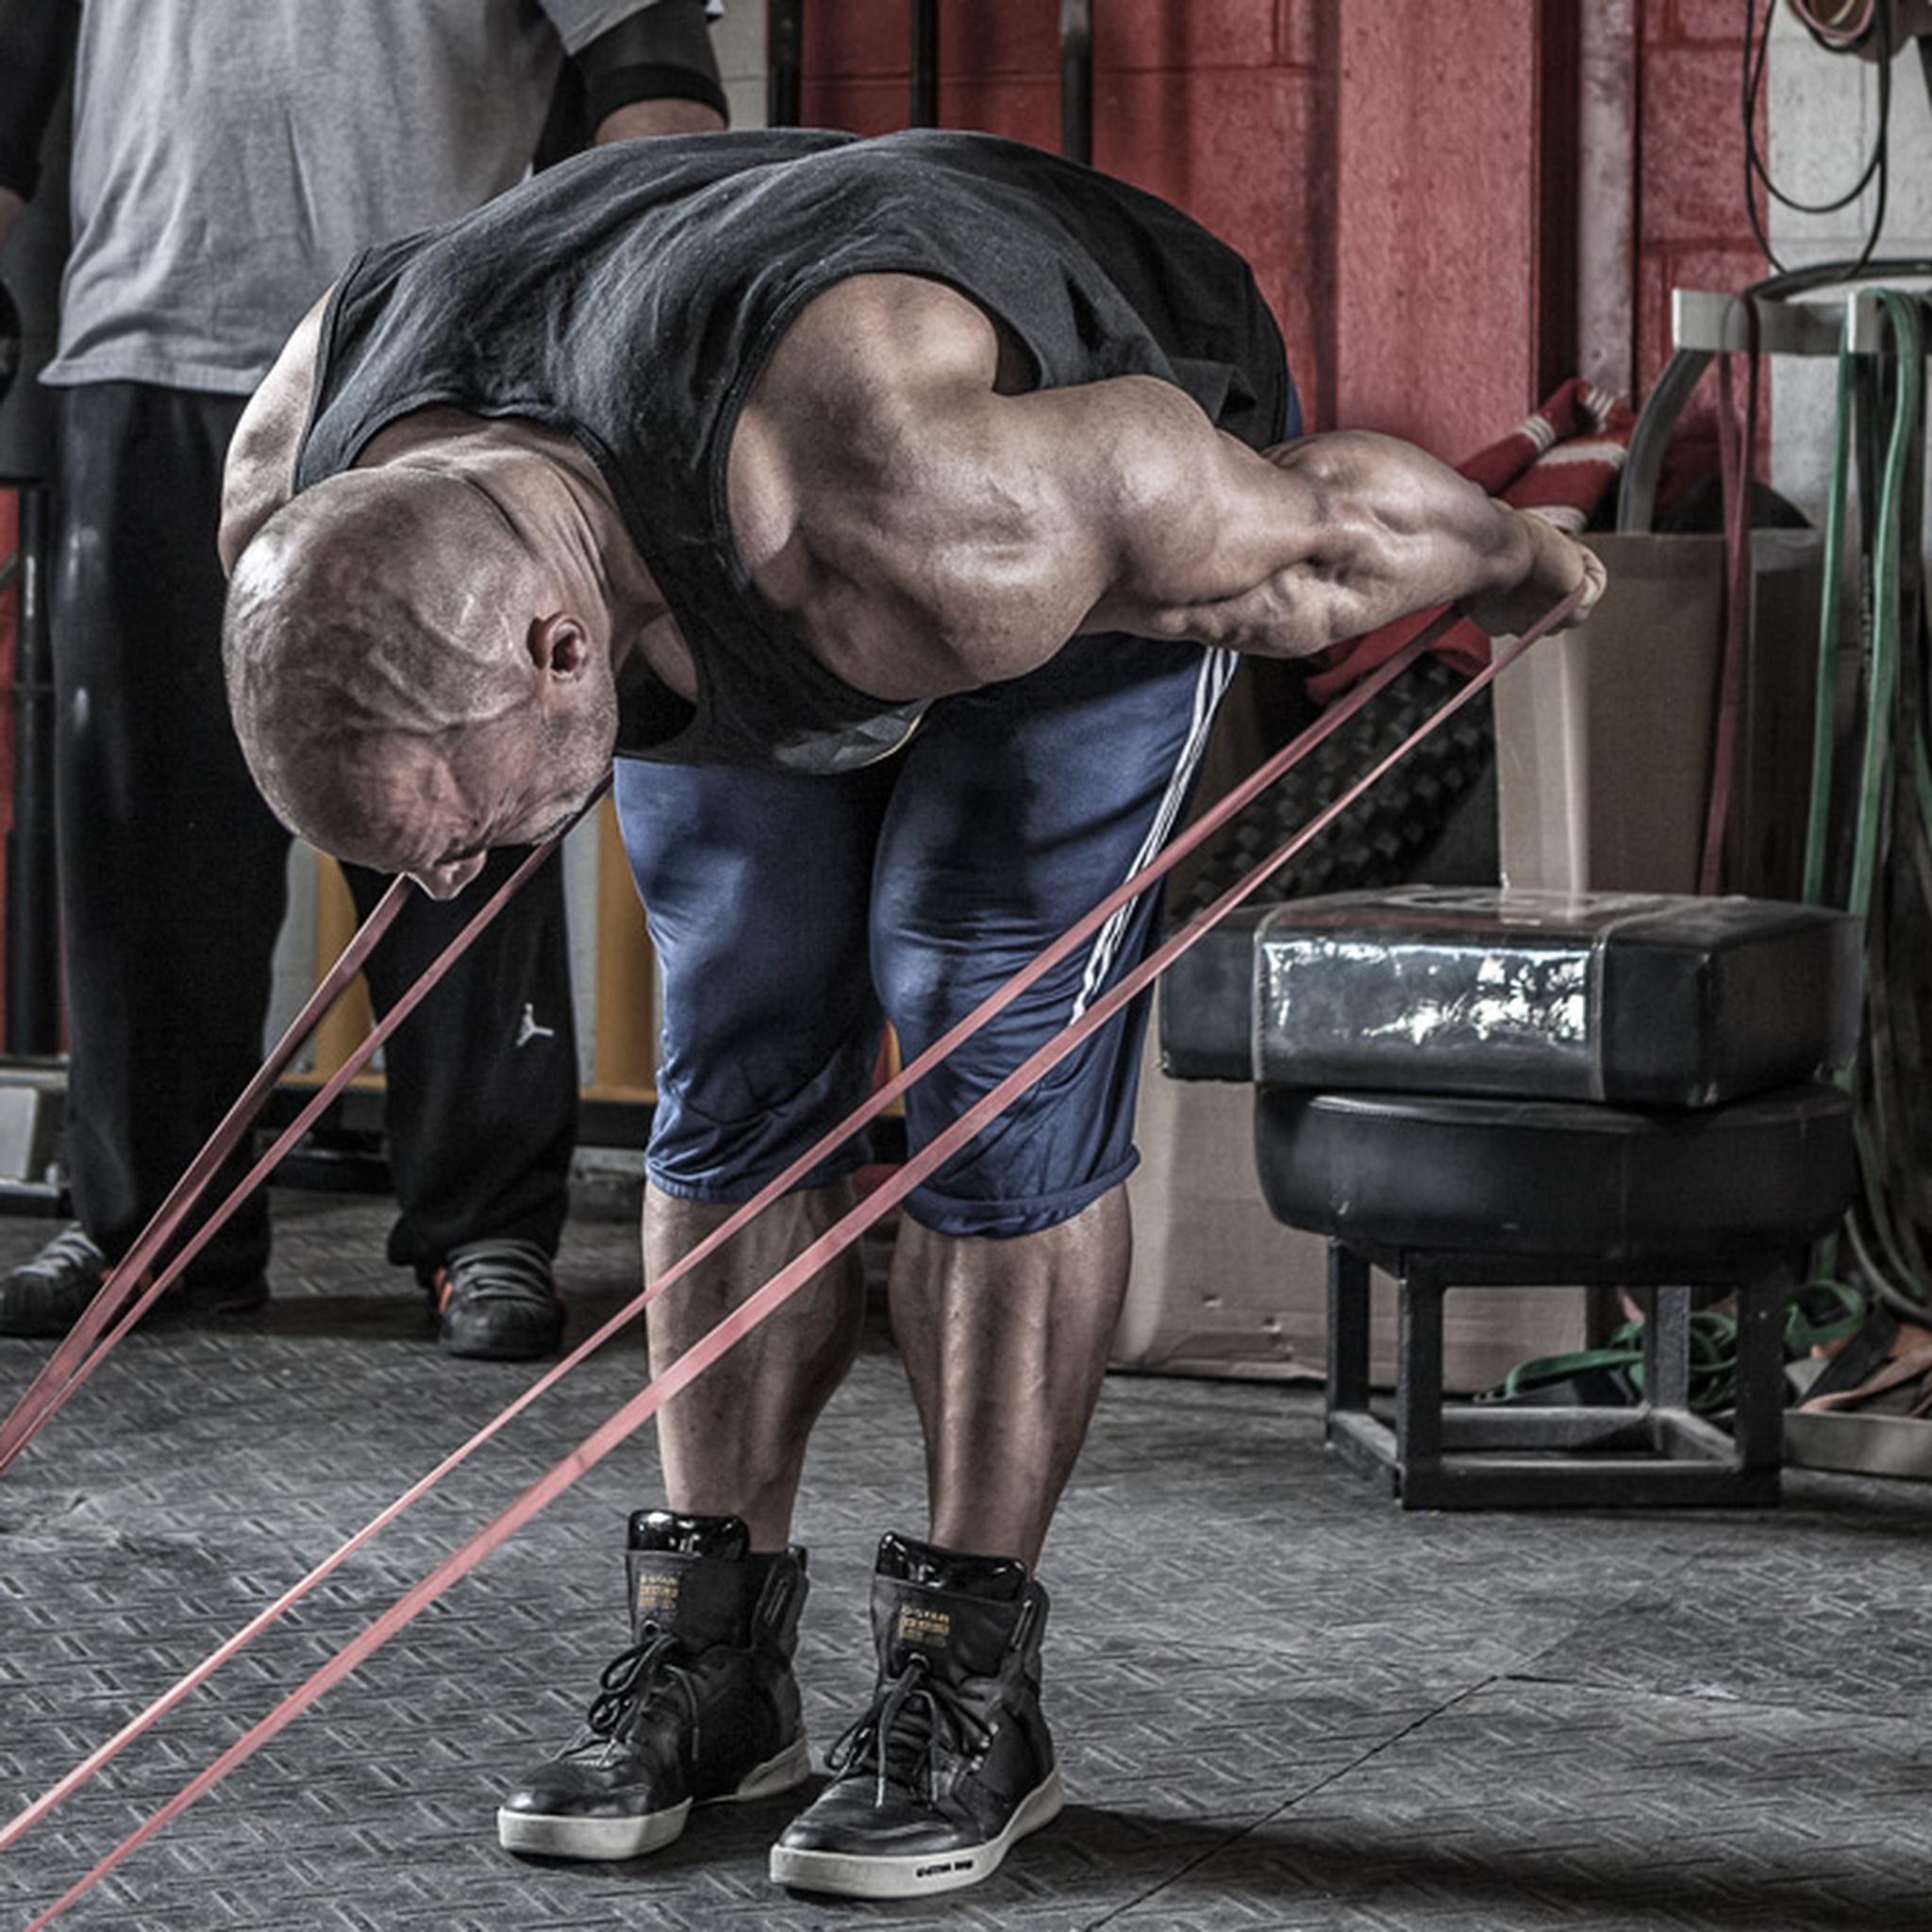
- Banded Hip Mobility
- Rolling/Soft Tissue Work
- External Rotations: 60 Total Reps
- Dumbbell Bench with 10% (300-Pound Bench=30-Pound Dumbbells)/Pull-Aparts 3x20
- Speed Bench with One Chain: 10x3 with 40%, One Failure Set
- Underhand Inverted Row: 3x12
- Overhead Banded Side Bend: 4x25 (no rest, just alternate sides)
- Biceps and Tricep Superset, Athlete Choice: 3xFailure
- Banded Shoulder Traction
- Rolling/Soft Tissue Work
- Back Extension or Reverse Hyper: 2x20
- Seated Weighted Footslam Box Jump: 4x5 or 20 Total with 10-Pound Dumbbells or 20-Pound Medicine Ball
- SS Yoke Bar Speed Squat with Two Chains: 10x2 with 50%
- Speed Pull from Pin 1 with Two Chains: 10x2 with 60% Max Squat
- Bull Kicks: 3x20
- Prone
Banded Hamstring Curl: 100 Total Reps - GHR Sit-Ups: 4xFailure
- Wide Grip
Lat Pulldown: 3x12, Slow Eccentric - Banded Hip Mobility
- Rolling/Soft Tissue Work
- Blackburns: 30 Seconds Each Position
- Overhead Medicine Ball Slam: 3x5
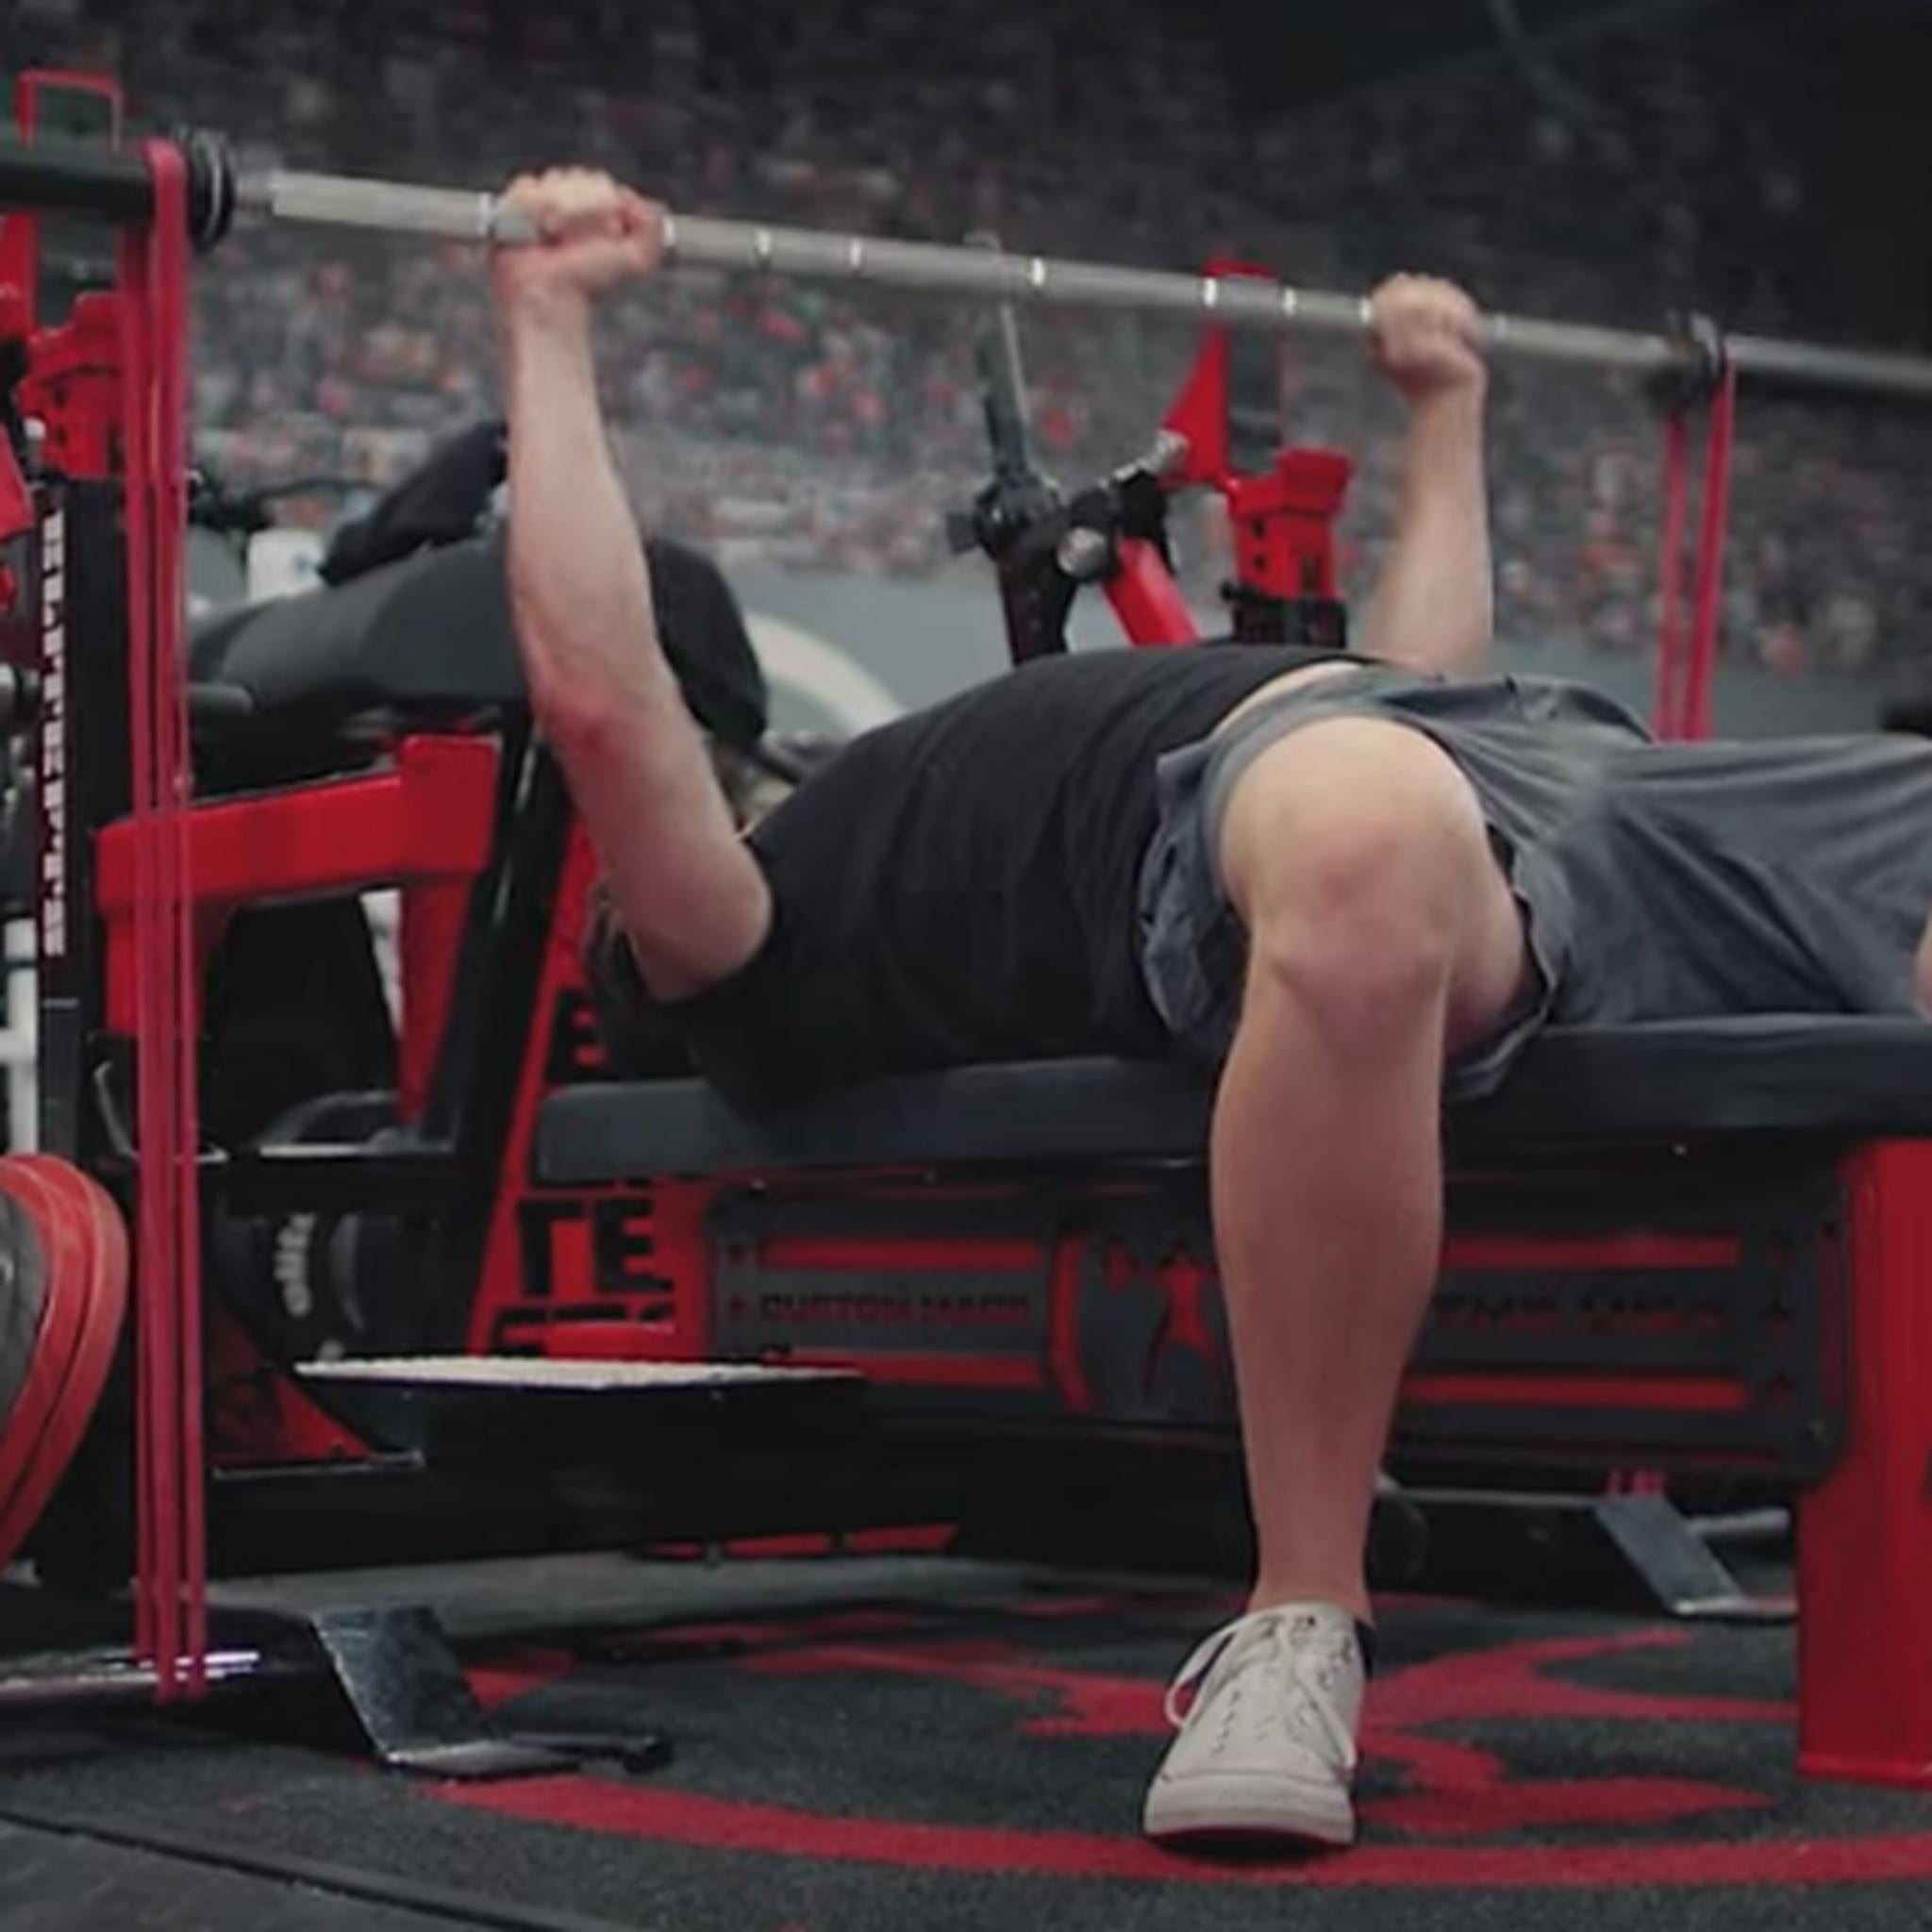
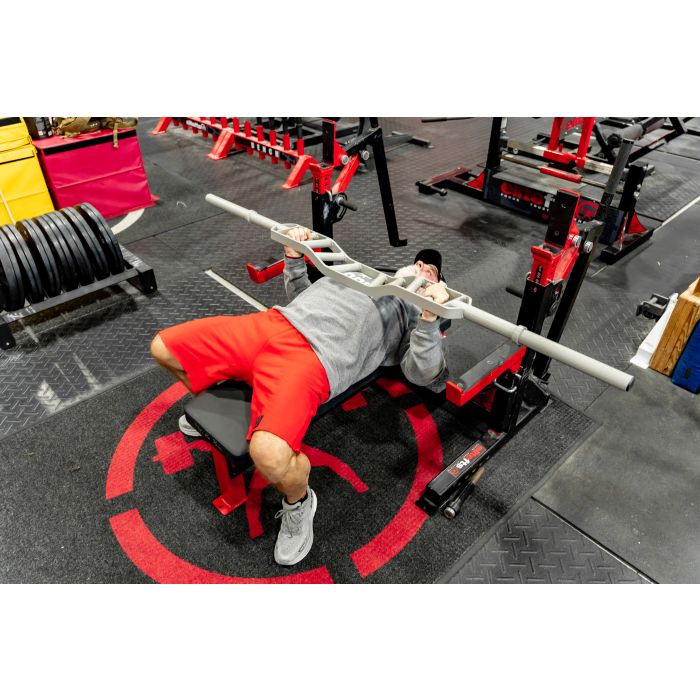
- Reverse Band Bench: 3RM (Bar x 20, 95x5 then triples)
- One-Arm Dumbbell Row: 3x8
- Chest Supported Y Raise: 3x20
- Seesaw Abs: 4x25 (no rest, just alternate sides)
- Zottman Curl: 3x12
- Skull Crusher Push-Up: 3xFailure
- Banded Shoulder Traction
- Rolling/Soft Tissue Work
- Back Extension or Reverse Hyper: 2x20
- Seated Weighted Footslam Box Jump: 4x5 or 20 Total with 10-Pound Dumbbells or 20-Pound Medicine Ball
- SS Yoke Bar Medium Stance Squat with Two Chains: 3RM (Bar x 2, 95x5, then triples)
- Reverse Lunge with SS Yoke Bar: 3x6
- Single-Leg Back Extension: 3x10
- GHR: 3xFailure
- Rollout Abs: 4xFailure
- Chin-Ups: 3x6-8
- Banded Hip Mobility
- Rolling/Soft Tissue Work
- External Rotations: 60 Total Reps
- Dumbbell Bench with 10% (300-Pound Bench=30-Pound Dumbbells)/Pull-Aparts 3x20
- Speed Bench with One Chain to Airex Six-Inch Wide Foam Pad: 10x3 with 40%, One Failure Set
- Underhand Inverted Row: 3x12
- Overhead Banded Side Bend: 4x25 (no rest, just alternate sides)
- Biceps and Tricep Superset, Athlete Choice: 3xFailure
- Banded Shoulder Traction
- Rolling/Soft Tissue Work
- Back Extension or Reverse Hyper: 2x20
- Weighted Box Jump: 4x5 or 20 Total with 10-Pound Dumbbells or 20-Pound Medicine Ball
- SS Yoke Bar Speed Squat with Two Chains: 10x2 with 50%
- Speed Pull from Pin 1 with Two Chains: 10x2 with 60% Max Squat
- Bull Kicks: 3x20
- Prone Banded Hamstring Curl: 100 Total Reps
- GHR Sit-Ups: 4xFailure
- Wide Grip Lat Pulldown: 3x12, Slow Eccentric
- Groiners: 100 Total Reps
- Banded Hip Mobility
- Rolling/Soft Tissue Work
- Blackburns: 30 Seconds Each Position
- Overhead Medicine Ball Slam: 3x5
- Reverse Band Bench: 3RM (Bar x 20, 95x5 then triples)
- One-Arm Dumbbell Row: 3x8
- Chest Supported Y Raise: 3x20
- Seesaw Abs: 4x25 (no rest, just alternate sides)
- Zottman Curl: 3x12
- Skull Crusher Push-Up: 3xFailure
- Banded Shoulder Traction
Phase II
Below is the second phase of a four-week training block for baseball. I am leaving Phase 1 numbers in so we can see the progressions phase to phase. The changes will be bolded and separated with a "/." Phase 2 sets and reps will be in bold. Position Players (Fielders and Catchers) Day 1, Phase 2: Max Effort Lower — Position Player- Rolling/Soft Tissue Work
- Back Extension or Reverse Hyper: 2x20/3x20
- Seated Weighted Footslam Box Jump: 4x5 or 20 Total with 10-Pound Dumbbells or 20-Pound Medicine Ball/5x5 or 25 Total Reps
- SS Yoke Bar Medium Stance Squat with Two Chains for 3RM/
Cambered Bar Wide Stance with Doubled Mini Bands for 1RM - Reverse Lunge with SS Yoke Bar: 3x6/Cambered Bar Against Bands: 3x6
- Single-Leg Back Extension: 3x10/4x10
- GHR: 3xFailure/4xFailure
- Rollout Abs: 4xFailure
- Chin-Ups: 3x6-8/4x8 Dead Hang in Bottom (to traction shoulders and spine)
- Banded Hip Mobility
- Rolling/Soft Tissue Work
- External Rotations: 60 Total Reps/80 Total Reps
- Dumbbell Bench with 10% (300-Pound Bench=30-Pound Dumbbells)/Pull-Aparts 3x20
- Speed Bench with One Chain: 10x3 with 40%, One Failure Set/8x3 with 40% and Two Chains
- Underhand Inverted Row: 3x12/4x12
- Overhead Banded Side Bend: 4x25 (no rest, just alternate sides)
- Biceps and Tricep Superset, Athlete Choice: 3xFailure/4xFailure
- Banded Shoulder Traction
- Rolling/Soft Tissue Work
- Back Extension or Reverse Hyper: 2x20
- Weighted Box Jump: 4x5 or 20 Total with 10-Pound Dumbbells or 20-Pound Medicine Ball
- SS Yoke Bar Speed Squat with Two Chains: 10x2 with 50%/Cambered Bar with Double Minis: 8x2 with 50% of Day One
- Speed Pull from Pin 1 with Two Chains: 10x2 with 60% Max Squat/Speed Pull from Pin 1 with Mini Bands: 10x2 with 60% Max Squat
- Bull Kicks: 3x20/4x20 (AKA Snoop Dogg Sets)
- Prone Banded Hamstring Curl: 100 Total Reps/150 Total Reps
- GHR Sit-Ups: 4xFailure/4xFailure with Band
- Wide Grip Lat Pulldown: 3x12, Slow Eccentric/4x12
- Groiners: 100 Total Reps
- Banded Hip Mobility
- Rolling/Soft Tissue Work
- Blackburns: 30 Seconds Each Position/40 Seconds
- Overhead Medicine Ball Slam: 3x5/4x5
- Reverse Band Bench: 3RM (Bar x 20, 95x5 then triples)/Two-Board Fat Bar Press with One Chain: 1RM
- One-Arm Dumbbell Row: 3x8/4x8
- Chest Supported Y Raise: 3x20/4x20
- Seesaw Abs: 4x25 (no rest, just alternate sides)/Use Cambered Bar
- Zottman Curl: 3x12/4x12
- Skull Crusher Push-Up: 3xFailure/4xFailure
- Banded Shoulder Traction
- Rolling/Soft Tissue Work
- Back Extension or Reverse Hyper: 2x20
- Seated Weighted Footslam Box Jump: 4x5 or 20 Total with 10-Pound Dumbbells or 20-Pound Medicine Ball/5x5 or 25 Total Reps
- SS Yoke Bar Medium Stance Squat with Two Chains for 3RM/ Cambered Bar Wide Stance with Doubled Mini Bands for 1RM
- Reverse Lunge with SS Yoke Bar: 3x6/Cambered Bar Against Bands: 3x6
- Single-Leg Back Extension: 3x10/4x10
- GHR: 3xFailure/4xFailure
- Rollout Abs: 4xFailure
- Chin-Ups: 3x6-8/4x8 Dead Hang in Bottom (to traction shoulders and spine)
- Groiners: 100 Total Reps
- Banded Hip Mobility
- Rolling/Soft Tissue Work
- External Rotations: 60 Total Reps
- Dumbbell Bench with 10% (300-Pound Bench=30-Pound Dumbbells)/Pull-Aparts 3x20/Pull-Apart 4x20
- Speed Bench with One Chain: 10x3 with 40%, One Failure Set/8x2 into Airex Six-Inch Wide Foam Pad
- Underhand Inverted Row: 3x12/4x12
- Overhead Banded Side Bend: 4x25 (no rest, just alternate sides)
- Biceps and Tricep Superset, Athlete Choice: 3xFailure/4xFailure
- Banded Shoulder Traction
- Rolling/Soft Tissue Work
- Back Extension or Reverse Hyper: 2x20/3x20
- Weighted Box Jump: 4x5 or 20 Total with 10-Pound Dumbbells or 20-Pound Medicine Ball/5x5 or 25 Total
- SS Yoke Bar Speed Squat with Two Chains: 10x2 with 50%/Cambered Bar with Double Minis: 8x2 with 50% of Day One
- Speed Pull from Pin 1 with Two Chains: 10x2 with 60% Max Squat/Speed Pull from Pin 1 with Mini Bands: 10x2 with 60% Max Squat
- Bull Kicks: 3x20/4x20 (AKA Snoop Dogg Sets)
- Prone Banded Hamstring Curl: 100 Total Reps/150 Total Reps
- GHR Sit-Ups: 4xFailure/4xFailure with Band
- Wide Grip Lat Pulldown: 3x12, Slow Eccentric/4x12
- Banded Hip Mobility
- Rolling/Soft Tissue Work
- Blackburns: 30 Seconds Each Position/40 Seconds
- Overhead Medicine Ball Slam: 3x5/4x5
- Reverse Band Bench: 3RM (Bar x 20, 95x5 then triples)/Dumbbell Floor Press with Mini Band Around Back: 6RM for Two Sets
- Mini Band Push-Ups:2-3xFailure
- One-Arm Dumbbell Row: 3x8/4x8
- Chest Supported Y Raise: 3x20/4x20
- Seesaw Abs: 4x25 (no rest, just alternate sides)/Use Cambered Bar
- Zottman Curl: 3x12/4x12
- Skull Crusher Push-Up: 3xFailure/4xFailure
- Banded Shoulder Traction
in my log!
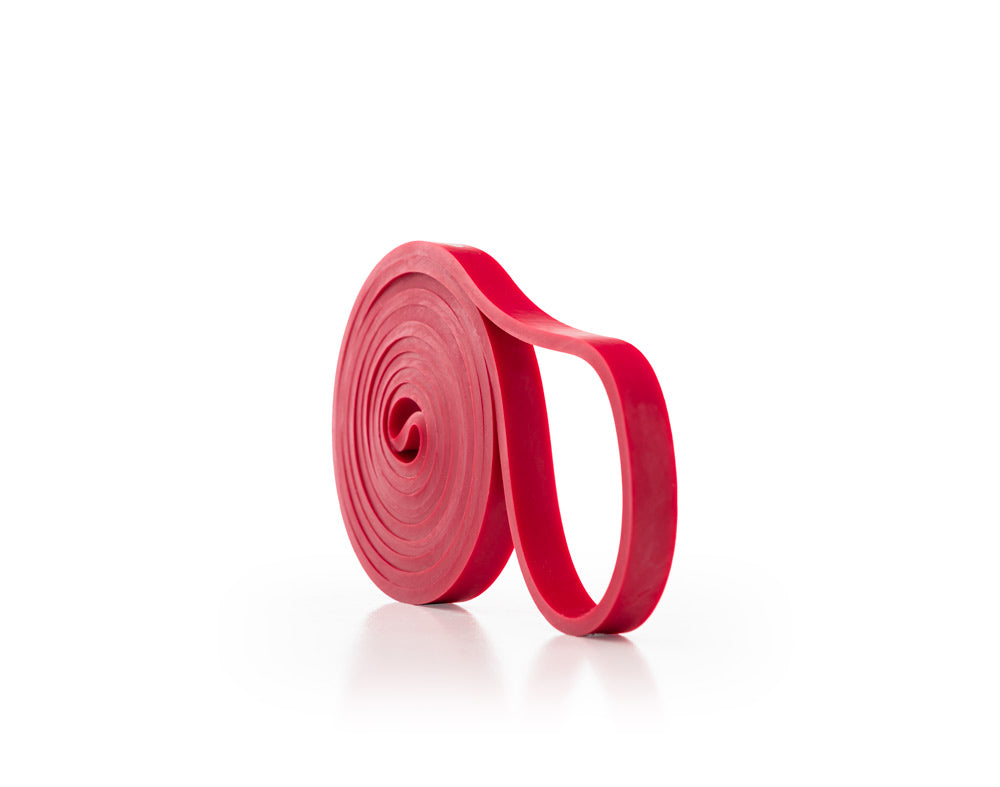
Header image courtesy of ostill © 123RF.com