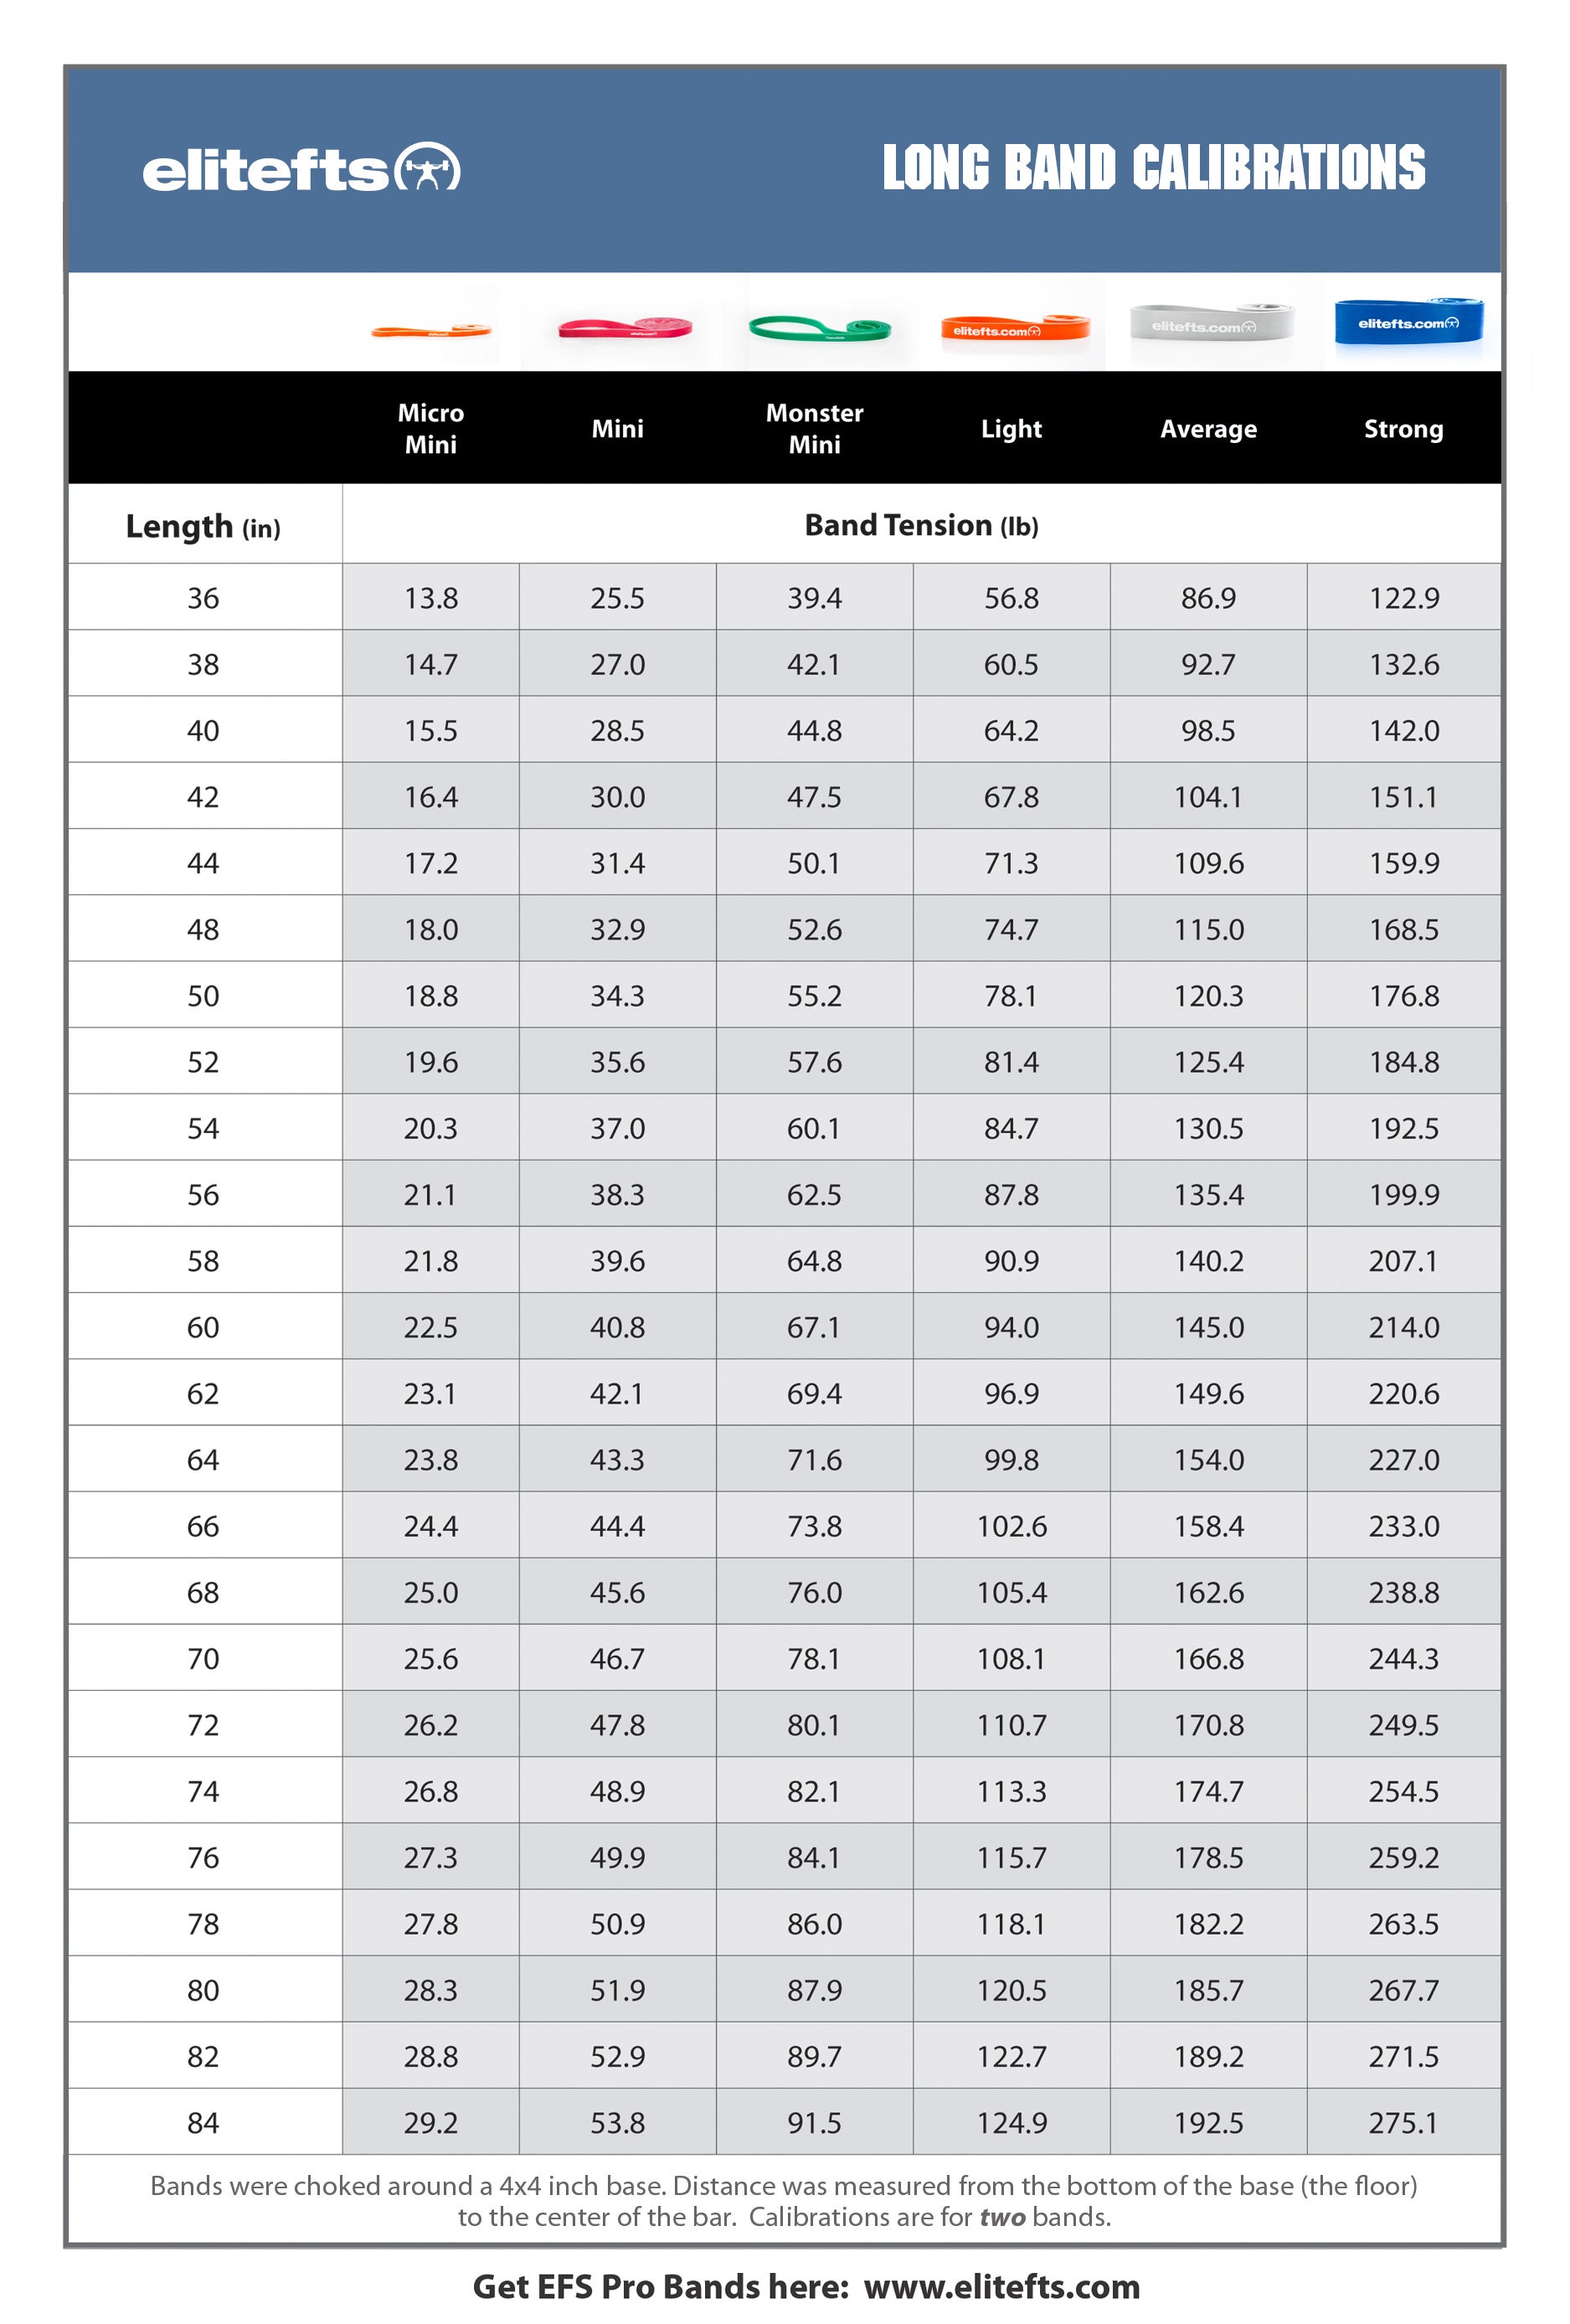

If you want to build muscle, you need to be focusing your efforts on building strength across a wide variety of rep ranges while maintaining perform form. The problem is, building muscle takes time. It’s a marathon, not a sprint. Which means you need to be able to stay progressive with your training for a consistent period of time in order to see gains. It’s not going to happen overnight, or with the first PR you hit. This is why the biggest limiting factor in why many of you are unable to build muscle is your inability to stay injury-free. In order to be progressive in your training, you need to be able to stay injury-free for a long period of time. Over the years, I’ve had my fair share of injuries that have short-circuited progress. And while it’s halted my own gains in the gym, it’s made me a better coach as it’s forced me to re-evaluate how I lift, what I should be focusing on, and how to master different movement patterns.
RECENT: The Back-Friendly Approach to Leg Training
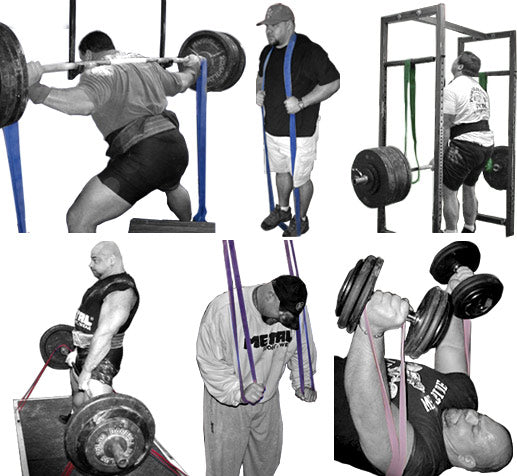
The ability to stay injury-free can come down to a host of reasons. Perfect form is always number one, but sometimes what looks good on the eye is a disaster on the inside. This is where stability comes in, and the need to get stable in order to be strong becomes important. In this article, we’re going to cover the most bang-for-your-buck cues to action when performing any type of pressing, pulling, or squatting motion.


RECENT: The Back-Friendly Approach to Leg Training
The ability to stay injury-free can come down to a host of reasons. Perfect form is always number one, but sometimes what looks good on the eye is a disaster on the inside. This is where stability comes in, and the need to get stable in order to be strong becomes important. In this article, we’re going to cover the most bang-for-your-buck cues to action when performing any type of pressing, pulling, or squatting motion.
Pressing Matters
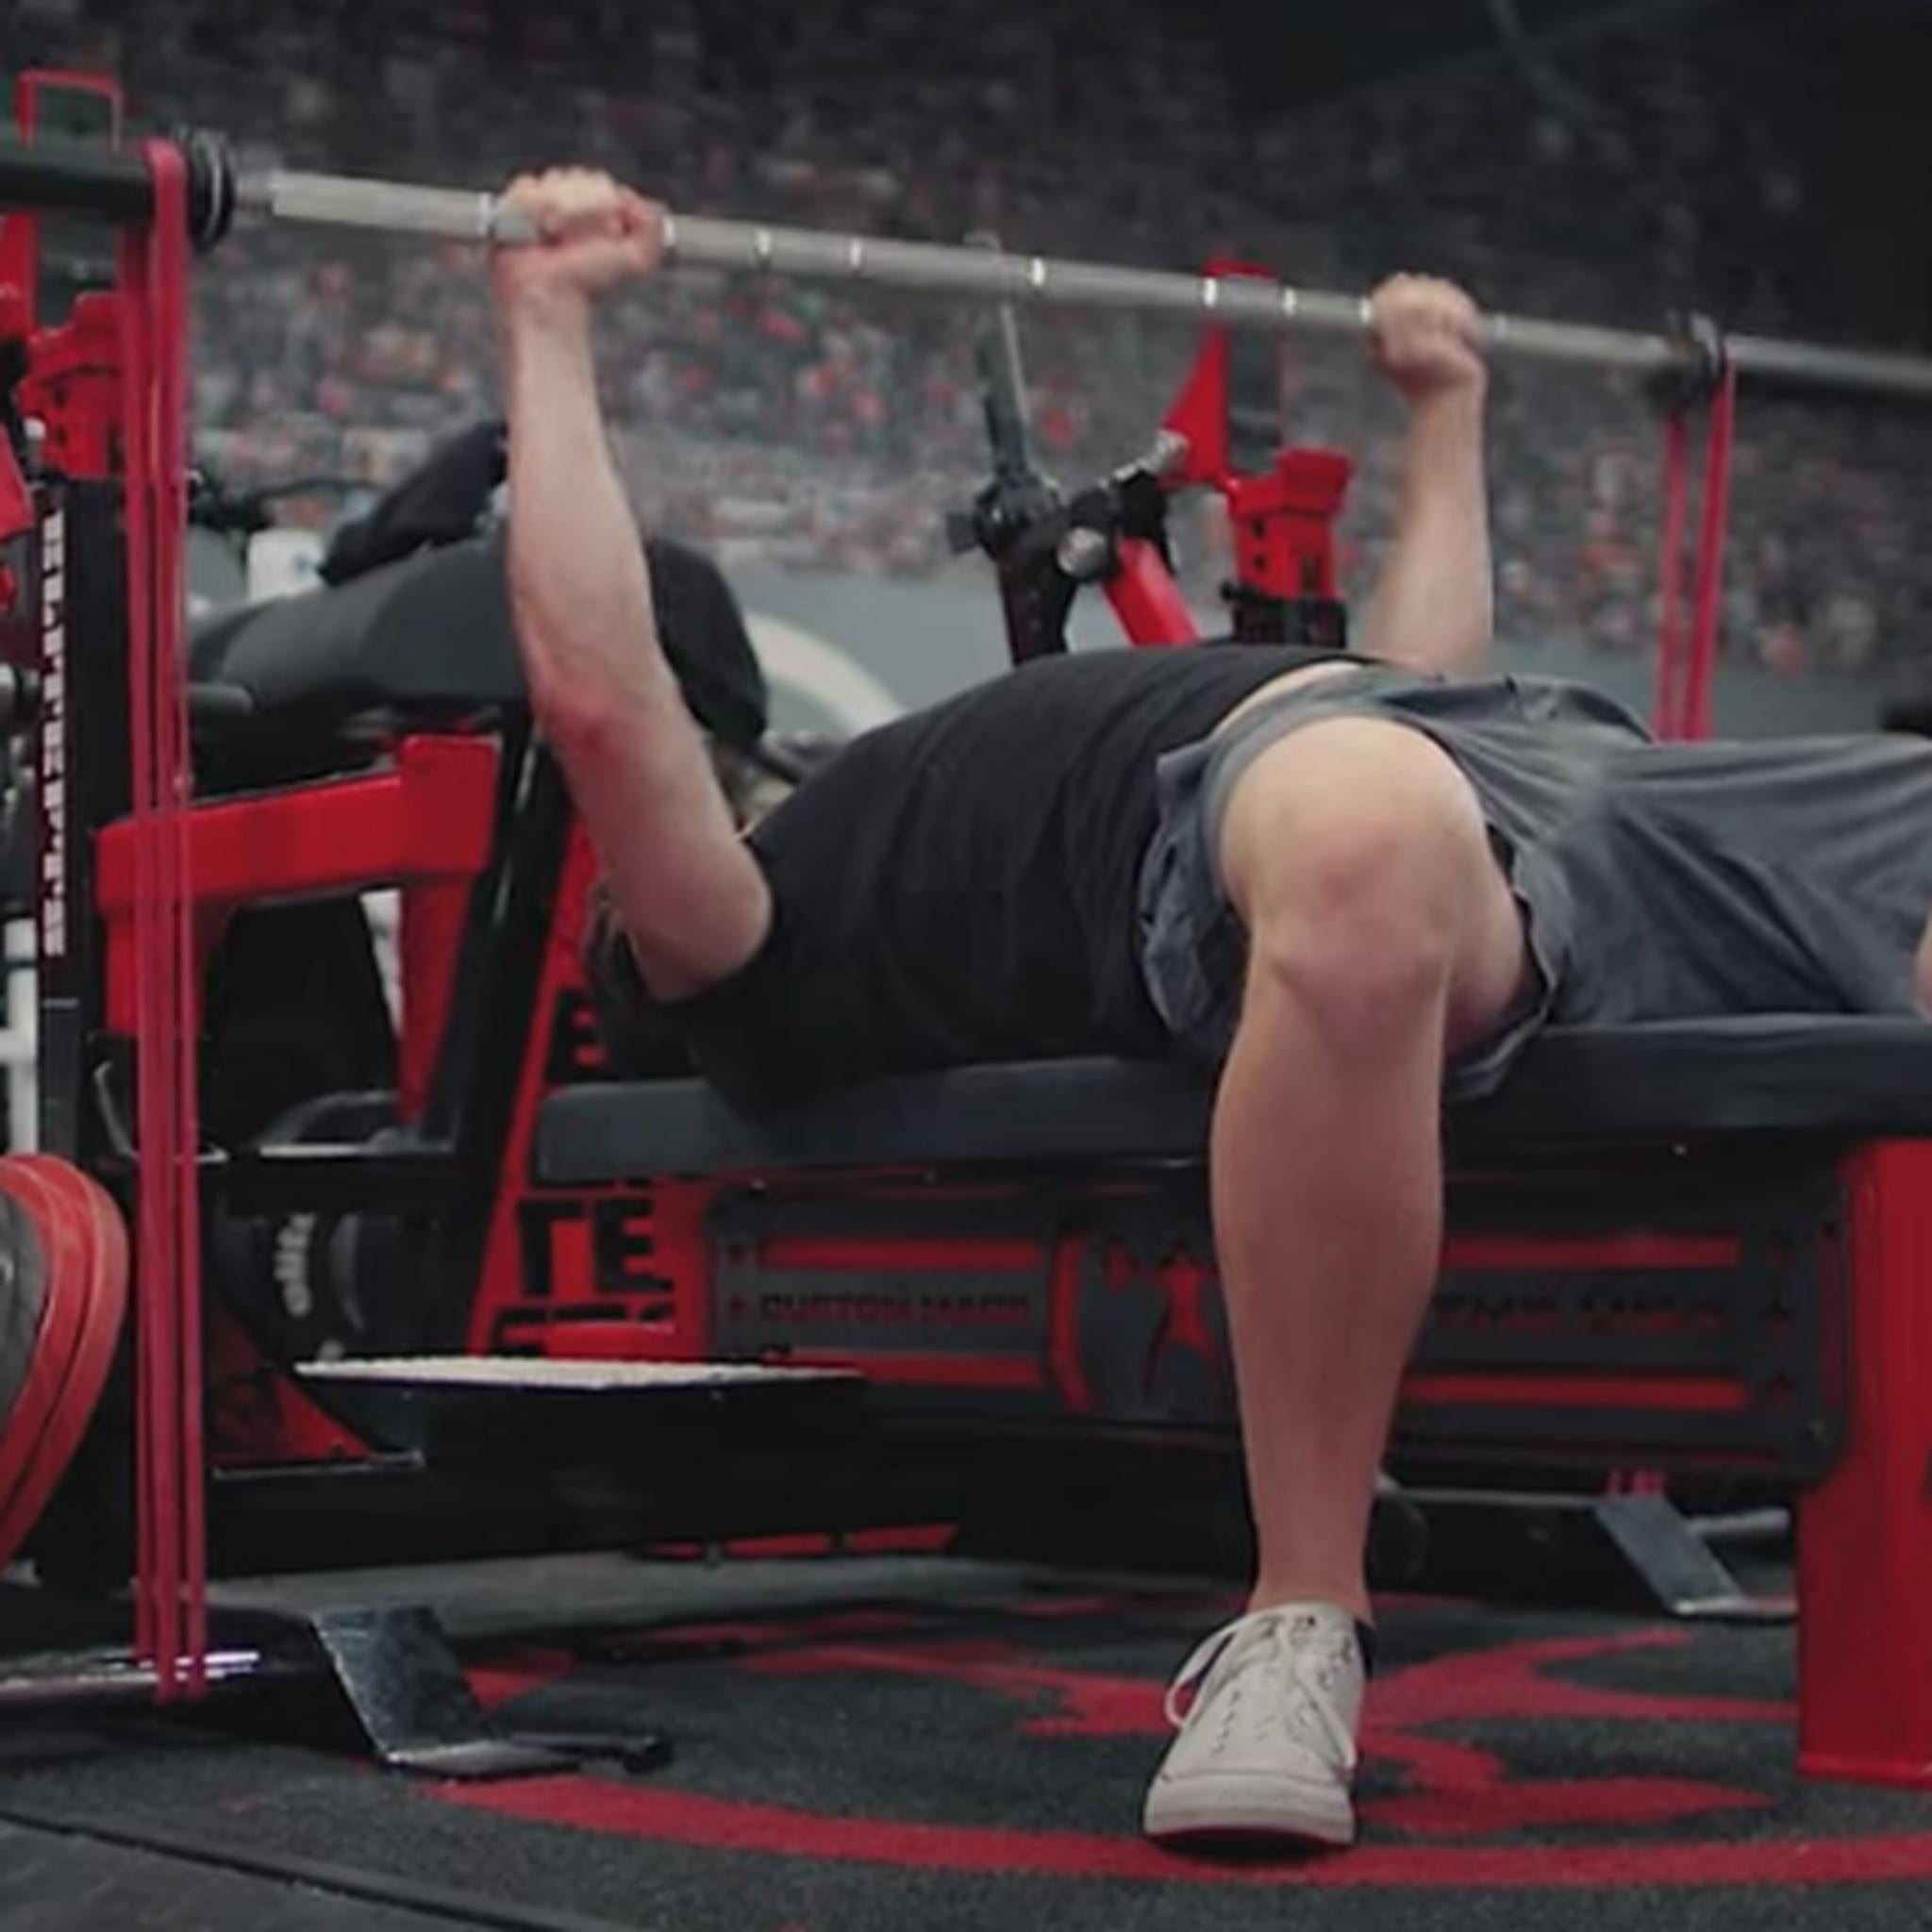
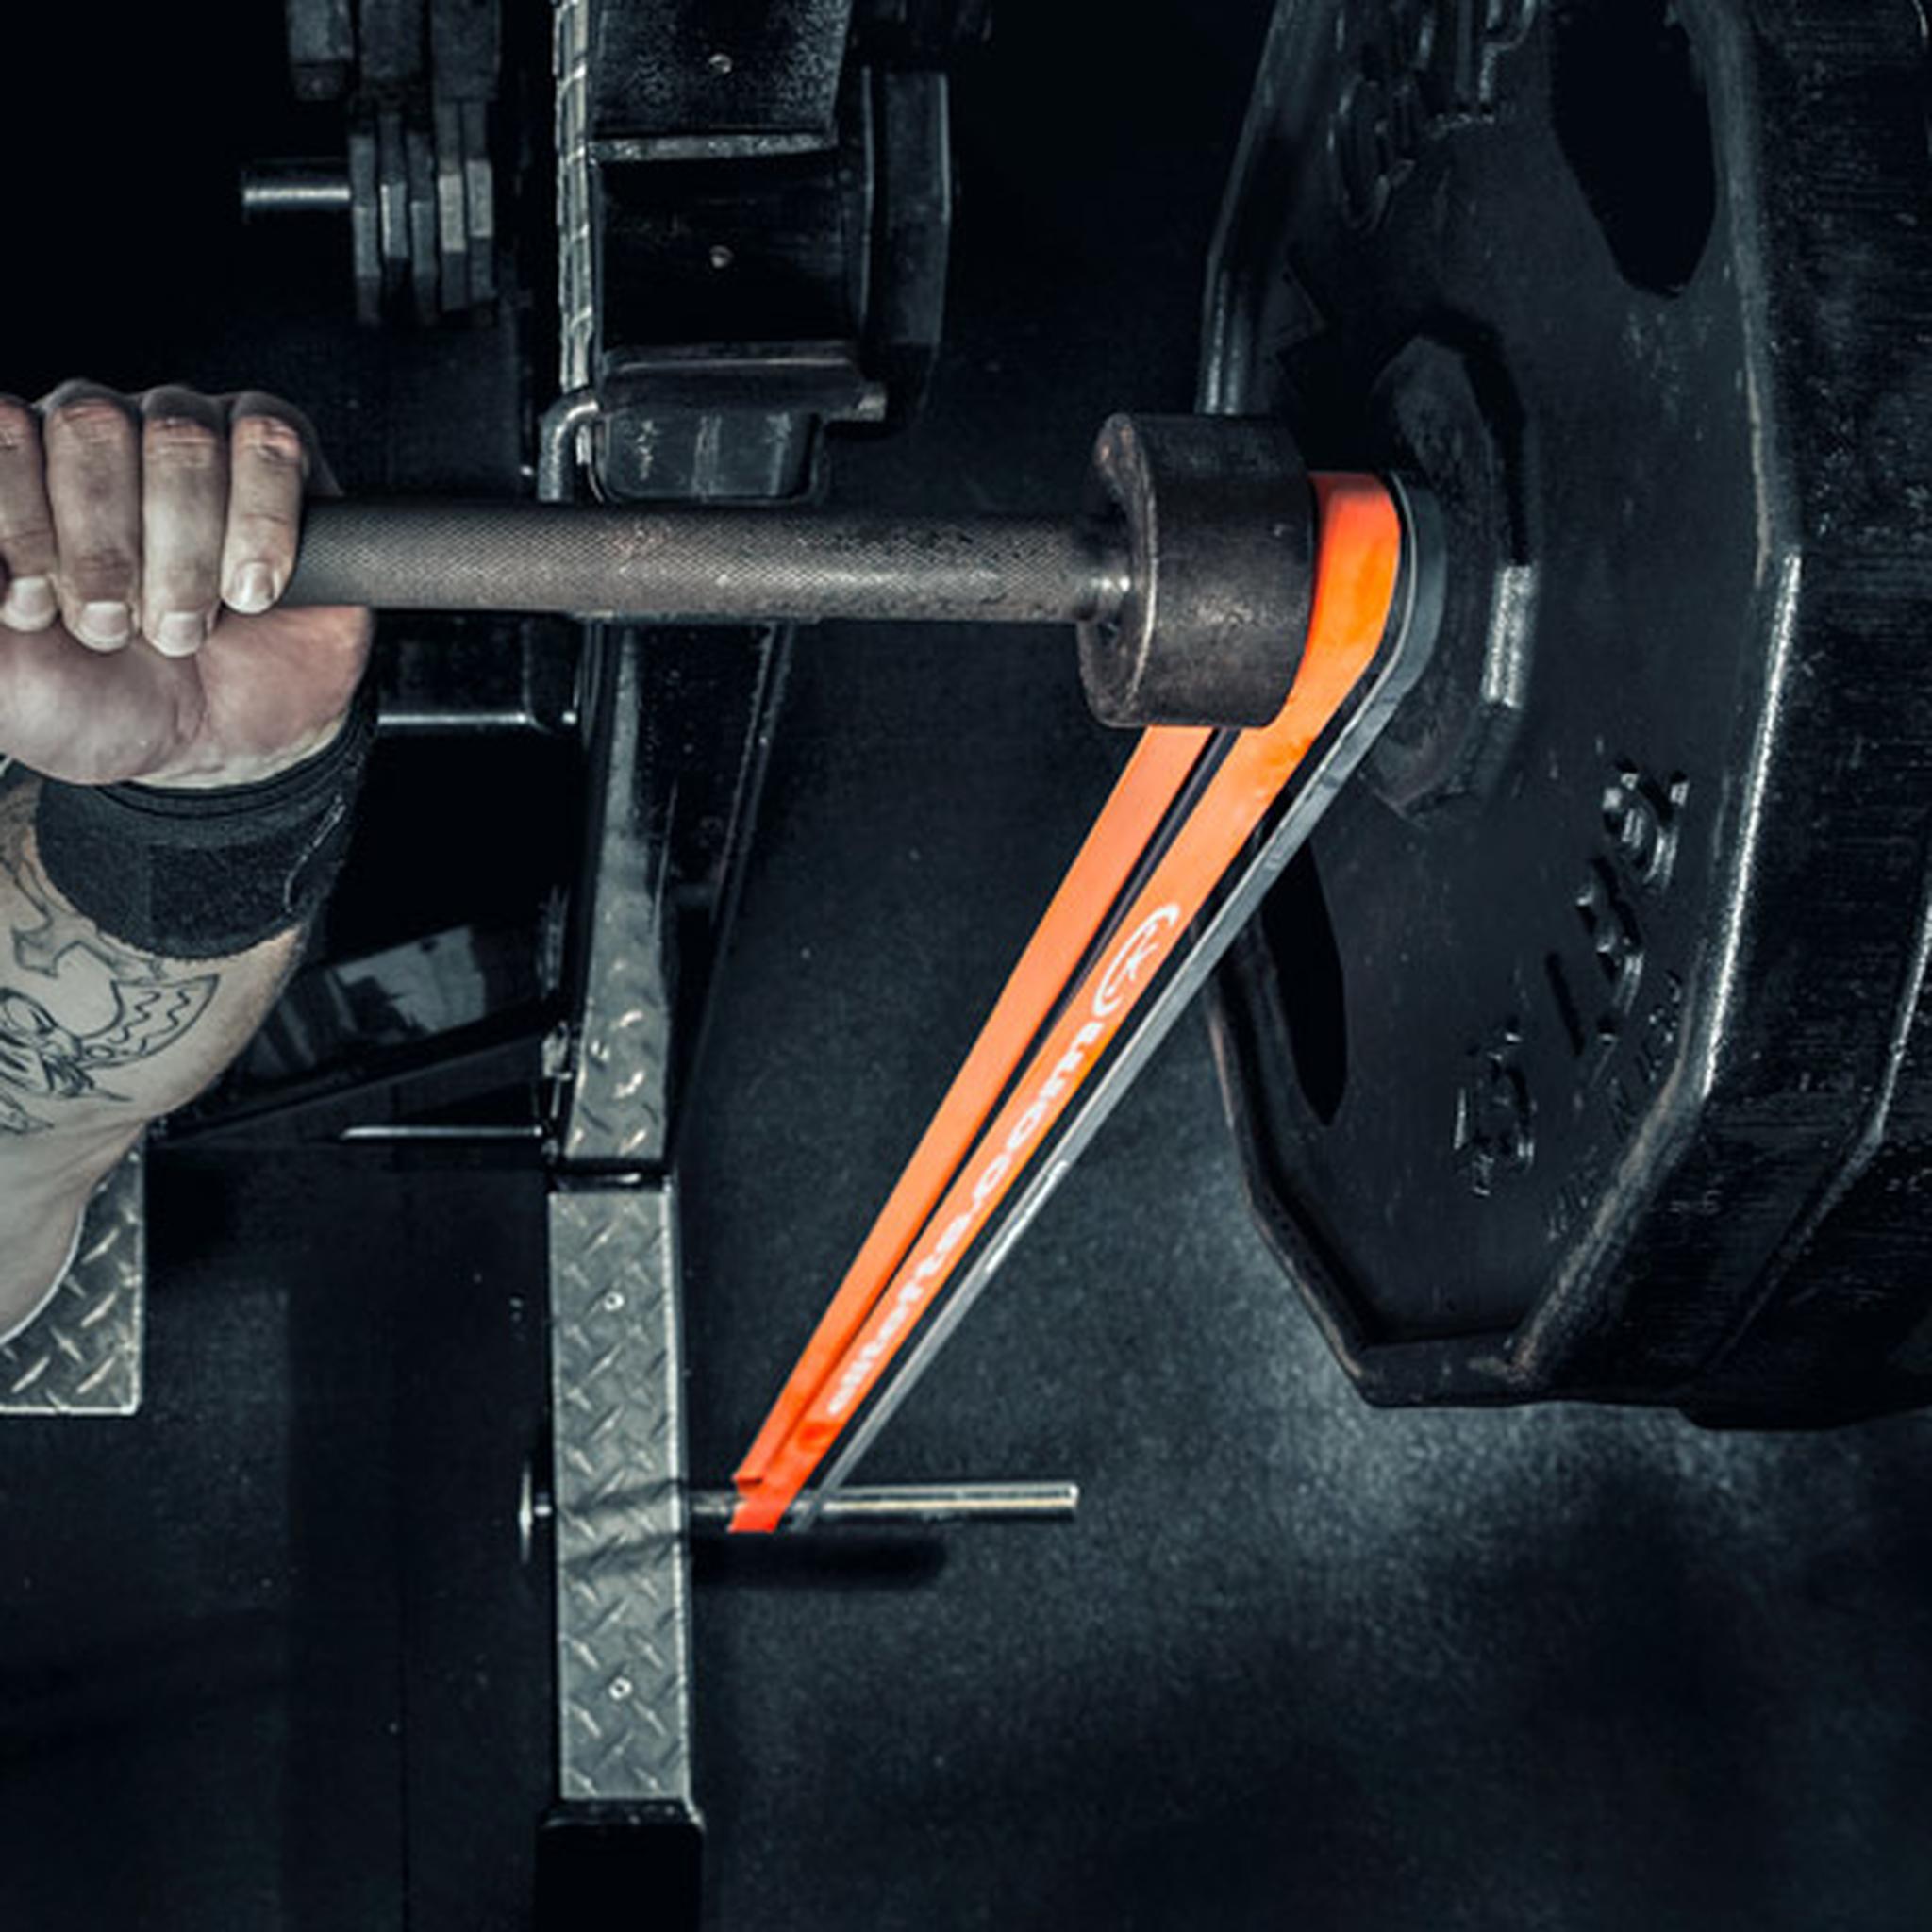
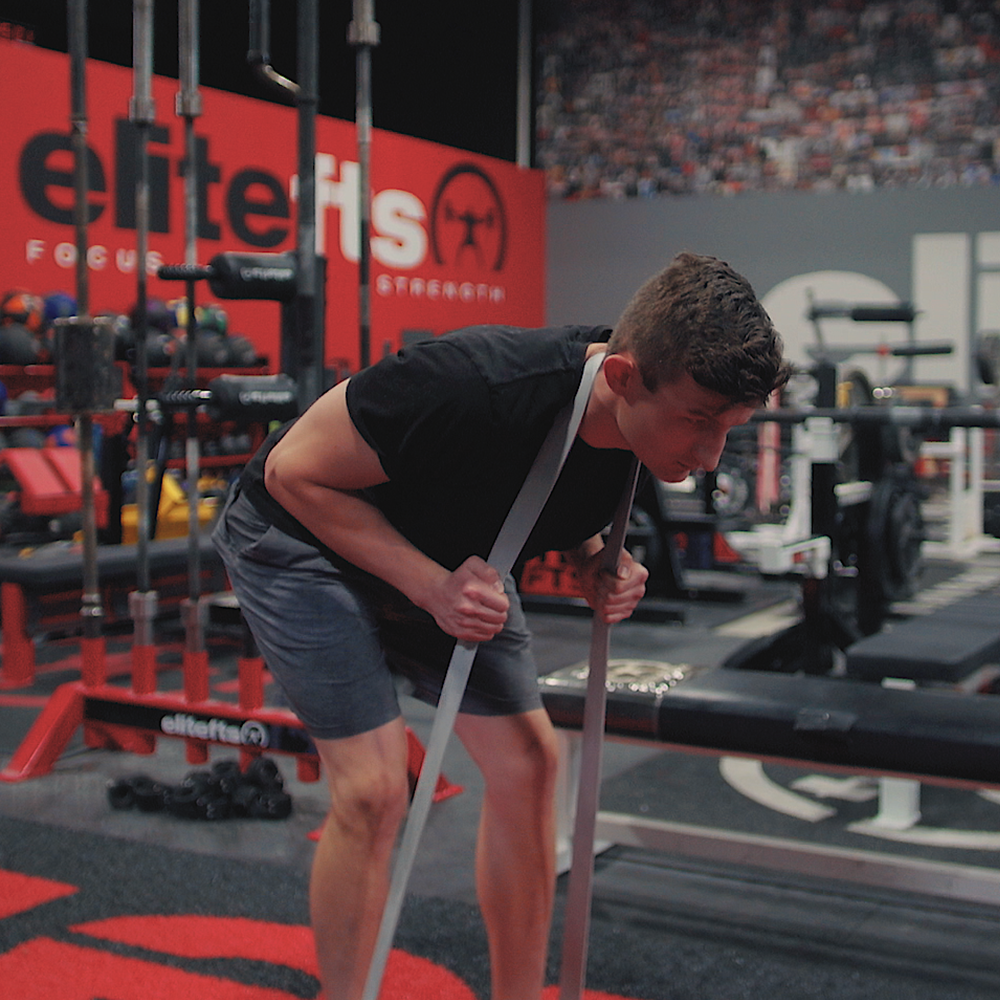
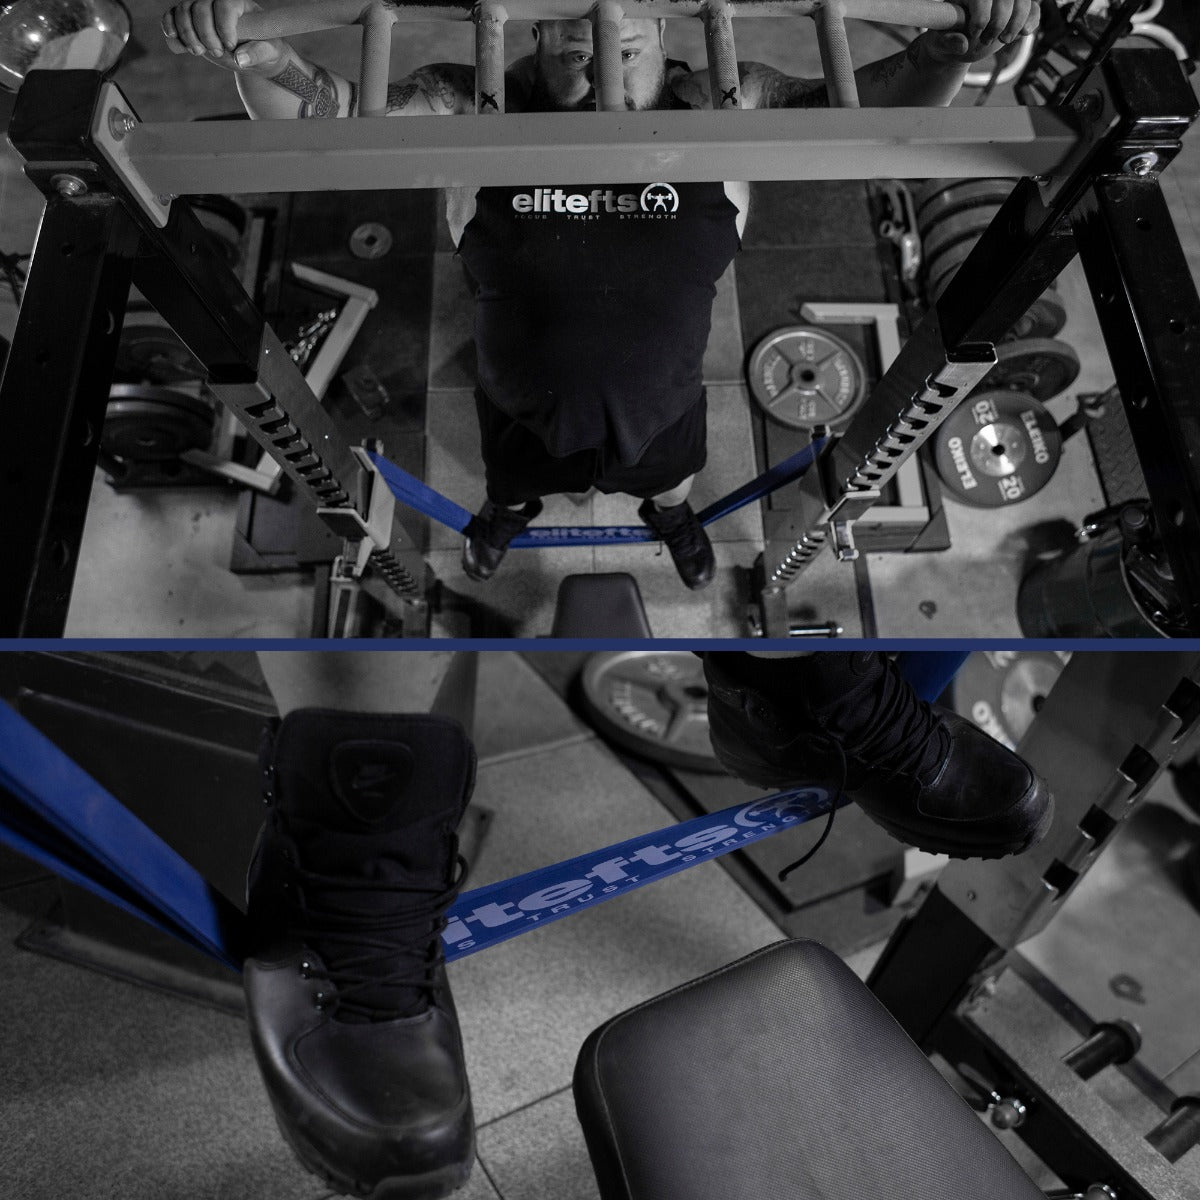
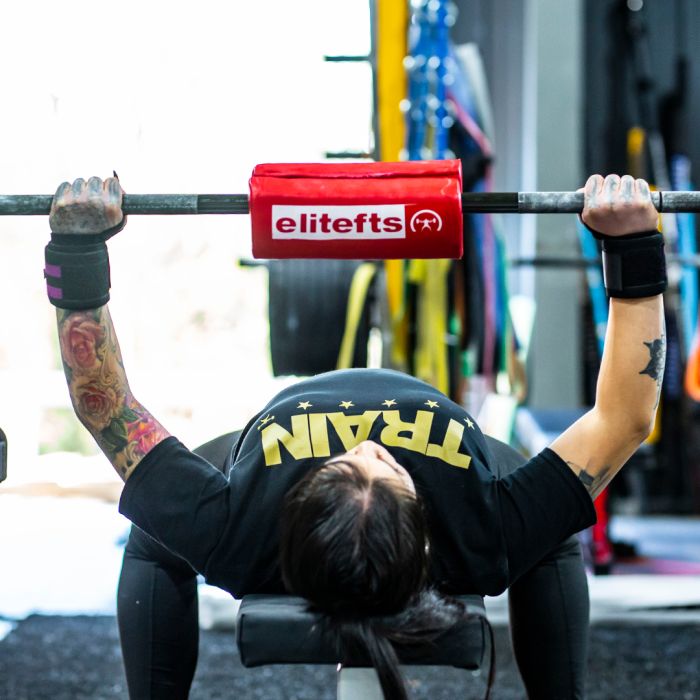
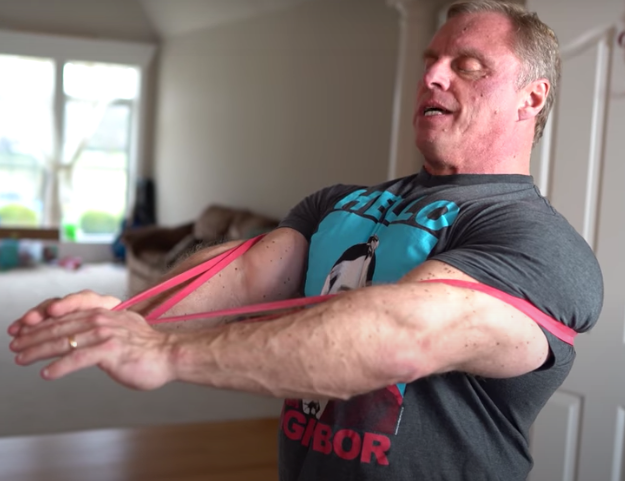
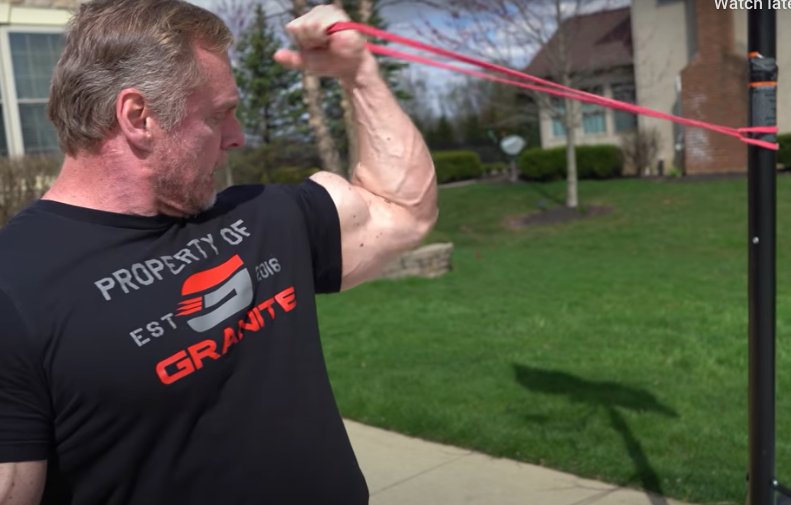
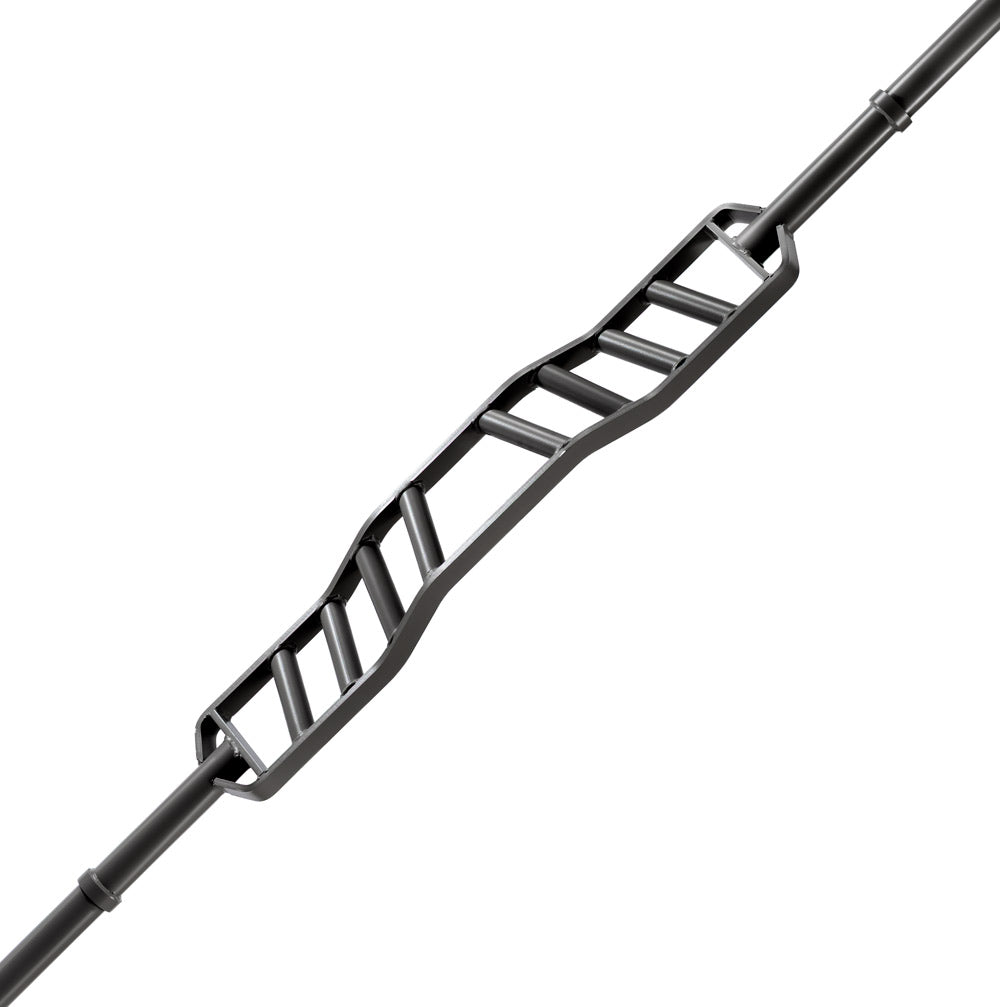
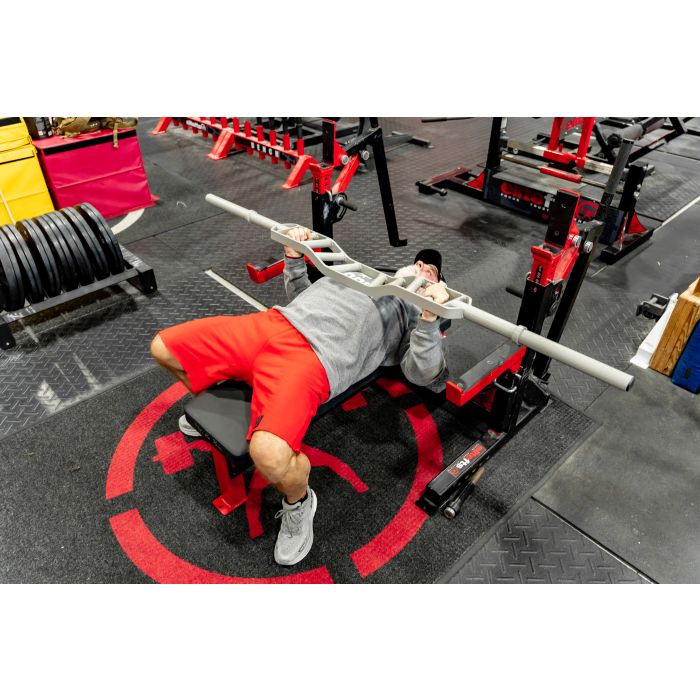
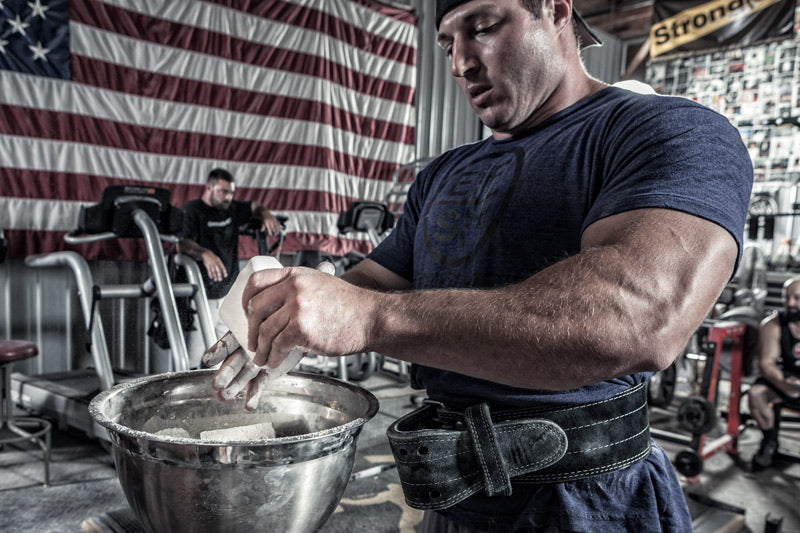
Chances are good that if you’ve been lifting a couple of years, you’ve experienced some shoulder pain when pressing. In many cases, outside of serious injuries, simply implementing the following can make a tremendous difference in how a press feels on both your muscles and joints. 1. Chest Up, Shoulder Blades Back and Down Whenever you’re pressing off a flat or incline angle, you need to have your shoulder blades glued back and down. The combination is critical. If you bring them back, but not down, you’re going to end up shrugging as you press. If you bring them down but not back, you’re going to end up rounding your shoulders at the bottom. Both mistakes are going to put a lot of undue stress on the shoulder joint, as well as take away from any chest recruitment. A simple way to think about fixing this is to drive your chest up to the ceiling and pretend someone is pulling your sternum up with a piece of string. Once you’ve got this position, you now want to squeeze all the muscles of your back responsible for holding it. This means your rhomboids, mid and lower traps, and to a certain extent your lats. You want these to be as tight as possible to maximize strength and stability of your press. If you find this tough, it may be worth activating the small muscles in your back that help with this position. YTWs are perfect for this: 2. Squeeze the Bar as Hard as Possible Whenever you press heavy, squeezing the bar as hard as possible will create stability and tightness throughout your entire body through a process called irradiation. By creating a death grip on the bar, you’ll activate your forearms, biceps, triceps, lats, pecs and rotator cuff to a higher level, and perhaps more importantly, to engage in sync together. Irradiation will create muscular tension and contraction across all the neighboring joints involved in the exercise, which is what makes it so powerful in protecting your body from injury and getting you strong. Here’s a simple test: Lie on the bench and perform a bench press with a soft grip. Chances are you’ll feel loose, your bar path will be erratic, and you won’t be able exert much control over the bar. Now do the same thing but squeeze the bar as hard as you can. You’ll feel all your upper body engage and contract together, you’ll feel stable, and your bar path will be better. Another benefit you’ll find is that it’ll fix any wrist positioning issues. When you’re pressing, you want to keep your wrist in a neutral position. The healthiest position for the joints to be in when pressing is a stacked position, meaning the wrist and elbow should be in line. Often you’ll find that if your grip on the bar is soft, your wrist will cock back, creating both instability in the lift and strain on the joints. By creating tension, you create control. Staying in control is what will keep you healthy. 3. Drive Your Feet into the Floor Power and stability comes from the ground up, so if you can generate more leg drive when you press, expect yourself to lift heavier weights. When you use this technique for the bench press, there are two ways to do it: feet out in front of you or tucked below your knees. Both work, and the key with each is to think about driving the heel down into the ground. A simple test I like to use to see if you’re doing this properly is once you’re setup, have a partner push on your legs. If they can move you around with ease, you’re not tight enough. You should be rock solid and completely planted into the ground. Another tip here is to focus on squeezing your glutes at the same time. Remember, the glutes are the main connect between your upper and lower body. So to transfer stability and power from the legs, they need to be contracted hard. 4. Removing Energy Leaks When you’re bulletproofing your body against injury, the ability to stay tight will pay large dividends in keeping you healthy and progressive. The tighter you can be, the fewer energy leaks your body will have. Specifically to pressing, if you can squeeze the bar hard, lock your shoulders back and down, and drive your feet into the floor, you’ll automatically become stronger and more stable. What you’ll also find is when you implement all of this, you’ll correct many of the common technical issues you might be facing when pressing heavy weights:- Elbows flaring excessively
- "Wiggling" on the bench when struggling
- Shoulder protruding off the bench
- Shoulder pain at the bottom
- Poor bar path and control
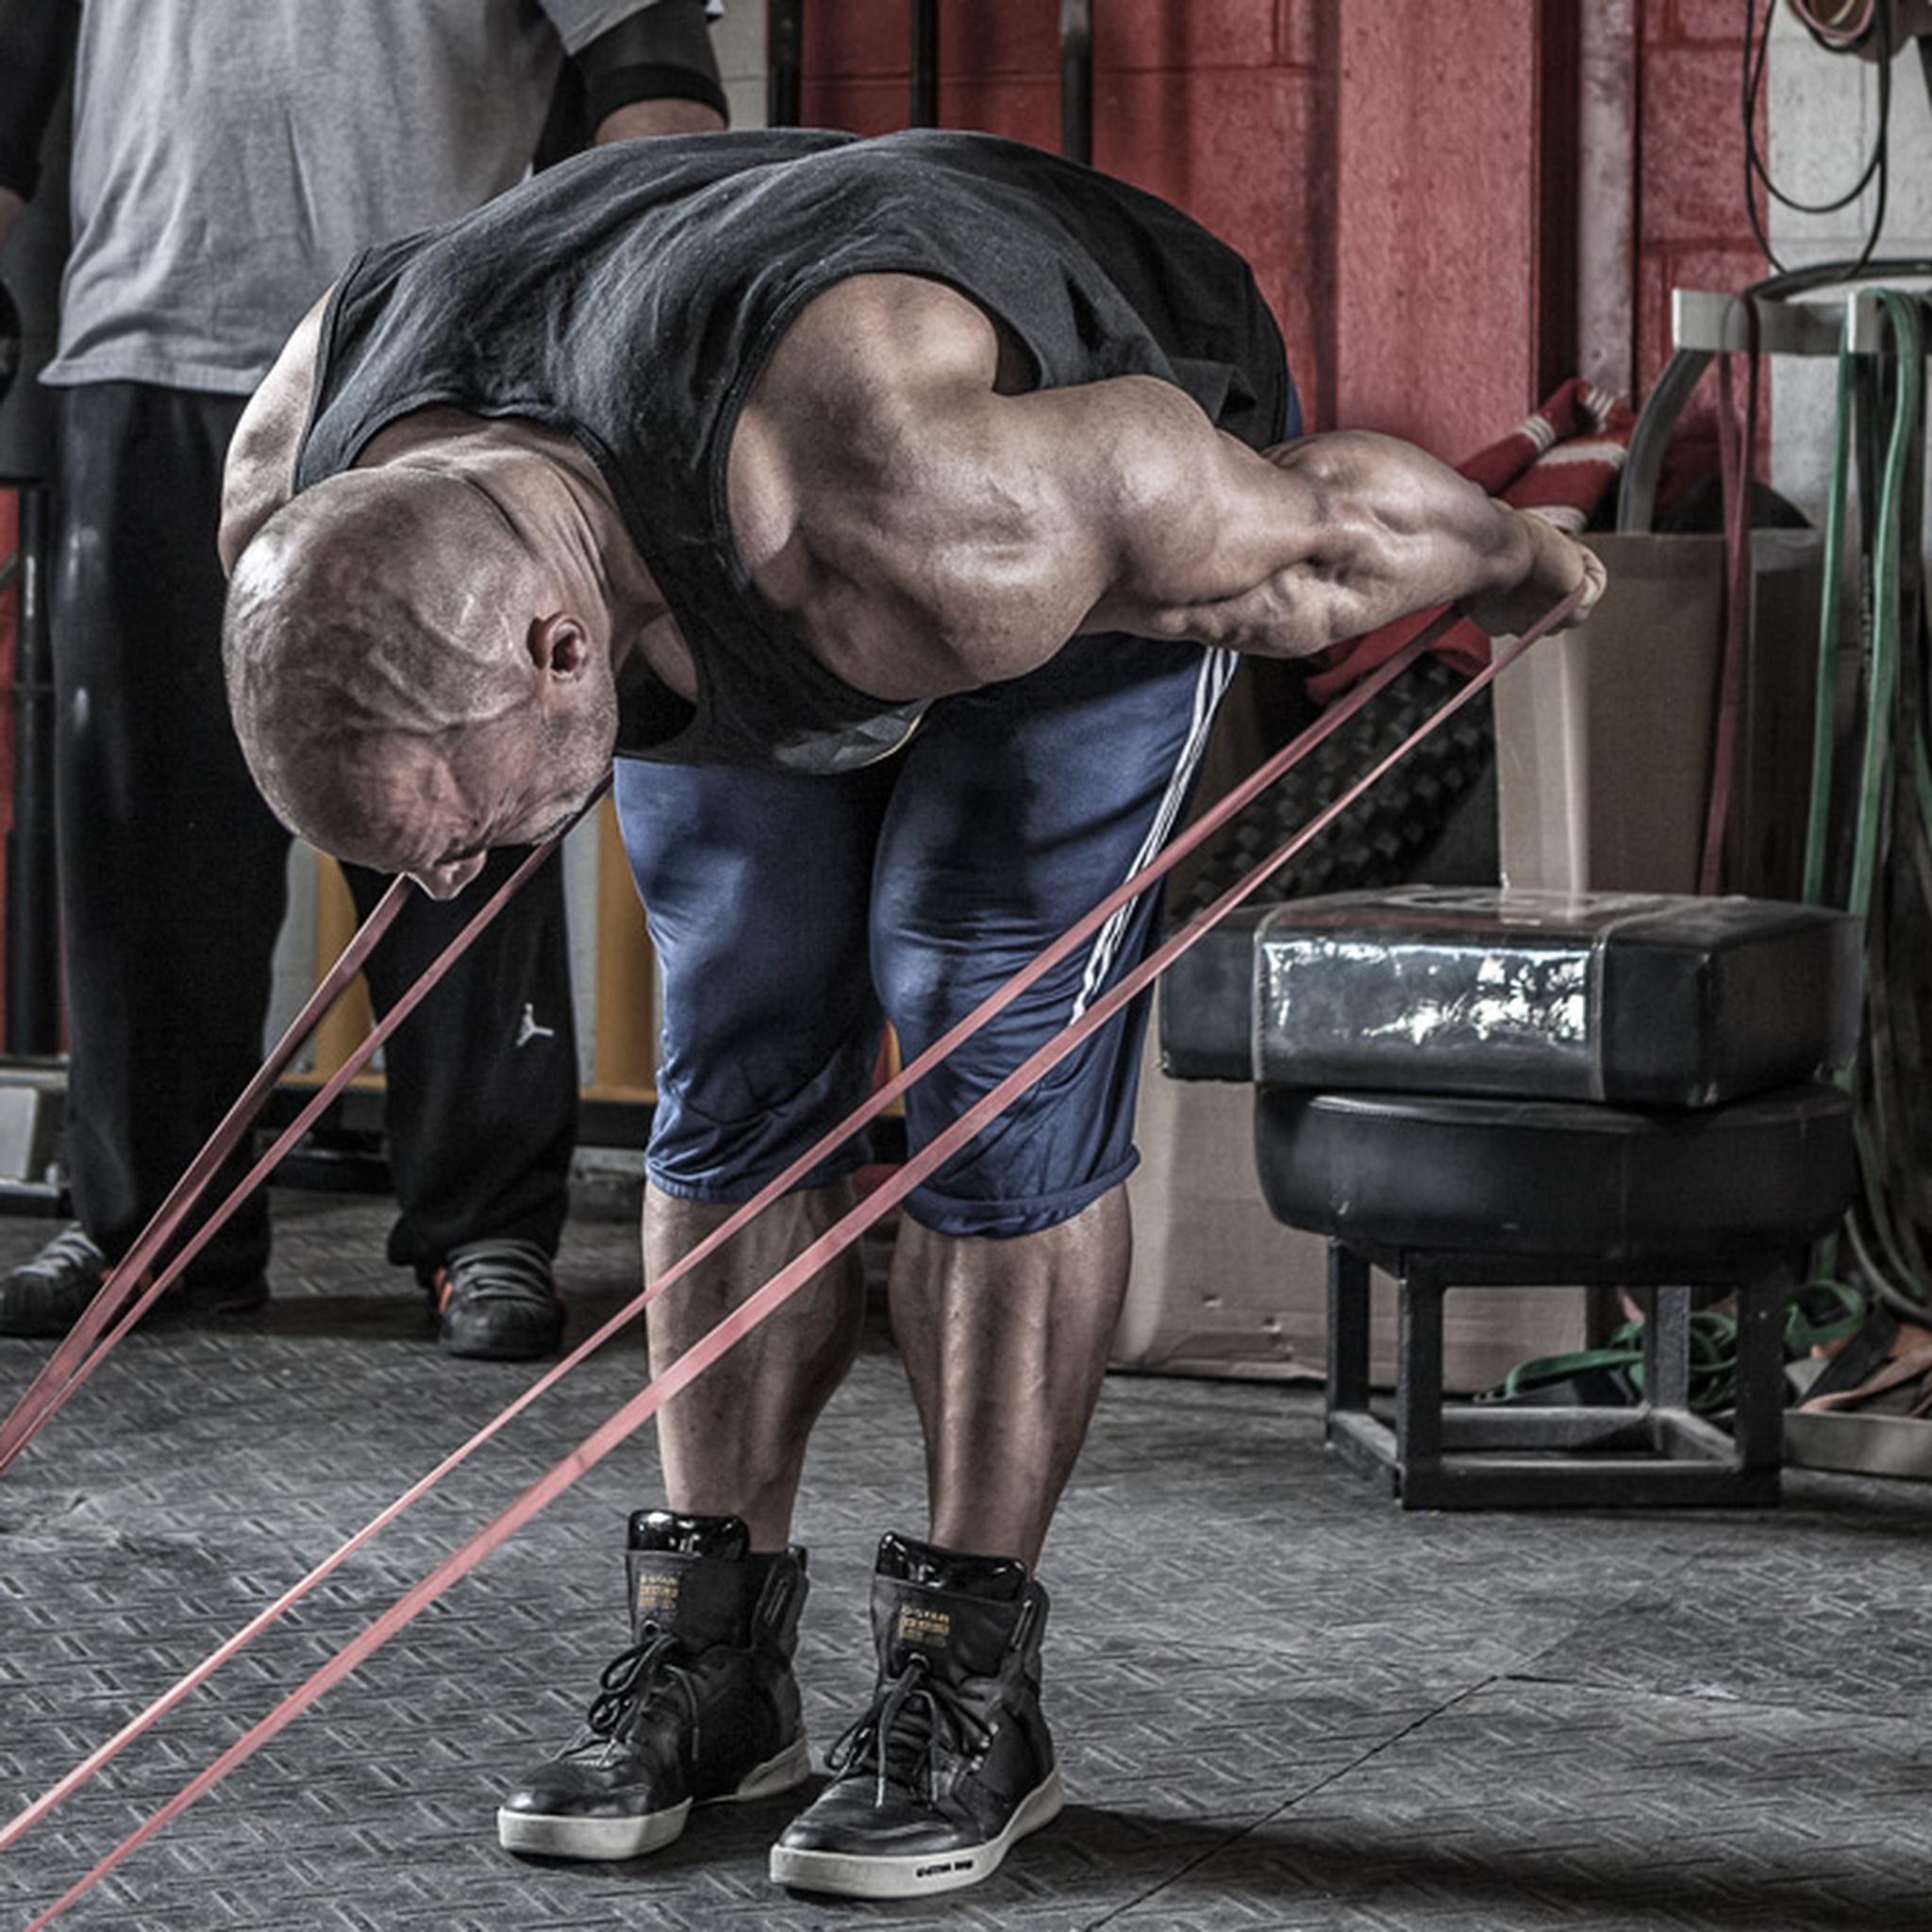
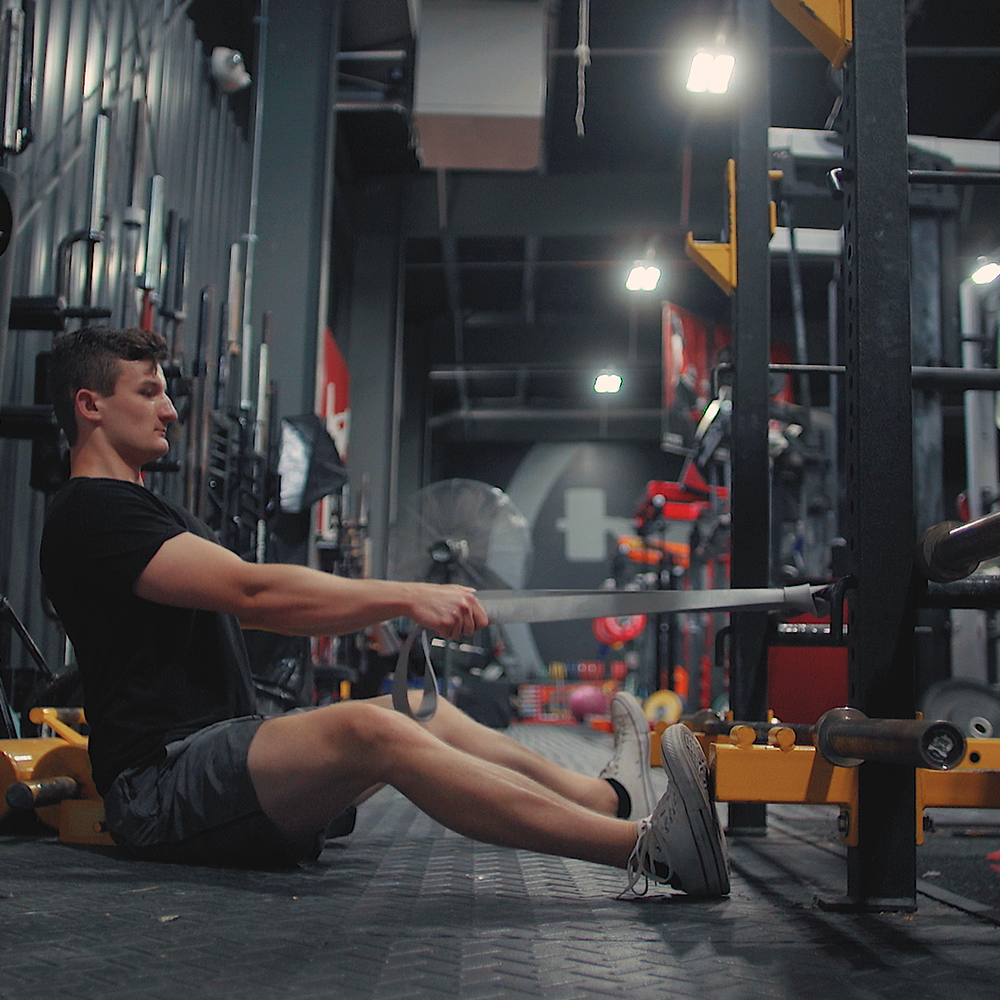
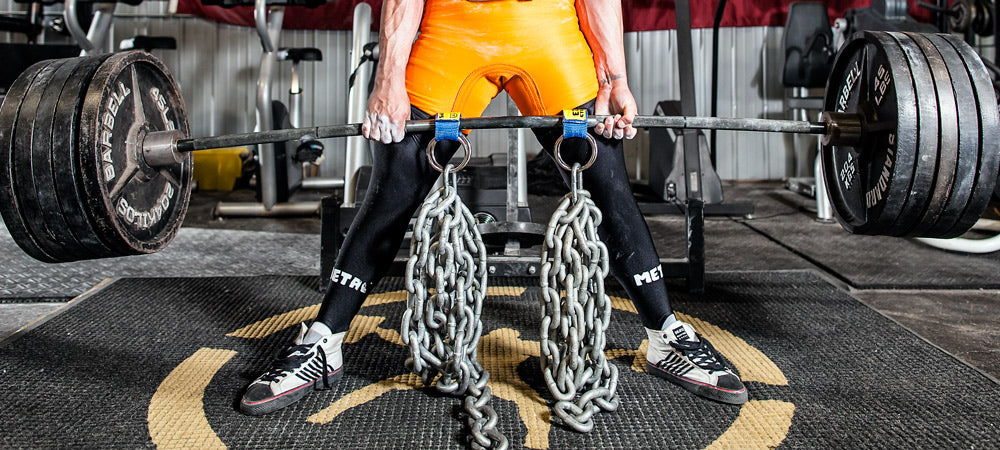
Pulling
In this part of "Get Stable, Get Strong," we’re going to look how to maximize your pull. Specifically, we’re going to take a close look at the deadlift and its variations, as this is the pulling motion that seems to cause the most issues. When I tore my L3/4 annulars back in 2012, I had to rethink how I deadlifted completely. When I look at old lifting videos prior to the injury, I now cringe and think how it could have all been avoided in the first place. It took a lot of trial and error to find what worked for me, but over the years I’ve seen the most success with the following tips. 1. Breathe and Brace Correctly These two come hand in hand, and will arguably do more for keeping your spine healthy than anything else. Learning how to breathe correctly is a skill that is essential for any exercise where the lower back is under pressure, like a squat or deadlift. To breathe correctly, you should be inhaling into your stomach and lower back first, and thinking about creating 360 degrees of pressure around your midsection. You want to create try recreate your own "belt." You should not be breathing into your chest. This is a mistake nearly everyone makes. Once you’ve taken a big belly breath, you should lock it in and brace hard. Think about tensing up like Mike Tyson is about to punch you in the stomach. Bracing all begins with the breath, and in order for the brace to be effective, you need to make sure you start in a neutral spine position. An effective way to do this is to exhale maximally, focusing on bringing the ribs towards the pelvis. After this, breathe into this "space" only and fill it with air. Once you can learn this, you’ll also find you clean up many of your typical technical issues too. Here’s how I recommend implementing it in the deadlift (note: this is applicable to bent over rows, T-bar rows, and any unsupported, spine loading back exercise). Before bending over into position, exhale first, then take a deep belly breath and lock your brace in. Now when you bend over to grab the bar, take another breath deep into your lower back. You should feel your belly push against your thighs slightly and as you brace, your whole body will begin to lock in and stabilize. Now pull! Once you learn this, you’ll find you may only need one breath. So you can choose to breathe at the top before bending over or from the bottom position. However, if you’ve never breathed correctly before, you will need to spend time relearning away from the bar, and that involves training your diaphragm. An effective drill is to lie with your feet up in a 90/90 position against the wall. This will set you into neutral spine. With your hand on your belly, breathe in. You should feel the breath come into your body like this:- Belly rises
- Lower back pushes against the floor
- Chest rises
- Upper back fills up as your neck lengthens
- Conventional or Rack Deadlift and Bent-Over Rows — Think about pushing your heels into the floor like a leg press
- Romanian Deadlift – Think about digging your heels into the floor like you’re trying to do a leg curl
- Sumo Deadlift — Think about spreading the floor apart
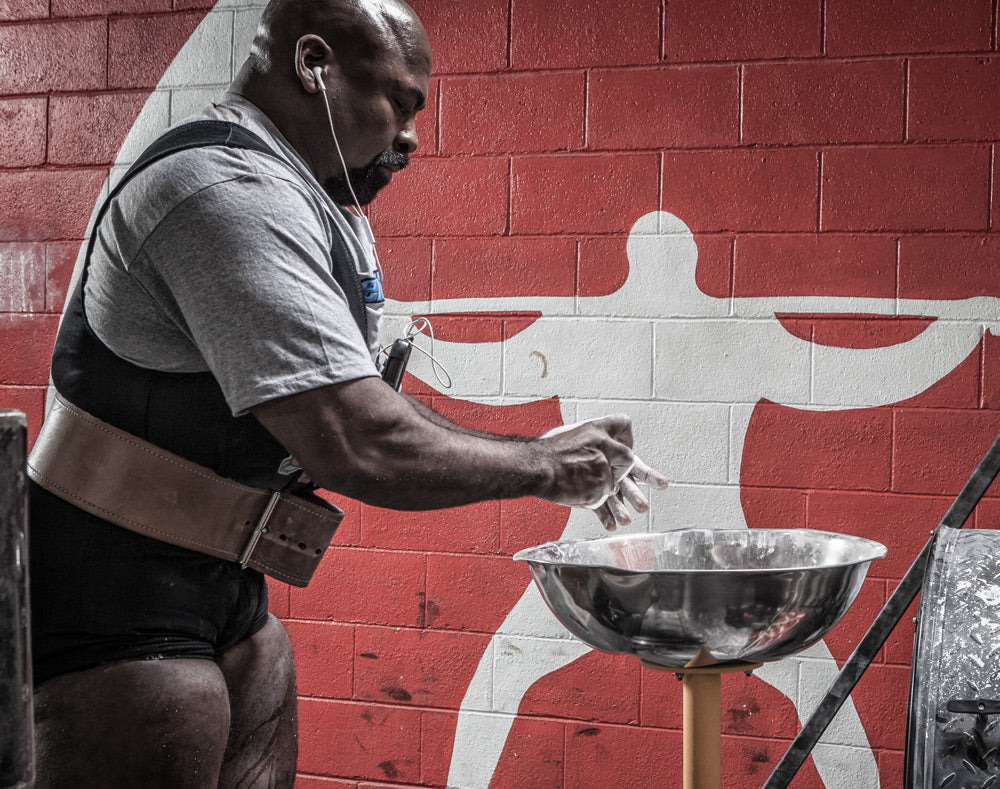
- Grip the bar as hard as possible.
- Breathe into your belly and lock a 360-degree brace around your spine.
- Create lat tension by "protecting your armpits."
- Root your feet into the floor.

Legs
In this final part of "Get Stable, Get Strong," we’re going to look at how to maximize your leg training. We’re not targeting powerlifters here, so this won’t be all about the back squat. Instead, we’re going to talk about maximizing stability and getting the most out of squatting variations, single-leg exercises, and machine work. 1. Screw Your Feet Whether you’re squatting with a bar or machine, leg pressing, or performing any type of single-leg exercise, you need to maintain strong contact with the floor or platform. This is a common theme across all movement patterns, with each requiring a slightly different approach. If you’re someone who’s got dodgy knees, learning how to do this can make all the difference. At first, it can take a while to "get it," but once you do, your posterior chain will begin to fire up and help reduce stress on your knees. Here’s a three-step approach to try:- Create an arch with your foot by gripping your foot into the floor.
- Screw the ball of your foot, the fifth metatarsal, and the heel into the ground.
- As you go down, create lateral pressure by "spreading the floor" with your feet.
Tight, Tight, Tight!
I might sound like a broken record now, but this article has all been about one thing: how to stay tight when lifting. While I split the methods up into different movement patterns, there is strong crossover. For example, maintaining a strong grip, bracing and breathing correctly, and creating a strong connection to the floor are tips that apply across the board. If there’s one thing you take away from this article, it’s that you want to think about maximal tension throughout the body at all times, with no energy leaks throughout the kinetic chain. The more you can master this, the more stable you’ll become. This, in turn, will keep you healthy and add weight to the bar.Akash Vaghela specializes in transforming the bodies of city executives, CEOs, actors, physique athletes, and regular people who want to be in the best shape of their lives. He blends scientific knowledge, evidenced by his first-class sport science degree from the University of Birmingham, with the practical experience of successfully competing in both powerlifting and bodybuilding, to generate maximum results in minimum time for his clients.
Akash can be best found on Instagram (@akashvaghela), on Facebook, and on his website at www.rntfitness.co.uk. You can contact him directly via email at info@rntfitness.co.uk.