

The box squat isn’t just another variation you throw into your training for variety. Done right, it’s one of the most effective tools for building strength, improving your squat mechanics, and carrying over to sport or competition. Done wrong, it’s a circus trick that will wreck your squat and possibly your body.
I’ve been using, coaching, and programming the box squat for decades — long before it became a “trend” in strength circles. I learned it the hard way, with heavy weight, under coaches like Louie Simmons at Westside Barbell, and I’ve taught it to everyone from world record–holding powerlifters to high school athletes.
This article will take you through everything you need to know about the box squat — from setup to execution, the necessary cues, the mistakes to avoid, and how to program it for maximum results.
What Is the Box Squat?
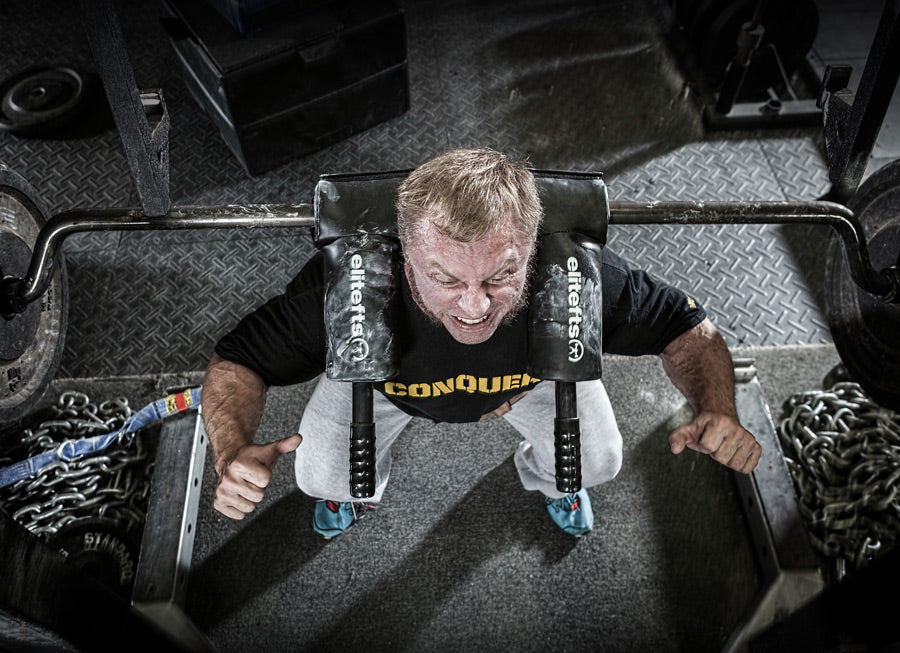
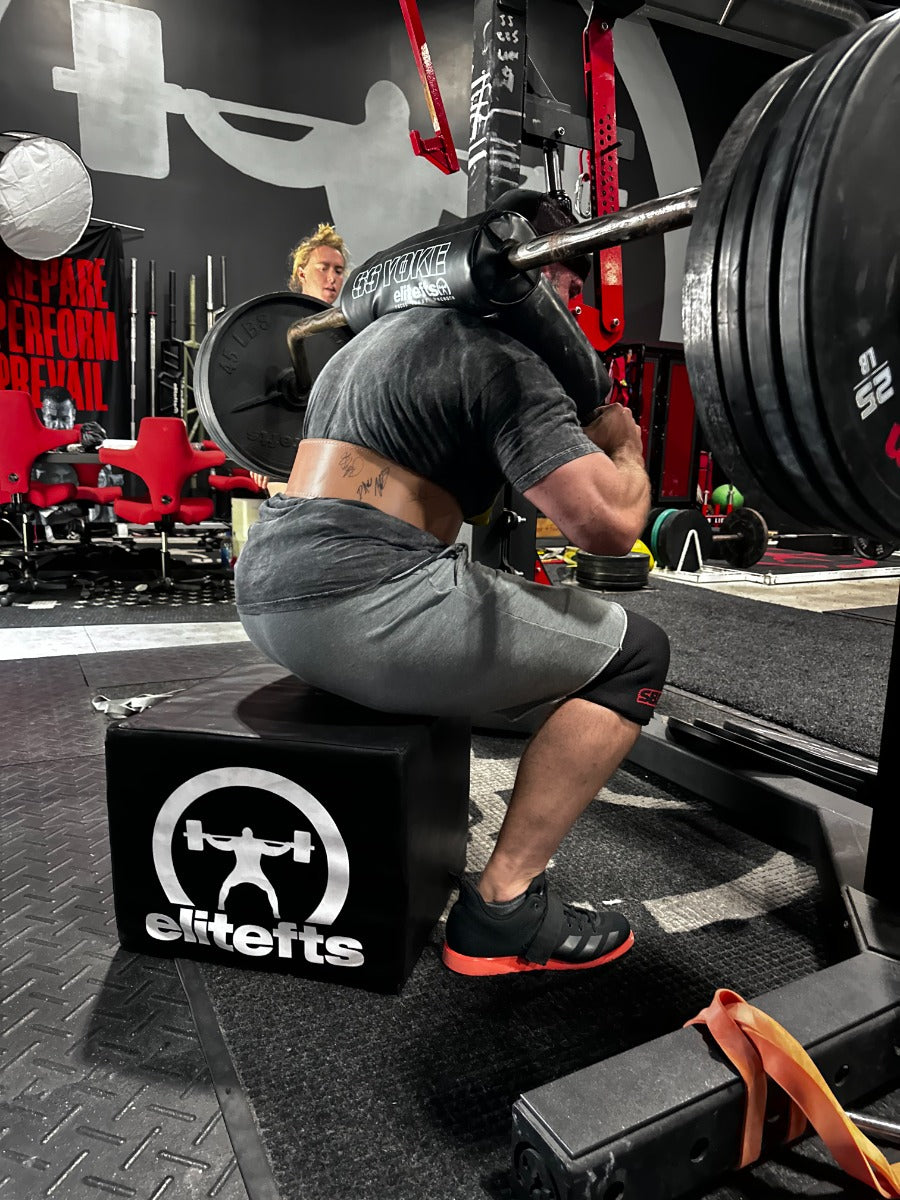
A box squat is a squat performed to a box or bench set at a specific height, where the lifter sits back onto the box, momentarily pauses (or maintains tension, depending on the goal), and then drives back up to the starting position.
The key difference from a regular squat is that the box squat forces you to control the eccentric phase, sit back more than down, and break the stretch reflex by coming to a dead stop. This makes it a powerful builder for starting strength, hip and posterior chain development, and overall squat mechanics.
Why Use the Box Squat?
-
Teaches Proper Squat Mechanics
The box squat forces you to initiate the squat by sitting back — not down. This engages the hips, glutes, and hamstrings instead of letting your knees shoot forward. -
Builds Explosive Strength
You have to generate force from a dead stop by eliminating the stretch reflex. This carries over to sports and competition, where you often must explode out of static positions. -
Increases Posterior Chain Strength
The primary drivers here are the hamstrings, glutes, and lower back — all critical for a big squat, deadlift, and athletic power. -
Controls Depth and Improves Consistency
The box gives you a repeatable depth every rep, which is valuable for learning competition depth and tracking progress. -
Reduces Eccentric Stress
By sitting back and pausing on the box, you can handle heavy loads with less eccentric wear and tear — great for managing recovery.
The Setup
A proper setup is 90% of getting this lift right. Here’s how I walk lifters through it.
1. Choosing the Right Box Height
-
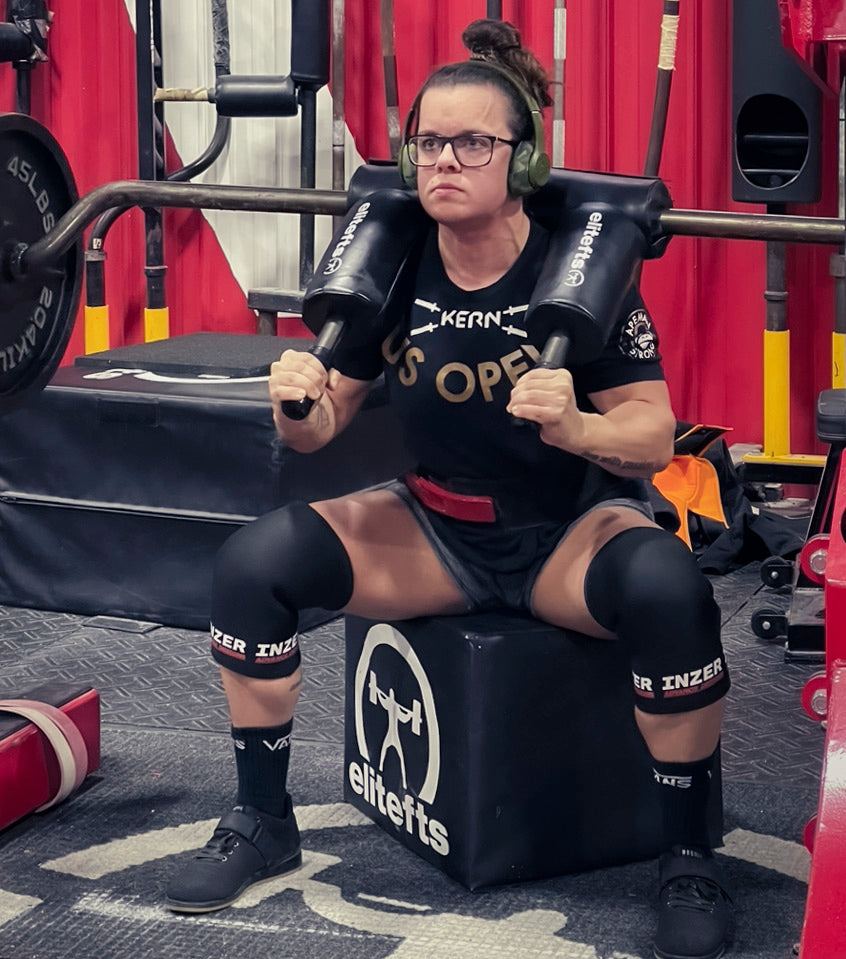
Competition Powerlifters: Set the box so that your hip crease is right at or slightly below parallel when you're seated.
-
Athletes & General Strength Training: Parallel or slightly above parallel to emphasize posterior chain work and reduce knee stress.
-
Avoid going too low at first — this isn’t a mobility drill. You want to train strength in a range that carries over to your goals.
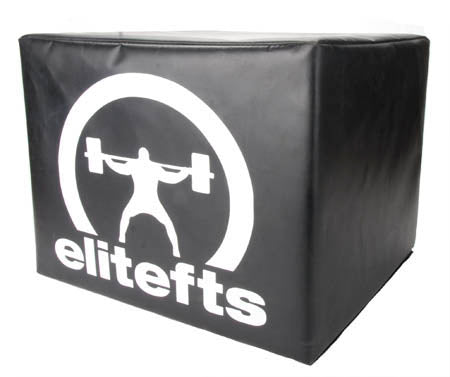
Pro tip: Use a solid, stable box or stack of mats. Wobbly boxes are a recipe for disaster.
2. Rack and Bar Position
-
Rack Height: Set so you only have to unlock your knees slightly to clear the hooks. This saves energy for the lift itself.
-
Bar Position:
-
Low Bar: Preferred for box squats, as it puts you in a stronger hip-dominant position.
-
High Bar: Can be used for variation, but shifts emphasis forward.
-
-
Grip the bar tight and pull it into your upper back like you’re trying to bend it over your shoulders.
3. Stance
-
Generally, a wider stance than your regular squat means thinking just outside shoulder-width to much wider, depending on your build and goals.
-
Toes slightly out (10–30 degrees). The wider you go, the more you’ll have to turn the toes out.
-
Weight should be evenly distributed across the entire foot — big toe, little toe, and heel — but you’ll feel more weight on your heels once you sit back.
4. Bracing and Unrack
-
Take a deep belly breath into your diaphragm, expand 360 degrees, and lock in your core.
-
Squeeze your upper back hard, pull elbows down slightly, and create a shelf for the bar.
-
Stand up strong to clear the hooks — do not “half-stand” or limp the bar out.
-
Take 2–3 short, controlled steps back. You should end with your feet set and shins vertical.
The Execution
Here’s the step-by-step breakdown of the perfect box squat:
1. The Descent (Sit Back, Not Down)
-
Cue: “Hips back, knees out.”
Push your hips back first while spreading your knees apart. -
Keep your shins as vertical as possible during the descent — this loads the hips and hamstrings.
-
Maintain tension in your upper back and core the entire way down.
-
Descend under control — no dropping to the box.
2. Sitting on the Box
-
As your glutes touch the box, continue to spread the knees and keep your torso rigid.
-
Two Main Styles:
-
Relax–Re-Tense (Classic Westside Style): Slightly relax the hips and allow your weight to settle, then re-engage everything before driving up. Great for building starting strength.
-
Touch-and-Go with Tension: Maintain full tension on the box — better for athletes and beginners to avoid losing position.
-
-
Do NOT: Rock back excessively, collapse your chest, or shift weight forward.
3. The Ascent (Driving Up)
-
Keep your chest up and back tight.
-
Cue: “Push the bar back into your traps and drive your feet apart.”
This keeps the hips engaged and prevents knees from caving in. -
Drive your head back into the bar as you push your hips forward and stand up.
-
Lock out fully at the top without overextending the lower back.
Common Mistakes and Fixes
-
Plopping Onto the Box
Fix: Control the descent. Think of “brushing” the box with your glutes before sitting. -
Losing Tension
Fix: Keep your core braced and back tight even if using the relax–re-tense method. -
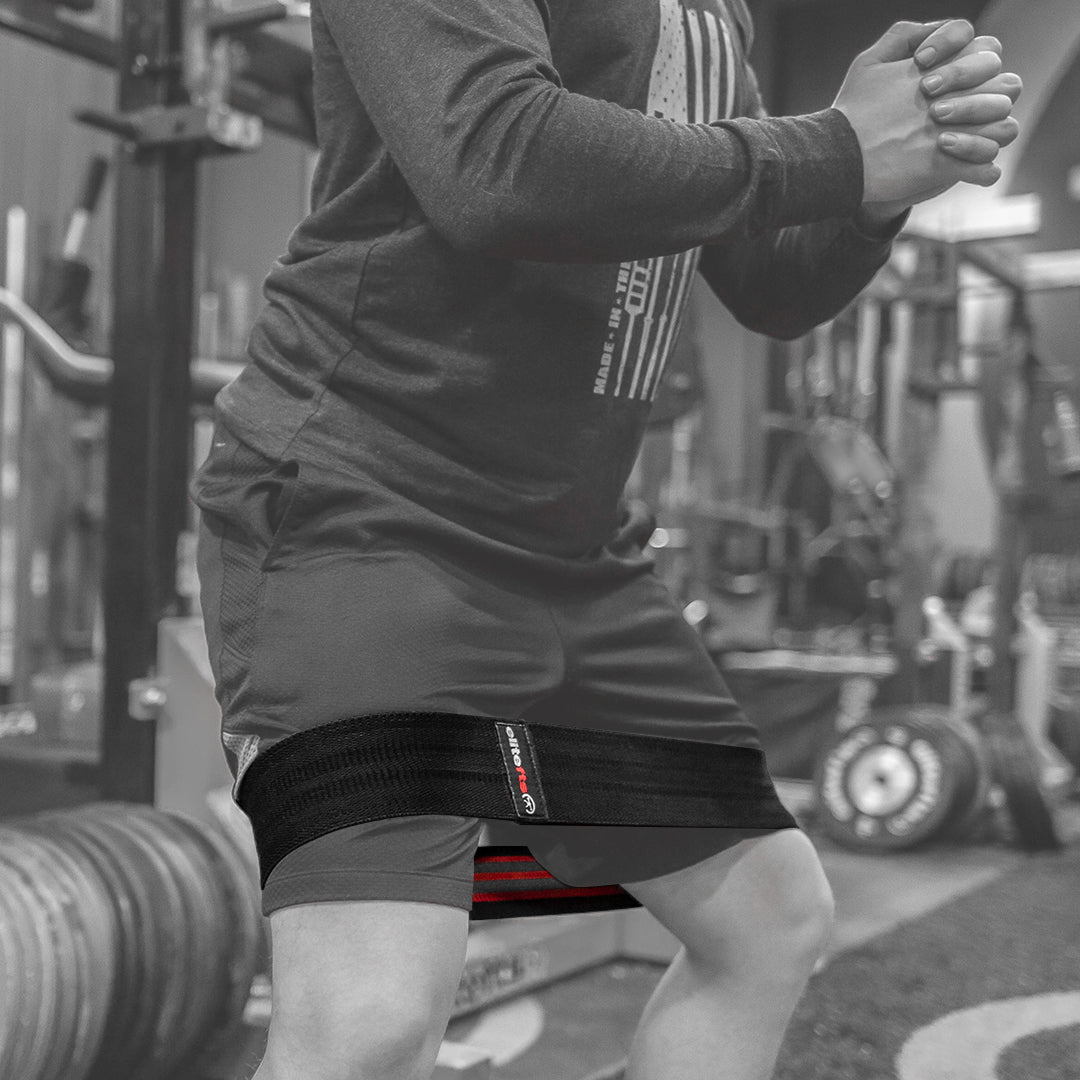
Knees Caving In
Fix: Use mini-bands around the knees or reinforce the “spread the floor” cue. -
Shins Pushed Forward
Fix: Start the squat by pushing hips back, not bending knees first. -
Rocking Forward to Stand Up
Fix: Keep your weight over your midfoot/heel and drive vertically, not forward.
Programming the Box Squat
For Max Effort Strength
-
1–5 reps, heavy weight (85–100% of your raw squat max)
-
Rotate bar types (straight, cambered, safety squat bar) every 1–3 weeks
-
Use accommodating resistance (bands, chains) to overload lockout and speed work
For Dynamic Effort (Speed Strength)
-
6–12 sets of 2 reps @ 50–70% of 1RM (plus bands/chains)
-
Short rest (45–60 seconds)
-
Focus on perfect form and explosive intent
For Hypertrophy / Assistance
-
3–5 sets of 5–8 reps
-
Moderate weight, focus on controlled descent and strong concentric drive
-
Pair with posterior chain accessories
Box Squat Variations Worth Trying
-
Wide-Stance Box Squat — Maximum posterior chain activation.
-
Close-Stance Box Squat — More quad and upright torso emphasis.
-
Paused Box Squat — Longer pause (3–5 seconds) to build static strength.
-
Front Box Squat — More quad and core focus, challenging upper back stability.
-
High Box Squat — Overload the top end and build confidence under heavier weights.
Who Should Box Squat?
-
Powerlifters: To build hip strength, improve squat mechanics, and develop explosive power out of the hole.
-
Athletes: To train hip drive, posterior chain strength, and starting strength for sport carryover.
-
Beginners: As a teaching tool for learning how to squat with proper hip engagement.
-
Injured Lifters: As a reduced-stress alternative when depth or eccentric loading is problematic.
Final Coaching Cues Recap
-
Hips back first, knees out
-
Shins are vertical on the descent
-
Control to the box — no crash landings
-
Brace hard, stay tight
-
Drive your head back and hips forward on the way up
Box Squat - Back Squat
| Aspect | Box Squat | Back Squat |
|---|---|---|
| Pros | - Teaches proper hip engagement and squat mechanics- Builds explosive strength from a dead stop- Targets posterior chain (glutes, hamstrings, lower back)- Controls squat depth consistently- Reduces eccentric stress, aiding recovery | - High carryover to powerlifting and Olympic lifts- Trains full range of motion without external depth cue- Builds overall lower body strength and size- Strong quad development- Requires less setup (no box) |
| Cons | - Less emphasis on quads compared to free squats- Can develop bad habits if done with poor form (rocking, plopping)- Requires extra equipment and space- Lower specificity for competition squat if overused | - Higher eccentric stress, which can increase recovery time- More challenging to learn proper hip engagement for beginners- Depth consistency can vary- Harder to train starting strength without stretch reflex |
Closing Thoughts
The box squat isn’t magic — it’s a tool. Like any tool, its value depends on how you use it. Done correctly, it can be one of the most effective movements in your training arsenal for building raw strength, teaching perfect squat mechanics, and improving performance on the platform or the field.
I’ve seen lifters put 50–100 pounds on their free squat by improving their box squat technique and programming. But I’ve also seen lifters ruin their squat patterns by treating it like a lazy sit-down instead of an active lift.
Respect the movement. Control every rep. Understand why you’re doing it. And when you stand up off that box with perfect form and explosive drive, you’ll know exactly why the box squat has been a staple in the strongest gyms in the world for decades.