


In the field of clinical sports rehabilitation, addressing a patient with decades of chronic dysfunction requires a shift from treating "pain" to managing "load." By understanding the specific biological structures that signal distress and their capacity to withstand mechanical stress, we can move from subjective guesswork to objective functional restoration.
The Foundation: Defining the "Pain Generator."
In any clinical evaluation, the primary objective is to isolate the Pain Generator.
Pain Generator: The specific biological tissue—whether a joint capsule, nerve, or muscle—that has reached its biological limit or mechanical failure point. This is the structure that is "pissed off" or "screaming out," signaling the Central Nervous System that it can no longer tolerate the applied stress.
Once the pain generator is identified, treatment interventions must prioritize two distinct goals:
-
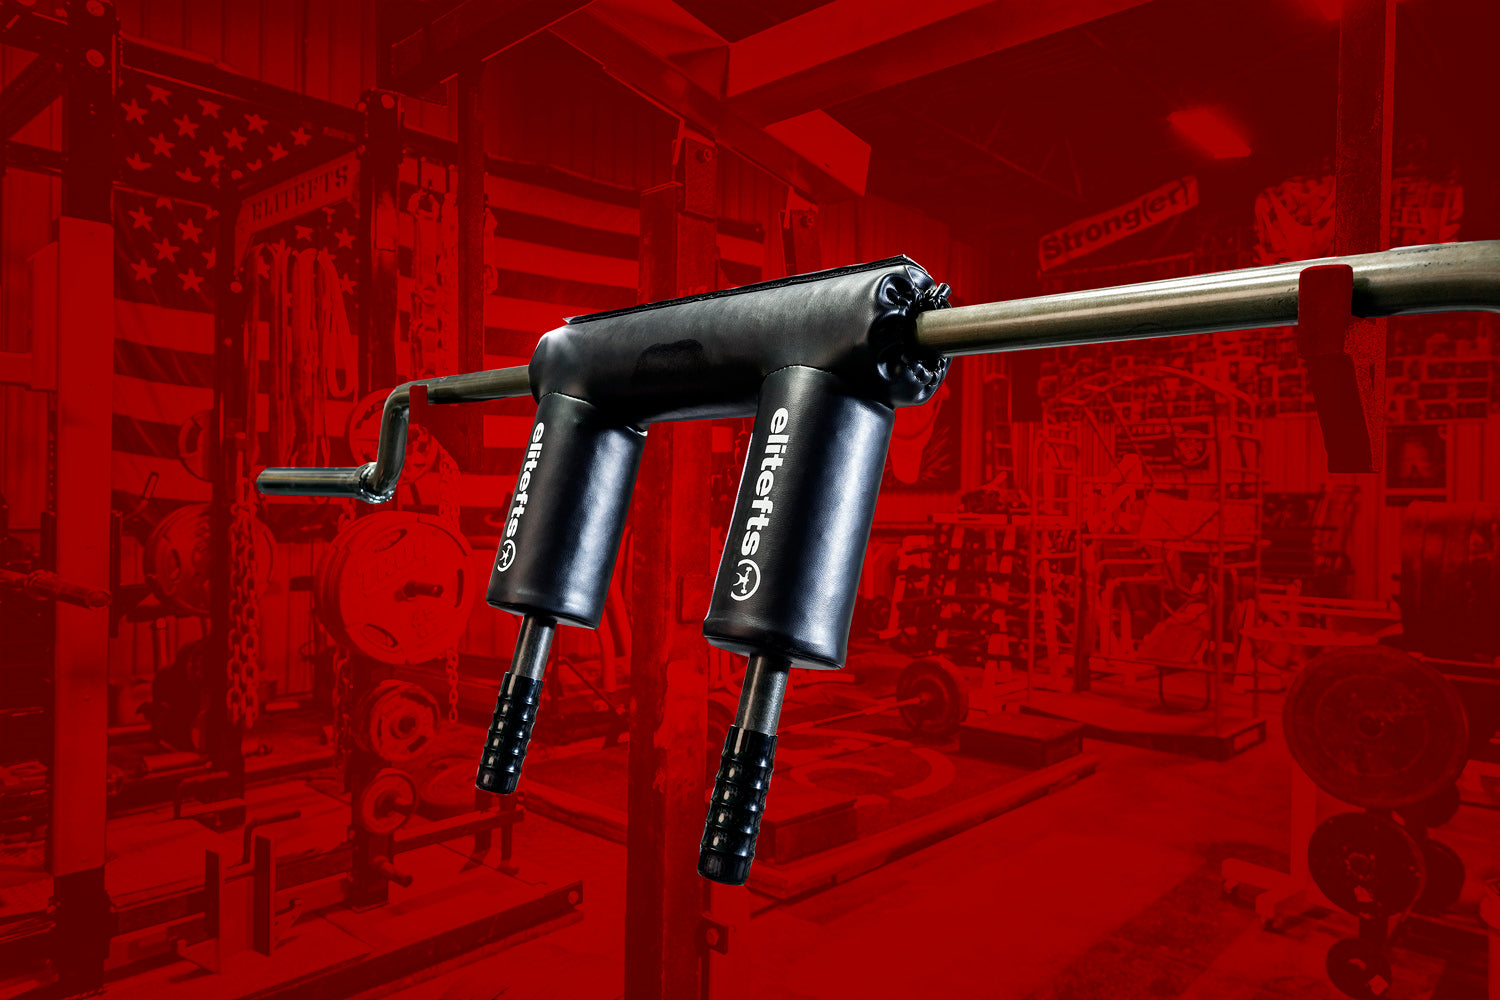
Reducing immediate load: Decreasing mechanical stress on the specific "screaming" tissue during daily activities and training (e.g., adjusting desk height or modifying barbell positions).
- Increasing long-term capacity: Enhancing the tissue’s ability to handle load by removing adhesions or performing targeted strengthening, allowing for greater functional longevity.
Identifying the specific generator is the essential prerequisite for establishing an objective measurement of joint health and mapping the patient’s functional "handcuffs."
The Relationship Between Load, Capacity, and Symptoms
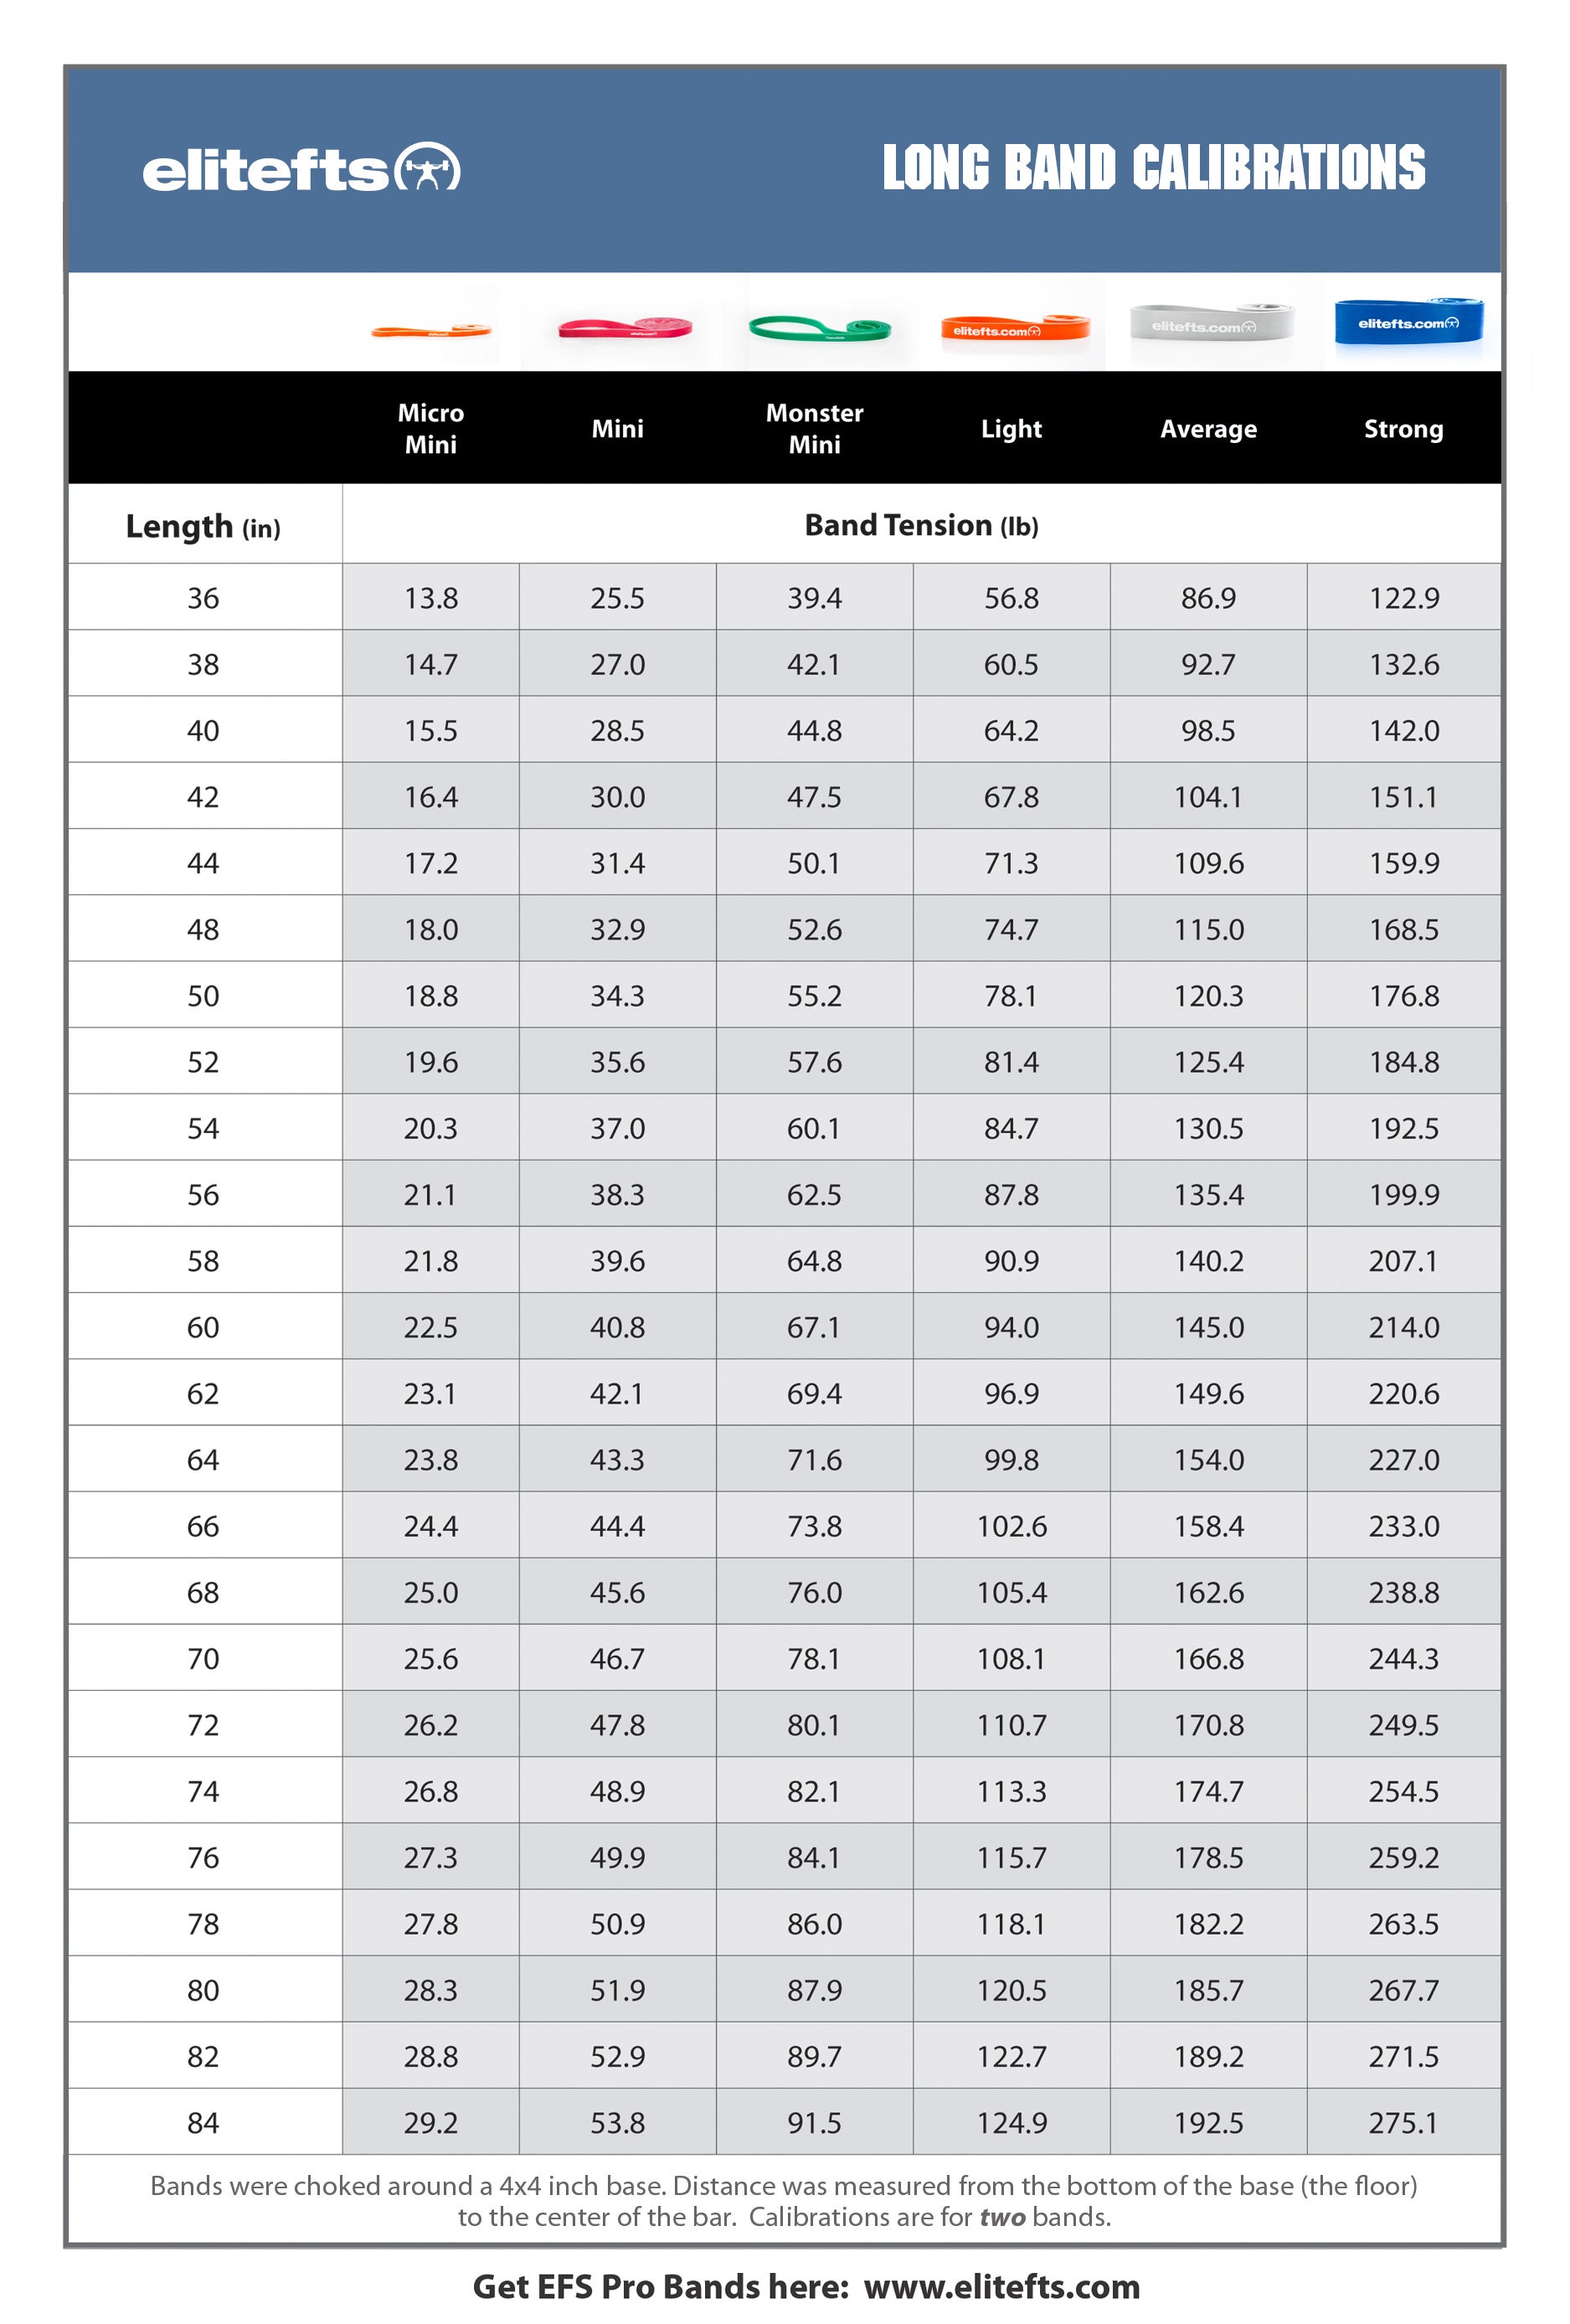
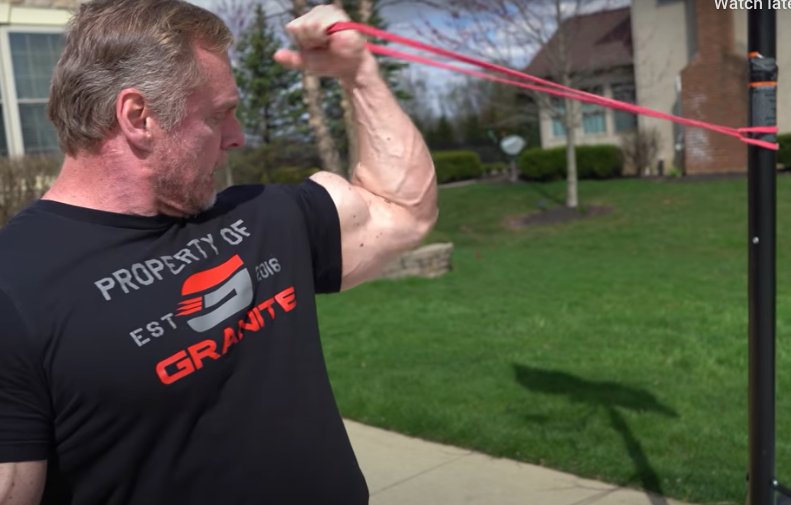
Chronic recovery is a constant negotiation between Tissue Capacity and Applied Load. In the case of professional athletes like Dave Tate, who managed chronic shoulder pain for 24 years, symptoms fluctuate based on whether the load exceeds the diminished capacity of a degenerated joint. Notably, Dave observed that reducing body girth and weight decreased the static load on his shoulder, highlighting that even non-movement factors contribute to the "Recovery Scale."
Load vs. Capacity: The Recovery Scale
|
Condition |
Symptomatic Outcome |
|
Load exceeds capacity |
The joint "screams out"; acute pain (e.g., a "9/10" sensation or the feeling of a "knife in the trap") and severe functional restriction. |
|
Load matches capacity |
Persistent "24/7" dull aches and stiffness; the body remains at a mechanical tipping point. |
|
Capacity exceeds load |
Improved joint longevity; symptoms decrease (e.g., pain levels of 0-3/10) and functional access returns. |
To move a patient from a state of mechanical failure to one of high capacity, we must follow a precise diagnostic path to differentiate between the primary generator and secondary compensations.
--------------------------------------------------------------------------------
3. The Diagnostic Hypothesis: Identifying the "Pissed Off" Tissue
Forming a diagnostic hypothesis requires the clinician to differentiate between tissues—muscles, nerves, or joints—to determine why a specific movement has become provocative.
-
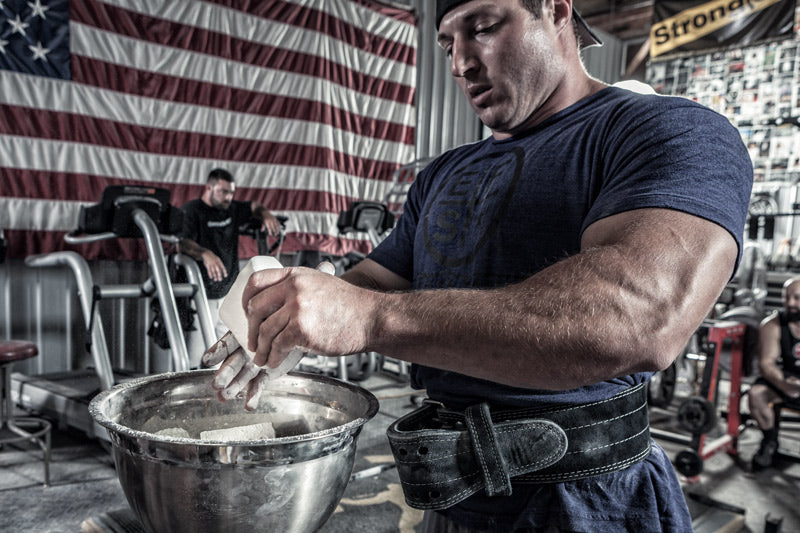
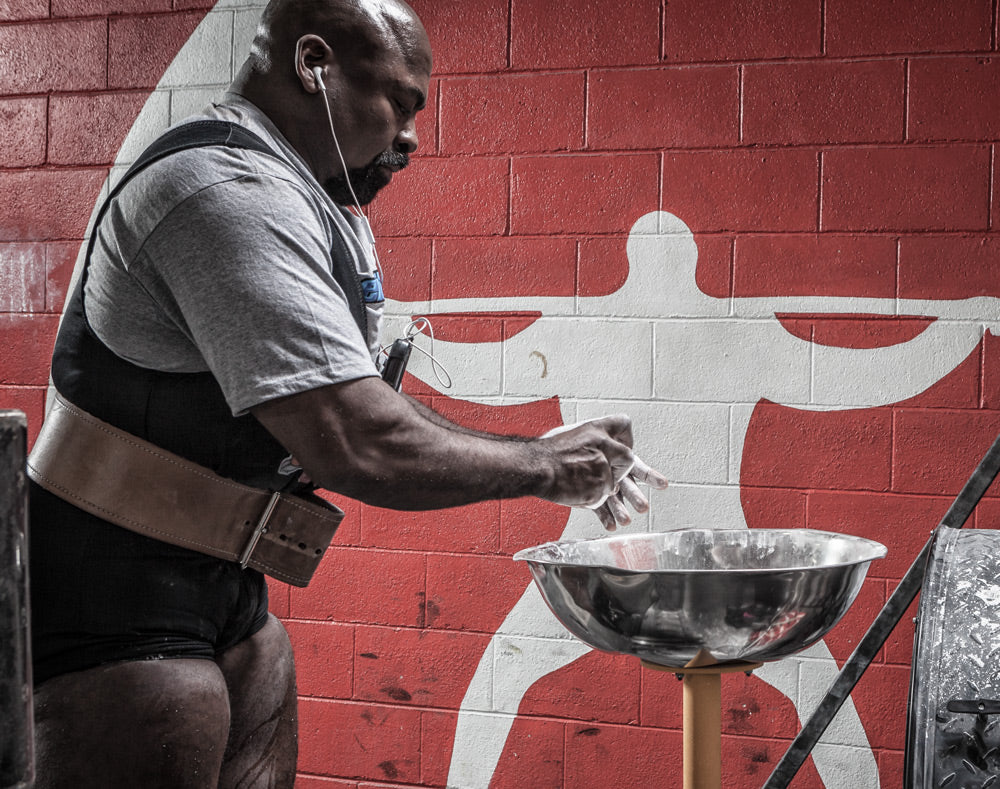
Taking History: Gathering comprehensive data on symptoms and duration. In Dave Tate’s case, this included 24 years of pain and a 2004 MRI showing severe glenohumeral joint decay.
-
Mapping Sensations: Distinguishing the quality of pain. Deep, internal aches typically indicate degeneration of the joint capsule or cartilage. Conversely, sharp, "knife-like," or electrical sensations suggest nerve entrapment or adhesions.
- Range of Motion (ROM) Testing: Utilizing objective tools (such as level-apps) to identify "provocative positions" (e.g., external rotation) that trigger the 0–10 pain scale and define the patient's mechanical limits.
When a primary joint reaches its mechanical failure point, the body initiates a "learning narrative" of pain, where the CNS recruits secondary tissues like the traps and neck to protect the failing structure.
Compensatory Patterns and Referral Pain
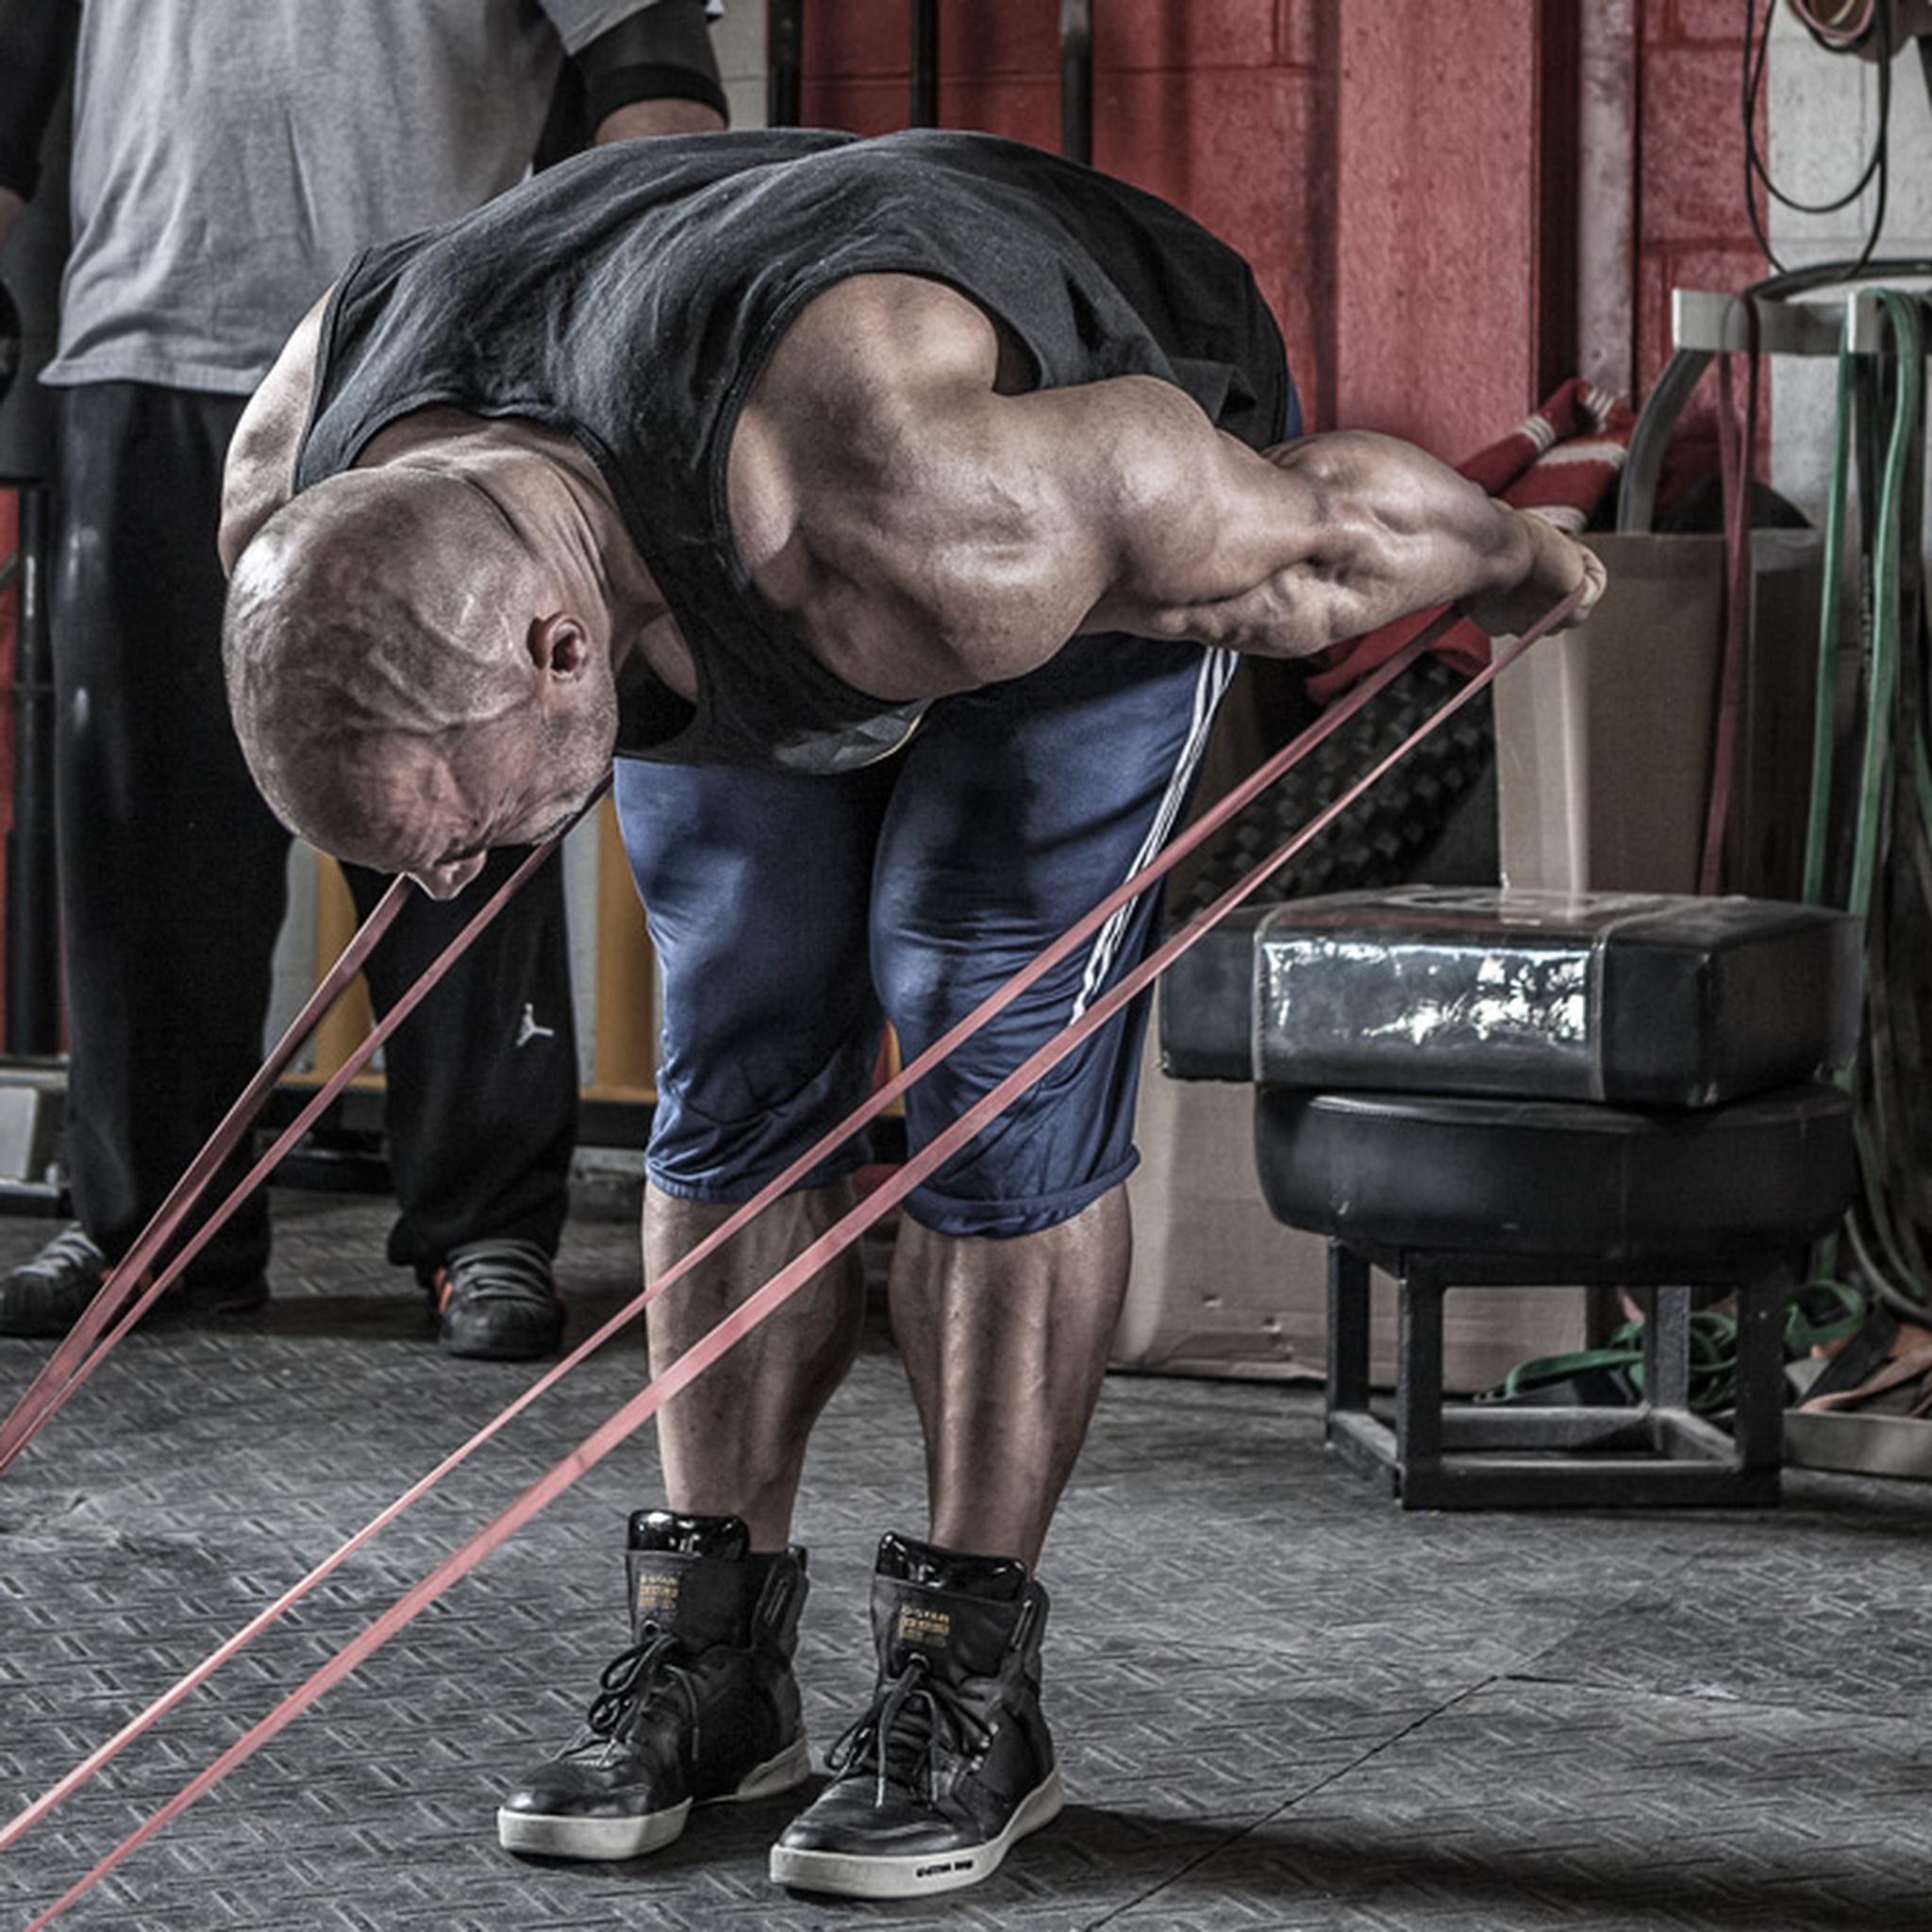
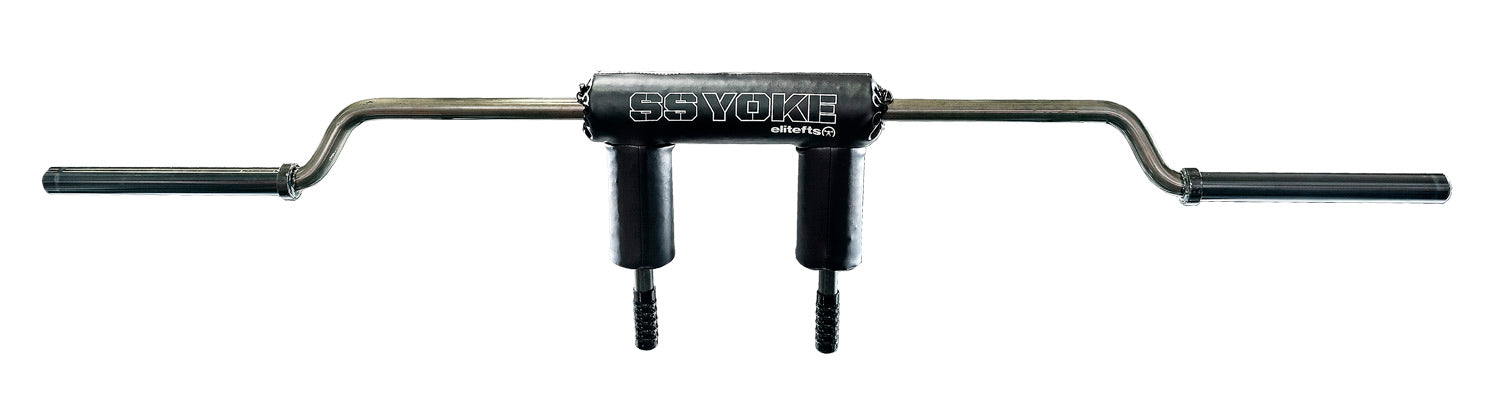
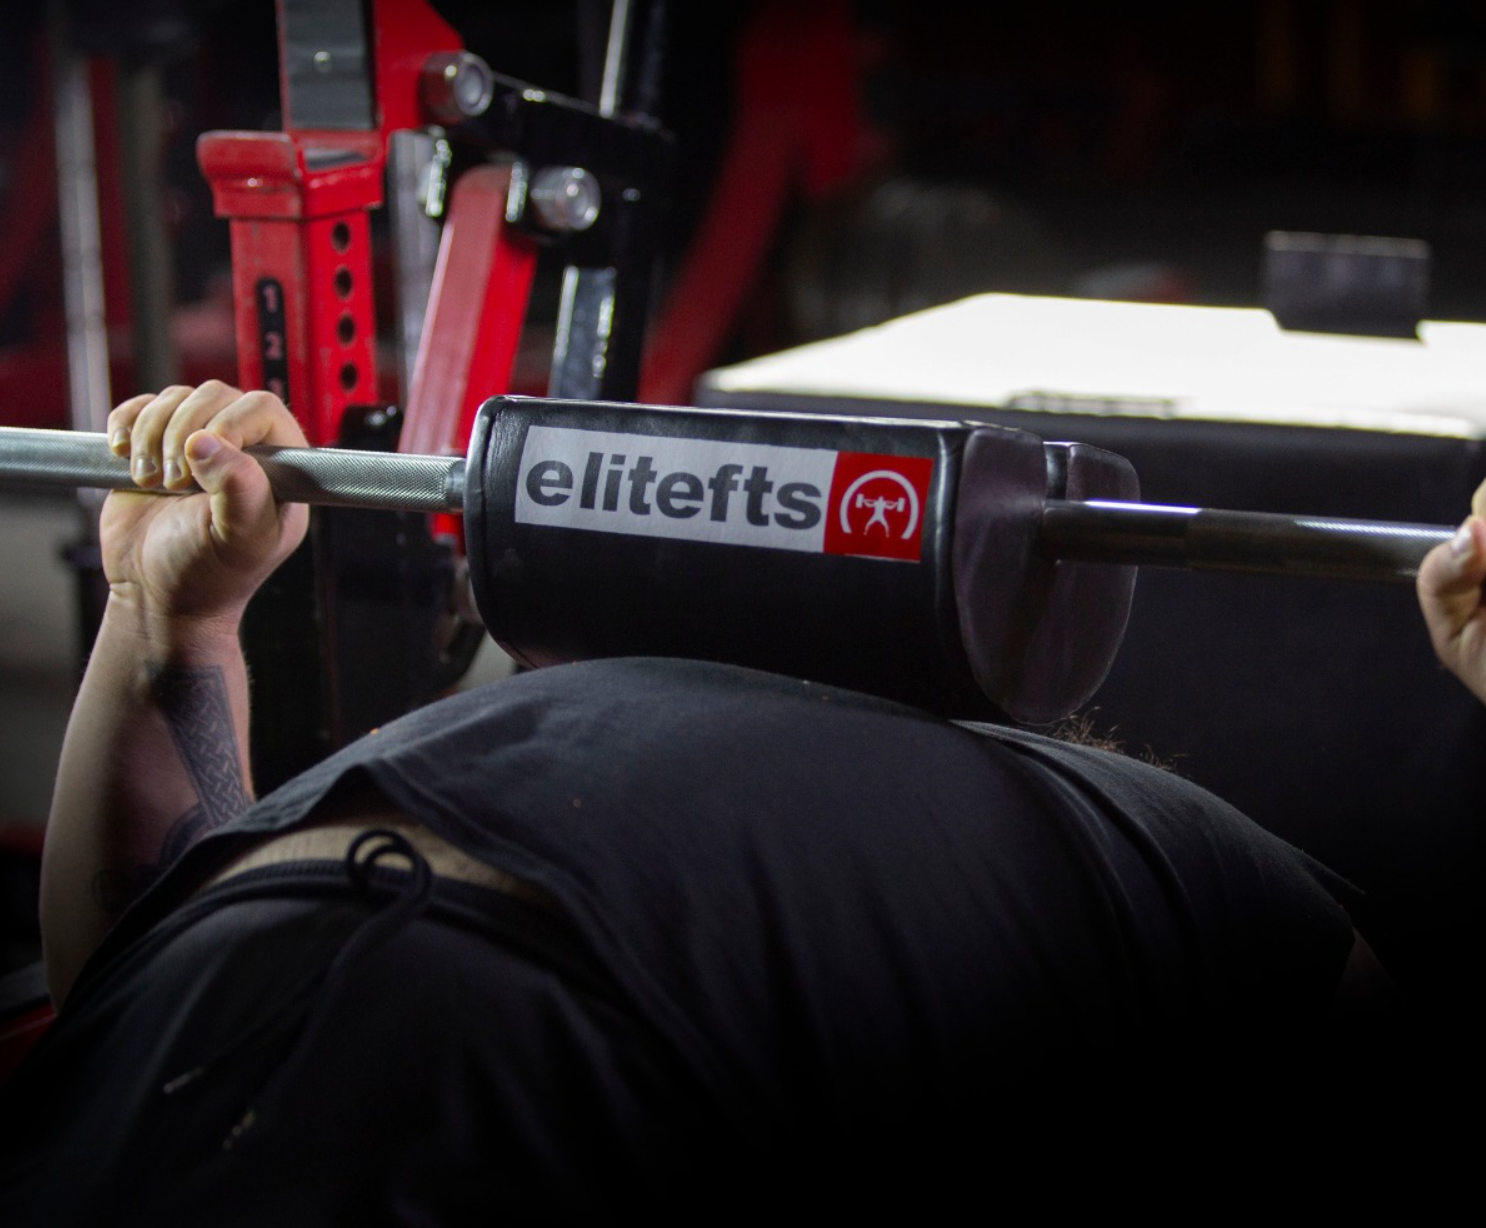
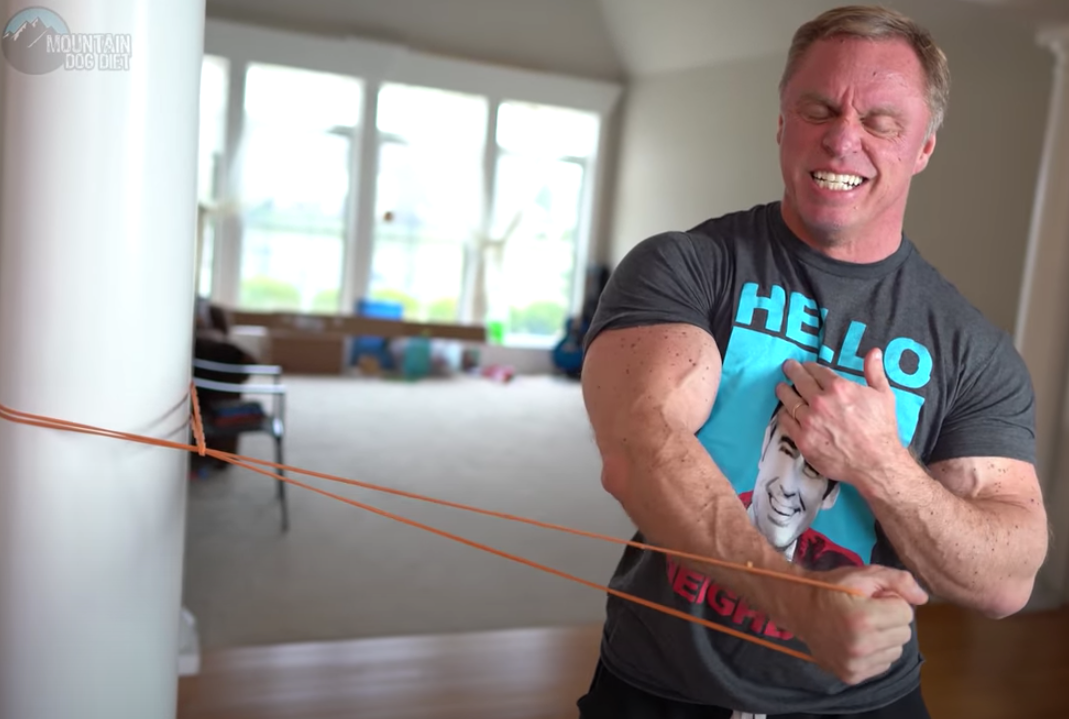
When the primary joint—such as the glenohumeral joint—cannot stabilize, a chain reaction of compensation occurs. Static positions, like typing at a desk that is too high, or specific training triggers can "light up" the subscapularis and the neurovascular sleeve, leading to pain referral upward into the cervical region.
"If I'm working for an extended period of time... it will start to really dig into the trap there... then it lights up my neck and the whole side of my head... then it’s a migraine." — Dave Tate on shoulder-to-neck referral.
These referral patterns are frequently driven by adhesions, which Dr. Steppian notes are found around peripheral nerves 80% of the time. These "glued" tissues prevent nerves, such as the lesser occipital nerve, from sliding freely, allowing symptoms to travel from the shoulder into the skull. As these compensations are addressed, we look for objective indicators that the joint load is being effectively managed.

Indicators of Progress: Morning Symptoms and Functional Ranges
Objective progress is quantified not just by the absence of pain, but also by the tissue's behavior at rest and the restoration of objective baselines.
The Longevity Metric Pro-Tip: Minimize morning stiffness. If symptoms experienced immediately upon waking are reduced, it indicates the daily load on the joint is decreasing. Eliminating morning symptoms is the primary key to creating joint longevity 30 or 40 years down the road.
Clinicians use specific ROM tests to establish a functional baseline, rather than a linear progress report. For instance, Dave Tate’s initial intake showed:
-
16% Function (Cervical Retraction): Only 4 degrees of movement, indicating severe neurological or mechanical restriction.
- 55% Function (Cervical Flexion): 33 degrees of movement, providing a comparative data point for identifying where the "handcuff" resides.
Achieving improvements in these baselines requires the patient to adopt stability techniques that offload the secondary compensators.
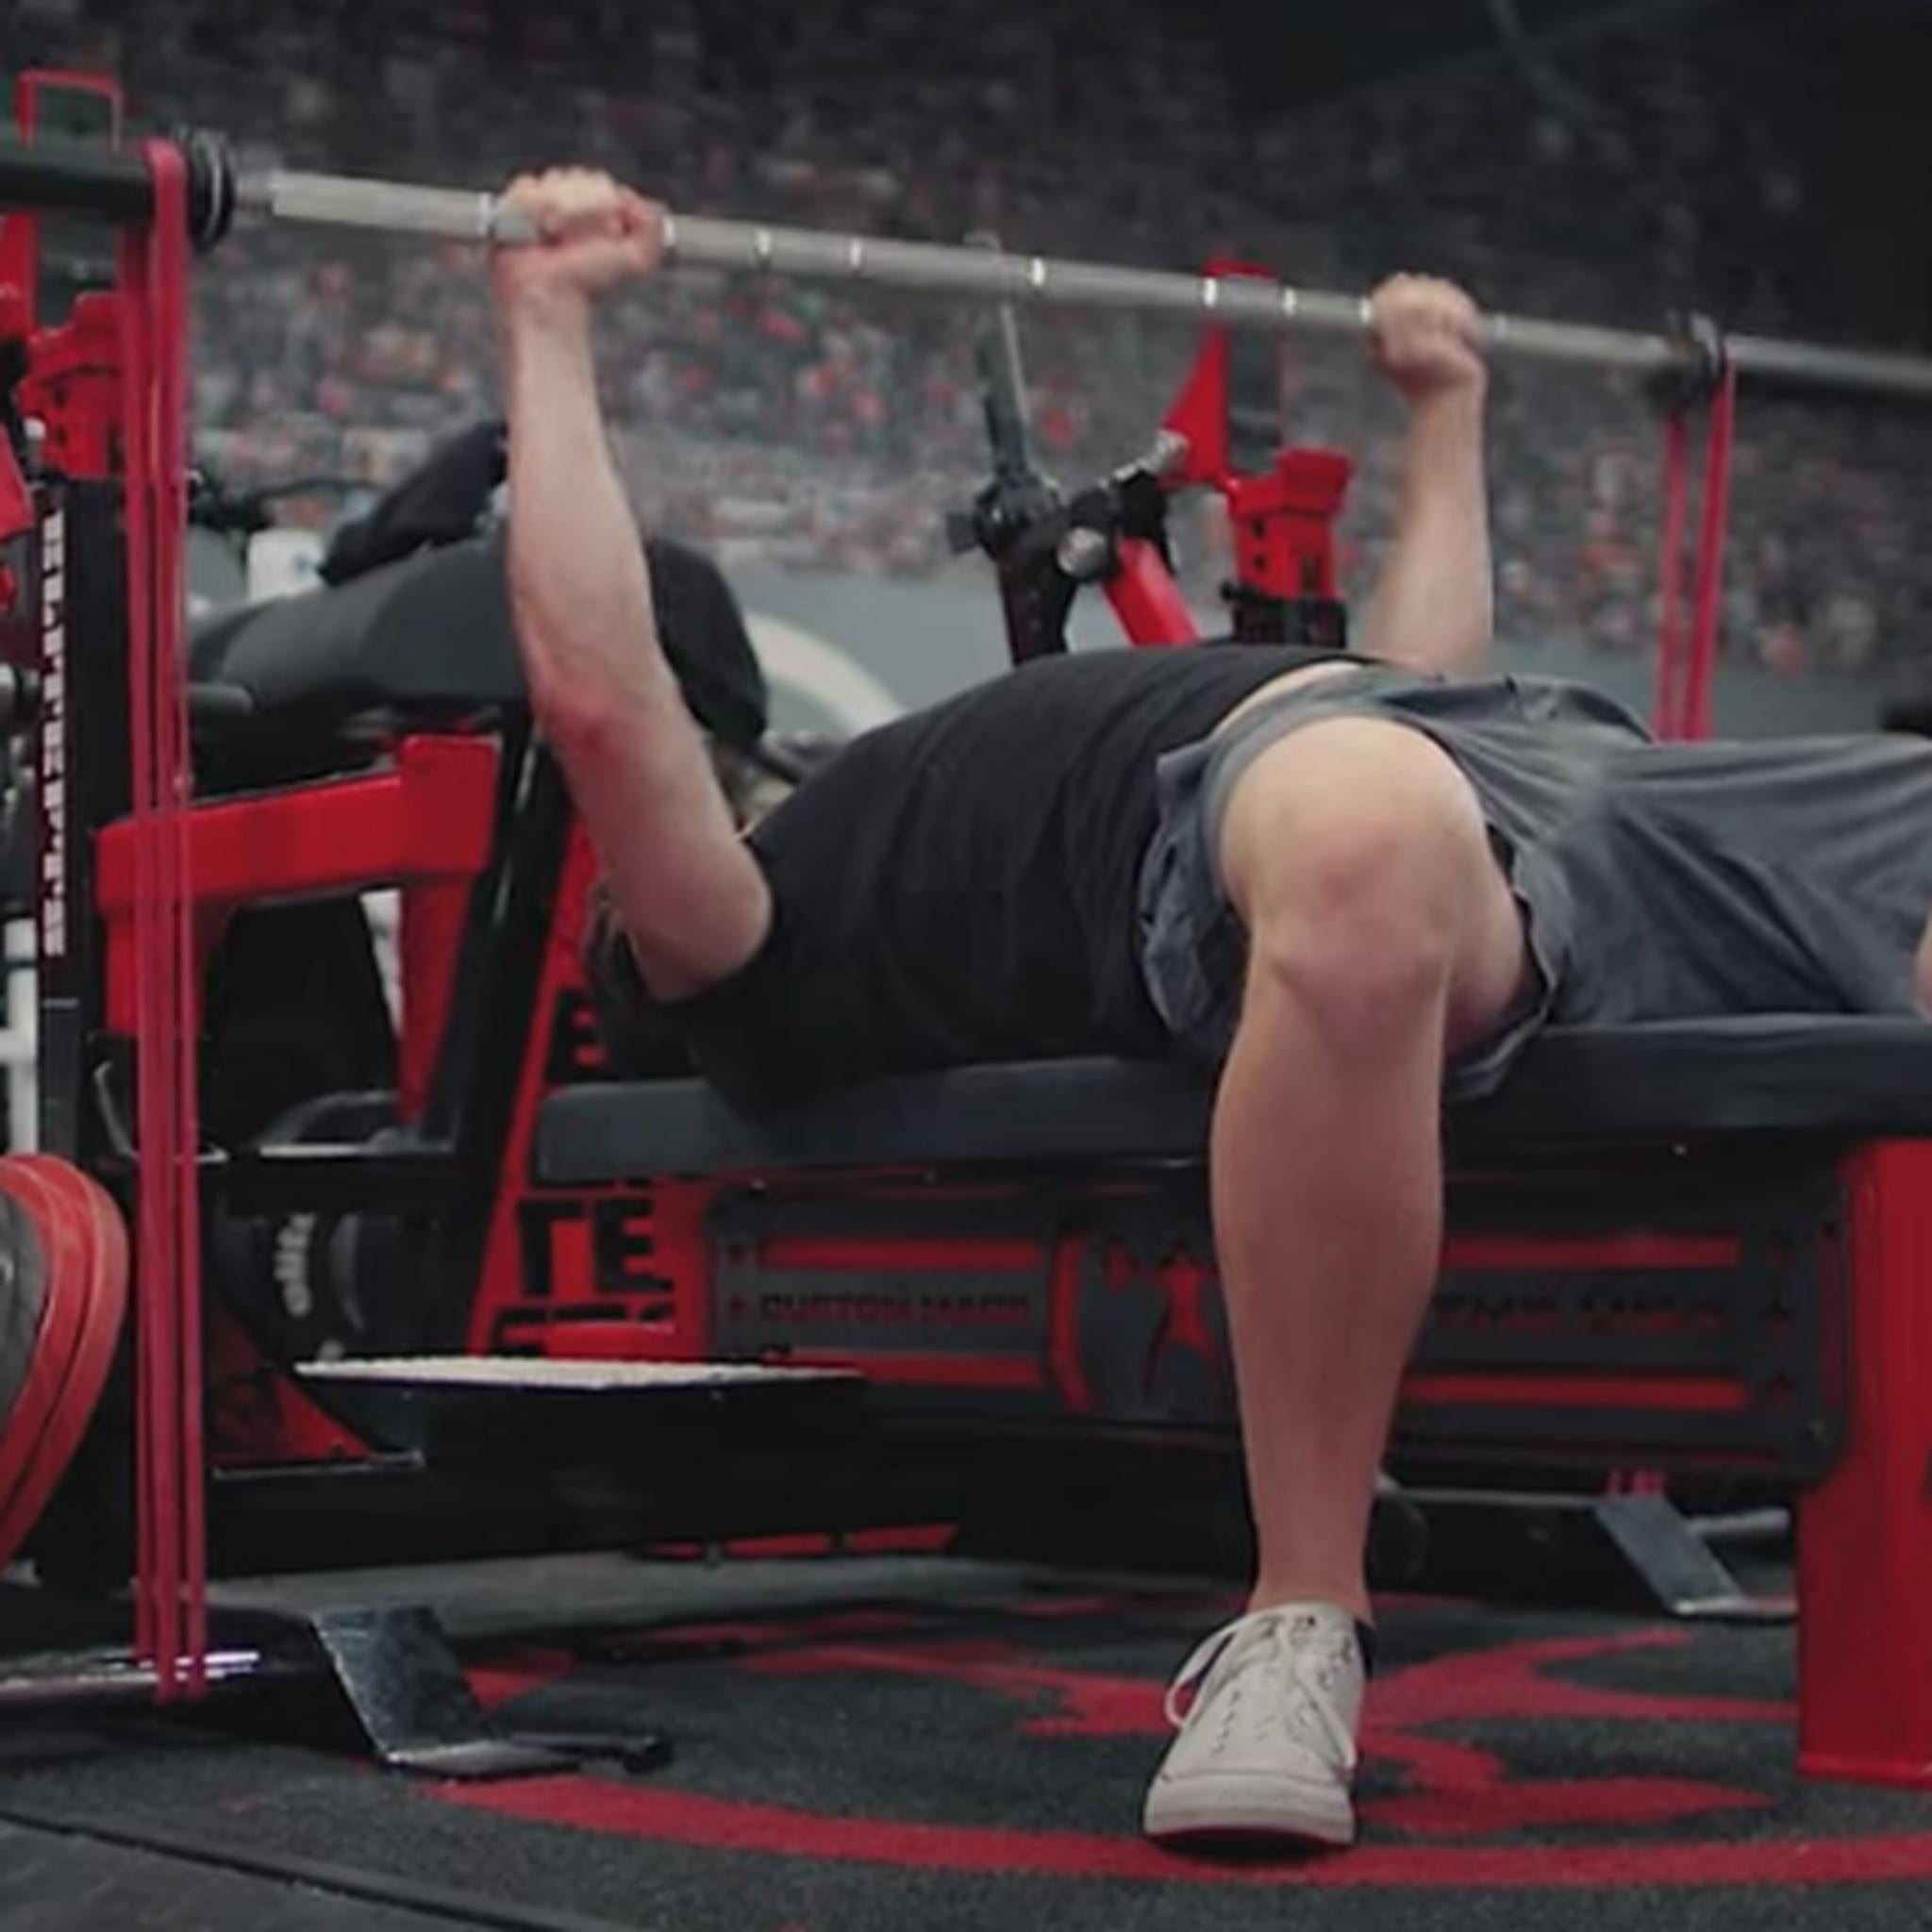
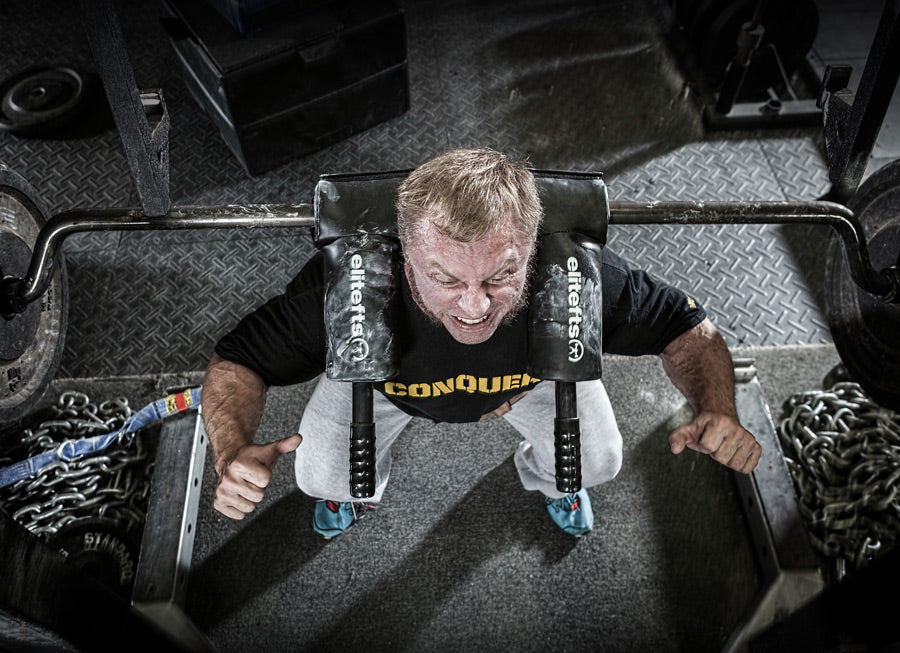
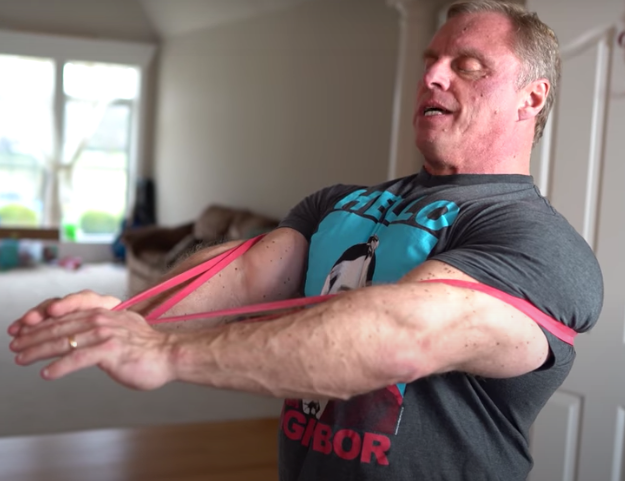
Practical Application: The "Canister" and Neutral Spine
To reintroduce load safely, the patient must establish a "neutral spine" through the Canister position. This stabilizes the trunk and thoracolumbar (TL) junction, allowing the shoulder to move without recruiting the neck or traps.
The "Canister" Position Checklist:
- Face: Parallel to the ceiling (supine) or ground.
- Scapula: "Wing bones" tucked down the back (retraction).
- Breathing: Diaphragmatic; in through the nose, out through "pencil" lips to engage the diaphragm.
- TL Area: Thoracolumbar junction pushed flat into the floor/table.
- Pelvic Floor: Lower pelvic floor contraction (Kegel).
- Glutes: Lightly engaged to lock the pelvis into a neutral position.
So What? Even when faced with "severe" structural degeneration—such as the labrum and cartilage decay seen in Dave Tate's 2004 MRI—there is a functional "work-around." By systematically removing adhesions from peripheral nerves and using the Canister to manage load, patients can restore capacity and significantly reduce the need for invasive surgeries like shoulder replacements. Management, not just "fixing," is the path to long-term performance.