
Here's a scenario most lifters know.
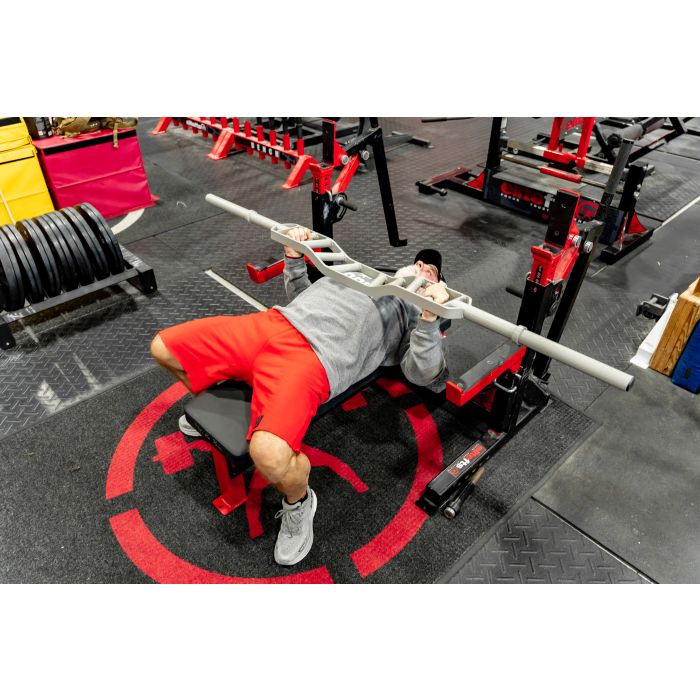
You've been in serious strength training long enough to understand the value of a dragging sled. You know what it does for your GPP. You know it builds the engine that keeps your barbell work from falling apart in the second half of a heavy session. You know backward drags are one of the few ways to get real quad volume without your knees writing you a letter the next morning.
The problem is that most gym owners would rather you not drag 35 pounds of steel across their rubber flooring or turf. And if you train in a commercial gym, that conversation ends before it starts.
So the sled stays outside. Or it stays in the corner because it's seasonal. Or you skip it altogether and wonder why your conditioning never seems to catch up to your strength. That's where most people live.
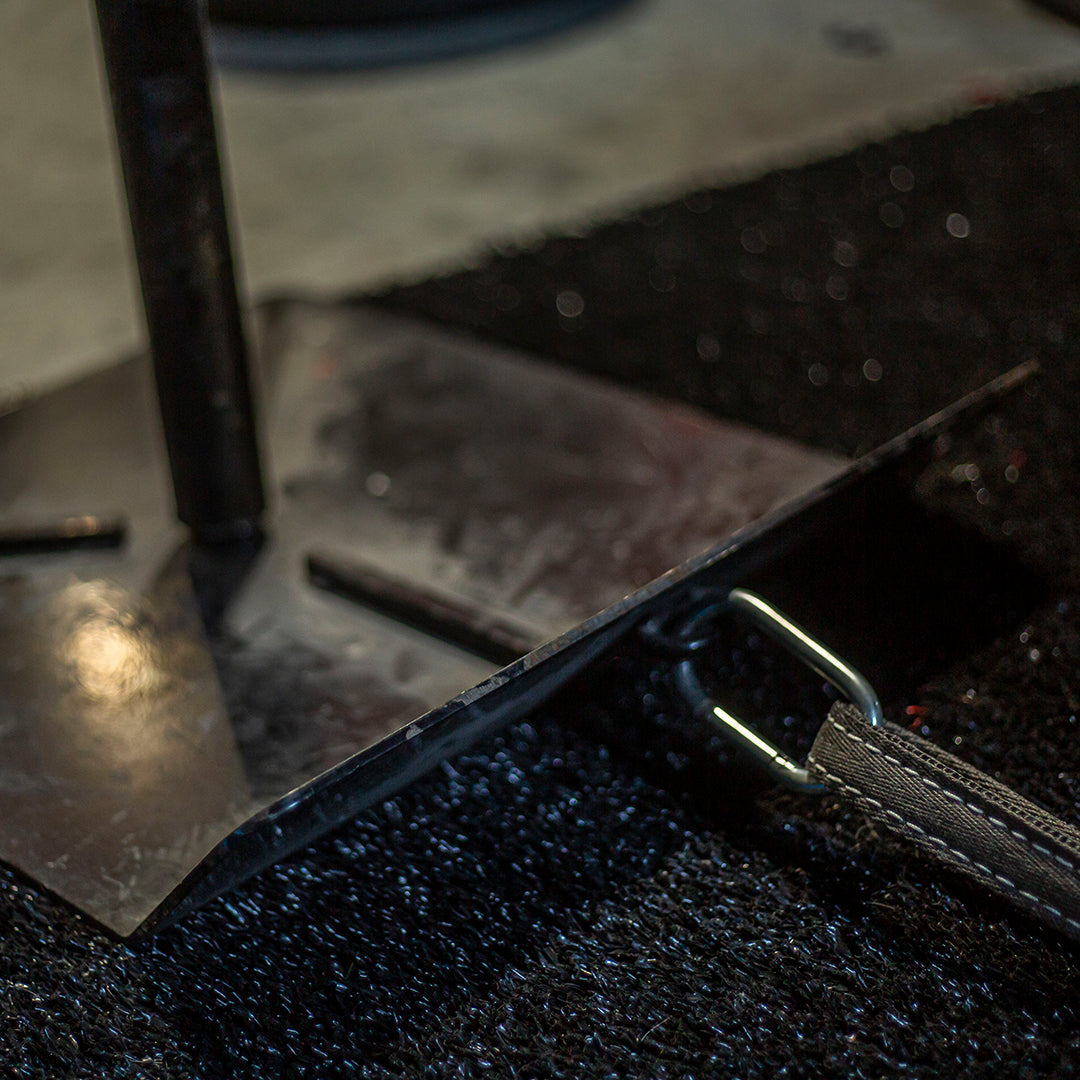
Now, picture a different version of that same situation. You load plates onto a compact sled designed specifically for indoor use, clip in the strap, and start moving. No metal on the floor. No gym politics. Turf, carpet, rubber — it doesn't matter. You're getting the work done year-round, in any season, in any facility that will let you in the door.
That's what the Indoor Sled makes possible.
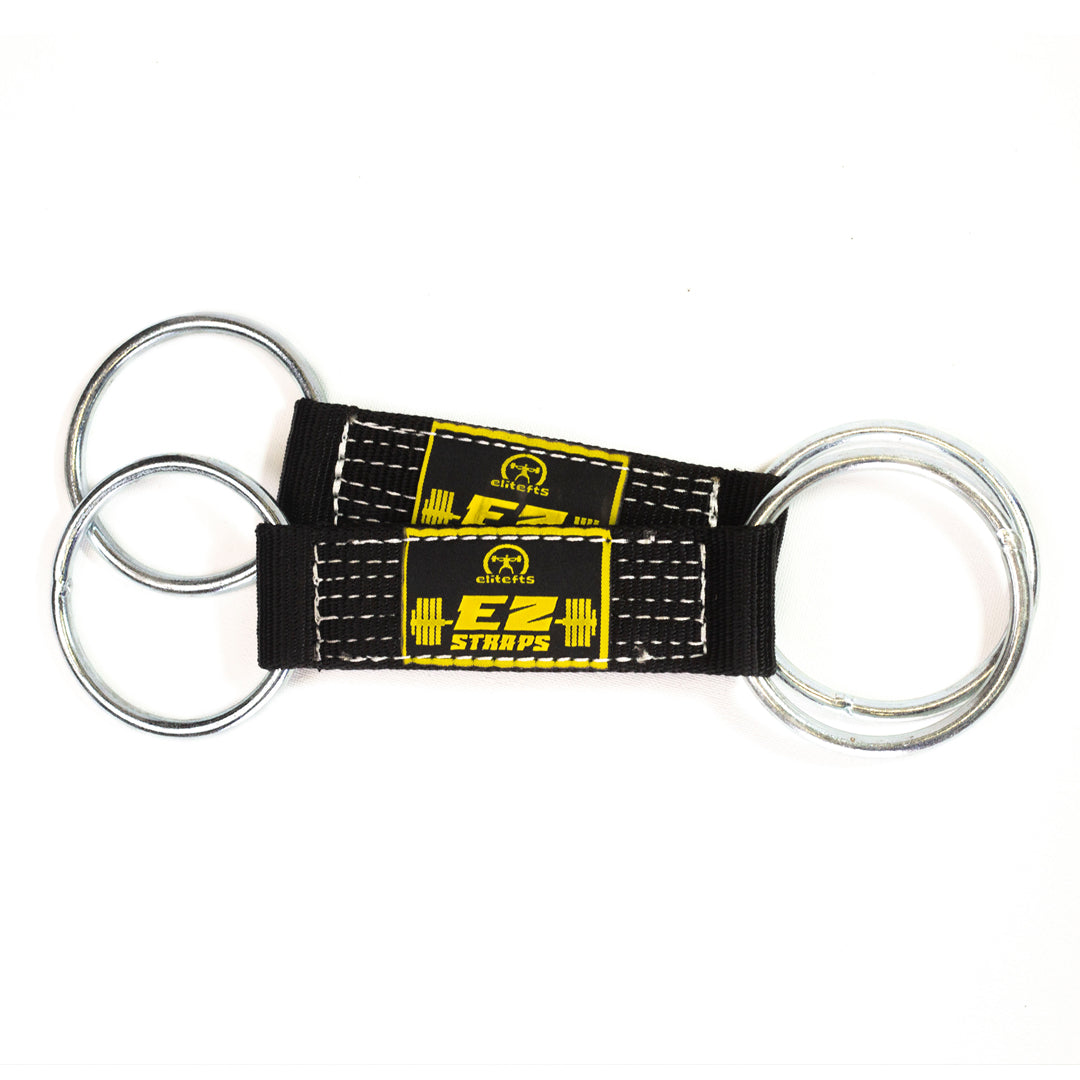
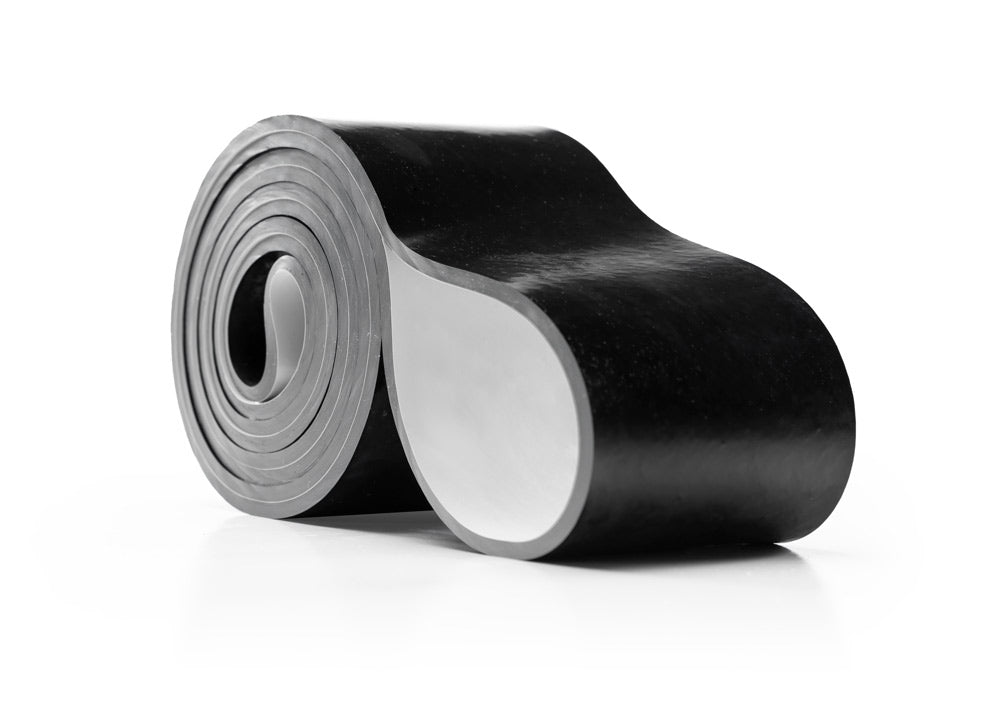
The elitefts Indoor Sled with Strap is designed for exactly this. It loads plates on top, runs on indoor surfaces, and includes a 95.5-inch strap for forward and backward drags. At $89.97 it's one of the most direct investments you can make in your conditioning without buying a machine or committing a corner of your gym to a piece of equipment that only gets used half the year.
This article covers every use case worth knowing. Not marketing copy. Real training applications with real protocols.
Why Sled Dragging Belongs in Every Serious Training Program
Before we get into the specific applications for the Indoor Sled, let's get aligned on what dragging a sled actually does for you.
Sled work is one of the few conditioning methods that builds your engine, strengthens your posterior chain, and helps you recover without beating up your joints. There's no eccentric loading. Your muscles contract concentrically with every step. That means less soreness, faster recovery, and the ability to do this work frequently without the accumulation that kills most other conditioning methods.
For powerlifters and strength athletes, the sled is GPP done right. It builds the base that lets you handle more volume in training. It keeps your bodyweight in check without adding impact. And when used correctly, it speeds recovery between sessions instead of adding to the fatigue debt.
The biggest mistake people make with the sled is loading it too heavy. If you're sore from sled work, you're training with it, not conditioning with it. That distinction matters. The load should be light enough that you can drag it for a time without it affecting your strength training. If your squat is going backward, check the sled first.
Start light. Stay light longer than you think you should. Add weight slowly. The results are cumulative, and they show up in how you feel under the bar, not in how hard the sled session felt.
What the Indoor Sled Solves That a Metal Sled Can't
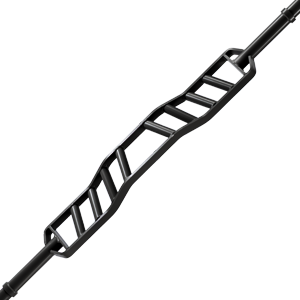
The traditional dragging sled is a steel plate with a post and a strap. It's durable, it holds a lot of weight, and it slides well on grass, concrete, asphalt, and packed surfaces. It does not belong on a gym's rubber flooring or artificial turf in most facilities.
The elitefts Indoor Sled is built differently. The design moves on indoor surfaces without the abrasion and resistance that metal creates on rubber or turf. You get the same movement pattern, the same muscle demand, the same conditioning effect. The floor survives.
The other practical problem is storage and setup. A traditional metal sled is 35 pounds of steel with a plate post. It takes up real estate and takes effort to move. The Indoor Sled is compact, loads fast, and doesn't require you to factor gym logistics into your decision to use it. Load it and go.
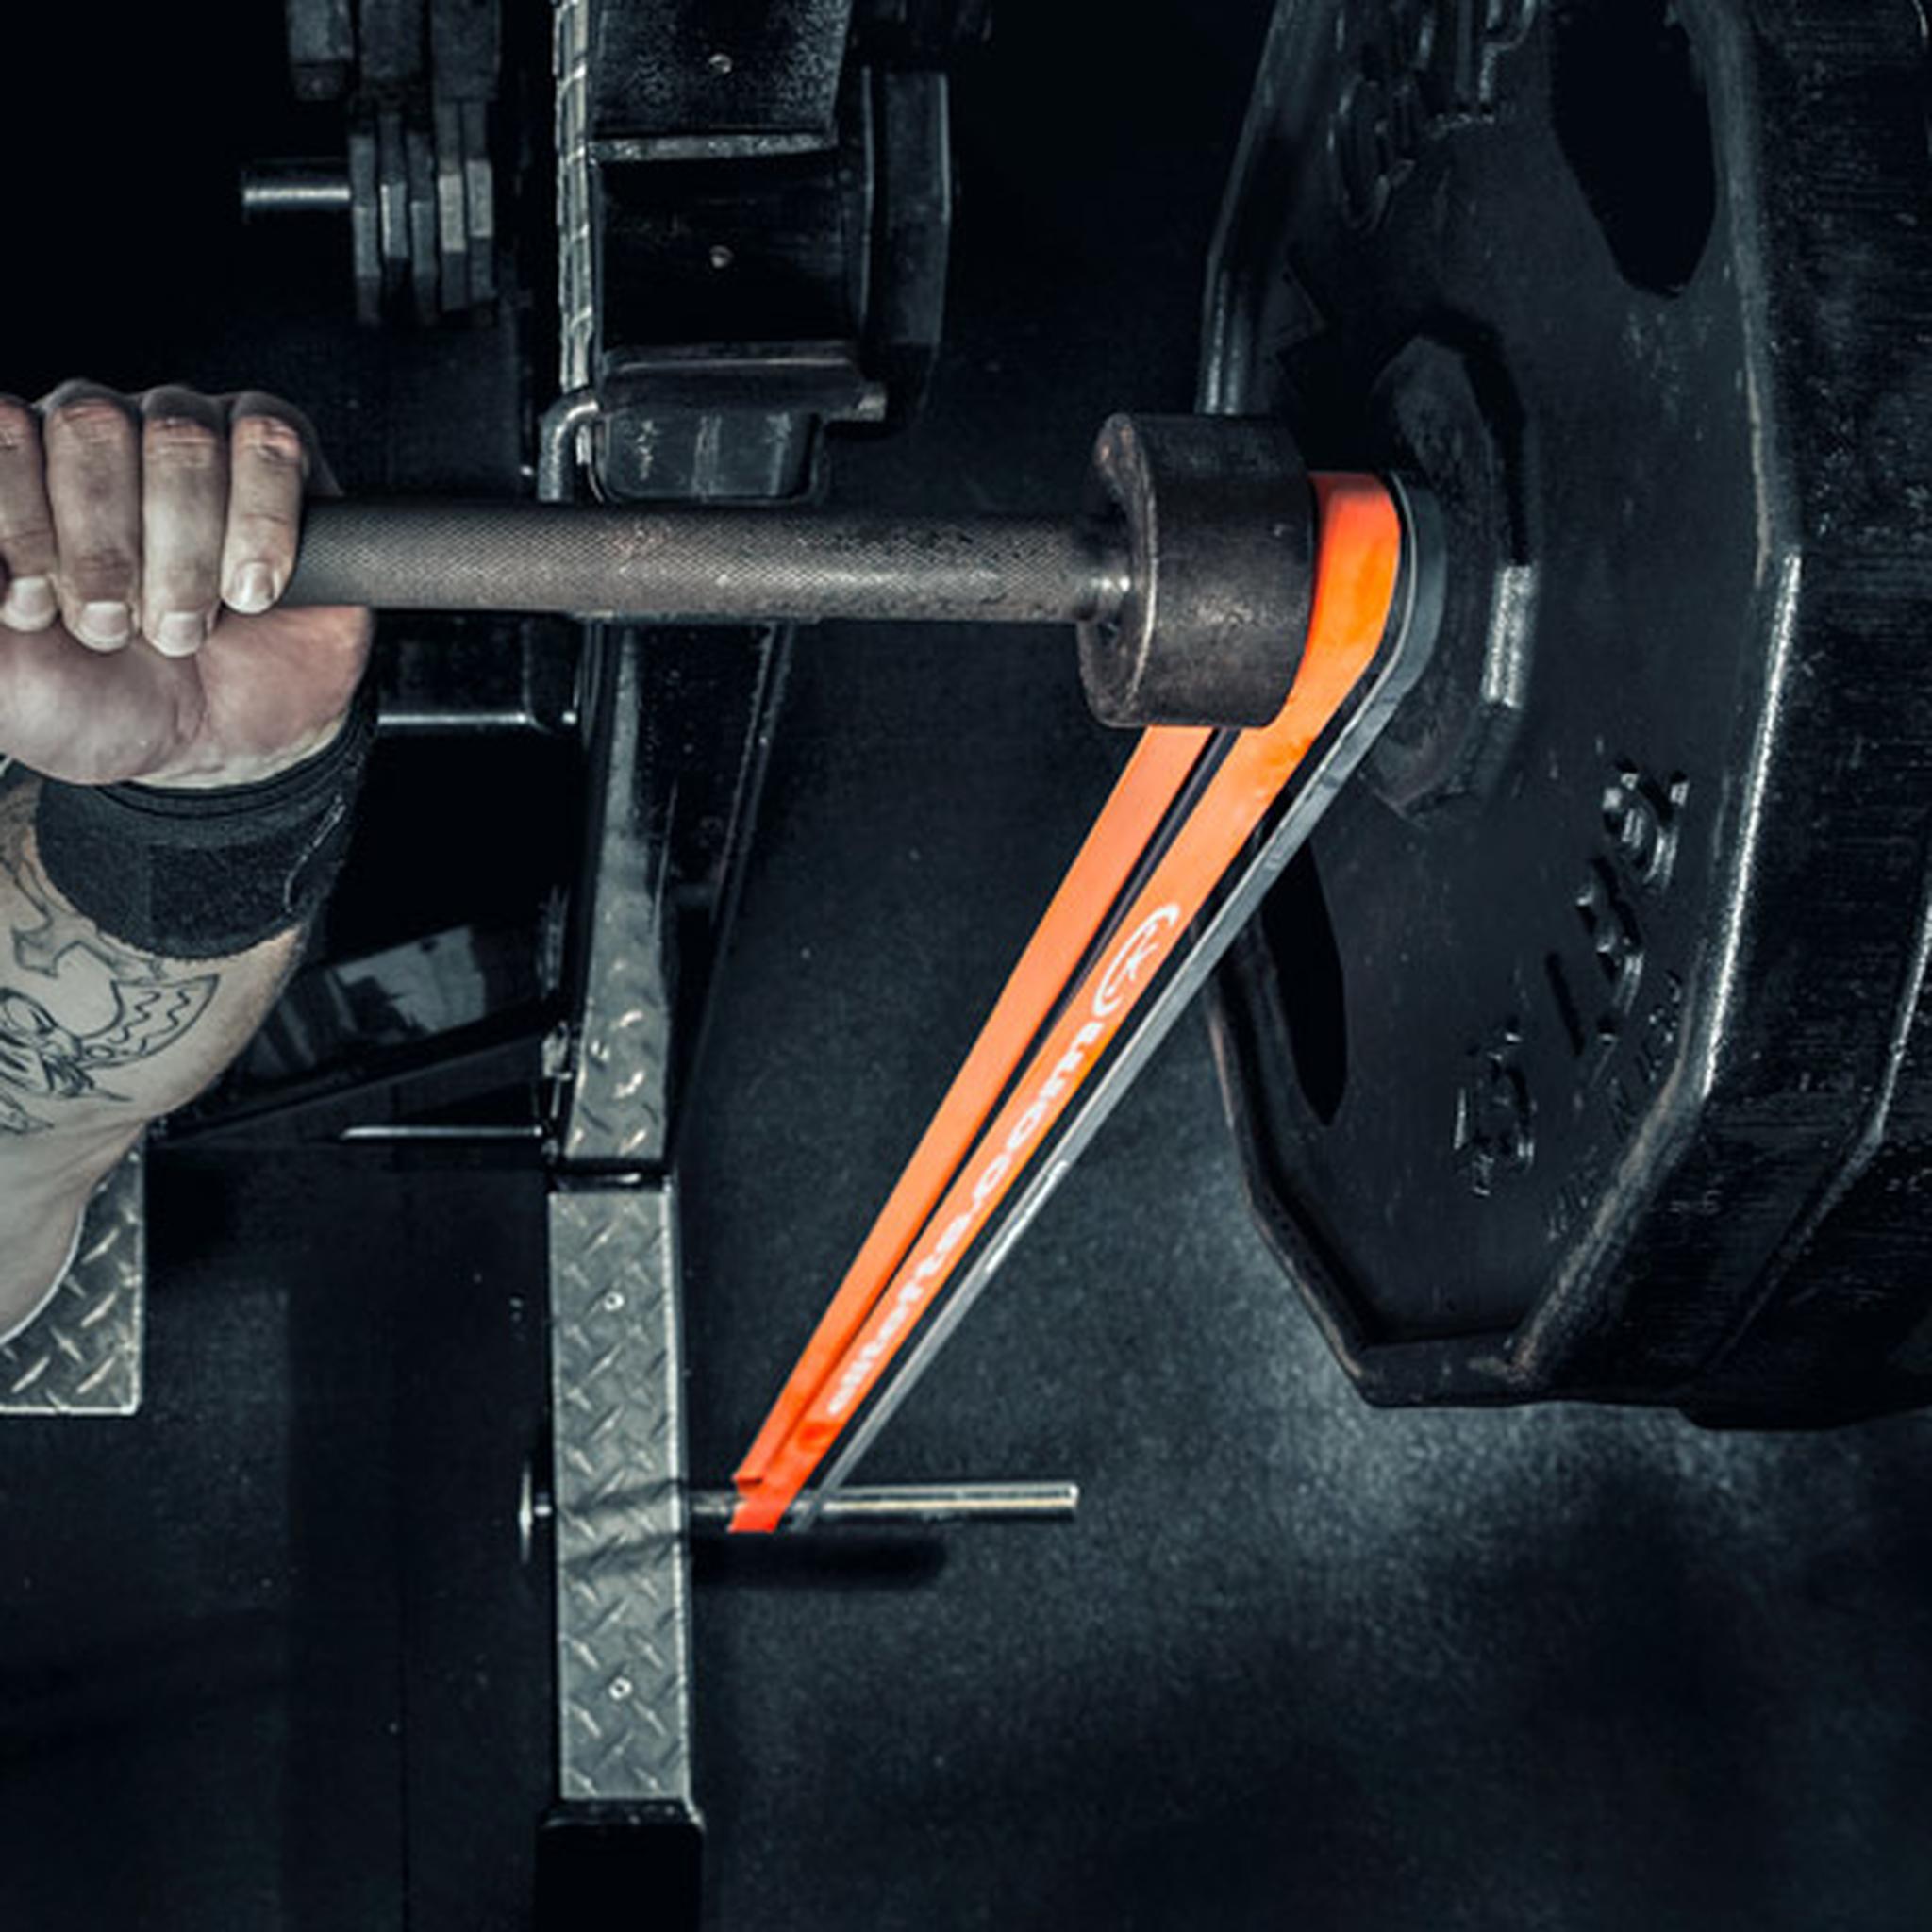
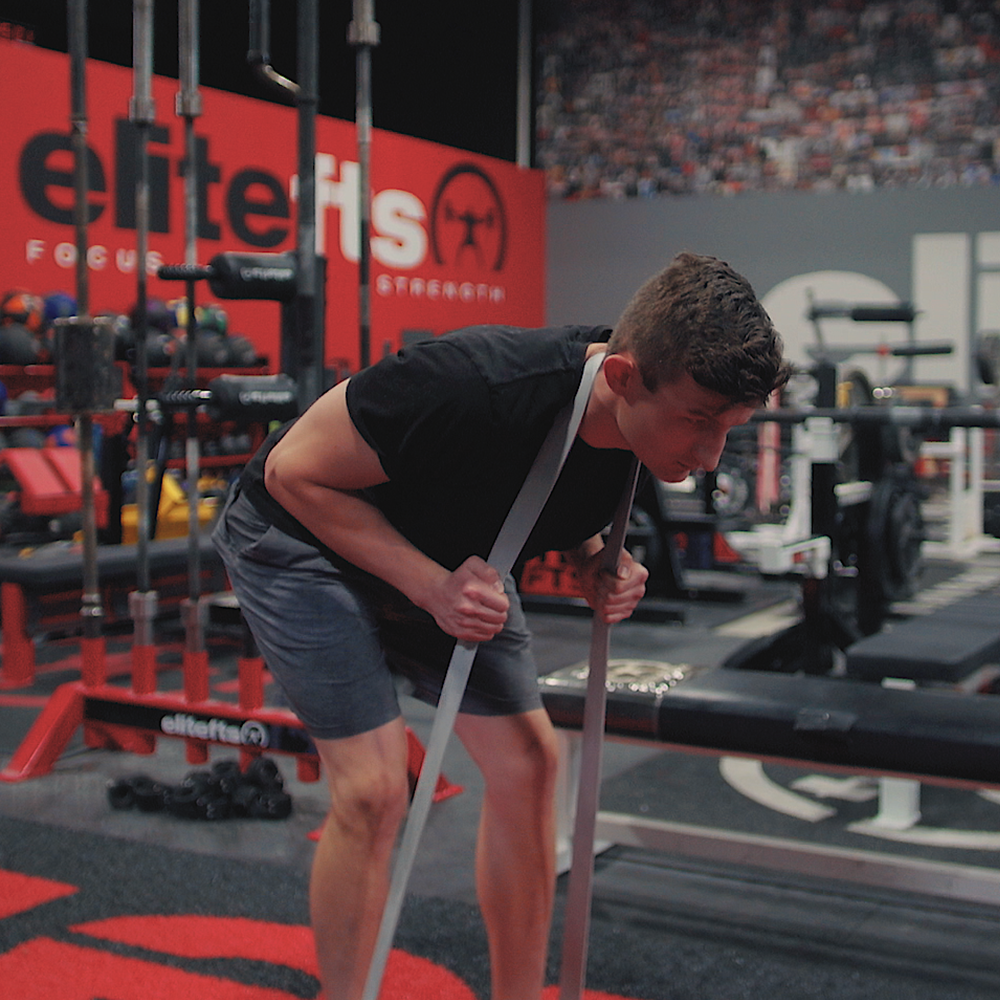
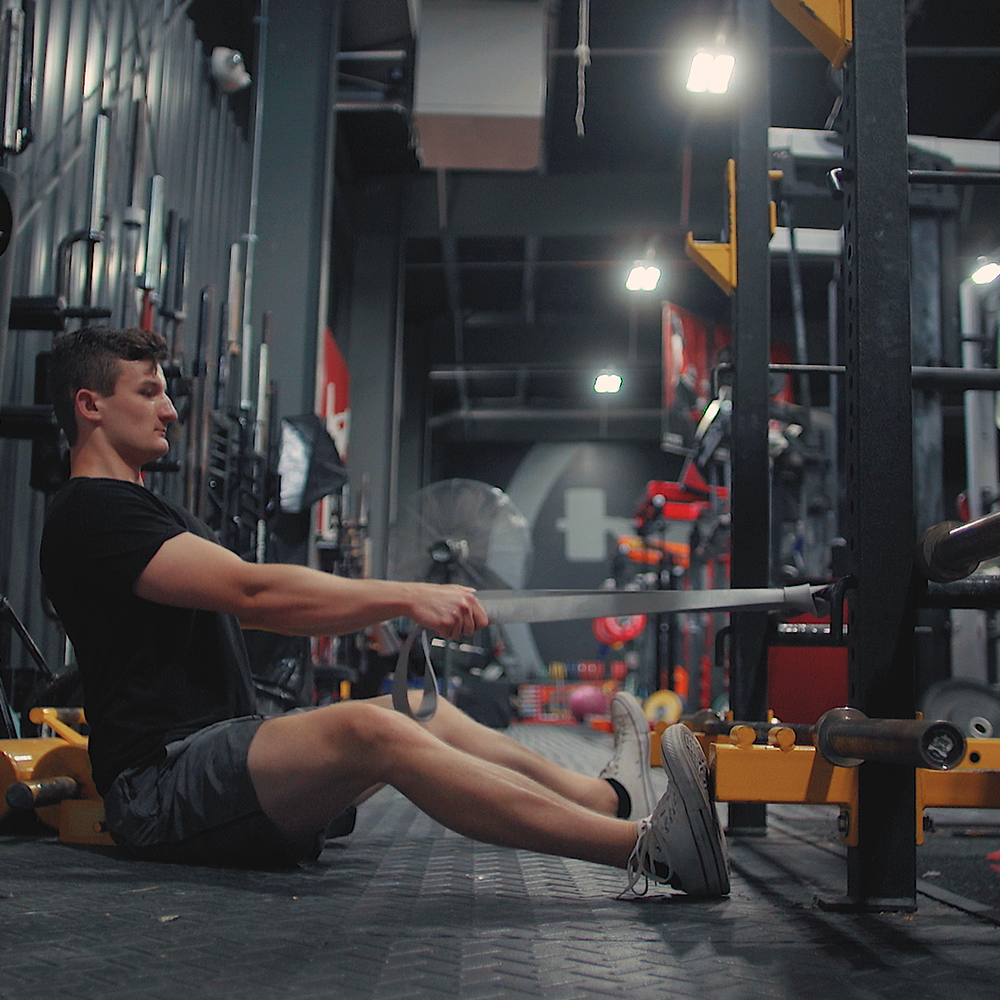
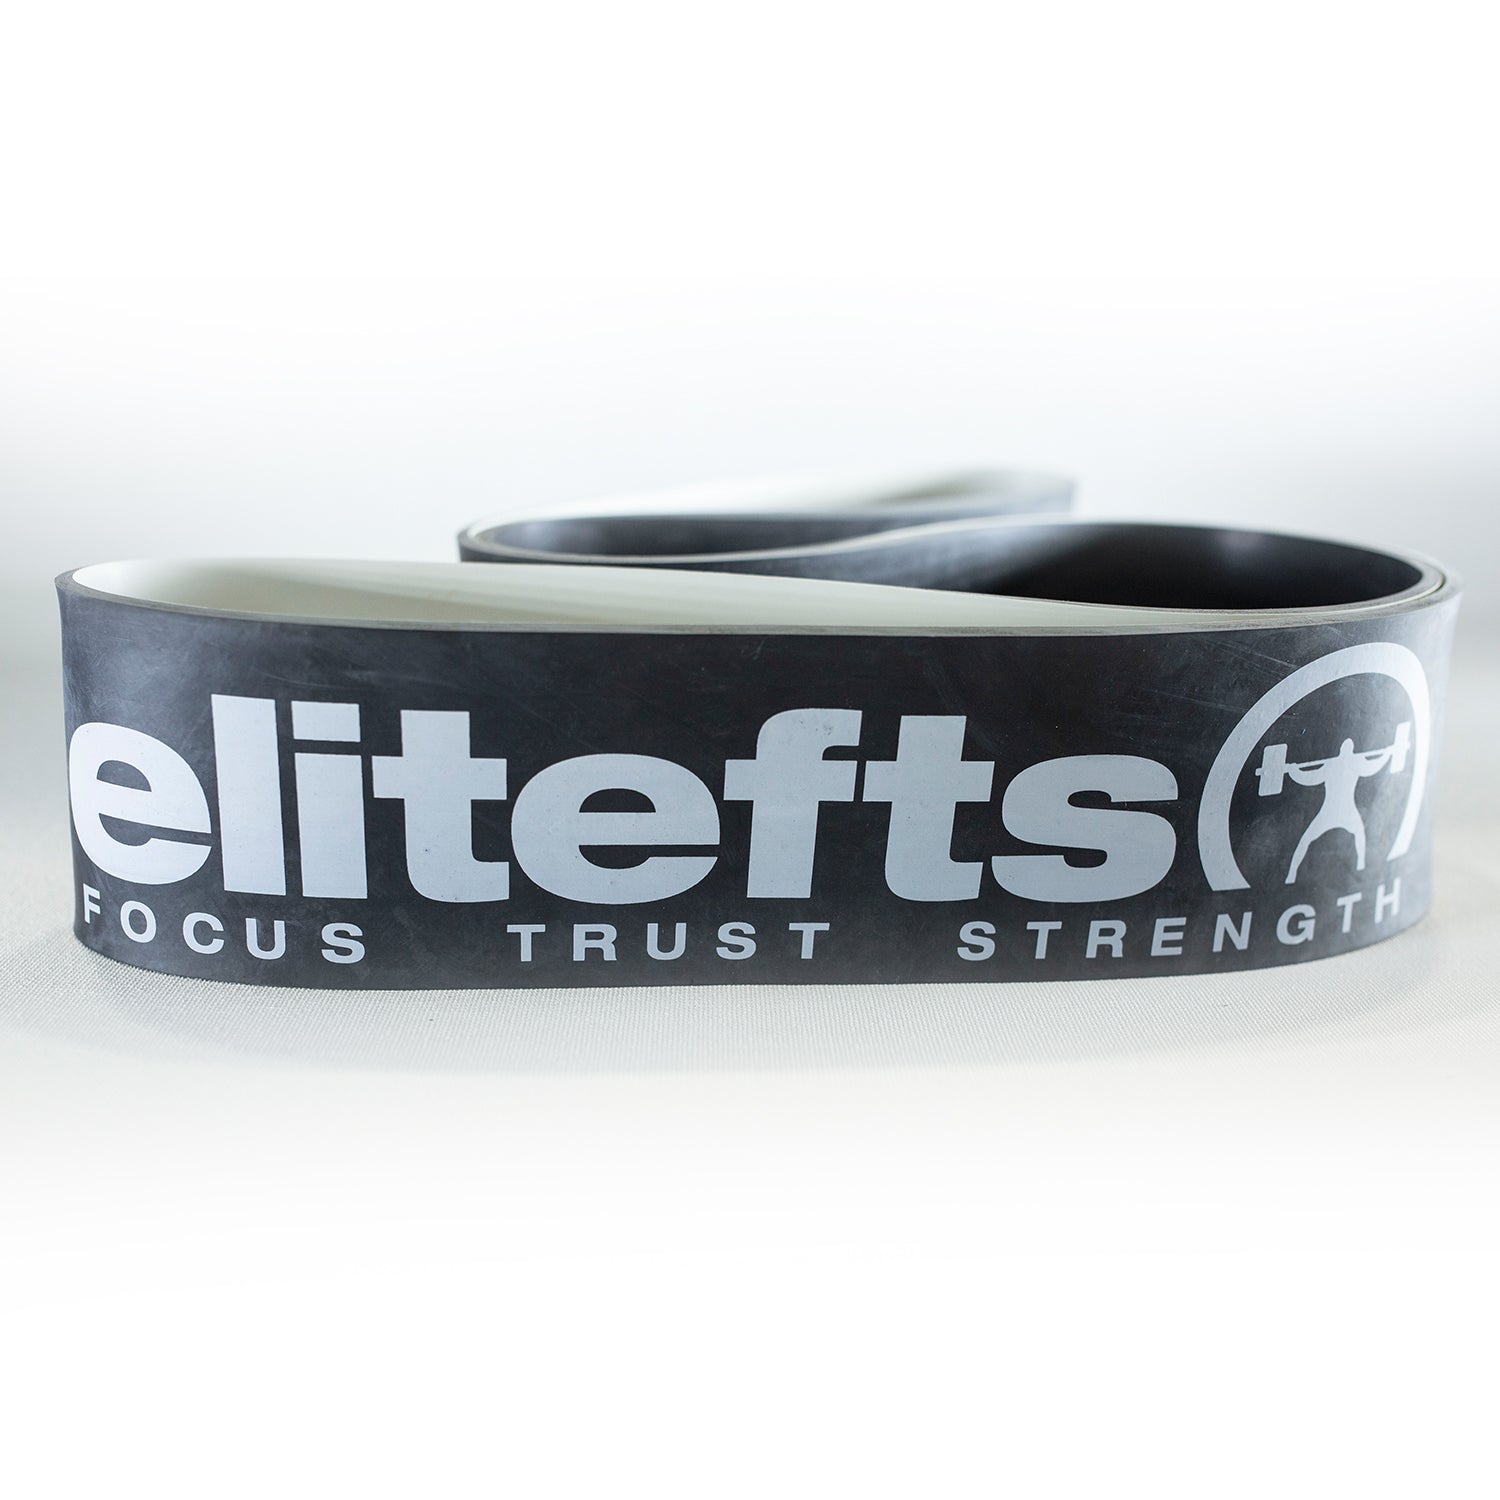
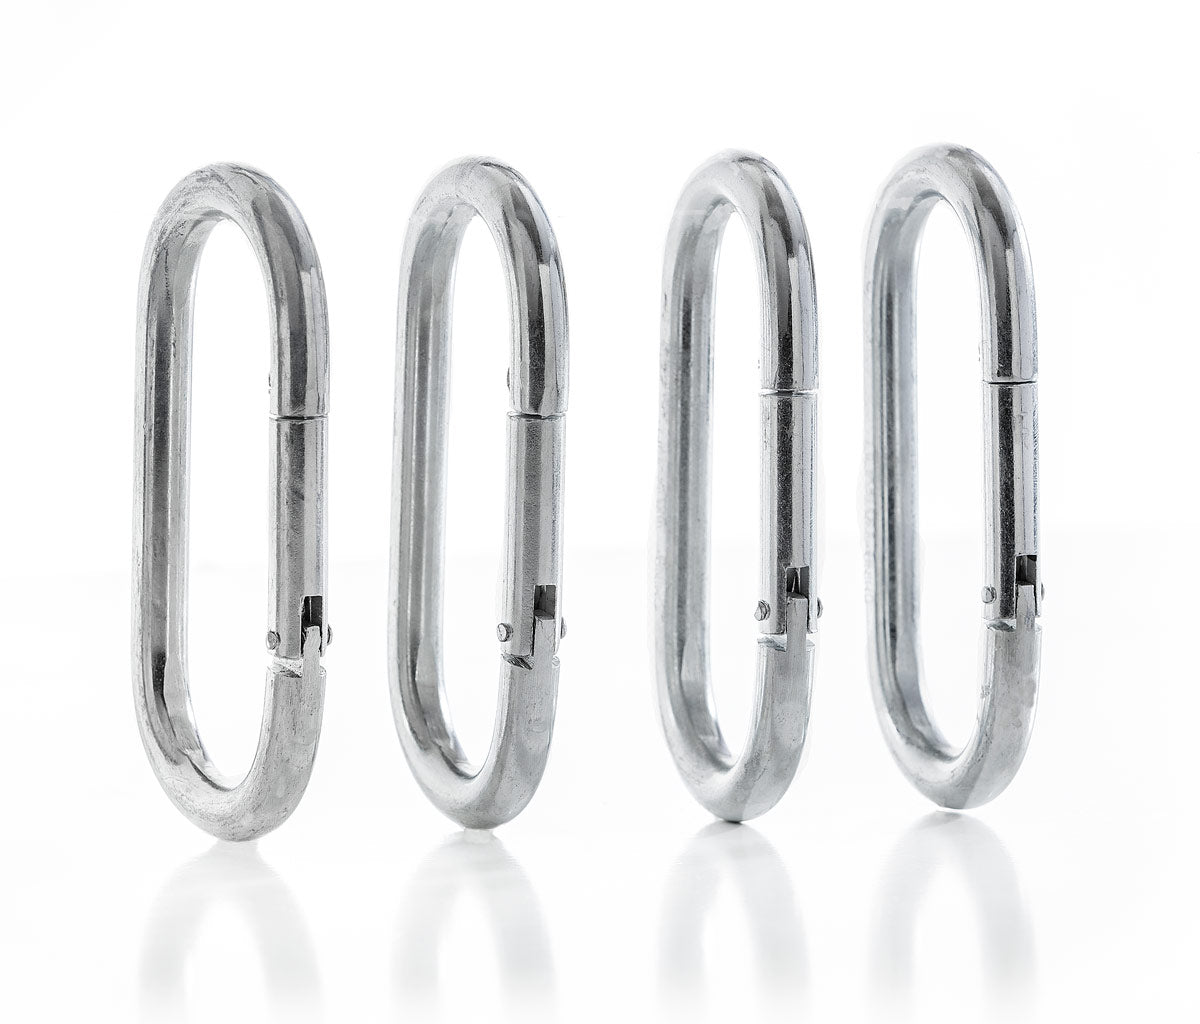
The 95.5-inch strap gives you enough length to pull without having the sled right on top of you. You get a real range of motion on each step, which matters for hamstring engagement on forward drags and quad loading on backward drags. Short straps cut that off and reduce the effectiveness of the movement.
Use Case 1: GPP Warm-Up Before Your Main Training Session
This is where the Indoor Sled earns its keep week after week.
Before any lower-body session, you want your hips, hamstrings, glutes, and quads ready to handle real weight. The barbell warm-up alone doesn't always do it. Sled dragging does. It gets blood into the tissue, activates the posterior chain, and reinforces the hip drive patterns you need under a heavy squat or deadlift.
The warm-up protocol is straightforward. Light load, six trips of whatever distance your space allows, split between forward and backward dragging. Thirty seconds rest between trips. You're not getting a workout here. You're preparing your body to get a workout. There's a difference, and blurring that line by adding too much weight is how people end up with sled drags that fight their training instead of supporting it.
The same approach works before upper body training days if you have any lingering hip or lower back tightness. Walking with a light load, even just forward dragging, creates enough movement and blood flow to change how the rest of the session feels.
GPP Warm-Up Protocol
Load: 25-45 lbs, depending on current conditioning
Volume: 6 trips — 3 forward, 3 backward
Distance: Whatever your space allows; 30-50 feet works in most facilities
Rest: 30 seconds between trips
Timing: Done before your main session, not counted as part of your training volume

Use Case 2: Time-Based Conditioning Work
If your goal is to build the engine, work for time, not rounds.
The reason is simple. Not everyone has the same space. Working for time levels the field. Ten minutes of steady dragging at a brisk pace is ten minutes whether you're in a 10,000 square foot training facility or a 400 square foot garage. The distance you cover changes. The dose doesn't.
Start with 45 lbs and 10 minutes. If you can get through 10 minutes without stopping and you're not sore two days later, add a few minutes the next session. The progression is slow by design. The sled is more demanding than it looks, and it catches people who underestimate it every time.
The target most serious lifters work toward is 15-20 minutes of continuous dragging at a brisk pace with a meaningful load. Getting there takes months, not weeks. The lifters who try to rush it end up sore, then back off, then wonder why they're not making progress. Steady accumulation beats aggression here.
Alternate forward and backward dragging throughout the session. Forward targets the hamstrings and glutes. Backward shifts the load to the quads. Doing both in the same session means you're covering all the major lower body muscles with a single tool.
Time-Based Conditioning Protocol
Beginner: 25-45 lbs, 10 minutes continuous, forward and backward alternating
Intermediate: 45-90 lbs, 15 minutes continuous
Advanced: 90+ lbs, 20 minutes continuous
Frequency: 3-5 times per week, after your main session or on off days
Rule: If your lifting performance goes backward, cut the sled weight first, not the frequency
Use Case 3: Active Recovery Between Heavy Sessions
This application changed how I approached recovery, and it's the one that most lifters leave off the table entirely.
The day after a heavy squat or deadlift session, your legs are beaten up. Most people either train through it or sit around waiting for the soreness to clear. There's a third option: move blood through the tissue at a low enough intensity to help the recovery process rather than adding to the problem.
Recovery sled work is not conditioning. The load is light enough that you'd barely notice it fresh. The pace is easy. The point is movement, circulation, and keeping the body used to producing work. Fifteen minutes, very lightweight, forward and backward at a comfortable walk.
Lifters who do this consistently show up to the next session in better shape than those who either grind through or rest passively. It's not complicated, but it requires actually doing it instead of talking yourself into sitting on the couch because your legs are sore.
The Indoor Sled is perfect for this because you can do it anywhere your gym has a surface it will slide on. You don't need to go outside. You don't need to clear a path. Load it, drag it for 15 minutes, go home.
Active Recovery Protocol
Load: 25 lbs or less. If it feels like training, it's too heavy.
Duration: 12-15 minutes, easy pace
Direction: Forward and backward, whatever feels comfortable
When: The day after heavy lower body sessions, or on off days when movement helps more than rest
Test: If you're sore from the sled work, cut the weight next time
Use Case 4: Backward Drags for Knee Health and Quad Volume
This is one of the most underused applications in strength training, and for beat-up lifters, it's often the most valuable one.
Backward sled dragging loads the quads through hip extension without any knee impact. When you're walking backward, your foot contacts the ground first with the toe, creating a smooth, consistent tension on the quad throughout the movement. There's no pounding, no joint compression, no impact stress. For people whose knees have taken years of abuse from squatting, leg pressing, and general training load, this is often the only direct quad work that doesn't create problems.
The protocol is simple. Short, steady steps. Constant tension. Don't let the strap go slack between steps. The goal is sustained contraction, not explosiveness. Six to ten rounds of 20-30 yards with moderate load covers a lot of quad volume without the cost that most other quad exercises carry for high-mileage lifters.
For knee rehab and maintenance, this is one of the first things I'd program. Not as a replacement for addressing the actual problem, but as a way to build the tissue around the knee while that process is ongoing. The quad is the primary protector of the knee joint. Keeping it strong with low-impact work matters.
Backward Drag Protocol
Load: Start light — 25-45 lbs. The backward direction is harder than it looks.
Volume: 6-10 rounds of 20-30 yards
Steps: Short, steady, constant tension, no slack in the strap between steps
Pace: Controlled, not fast. Speed is not the goal.
Where it fits: As accessory lower body work, rehab support, or standalone quad work on a day when direct knee loading isn't possible
Use Case 5: Forward Drags for Posterior Chain Work
Forward dragging with a loaded sled is one of the most direct hamstring and glute exercises you can do without loading the spine. That distinction matters more as training age increases.
Most dedicated posterior chain work involves some degree of spinal loading. Romanian deadlifts, good mornings, and back extensions with a load — all of it puts the spine in a position of handling stress. If you're already squatting and deadlifting heavy, adding more spinal loading to address a hamstring weakness is a bad trade. The sled gives you a way to attack the posterior chain directly without touching the spine.
The movement mechanics: each step forward requires a hip drive and a heel strike that activates the hamstrings and glutes. Lean into it slightly. Drive your heel into the ground with each step. The more deliberate you are, the more you'll feel it where it's supposed to be felt.
This can replace accessory lower-body work on heavy training days, or it can serve as the primary posterior-chain developer in a program for someone who can't handle additional barbell volume. Both applications are legitimate.
Forward Drag Posterior Chain Protocol
Load: 45-90 lbs is a reasonable range for most intermediate lifters. Heavier than recovery work, lighter than anything that creates soreness.
Volume: 6-8 trips of 30-50 yards
Mechanics: Drive the heel, extend the hip, lean slightly forward
Where it fits: After main lower body training as accessory work, or as a standalone session for lifters managing high fatigue
Use Case 6: Short Hard Pulls for Speed and Power Development
Not every sled session needs to be a steady-state session. Short, hard pulls over 15-20 yards develop acceleration and lower-body power in a way that moderate conditioning work doesn't.
The application is simple. Load the sled with a weight that's challenging but doesn't grind you to a halt. Sprint or pull hard for a short distance. Walk back. Recover fully. Repeat.
This has more in common with speed and power development than traditional conditioning. The intent is maximal or near-maximal effort for a brief window, followed by real rest. It's not about your heart rate. It's about producing force quickly.
For strength athletes who need to develop the rate of force development without adding more barbell speed work, this is a clean way to get that adaptation. For athletes who need to build acceleration, it's more specific to sprinting mechanics than most gym exercises.
Keep the volume low and the rest high. Six to eight hard pulls is usually enough. If the pulls are getting slower, the session is over.
Speed Pull Protocol
Load: Heavy enough to require real effort. Start at 45-90 lbs and adjust based on feel.
Distance: 15-20 yards per effort
Effort: Maximal or near-maximal pull
Rest: Full recovery between efforts, 90 seconds minimum
Volume: 6-8 total pulls
Frequency: Once or twice per week, not combined with high-volume conditioning in the same session
How to Fit the Indoor Sled Into Your Training
The sled is not the training. It supports the training. Keep that straight, and you'll use it correctly.
For conditioning and GPP work, do it after your main session or on off days. Three to five times per week if conditioning is a real priority. If you're using it as a warm-up or for recovery, you can increase the frequency. The load is what limits recovery demand, not the frequency.
For targeted posterior chain or quad work, treat it like accessory work. Do it after your main movements. Don't let it compete with the barbell work for recovery resources.
For speed pulls, program them like speed work. Keep the volume low. Rest between efforts. Use them to develop a quality, not to grind through fatigue.
The common thread across all of these is that the load should always be appropriate to the intent. Conditioning loads are light. Targeted work loads are moderate. Speed workloads are whatever allows maximum intent. If you're not clear on the intent, you'll pick the wrong weight.
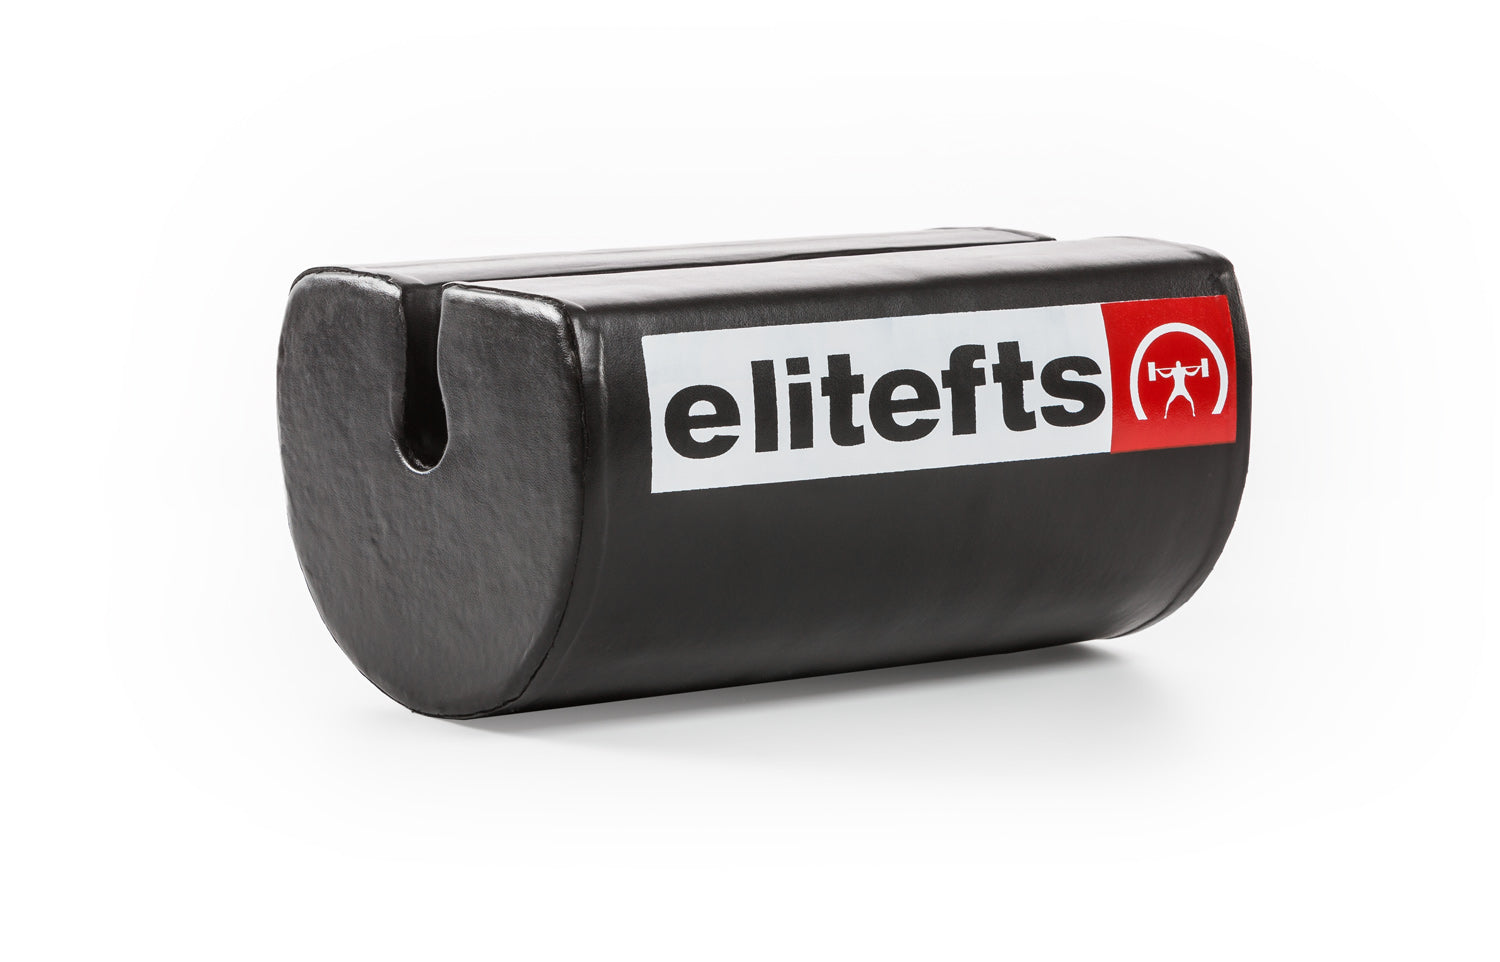
What You Get
The elitefts Indoor Sled with Strap measures 22 by 19.5 inches and includes a 95.5-inch strap. Designed for indoor surfaces: turf, carpet, rubber flooring. Loads standard plates on top, clips the strap in without a complicated setup. Ships in one business day. $89.97.
The strap length is worth noting. 95.5 inches gives you real distance between you and the sled. Short straps put the sled right on your heels and limit how much hip extension you can create with each step. Longer is better for actual training quality.
The size is practical for any facility. You're not moving a traditional metal sled around, which means you can use spaces that would be off-limits to a heavier piece of equipment. Smaller turf sections, open areas in a commercial gym, long corridors in a larger facility — all of it becomes workable.
If you also train outdoors and want a metal sled for grass or concrete work, the elitefts Compact Dragging Sled covers that. The two sleds are complementary, not redundant. One lives inside, one lives outside. You're covered year-round.
The Bottom Line
Most lifters know sled dragging works. The ones who actually do it consistently are a smaller group, and a big reason for that is access. If the sled is seasonal, or if you train somewhere that won't allow it, you skip it. Months go by. The conditioning gap grows.
The Indoor Sled removes the access problem. It goes where you go. It works on the surfaces you already train on. At $89.97, it's not a significant financial decision. It's a decision about whether you're actually going to do the sled work or keep talking about it.
Load it, drag it, build the engine.
Get the elitefts Indoor Sled with Strap and put it in your program this week.