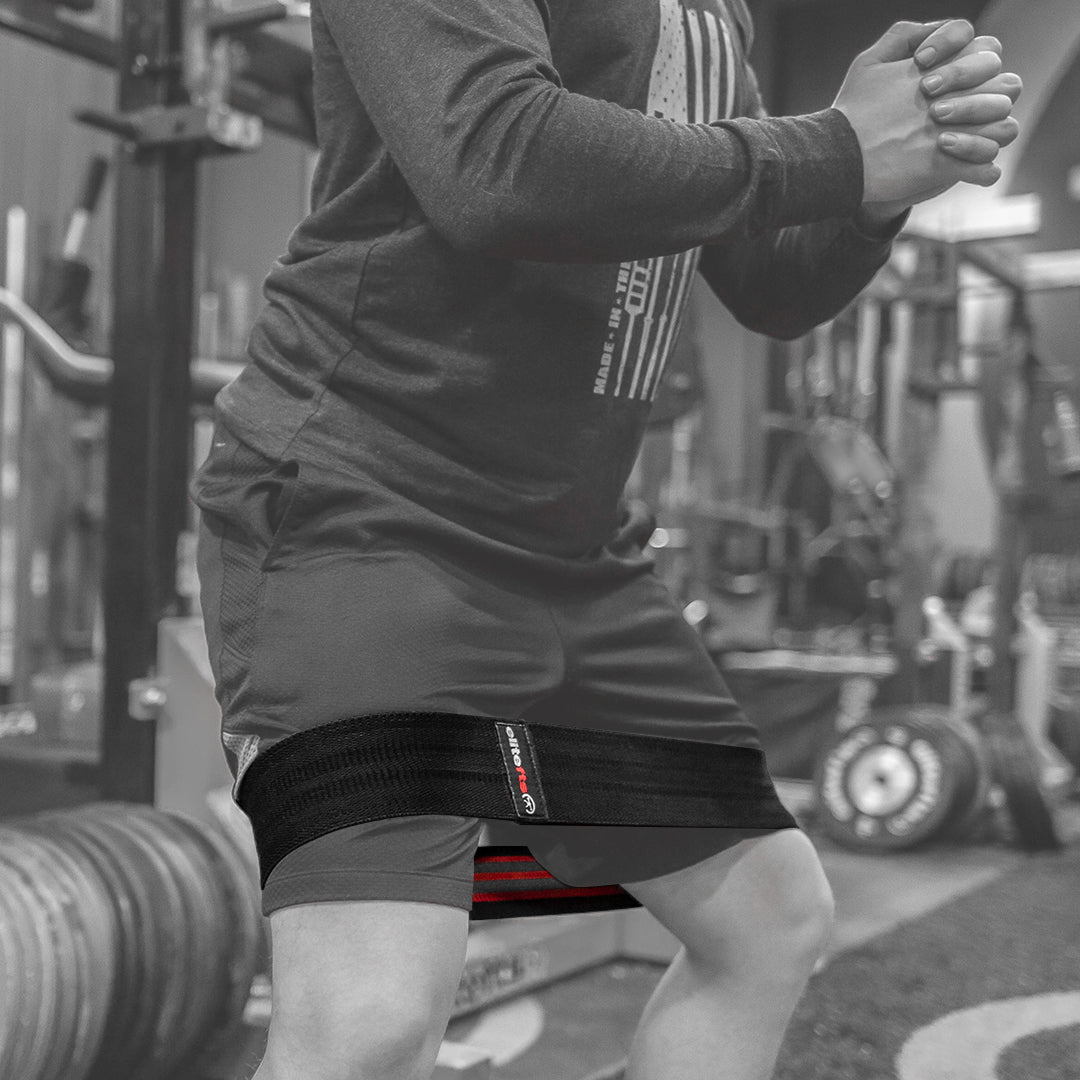

Prime Your Body for a Better Squat
A world-class squat isn't just about strength; it's about preparation. This guide outlines a simple but highly effective warm-up sequence that requires only two resistance bands. It's designed to systematically prepare your body for the demands of heavy squatting, ensuring every rep is safer, stronger, and more efficient.
The primary goal of this routine is to enhance your squat performance and reduce injury risk by improving core stability, unlocking hip mobility, and grooving high-quality movement patterns. By addressing these foundational elements before you even touch the bar, you set yourself up for a more productive and resilient training session.
This walkthrough will cover five key exercises in a specific, progressive order:
- Banded Deadbug
- Banded Hip Traction
- 90/90 Banded Hip Internal Rotation (IR)
- B-Stance Banded RDL
- Single Leg Hip Thrust with Contralateral Load
Let's begin with the cornerstone of all powerful movements: the core.


Banded Deadbug
Why It Matters: This exercise is the foundation of the warm-up because it teaches the critical skill of moving your limbs while maintaining a stable core and pelvis, a concept known as "lumbo-pelvic stability." By using an overhead band, you actively engage your lats and core to connect your rib cage to your pelvis. This prevents the inefficient "open scissor" position (where the ribs flare up and the low back arches), which is a common performance leak in the squat.
How to Do It:
- Hook a resistance band to a stable anchor point overhead. Lie on your back and grasp the band with both hands, pulling down to create tension. This will immediately engage your lats and core.
- Bring your knees up so your shins are parallel to the floor. Actively focus on pulling your rib cage down towards your pelvis and slightly tucking your pelvis underneath, ensuring your lower back stays connected to the floor.
- Slowly lower one leg towards the floor, going only as low as you can without your back arching, then return to the start. The specific leg and arm movements will vary based on the progression you choose.
Key Focus & Progressions:
If you're not shaking, you may not be doing it correctly. This should be very hard.
-
How to Progress
-
Bent Leg (Basic): Lower one bent leg at a time, keeping the other stationary.
-
Straight Leg (Intermediate): Perform the same movement, but with a straight leg. This increases the challenge to your core stability.
- Overhead Arms (Advanced): From the starting position, extend your arms overhead while keeping your legs stationary, resisting the band's tension to maintain a flat rib cage.
-
Bent Leg (Basic): Lower one bent leg at a time, keeping the other stationary.
Reps: Perform 4 to 6 very challenging reps.
This drill develops the motor control necessary for the more complex movements to come. Now that your core is primed, let's move on to opening up the hips.
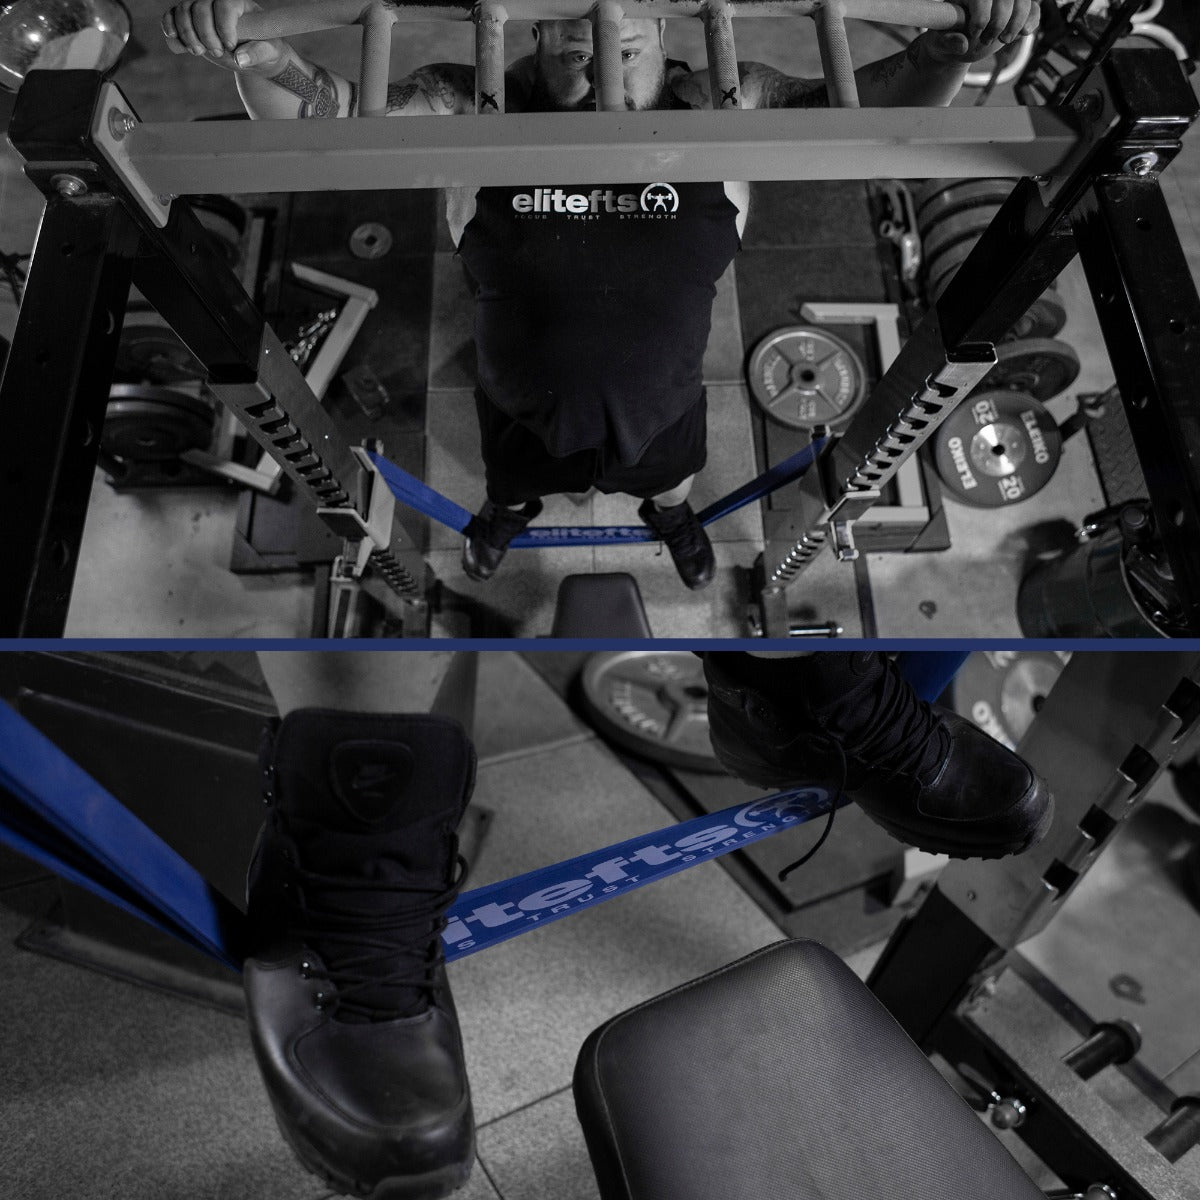
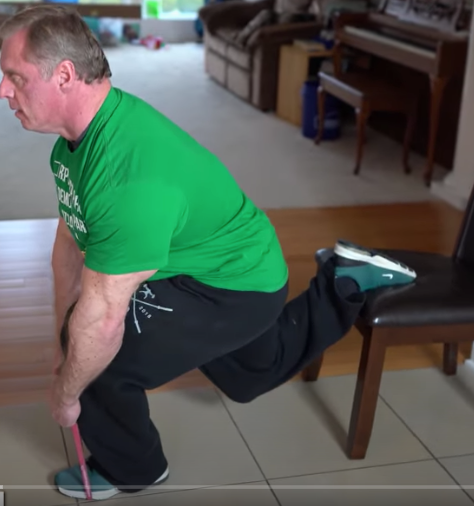
Banded Hip Traction
Why It Matters: The purpose of this movement is to gently open up the hip joint, specifically in external rotation. The band provides traction, helping to loosen the surrounding connective tissues. This makes the hip more pliable and prepares it for the active rotation and loading patterns that will follow in the subsequent exercises.
How to Do It:
- Hook a band to a stable, low anchor point. Step inside the band and loop it high up on your thigh, close to your hip.
- Walk forward to create tension and get into a "modified pigeon position," with your front shin across your body and your back leg extended for support.
- From here, shift your hips back until you feel an intense stretch on the outside of your hip. You can hold the band and gently "scour" the area by making small movements to find the points of most significant restriction.
Key Focus:
To create a real, though temporary, change in the connective tissue, you need to hold this position. A duration of 1-2 minutes gives the tissues time to respond, a benefit that will last through your squat session as you reinforce this new range of motion.
Duration: Perform for 1 to 2 minutes per side.
With the hip now more mobile, we will transition from this passive stretch to an active drill designed to strengthen a crucial, often-neglected range of motion.
90/90 Banded Hip Internal Rotation (IR)
Why It Matters: Hip internal rotation (IR) is a crucial and often overlooked component of a deep, stable squat, particularly for larger lifters. A lack of IR forces the body to find compensation patterns to achieve depth, such as tucking the pelvis under or shifting to one side. These compensations can limit performance and increase the risk of injury over time. Unlike the passive stretch of the Hip Traction, this is an active drill designed to strengthen your control over this critical range of motion.
How to Do It:
- Sit on the floor in a "90/90" position (both knees bent to 90 degrees, one in front, one to the side). Loop a band around the foot of your lead leg.
- Position the band's anchor point in front of your foot. This is crucial, as it ensures the band is pulling your foot up and your hip into internal rotation.
- Allow the band to pull your foot off the ground gently. This is your starting position.
- Actively drive your foot down towards the ground, fighting the band's resistance. Focus on a smooth, controlled movement, ensuring the motion originates from your femur rotating within the hip socket, rather than from rocking your entire body. Hold briefly at the bottom before slowly allowing the band to pull your foot up. Hold for a moment at the top of this range before actively driving down again.
Key Focus:
If your mobility is limited, it is perfectly fine to lean far forward to perform this drill. The goal is to start where you are and, over time, progress to performing the movement with a more upright posture. Consistency is key.
Reps: Perform for 10 to 12 reps per side.
Having actively trained hip rotation, we will now integrate this pattern into a movement that more closely mimics the demands of the squat.
B-Stance Banded RDL
Why It Matters: This exercise is exceptionally effective because it teaches your body to load the hip into internal rotation during the descent (like in a squat) and then powerfully transition into external rotation and hip extension on the way up. It directly primes the specific muscular actions and coordination patterns you will use under the bar, making the feeling of "using your hips" in the squat much more intuitive.
How to Do It:
|
Setup |
Execution |
|
Stand perpendicular to the band's anchor point and grab the band. |
Hinge your hips back as if performing an RDL, but simultaneously rotate your working hip (not your upper body) towards your opposite knee. |
|
Adopt a "B-stance" by placing the foot of your non-working leg slightly back, with just the ball of the foot on the ground for balance. (Experiment with the width of your stance; a slightly narrower position may allow for a greater degree of hip rotation.) |
Squeeze the glute of the working leg and drive through your big toe and heel to push your hip forward, moving out of internal rotation and into powerful hip extension. |
|
|
Emphasize a strong, isometric hold at the top of the movement before slowly controlling the movement back down into the next rep. |
Key Focus:
This is not about upper body or trunk rotation; this is about hip internal rotation. Focus on driving this hip towards this knee. The rotation of your torso should only be a consequence of your hip's movement.
With your hips now fully mobilized and primed, the final exercise will challenge your ability to maintain pelvic stability under load.
Single Leg Hip Thrust with Contralateral Load
Why It Matters: This final movement is designed to challenge your pelvic stability, which is essential for preventing hip shifts or instability in the bottom of your squat. The "contralateral load"—placing a weight on the hip opposite the working leg—creates an "anti-rotation moment." This forces your glutes and deep core stabilizers to fire intensely, keeping your pelvis level and neutral and directly training the muscles that prevent unwanted shifting under a heavy barbell.
How to Do It:
- Set up with a band looped around your hips, anchored to a low point in front of you, and your upper back resting on a bench, right around the area just below your shoulder blades.
- Place a dumbbell on the hip opposite the leg that will be doing the work.
- Before you begin, pull your rib cage down to engage your core. This prevents your lower back from arching and ensures your glutes perform the movement.
- Lower your hips slowly. Squeeze the glute of your working leg to drive your hip up, focusing on keeping your pelvis neutral and pointed straight ahead.
- Progression Tip: You can start with a staggered stance (non-working foot lightly touching the ground for balance) and progress to a full single-leg position by lifting the non-working leg completely off the floor.
Key Focus:
Prioritize a range of motion you can do effectively. Only go as high as you can without your rib cage flaring or your lower back arching. Quality over quantity is the rule here.
Reps: Perform for 10 to 12 reps per side, holding briefly at the top and controlling the descent.
This final drill ensures your glutes are fully activated and ready to stabilize your pelvis, completing your preparation.
Putting It All Together
This five-step sequence is more than just a random collection of exercises. It's a systematic process that prepares your body for squatting by first activating the core, then mobilizing the hips in multiple planes of motion, and finally, grooving the specific movement patterns and stability demands of the squat itself.
By consistently performing this warm-up before your squat sessions, you'll not only feel better prepared to lift heavy. Still, you will also build the long-term mobility and stability needed to bulletproof your squat for years to come.