


Recently, I had the opportunity to coach alongside Chris West at the University of Connecticut (UConn). I primarily worked with the men’s basketball team and had the privilege of being a part of their national championship season. My primary objective at UConn was to develop an efficient year-round training program. I'd like to note that Chris West, Associate Head Strength and Conditioning Coach, is one of the most knowledgeable, genuine, and open-minded coaches I ever worked with. He allowed me to implement my training methodologies at the highest level of basketball competition in the Big East Conference. My program design placed a premium on physical preparation, which was a training quality I made a point of demonstrating to each player. With the help of Chris West, the men’s basketball coaching staff, and the dedication of the entire team, we had a very successful season. This result, I firmly believe, was the product of our training methods. The process began with forming an in-season program. We implemented a concurrent-emphasis (complex-parallel) approach because this would allow us to address all of the different strength qualities efficiently. The NCAA regulates how many hours an athlete can train and it includes practices, as individuals, travel, games and physical preparation. Although our athletes were the most skillful collegiate basketball players in the nation, their physical preparation was still at a novice level. With that in mind, we stuck to the basics and implemented one individual and two team training sessions per week. Every week, the training sessions were performed on different days due to the game and travel schedule. We organized the two team training days alongside the most intense practices. In doing so, we kept all of the central nervous system (CNS) intensive stressors, like practice and training, on the same day. The one individual training session was performed in accordance with each player’s class schedule. This individual training day placed an emphasis on restoration and prehab/rehab. We made sure to organize the training sessions in a CNS intensive and CNS extensive manner. This maximized each player’s physical preparedness for game day. As a result, all players increased or maintained their strength levels on all four primary movements. Additionally, each athlete maximized recovery between practices, games, training sessions and improved their muscular imbalances and asymmetries.

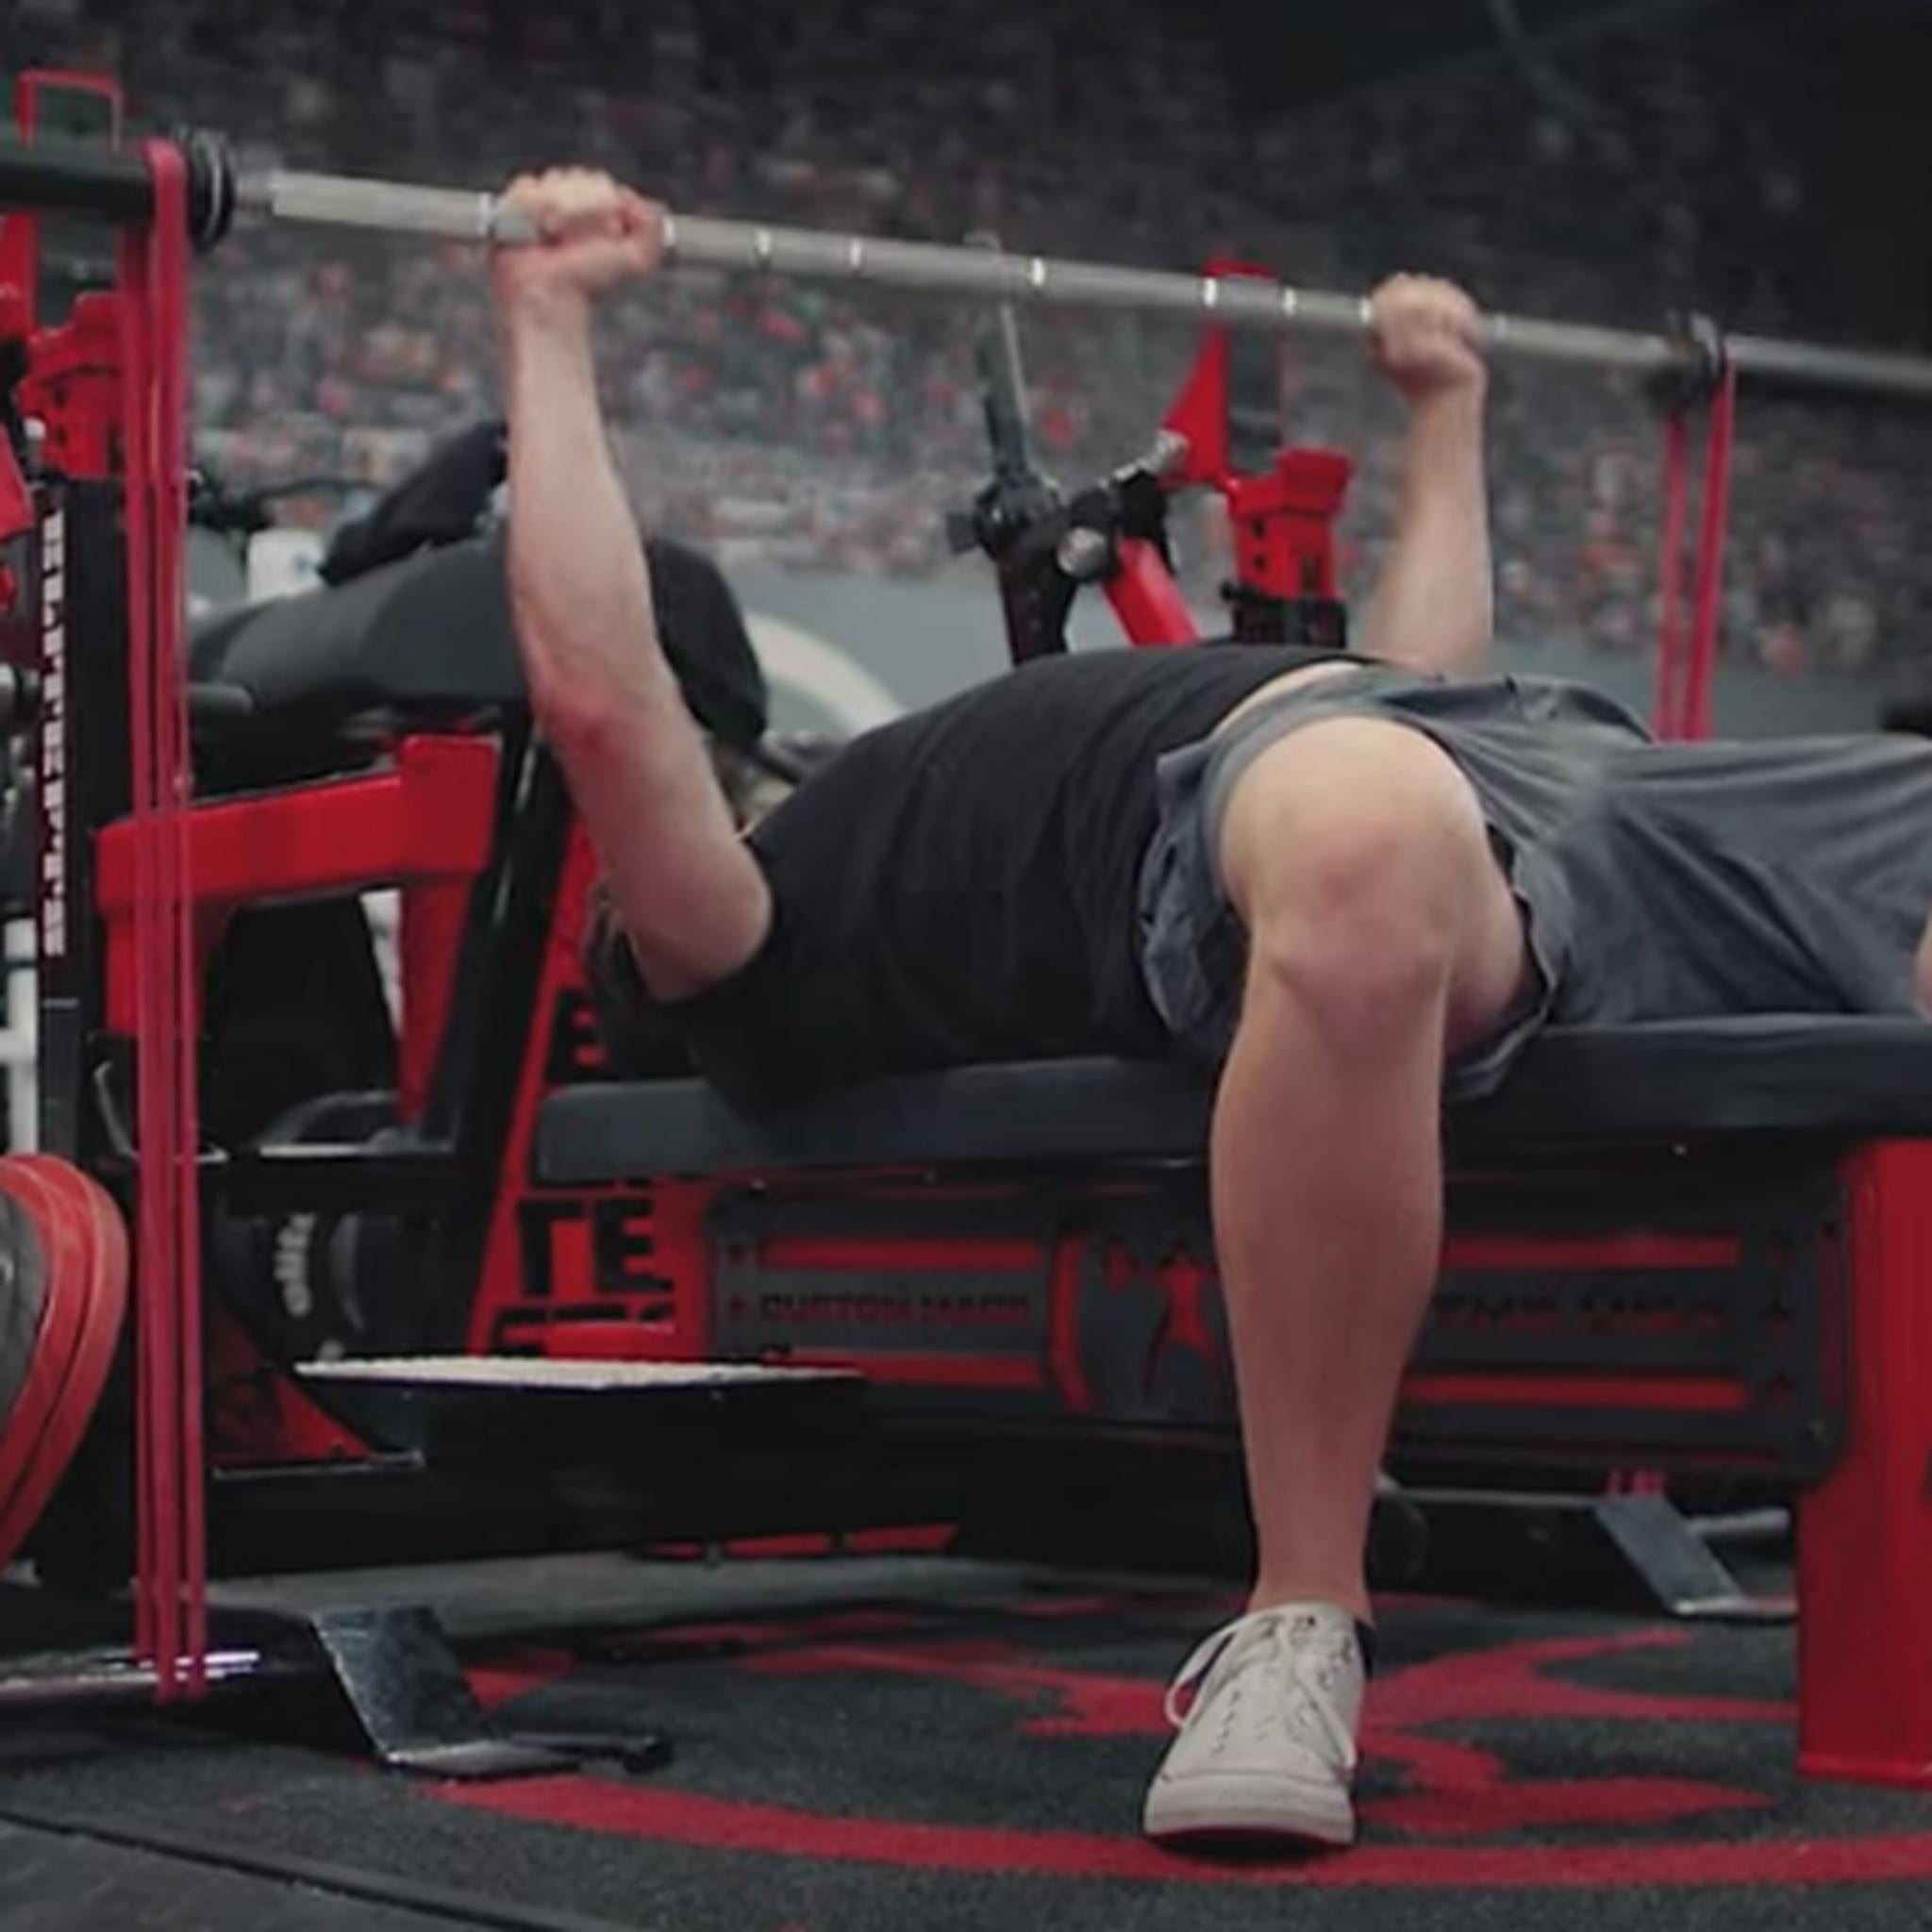
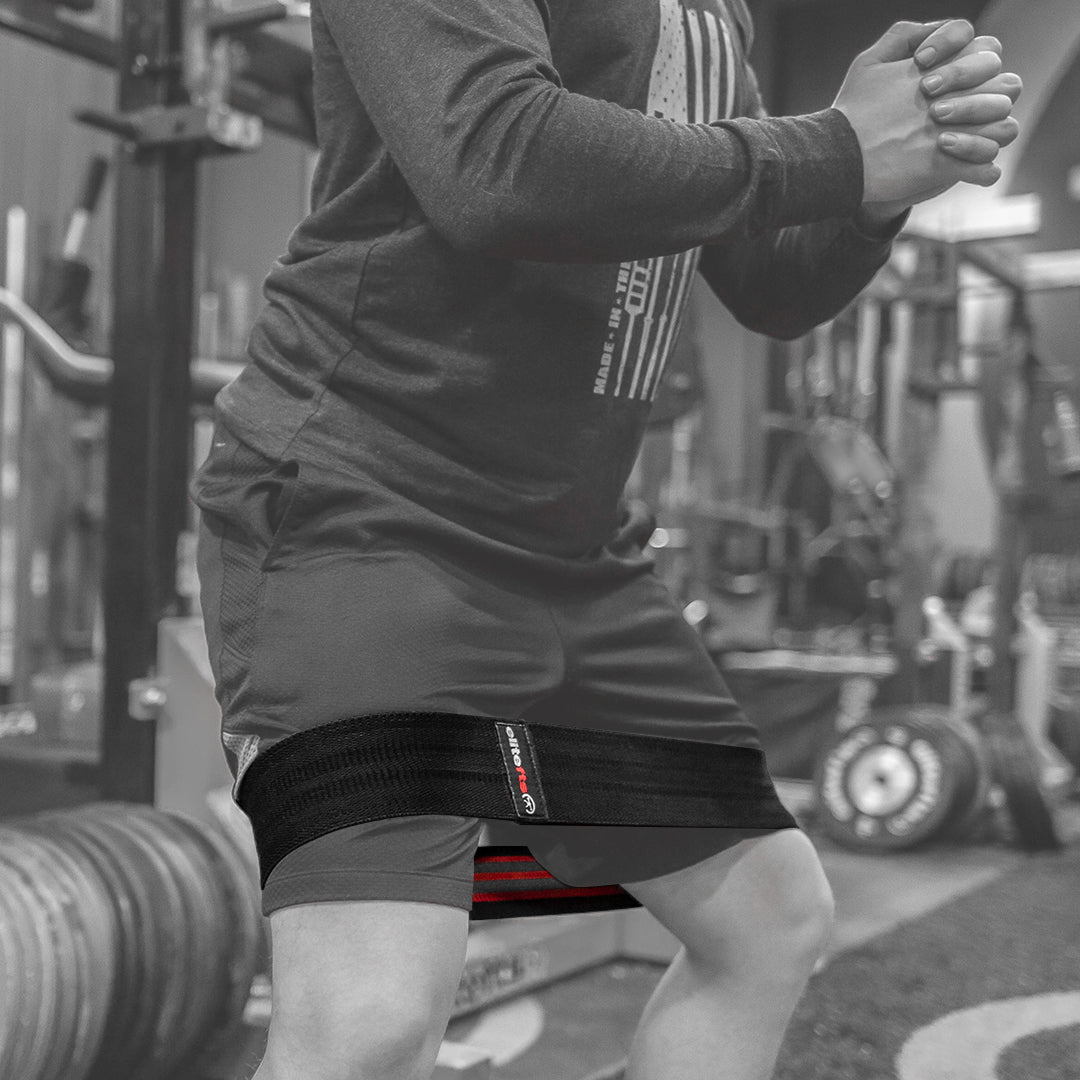
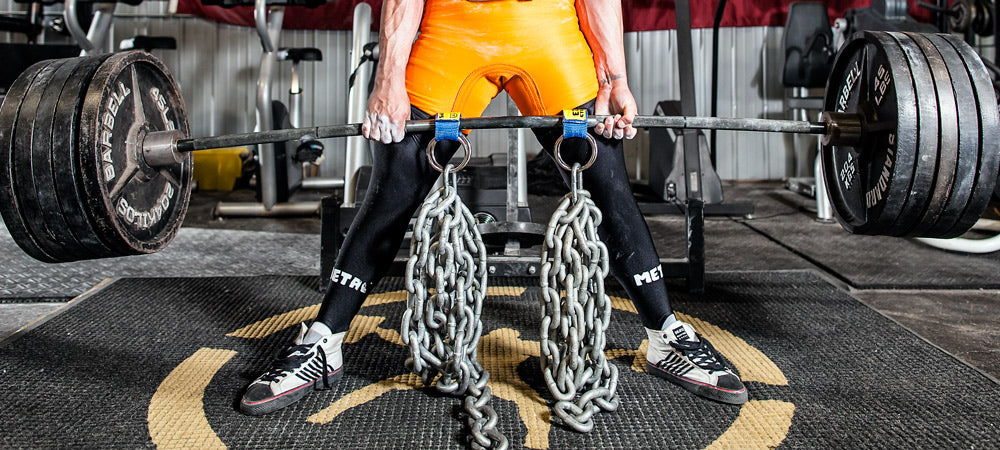
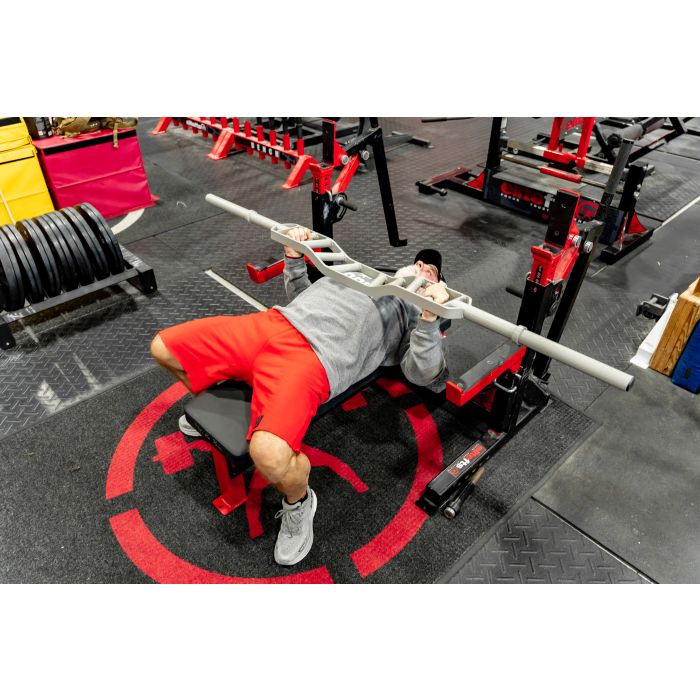
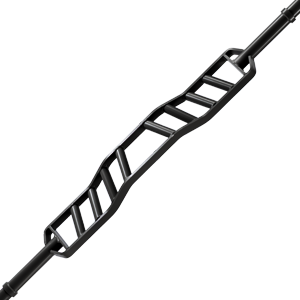
The two team training sessions consisted of the primary and fundamental lifts. These included the box squat, trap bar deadlift, bench press and chinups. The Max Effort and Sub-maximal Effort Method was the emphasis of both training days. It was chosen for its effectiveness and simplicity. We used a modified version of the 5/3/1 Method, which worked great. On day one of the first training session, athletes box squatted and bench pressed. On day two of the second training session, athletes performed trap bar deadlifts and chin-ups. The volume and intensity for the day was dependent on the player’s role and their amount of game minutes. For example, if Player A was a starter and had a total 38 minutes of game play, he would perform a recommended rep range at a given intensity for the specific lift within the 5/3/1 template. During the five’s week, he worked up to 77.5 percent. During the three’s week, he worked up to 82.5 percent, and during the one’s week, he worked up to 90 percent. Player B, who was a red-shirt and only practiced, would perform the “money set,” which meant taking the final set of 5/3/1 for as many reps as possible and try to set a personal record (PR). The same percentages were used for Player B and A. A collegiate athlete has stressors that change daily. With this in mind, I used the modified 5/3/1 method because each athlete had different preparedness levels on any given training day. These stressors may include: studying for an exam, lack of sleep, poor nutritional choices, and/or having a bad practice/game. All of these can affect the player in a negative manner. Therefore, the player’s strength levels change dramatically and these stressors must be taken into account when training collegiate athletes. Moreover, the 5/3/1 method is perfect because of its flexibility. If the player was feeling good and recovered, we pushed for a PR. On the other hand, if the player was fatigued, we'd have him perform his minimum recommended reps. This would be their 5/3/1 RM for that given day and then they were done for the day. On the two team training sessions, we used the Dynamic Effort Method. This included different variations of jumps and medicine ball throws. We placed these movements up front as a CNS primer for the upcoming primary lifts. Due to the amount of jumping and shooting already being performed during practice and game play, we kept the volume low. However, not every player performed this method. As with the primary lifts, the player’s role determined how we programmed jumps and medicine ball work. Starters normally omitted the dynamic work and went straight to max effort work. Many in-season programs omit the dynamic effort work all together. I feel it is important to perform jumps and throws because of the explosive/reactive stimulus, technical aspects, and the use of developing the a-lactic energy system for power and capacity. Dynamic efforts allowed us to continually teach the proper mechanics of producing and absorbing force. Below is an example of a three-week wave for the two day team training sessions. Each wave would progress or regress the dynamic exercise selection in accordance with how each player responded to the stimulus. We trained the same four primary movements for the entire season. Because the team was at a novice level, there was no need of rotating exercises. Great emphasis was placed on technique and perfecting each and every rep.

A1: Jumps Performed on Day 1
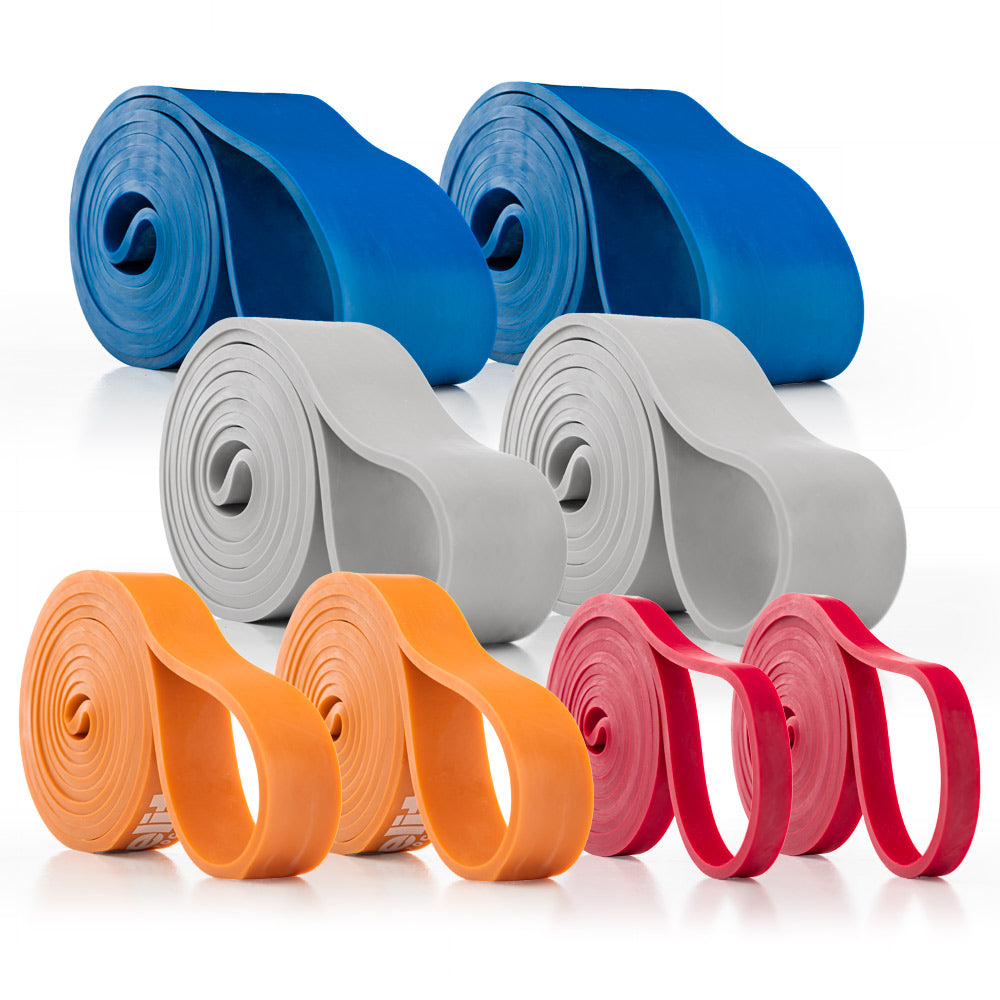
Blast Straps. We performed a ton of strap rows, face-pulls, push-ups, split-squats, single-leg deadlift, and fall-outs. This is also a time where we included the “tempo” method to speed up the recovery process. There wasn’t a major emphasis on this method. Athletes performed different tempo medicine ball throws (push, overhead, rotation, and scoop toss variations), tempo runs (on the court), and low-intensity plyometrics (rare - but was implemented). The
Prowler for tempo sled marches and drags would be another option, but we didn’t have access to one. The university purchased some of them for the off-season, good on them. Below is an example of the individual sessions.
 3")
The two team training sessions consisted of the primary and fundamental lifts. These included the box squat, trap bar deadlift, bench press and chinups. The Max Effort and Sub-maximal Effort Method was the emphasis of both training days. It was chosen for its effectiveness and simplicity. We used a modified version of the 5/3/1 Method, which worked great. On day one of the first training session, athletes box squatted and bench pressed. On day two of the second training session, athletes performed trap bar deadlifts and chin-ups. The volume and intensity for the day was dependent on the player’s role and their amount of game minutes. For example, if Player A was a starter and had a total 38 minutes of game play, he would perform a recommended rep range at a given intensity for the specific lift within the 5/3/1 template. During the five’s week, he worked up to 77.5 percent. During the three’s week, he worked up to 82.5 percent, and during the one’s week, he worked up to 90 percent. Player B, who was a red-shirt and only practiced, would perform the “money set,” which meant taking the final set of 5/3/1 for as many reps as possible and try to set a personal record (PR). The same percentages were used for Player B and A. A collegiate athlete has stressors that change daily. With this in mind, I used the modified 5/3/1 method because each athlete had different preparedness levels on any given training day. These stressors may include: studying for an exam, lack of sleep, poor nutritional choices, and/or having a bad practice/game. All of these can affect the player in a negative manner. Therefore, the player’s strength levels change dramatically and these stressors must be taken into account when training collegiate athletes. Moreover, the 5/3/1 method is perfect because of its flexibility. If the player was feeling good and recovered, we pushed for a PR. On the other hand, if the player was fatigued, we'd have him perform his minimum recommended reps. This would be their 5/3/1 RM for that given day and then they were done for the day. On the two team training sessions, we used the Dynamic Effort Method. This included different variations of jumps and medicine ball throws. We placed these movements up front as a CNS primer for the upcoming primary lifts. Due to the amount of jumping and shooting already being performed during practice and game play, we kept the volume low. However, not every player performed this method. As with the primary lifts, the player’s role determined how we programmed jumps and medicine ball work. Starters normally omitted the dynamic work and went straight to max effort work. Many in-season programs omit the dynamic effort work all together. I feel it is important to perform jumps and throws because of the explosive/reactive stimulus, technical aspects, and the use of developing the a-lactic energy system for power and capacity. Dynamic efforts allowed us to continually teach the proper mechanics of producing and absorbing force. Below is an example of a three-week wave for the two day team training sessions. Each wave would progress or regress the dynamic exercise selection in accordance with how each player responded to the stimulus. We trained the same four primary movements for the entire season. Because the team was at a novice level, there was no need of rotating exercises. Great emphasis was placed on technique and perfecting each and every rep.
Day 1 and 2 Dynamic Effort/Max Effort/Sub-maximal Effort Method
Primer (Dynamic Effort): the same exercise is performed for a three-week block and then is progressed or regressed for next phase/block.A1: Jumps Performed on Day 1
- Box Jump/Seated Box
- Jump/BB Squat Jumps (Reactive)
- This works on deceleration and landing mechanics.
- This works on producing force from a static position and deceleration.
- The first jump is reactive and the second jump is absorbed/reset and that would equal one rep. This works on increasing reactive ability with decelerating/absorbing force with a fast transition to producing force with proper mechanics.
– Or –

- Tall Kneeling Chest Pass with Hip Extension
- Half-Kneeling Rotational Side Throw
- Overhead Medicine Ball Slam
- Squat to Stand Chest Pass
- Standing Rotational Side Throw
- Recoiled Overhead Medicine Ball Slam
- Diving Medicine Ball Chest Pass
- Two Shuffles into Rotational Side Throw
- Overhead Medicine Ball Slam to Jump Squat
- Throw into open space – no rebound effect.
- Throw into open space – no rebound effect.
- Throw into open space – no rebound effect.
Week 1-3: Elevated Box Hip Flexor w/ Rotation 3x3+10s
– Or –
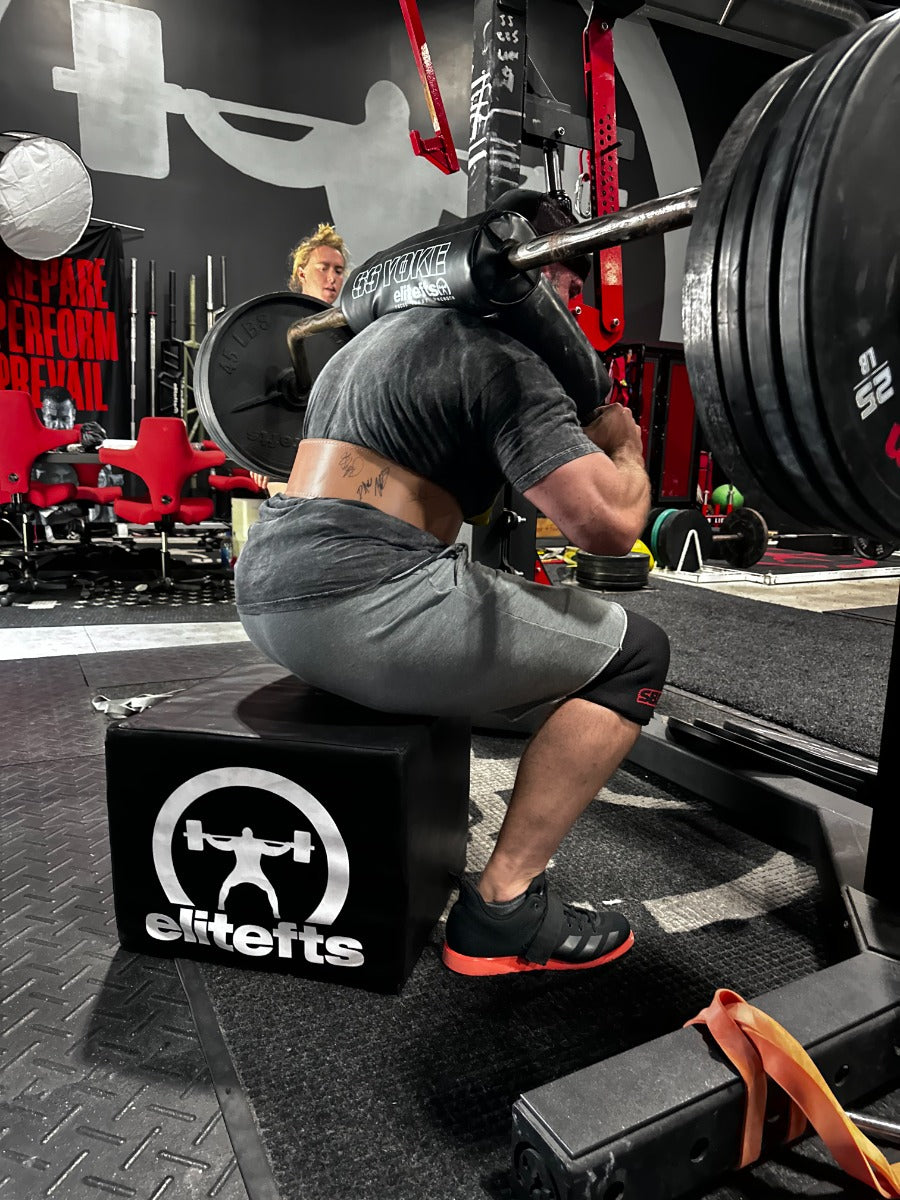
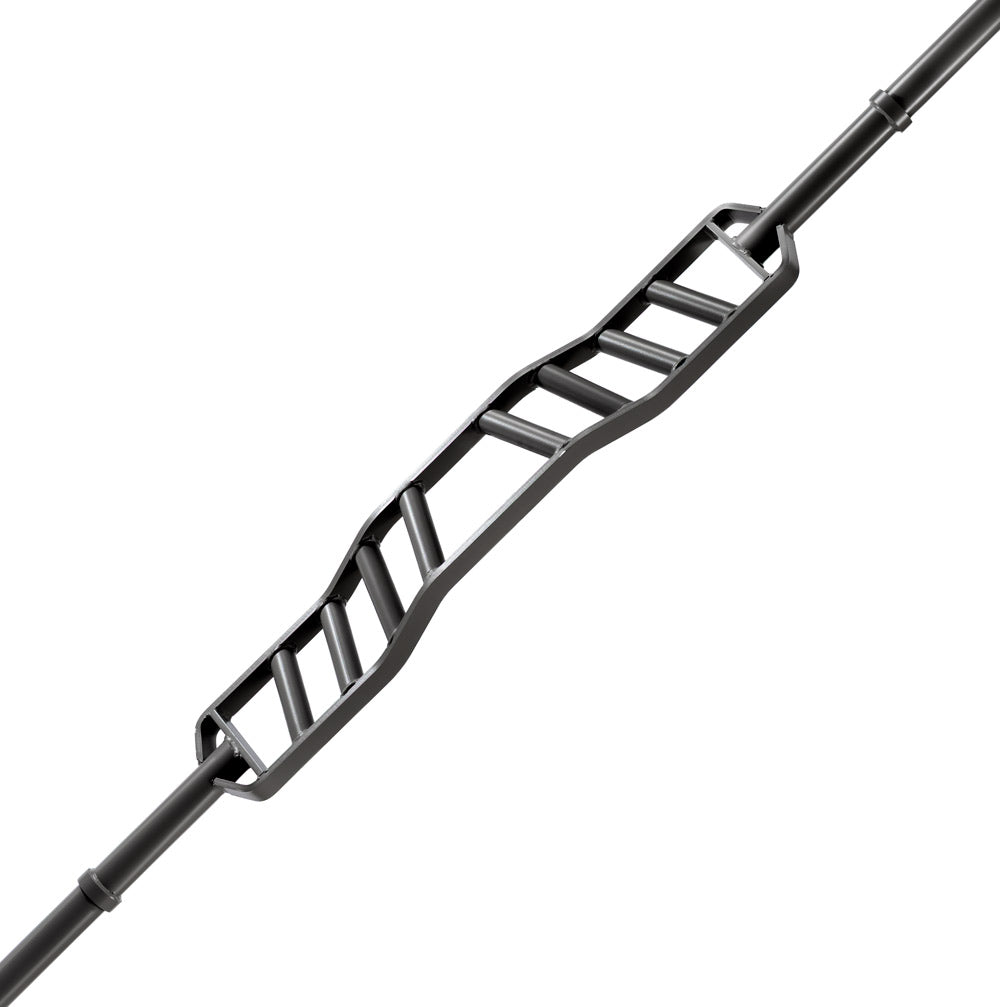
Prone Shoulder Internal Rotation Stretch 3x3+10s Primary (Max Effort/ Sub-maximal Effort): B1: Box Squat (Performed on Day 1) Box height was always at parallel or below parallel. We used the box to gauge depth, to have a perpendicular angle with each player's shins, and to add more of a posterior chain emphasis because most of the players were very knee/quad dominant.– Or –
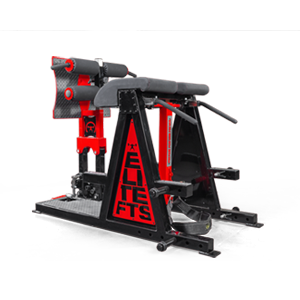
Trap Bar Deadlift (Performed on Day 2) The guards and most wings pulled from the floor, but forwards and centers pulled from a position that would allow them to get in the most efficient and safe biomechanical position. Week 1: 3x5 at 40, 50, 60%- Warm-up Sets: Emphasize Perfect Reps with Compensatory Acceleration Training
- 1x5 at 70% (Work Set)
- 1x5 at 75% (Work Set)
- 1x5+ at 77.5% (Optional “Money Set”). Each training session we 'd make the call to push it or get in and get out.
- Warm-up Sets: Emphasize Perfect Reps with Compensatory Acceleration Training
- 1x3 at 70% (Work Set)
- 1x3 at 77.5% (Work Set)
- 1x3+ at 82.5% (Optional “Money Set”). Each training session we'd make the call to push it or get in and get out.
- Warm-up Sets: Emphasize Perfect Reps with Compensatory Acceleration Training
- 1x3 at 70% (Work Set)
- 1x1 at 80% (Work Set)
- 1x1+ at 90% (Optional “Money Set” – Each training session we would make the call to push it or get in and get out)
– Or –
Chin-ups (Performed on Day 2 and is the same as the Box Squat Progression from Week 1 to Week 3) B2 or C2: Corrective Exercise (Player Specific) Week 1-3: Glute/ Psoas Activation or Lower Trap Activation- Example (Glue and Psoas) Single Leg Hip Lift with Tennis Ball Hold 3x3+5-10s holds
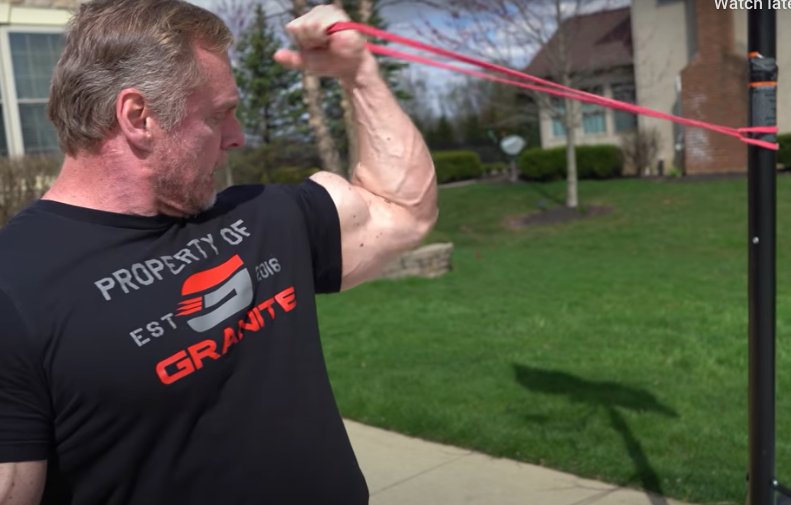
- Example (Lower Trap) Forearm Wall Slides to Y-Retraction 3x8-10
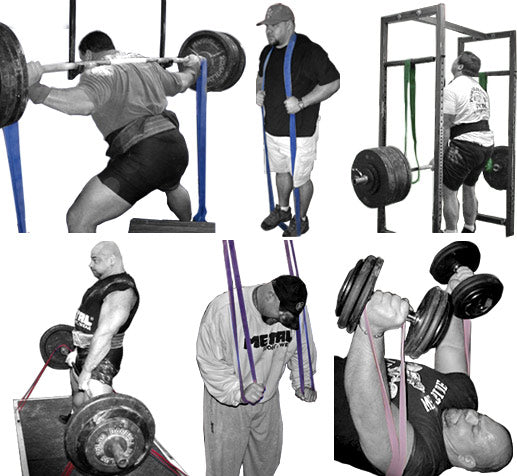
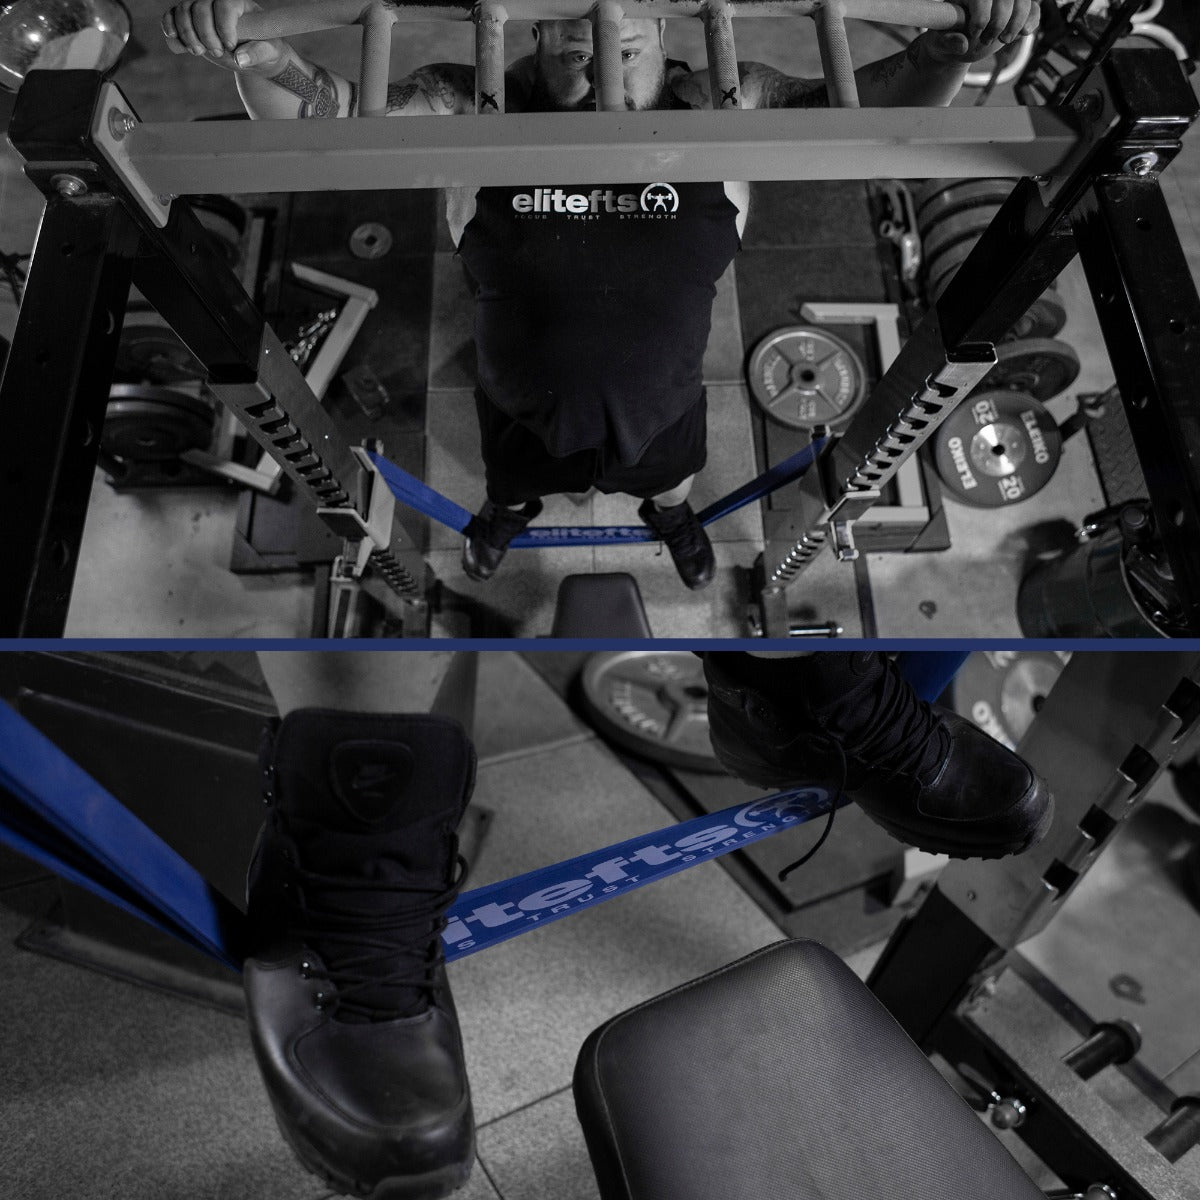
Blast Straps. We performed a ton of strap rows, face-pulls, push-ups, split-squats, single-leg deadlift, and fall-outs. This is also a time where we included the “tempo” method to speed up the recovery process. There wasn’t a major emphasis on this method. Athletes performed different tempo medicine ball throws (push, overhead, rotation, and scoop toss variations), tempo runs (on the court), and low-intensity plyometrics (rare - but was implemented). The
Prowler for tempo sled marches and drags would be another option, but we didn’t have access to one. The university purchased some of them for the off-season, good on them. Below is an example of the individual sessions.
Individual Restoration Day and Repeated Effort Method:
Foam Roll (SMR): Choose 3-5 problem areas and spent 30-60 seconds rolling each area Examples:- Glute/Piriformis
- TFL/IT Band
- Pec Minor
- Lat
- Adductors
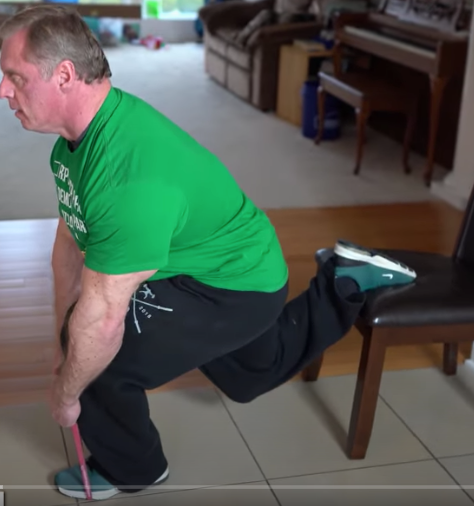
- Partner Hip Flexor/IT Band Stretch
- Prone Hip External Rotation Stretch
- Knee-to-Knee Stretch (Floor or Stability Ball)
- Wall Pec Stretch
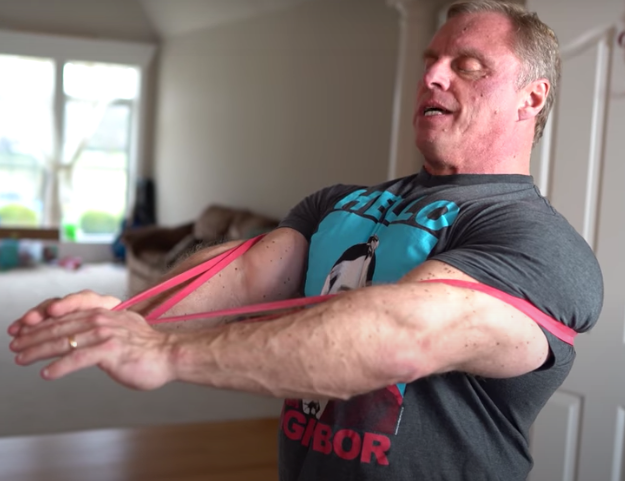
- Band Lat Stretch
- Activation Exercises: Choose three different exercises focusing on the glutes, psoas, lower traps, and/or external obliques. If the player performs the movement correctly we progressed them and if they have trouble, we'd regress them.
- Single Leg Hip Lift with Hold 3x3+10-15s
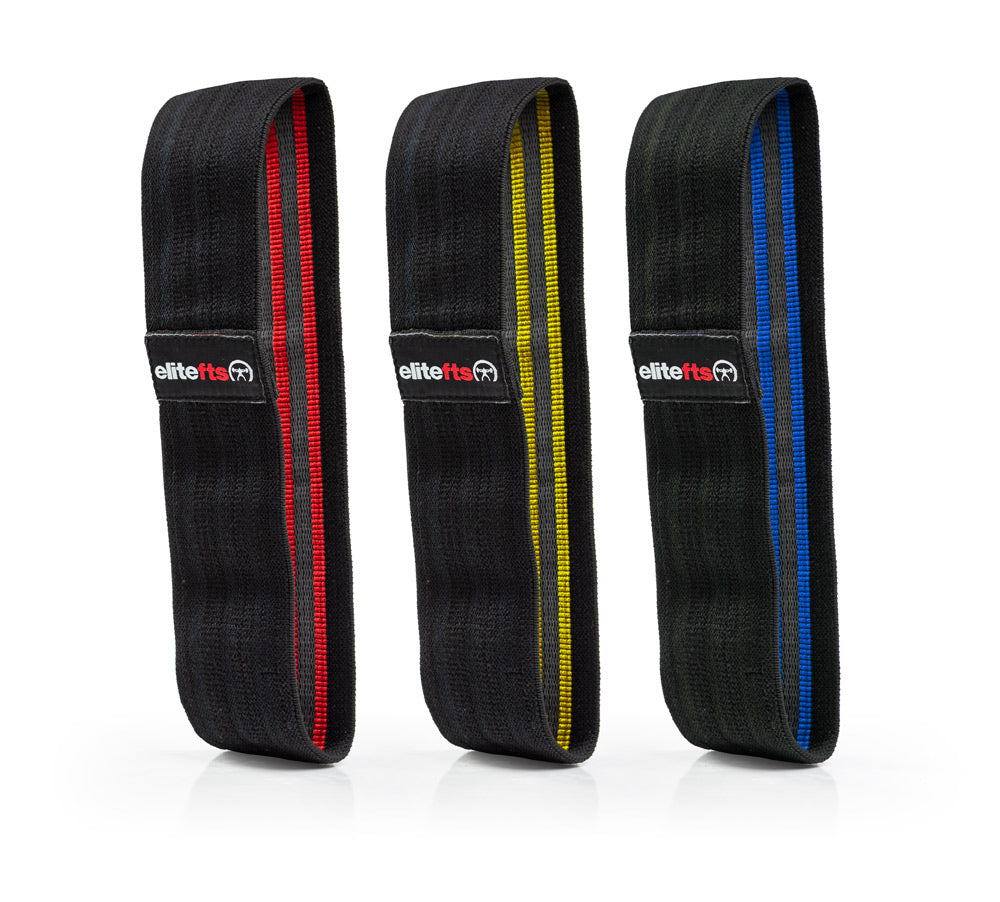
- Lateral Short Band Shuffle 3x5-yard each direction
- Standing High Knee Grab to Hip Flexion Hold (Above belly button) 3x3+10s
- Wall Slide or Forearm Wall Slide with Y-Retraction 3x8-10, and/or Tall Kneel
- Chop, Lift, or Belly Press and Hold
- Single Leg Hip Lift with Tennis Ball Hold 3x3+10s
- X-Band Walks 3x5-yards each direction (Knee flexed and knee bent)
- Supine Short Band Hip Flexion (Above belly button)
- 3x3+5-10s, Band “No-Money”
- Pull-a-parts 3x10+2s, and/or Half Kneel
- Chop, Lift, or Belly Press and Hold
- Elevated Single Leg Hip Lift with Band 3x10-20
- X-Band Walk with Short Band around mid-foot (Knee’s Bent and Knee’s Straight)
- 3x5-yards each direction
- Standing Short Band Hip Flexion from Bench 3x3+5-10s
- Y, T, W, U, and Is 3x8-12+2s, and/or Dynamic Chop, Lift, or Belly Press and Hold
- Strap Row Variations 3-5x10-20
- Strap Face-pulls 3-5x10-20
- Push-up with Hand on Dumbbells 3-5x10-20
- Goblet Split-Squat (Bottom Up) 3-5x6-12
- SLDL with 1 DB 3-5x6-12
- GHR 3-5x8-12
- One Leg Squat 2-3x8-12
- Dumbbell Row Variations 3-5x8-20
- Dumbbell Step-ups 3-5x6-12
- SB Rollout 3x10-20
- Supine Bench Leg Raise 3x10-20
- Front and Side Plank 3-5x10s+10s+10s
- SLSU with Short Lever 3x10-20
- Tall Kneel. Lift and Chop 3x8-12
- C/S Row Variations 3-5x6-12
- Band Face-pulls 3-5x10-20
- Strap Push-ups 3-5x10-20
- Goblet Reverse Lunge 3-5x5-8
- SLDL with 2 Dumbbells 3-5x5-8
- GHR 3-5x6-10
- One Leg Squat 2-3x10-12
- AB Wheel Rollout 3x10-20
- Hanging Knee Raise 3x10-20
- Front Plank with Reach and March 3-5x3-5
- Side Plank with Row 3-5x10-20
- SLSU with Long Lever 3x10-20
- Half Kneel. Lift and Chop 3x8-12
- BB Row Variations 3-5x5-8
- CC Face-pulls 3-5x10-15
- Push-ups with Chains 3-5x8-15
- Goblet RFESS (Bottom Up) 3-5x5-8
- GHR 3-5x5-8
- SLDL with Barbell 3-5x5-8
- One Leg Squat 2-3x12-15
- BB Rollout 3x10-20
- Hanging Leg Raise 3x10-20
- Body Saw 3x10-15
- Strap Fall-outs 3x10-15
- DB Plank with Row and Push-up 3x5-10
- Dynamic Side Plank 3x10-20
- SLSU on GHR 3x10-20
- Dynamic Lift and Chop 3x8-12