

How to Find Up to 2 Inches on Your Vertical in One Session
Raw strength matters, but the fastest vertical jump gains often come from cleaning up the leak: foot pressure, descent speed, arm timing, and how violently you redirect force into the floor.
The Variable Killer: Why Barefoot Training Can Help
Precision is the difference between testing and guessing. If you are using box squats, jump mats, transducers, or bar-speed tools, shoe compression and heel-to-toe drop can change the feel of the session and muddy the data.
Barefoot training removes one major variable: the shoe. You get the same foot every session, the same ground contact, and a cleaner read on how the athlete is actually producing force.
The Soft-Surface Paradox: Absorb to Explode
For jump-specific strength work, the box squat setup matters. The bar should encourage an upright torso and a position that looks like sport, not a folded-over max-effort grind. A safety-squat style position can help keep the load high and the chest organized.
The counterintuitive part is the pad. Instead of bouncing off a hard surface, the athlete sits into a soft pad and lets the stored energy disappear. The instruction is simple: sink, stop, and own the position.
- Use a box height that keeps the torso organized.
- Sit to the pad without crashing.
- Pause for a strict one-two count.
- Drive up like the floor owes you money.
- Keep the feet close and repeatable.
- Measure every rep when possible.
The 140-Degree Rule: Find the Fastest Power Angle
A common vertical jump mistake is believing that a deeper countermovement automatically creates a higher jump. It often does the opposite. When the athlete drops too low, the body spends too much time getting out of the hole and loses the fast elastic redirection that makes a jump explosive.
Use roughly a 140-degree bend as the coaching target: not locked out, not buried, but loaded enough to strike. If the chest is crashing toward the knees, the rep is already turning into a squat.
The Three Jump Archetypes: Find Your Vibe
Start with the same baseline for all three techniques: toes straight ahead, feet around hip width, and eyes up. From there, most athletes fall into one of three useful patterns.
| Technique | Best for | Main cue | Watch for |
|---|---|---|---|
| Normal Jump | Athletes who already coordinate the arms and legs well. | Swing the hands straight back, then punch the jump upward. | Do not let the arms drift slowly or finish late. |
| Touch Technique | Athletes who need a concrete cue to load the hips. | Reach down, touch, set the hinge, and explode. | Do not turn the touch into a slow toe-touch stretch. |
| Swoop Technique | Advanced athletes who can sync a circular arm path with the jump. | Brush the hands back by the ankles, grab momentum, and pull upward. | Do not lose balance or land on the toes. |
The Counterintuitive King: Master the Swoop
The swoop takes the longest to learn because it asks the athlete to coordinate everything at once: hands, hips, feet, torso angle, and timing. When it clicks, it often feels more natural than the normal jump because the athlete is no longer jumping in pieces.
Start with the hands out in front. As you descend, the arms move in a fast circular path. The hands brush back behind the ankles with the palms facing forward. At the bottom, keep a strong forward lean without folding. Then think about grabbing the air and pulling it through the floor.
Reach Forward
Start tall with the hands in front so the arms have room to create speed.
Swoop Fast
Circle the hands back toward the ankles. The path should be fast, not decorative.
Pull Up
Use the arms like a trigger. When they come through, the legs attack the floor.
- Palms face forward as the hands pass the ankles.
- Forward lean is controlled, not collapsed.
- The dip is quick and shallow enough to stay explosive.
- The landing is stable, quiet, and near full-footed.
Build the Setup: elitefts Product Suggestions
The equipment should make the lesson easier to coach: consistent box height, clean foot feedback, safe loading, and measurable progress. These links go to Elitefts product pages.
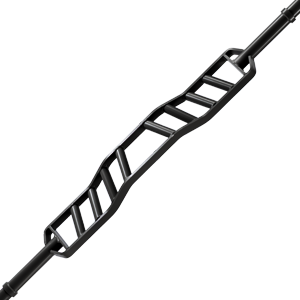
SS Yoke Bar
Best match when the goal is a safety-squat style loading position. Use the product page to check current availability.
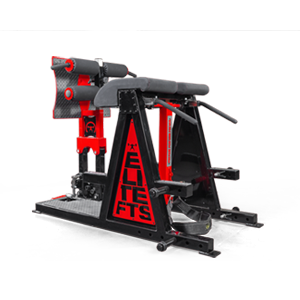
Marrs Bar 2.0
A compact specialty squat option for supported squatting, good mornings, and lower-body strength work.
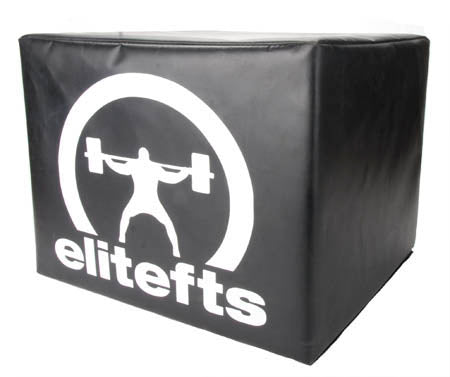
elitefts Box Squat Box
Use it to standardize height, teach position, and keep the box squat setup repeatable across athletes.
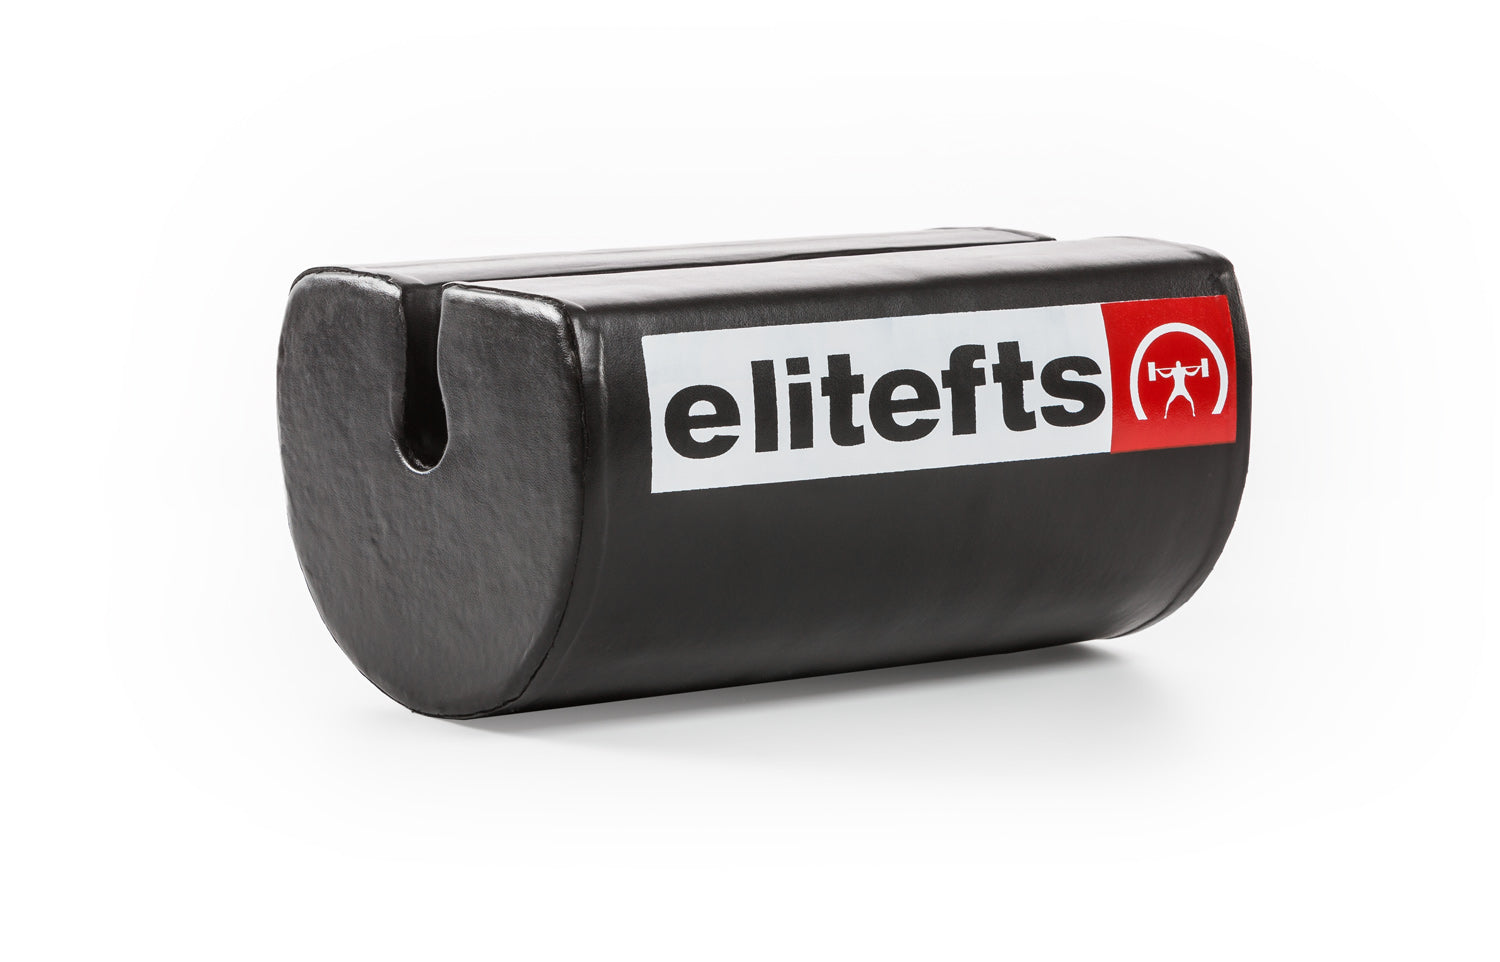
AbMat Box Squat Pad
A foam-molded pad for box squats when you want the athlete to absorb, pause, and produce force from a true stop.
Box Squat Mat
A simple way to fine-tune box height so multiple athletes can hit their best power angle.
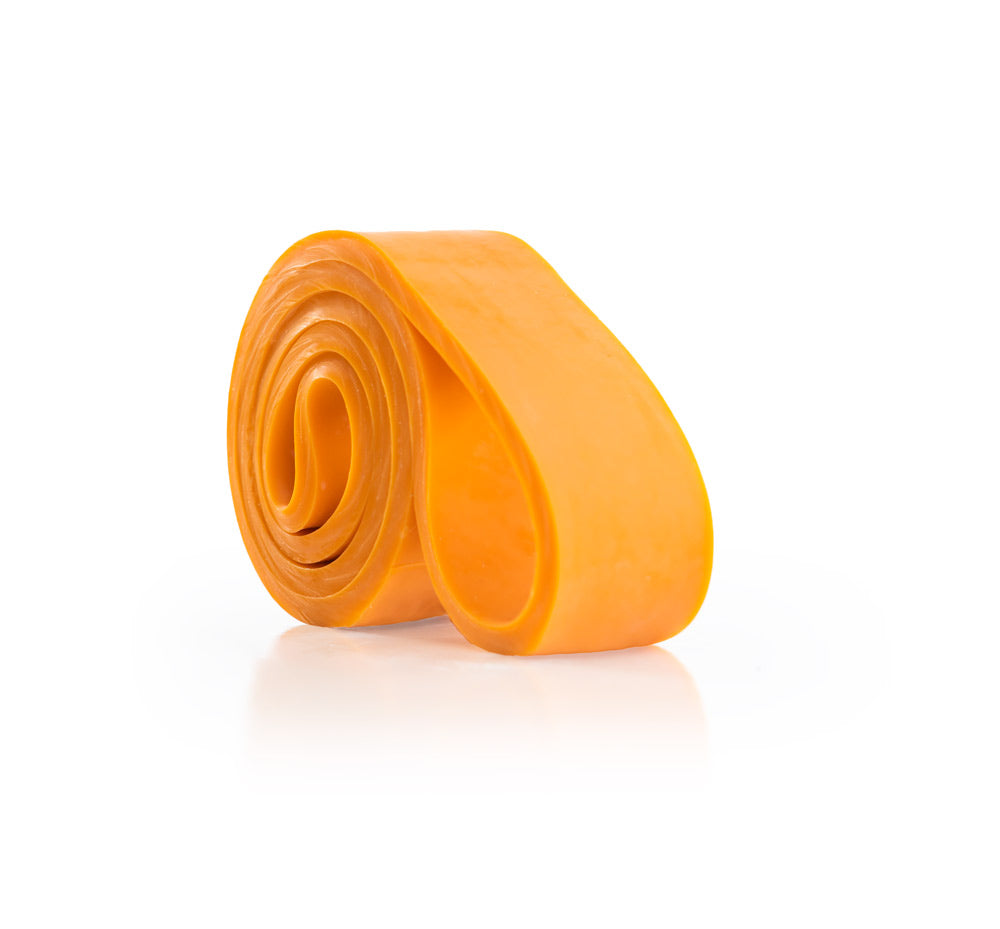
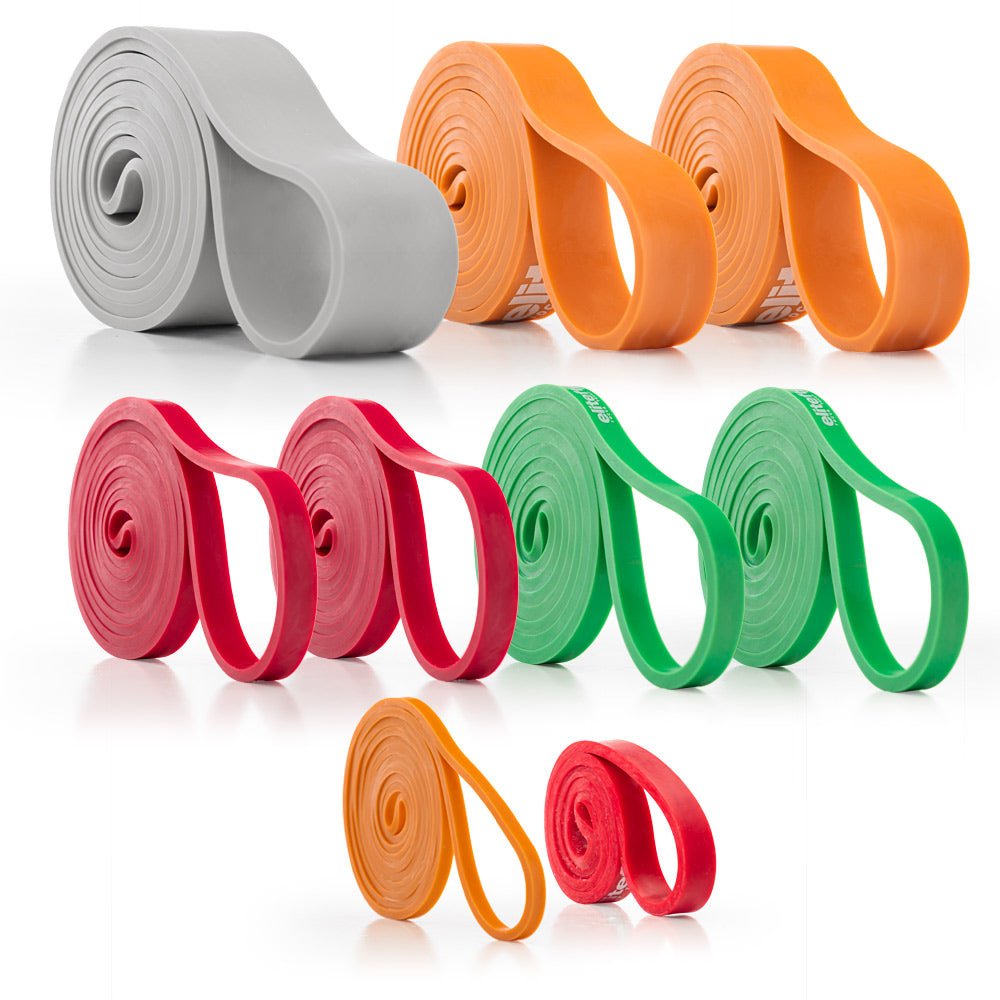
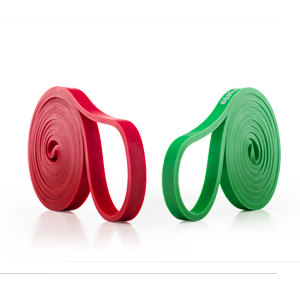
Pro Light Resistance Band
Use for dynamic warm-ups, hip prep, mobility, and speed-strength assistance work.
Pro Short Mini Band
Compact resistance for activation, mobility, and quick movement prep before jump testing.
Speed Jump Rope 10'
Use as a fast, low-footprint warm-up to dial in rhythm, ankle stiffness, and lower-body timing.
| Training need | Best fit | Why it belongs here |
|---|---|---|
| Jump-specific loaded squat pattern | SS Yoke Bar or Marrs Bar 2.0 | Supports a more upright squat pattern than a low-bar position. |
| Dead-stop concentric strength | elitefts Box Squat Box + AbMat Box Squat Pad | Lets the athlete sit, absorb, pause, and explode without bouncing. |
| Small height changes | Box Squat Mat | Helps coaches tune box height without rebuilding the setup. |
| Warm-up and activation | Pro Light Band + Pro Short Mini Band | Prepares hips, ankles, and trunk before jump testing. |
| Rhythm and timing | Speed Jump Rope 10' | Builds quick contact rhythm without complicating the session. |
Product availability, colors, shipping windows, and prices can change. The article uses direct product-page links so readers can check the current EliteFTS listing before buying.
Conclusion: Measure It, Then Make It Repeatable
In elite performance, feeling better is not enough. The jump has to measure better. A jump mat, contact grid, or reliable testing system gives the athlete real-time feedback and turns the session into a scoreboard.
That feedback loop matters. When an athlete sees the number climb, intent usually climbs with it. Now the drill is no longer abstract. The athlete knows which stance, arm path, dip, and landing produced the highest output.
Fix the leak. Own the angle. Attack the floor.
If your vertical has stalled, the missing piece may not be another max-strength block. It may be cleaner mechanics, better feedback, and one technical cue that finally lets your strength show up on the jump mat.
Watch the jump technique video again and test the normal jump, touch technique, and swoop technique side by side.