

Why "Simple" Exercises Can Still Hurt
Have you ever performed an exercise like the band pull-apart for years, only to find your shoulder health hasn't improved—or has even gotten worse? This is a surprisingly common experience. Many people diligently perform corrective exercises, but they often butcher the technique, turning a potential solution into a problem. The secret to building strong, resilient shoulders isn't just about the exercises you do, but also about how you do them.
The "magic pill" for shoulder health is a principle that our anatomy was built on: dynamic rotation. The shoulder joint thrives on rotation, yet most people perform their exercises in a rigid, straight line. This isn't a training fad; it's how our bodies are designed. As the source expert notes, our anatomy is built on "synergistic spiral planes," and our movements are healthiest when they honor this rotational design. This guide will break down the correct way to perform key exercises, moving beyond simple repetition and teaching you how to integrate the rotational patterns that unlock long-term shoulder health.
1. The Foundation: It Starts From the Ground Up
The single most common mistake people make with any upper body exercise is treating it as an isolated "shoulder thing." They completely overlook the fact that all movement begins with our connection to the ground. Before your arms even begin to move, you must create a stable base.
Follow these foundational steps before any upper-body exercise:
-
Stable Stance: Actively lock down your entire lower body. Your feet should be firmly planted, with tension through your legs and hips. This is your anchor.
-
Breathing and Bracing: Take a breath and brace your core. This creates postural stability that travels all the way up the chain from the ground to your shoulders.
- Pillar Complex: Think of your body from your hips to your shoulders as a strong, stable pillar. This pillar must be set and unmoving before the dynamic movement of the arms begins.
Without this solid foundation, any shoulder exercise is being performed on an unstable platform, which negates its potential benefits and can even introduce risk. Once you've mastered this concept of creating a stable pillar, you can begin to re-learn movements with proper technique, starting with one of the most commonly butchered exercises of all.

Re-Learning the Band Pull-Apart
The band pull-apart is meant to be a tool for postural restoration, not a test of maximal strength. To reap the benefits, focus on technique, not the thickness of the band.
2.1. Common Mistakes That Limit Progress
Here are the most common ways people get this fundamental exercise wrong.
What to Avoid
-
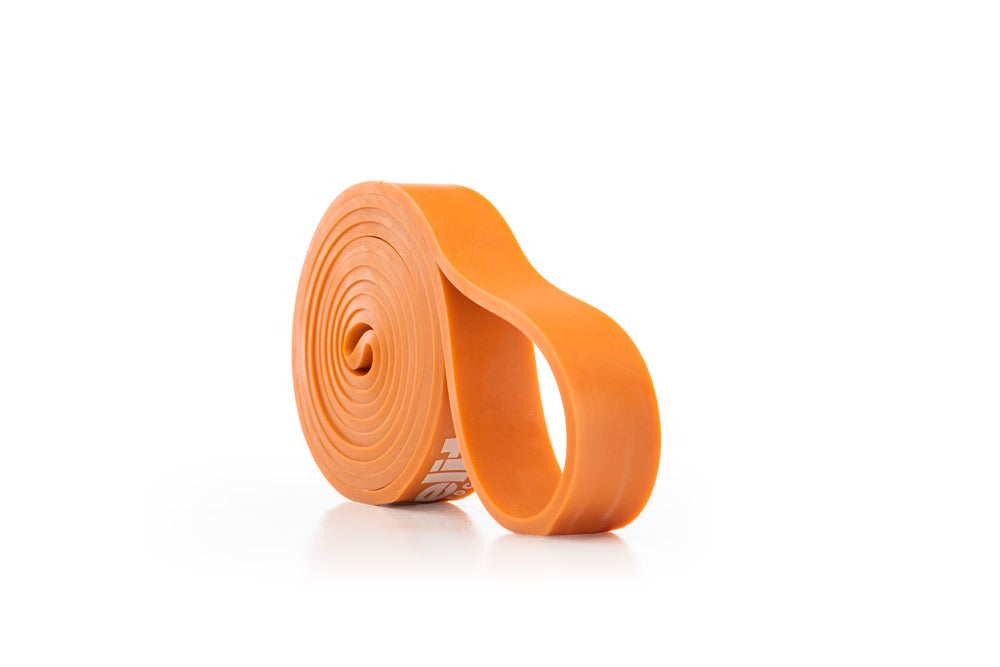
Going Too Heavy: Trying to "PR" your pull-apart with a heavy band is a classic mistake. The goal is to create tension and stability to activate the correct muscles, rather than moving the heaviest load possible.
-
No Rotation (Double Pronation): Maintaining a pronated (palms-down) grip throughout the entire movement is incorrect. This static position can cause unwanted shoulder elevation and upward rotation of the shoulder blades—the exact opposite of what the exercise is trying to achieve.
- Constant Supination: Starting and ending with a supinated (palms up) grip is, as the expert in our source material describes it, "garbage." While a supinated finish isn't bad, starting there means the relative rotation is zero. The benefit comes from the dynamic change in angle during the movement.
2.2. The Correct Way: A Step-by-Step Guide
The correct technique focuses on light tension, a precise path, and, most importantly, dynamic rotation.
|
Common Mistake |
The Correct Technique |
|
Use the heaviest band you can manage. |
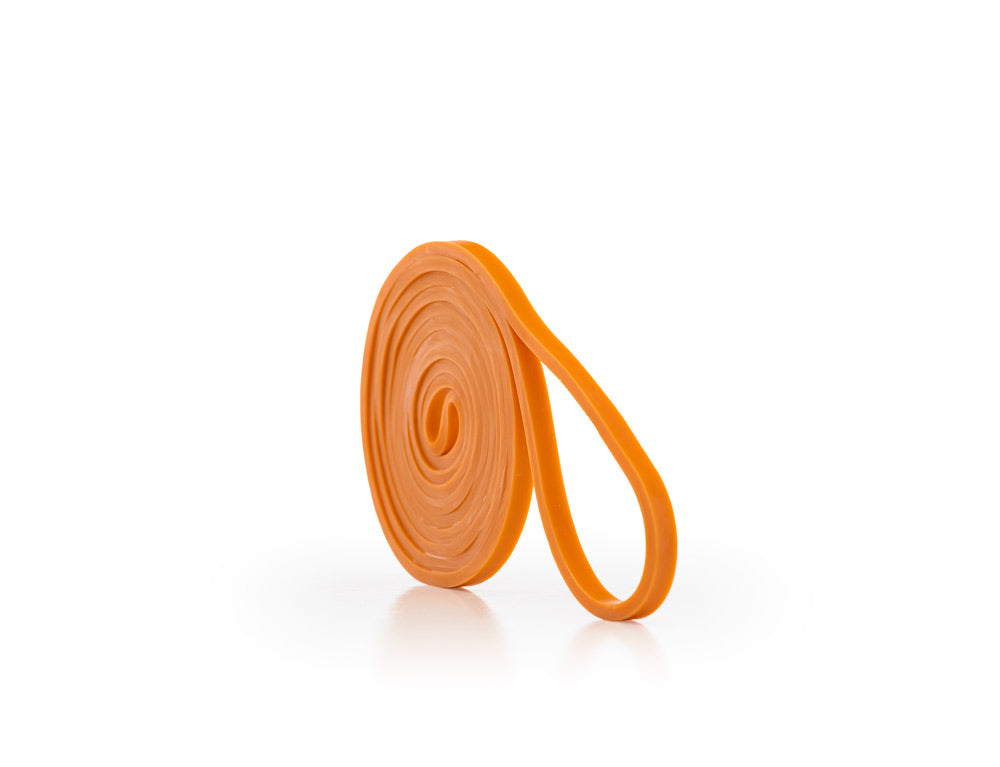
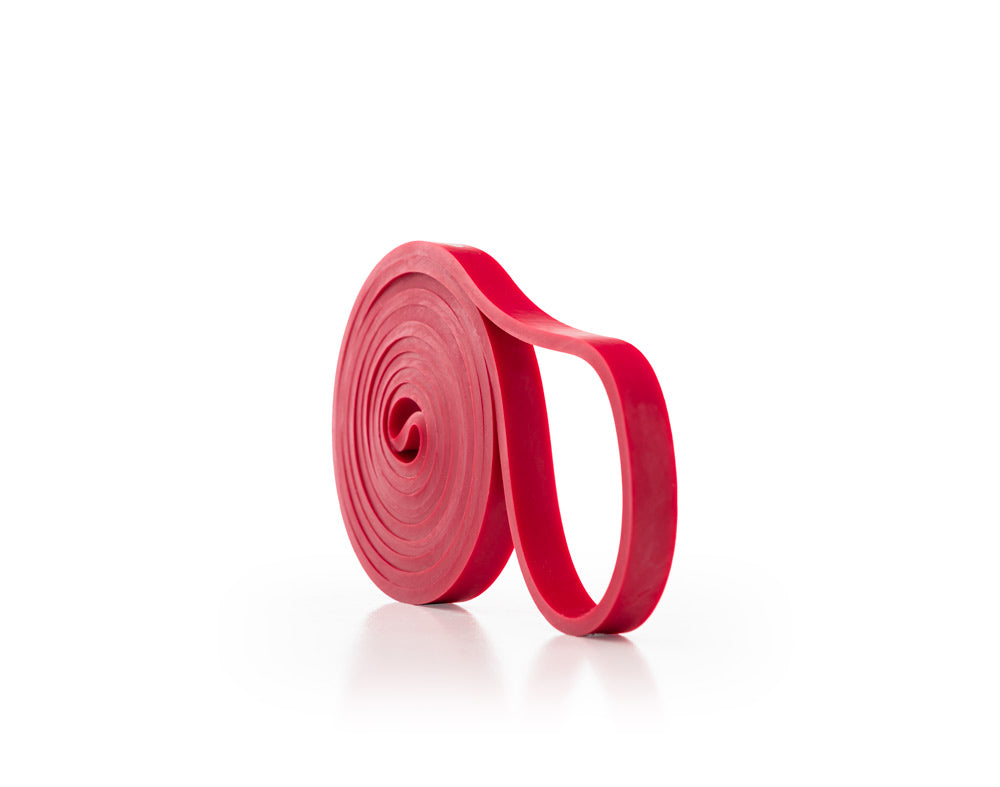
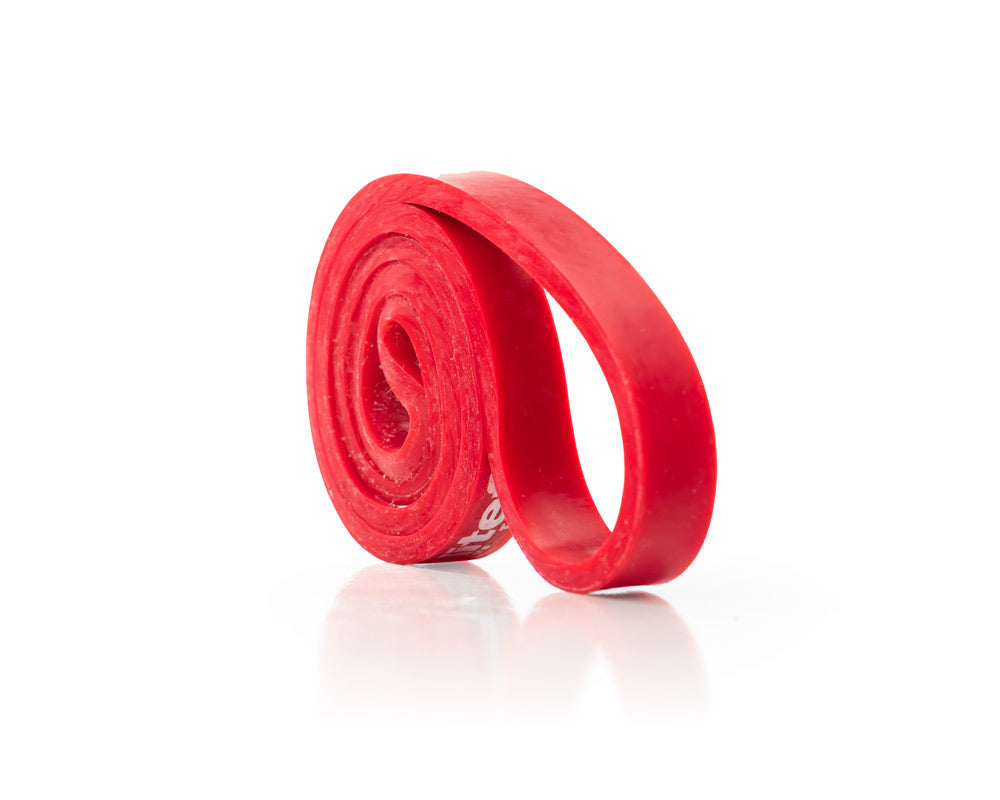
Use the lightest band you have (like an "orange micro"). The goal is tension for stability, not raw strength. |
|
Keeping a static, unchanging grip. |
Incorporate dynamic 90-degree external rotation of the hands as you pull the band apart. |
|
Pulling aimlessly in a straight horizontal line. |
Start the band at eye level and pull it down to nipple height, finishing with the band touching your chest. |
Follow this checklist to execute the perfect band pull-apart every single time.
Your 5-Step Pull-Apart Checklist
-
Setup: Establish your stable stance (feet, hips, and core braced). Hold a light band with your hands about 12 inches apart and your grip pronated (palms down). Ensure there is slight tension on the band, with no sag.
-
Starting Position: Begin with the band held at eye level.
-
The Pull & Rotate: Initiate the pull, bringing the band down towards your chest (nipple height). As you pull, rotate your hands 90 degrees externally, so your palms face forward or slightly up at the end position.
-
Scapular Movement: This external rotation is crucial because it enables your shoulder blades (scapulae) to achieve full downward rotation, depression, and retraction. You can incorporate a slight extension in your upper spine at the end of the movement to enhance the retraction.
- The Return: Control the return to the starting position. This is just as important as the pull. As you return, feel your shoulder blades glide back into upward rotation, completing the full, healthy range of motion.
This principle of integrating proper scapular movement and rotation isn't just for pulling exercises. It's equally critical for safe and effective pressing, starting with the classic push-up.

Mastering the Push-Up for Shoulder Health
3.1. Why Your Push-Ups May Be Hurting You
Many people perform push-ups with the same rigid, locked-down shoulder pattern they use for a bench press. This is a critical error. The goal of a push-up is not just to work the chest, but to allow the shoulder blades to move freely and build stability through a full range of motion.
The primary problem with a standard floor push-up is simple: the floor gets in the way. Your chest hits the ground long before your shoulder blades can fully extend through their authentic range of motion, short-changing the exercise and its benefits for shoulder health.
The Correct Way: Building a Better Push-Up
To fix this, we need to adjust the setup to prioritize hand position and range of motion.
The High-Performance Push-Up Setup
-
Elevate Your Hands: Place your hands on an elevated surface, like the sides of two kettlebells (not the handles) or a pair of stable blocks. This accomplishes two things:
- It helps normalize your natural arm angle (the humeral carrying angle), allowing for better joint centration—the ideal, most stable position for your shoulder.
- It critically increases the range of motion, allowing your chest to travel past your hands.
- It helps normalize your natural arm angle (the humeral carrying angle), allowing for better joint centration—the ideal, most stable position for your shoulder.
-
Start on All Fours: Do not start in a plank. Begin in a quadruped (all fours) position. This allows you to set your hands correctly and find the ideal shoulder angle for your body, which is typically around 45 degrees relative to your torso.
-
Create the Pillar: From the all-fours position, extend one leg back, then the other, to enter a plank. Before starting the movement, take a breath and create that strong, stable pillar from your heels to your head.
- Execute the Push-Up: Lower your body under control, allowing your chest to descend past your hands for a deep, full range of motion. Press back up powerfully. This is a "closed-chain" movement, meaning your hands are fixed, which forces your shoulder blades to work properly.
This version of the push-up is superior for shoulder health because it promotes a full range of motion and encourages healthy scapular movement, building stability and strength in a way a floor push-up simply cannot.
This focus on proper mechanics brings us to the single most important principle you can apply to all of your training.
The Takeaway Principle: Integrate Rotation Everywhere
"The shoulder is not a sagittal plane joint. The shoulder is thriving on rotation."
This is the core concept that separates effective training from simply "going through the motions." To achieve true shoulder health, you need to develop a level of awareness beyond what is commonly taught. This is a level deeper than the typical "mind-muscle connection," which focuses on feeling a single muscle work. As the source expert clarifies, a mind-muscle movement connection is about feeling the integration of the entire kinematic chain—from the tension in your hands, up your arms, and into your lats—working as a single, synergistic unit.
One of the best ways to train this principle is by incorporating more unilateral (single-arm) work, especially for pulling movements like rows.
Benefits of Single-Arm Pulling:
-
Allows for Natural Rotation: Working one side at a time frees your thoracic spine (upper back) to rotate naturally, which is essential for a healthy pull pattern.
-
Increases Core Recruitment: Your core must work significantly harder to resist the rotational forces of a single-arm row, building functional stability from your hips to your shoulders.
- Improves Mind-Muscle Movement Connection: It's easier to focus on and feel the entire chain of muscles working together, from your forearm up into your lats, when training one side at a time.
Your Path to Healthy Shoulders
Building safer, stronger shoulders doesn't require complicated exercises or fancy equipment. It requires a commitment to mastering the fundamentals with flawless technique. If you remember nothing else from this guide, focus on these three principles.
-
Stability First: All movement begins from the ground up. Before you move your arms, always lock down your feet, legs, and core to create a strong, stable pillar.
-
Embrace Rotation: The magic is in the change of angle. Instead of static grips, focus on incorporating dynamic rotation in your movements, particularly in your pulling exercises.
-
Master the Basics: Use perfect form on foundational movements. A push-up performed with a full range of motion is far more valuable for long-term shoulder health than a poorly executed bench press. Respect the basics, and they will build you a resilient foundation for years to come.