

Your Most Approachable Path to a Stronger Squat
The Zercher squat is a powerful, effective, and surprisingly accessible way to load a squat from the front (anteriorly). While it might look awkward, holding a barbell in the crook of your elbows is a fantastic tool that’s finally getting the respect it deserves. For many lifters, it’s the most approachable path to anterior-loaded squatting.
Why not just do a traditional front squat? For many of us, the front rack position demands shoulder, elbow, and wrist mobility we simply don’t have. Even if we can achieve it, the front rack can beat up our joints, take forever to warm up, and ultimately limit the amount of productive training volume we can handle. The Zercher squat bypasses these issues, offering a unique set of benefits perfect for building a more well-rounded and resilient physique.
-
Benefit 1: Build an Upright Squatting Pattern. The front-loaded position naturally forces you to keep your torso upright. For beginners who tend to fold forward in a back squat, the Zercher provides immediate feedback, helping ingrain a safer and more effective squatting pattern.
-
Benefit 2: Target Your Quads and Anterior Chain. If your training is dominated by back squats and deadlifts, it’s easy to become “posterior chain dominant.” Anterior-loaded squats, such as the Zercher, shift the emphasis to your quadriceps and other muscles on the front of your body, creating better muscular balance and well-rounded leg development.
-
Benefit 3: Strengthen Your Core and Upper Back Holding a heavy load in front of your body forces your core and upper back to work overtime to prevent your torso from collapsing. This builds incredible stability and strength that carries over to nearly every other lift you perform.
- Benefit 4: Easier to Hit Depth The mechanics of the Zercher squat shift your center of balance, often making it easier to reach full squat depth compared to a back squat. This allows you to train your legs through a greater range of motion, resulting in better outcomes.
The primary issue with the Zercher squat is discomfort in the elbows, but this is almost always unnecessary and can be easily resolved with a minor technique adjustment.
The #1 Hurdle: How to Hold the Bar Comfortably
The idea that Zercher squats have to be painful is simply not true. The discomfort most people feel comes from one common mistake in bar placement, which you can correct immediately.
-
The Common Mistake: Most people instinctively place the barbell directly in the "divot" of the elbow joint. The problem is your bicep tendon runs right through there, and putting the entire load on top of it is understandably very uncomfortable.
-
The Correct Position: Instead of the joint, find the correct spot by feel. If you trace your bicep down toward your elbow, you can feel where the bicep tendon disappears into your forearm. That point is where you want to rest the bar. This places the load on the much softer and more pliable forearm musculature, not the sensitive tendon.
- A nice added benefit of this position is that we actually get to load the biceps a little bit. We get to train arms while we're training legs, which is a great deal.
-
Discomfort Management Tips: As you become stronger and the loads increase in weight, you may want a little extra padding. Here are a few simple strategies:
-
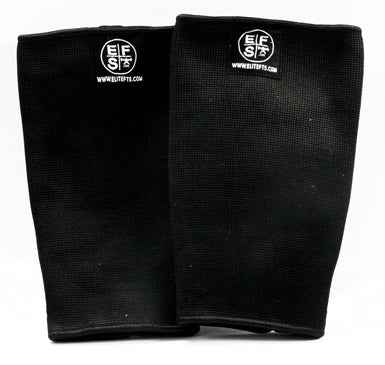
Use Sleeves: A pair of elbow sleeves or even oversized knee sleeves can provide excellent cushioning.
-
Wear a Hoodie: A simple sweatshirt or hoodie is often enough to take the edge off.
-
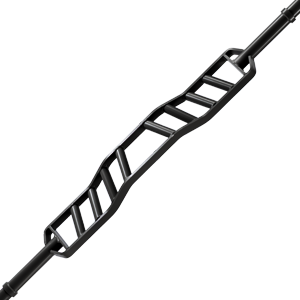
Consider an Axle Bar: If your gym has one, a thicker axle bar will spread the load over a larger surface area, reducing pressure.
- Avoid Foam Pads: Refrain from using the thick foam pads commonly found in commercial gyms. They are unstable and shift the bar's center of gravity away from your body, making the lift significantly harder and less safe.
-
Use Sleeves: A pair of elbow sleeves or even oversized knee sleeves can provide excellent cushioning.
Now that the comfort issue is solved, you're ready to learn the step-by-step mechanics of the lift.
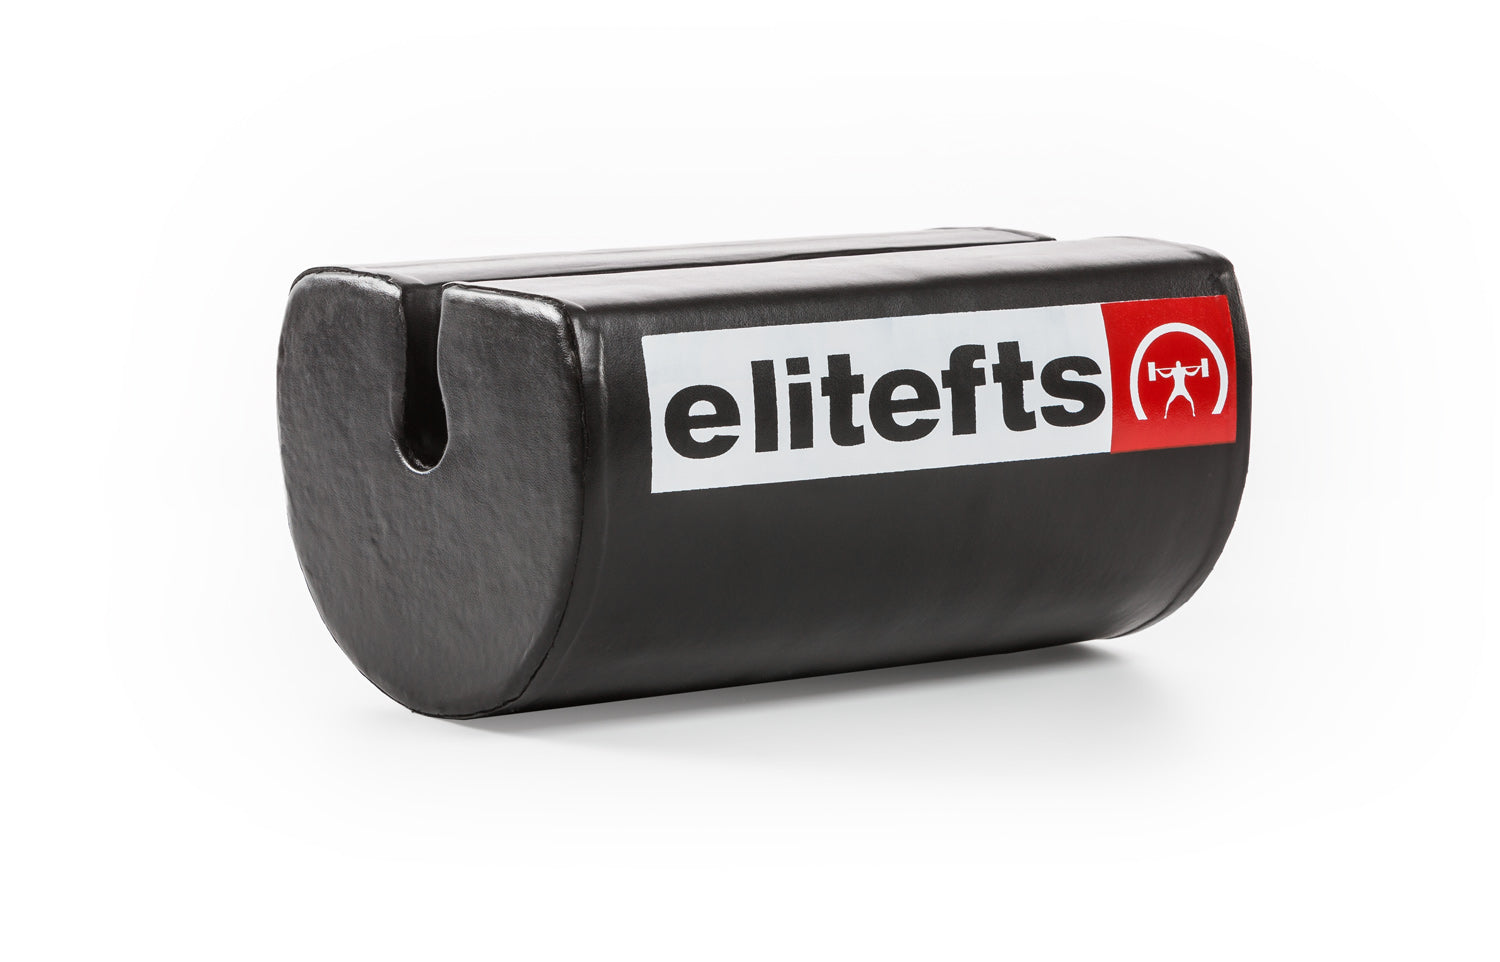
ZERCHER PAD BY ABMAT

Performing the Zercher Squat: A Step-by-Step Breakdown
Follow these steps to execute a safe and powerful Zercher squat.
1. Step 1: Set Your Grip & Bar Position
- Set the barbell in a rack at roughly sternum height.
- Place the bar on your forearms in the comfortable position described above—where the bicep tendon meets the forearm.
- Select your hand position according to your training goal.
|
Hand Position |
Primary Goal |
|
Hands Separated |
Increases stress on the upper back, creating a greater challenge for stability. |
|
Hands Clasped Together |
Creates a more stable upper back, allowing you to lift heavier absolute weight and focus on leg development. |
Step 2: The Unrack and Walkout
- Set your feet directly under the bar and establish your grip. Stand up to unrack the weight.
- Take a few small, deliberate steps back.
- The goal here is not to muscle the weight with your arms. The biggest mistake people make is trying to hold the bar with arm strength. Instead, transfer the load to your torso. Keep the shoulders down and wide, and let your elbows hang close to the midline of the body. When you relax into this position, the bar is supported by your forearms, diaphragm, and stomach—a much stronger system.
3. Step 3: The Descent
- The single most important cue for the descent is to focus on keeping the upper arm vertical. This ensures the bar stays over your mid-foot.
- Do not try to actively pull the bar into your chest. As you squat down, it is normal and correct for a small gap to form between your upper arm and your ribs.
- Descend into your squat, allowing your lower body to move while your upper body remains a stable pillar.
4. Step 4: The Ascent
- A common fault is letting the elbows flare up and away from the body when pushing out of the bottom. This destabilizes the bar and pitches you forward.
- To correct this, drive with your legs. As you push up, actively pull your shoulders down or think about "keeping your neck as long as possible."
- This cue ensures your torso remains stable and the bar path stays true, allowing you to powerfully finish the lift.
By mastering these four steps, you can perform the lift safely and effectively from day one.

Key Cues & Common Mistakes to Avoid
This table summarizes the most important technical points to focus on and the common errors you should actively avoid.
|
Do This 👍 |
Not That 👎 |
|
Rest the bar on your forearm musculature, where the bicep tendon disappears into the forearm. |
Don't rest the bar directly in the elbow "divot" on top of your bicep tendon. |
|
Keep your shoulders down and wide. Think about spreading them as wide as possible and pulling them down onto your rib cage to create a stable shelf for the bar. |
Don't try to "muscle" the bar up by shrugging your shoulders and holding all the tension in your arms. |
|
Allow for a natural, slight rounding of the upper back. This is expected in an anterior squat and is key to strengthening the upper back muscles. |
Don't try to force your shoulder blades into a retracted (pulled back) position like a back squat. |
|
Keep your upper arm vertical throughout the lift. |
Don't let your elbows flare up and away from your body as you stand up. |
By focusing on these key points, you can build confidence and master this powerful exercise.

Why the Zercher Squat Belongs in Your Program
The Zercher squat is far more than just an unconventional lift; it is a versatile and fantastic tool for building the quads and upper back, all while ingraining a proper, upright squatting pattern. For the vast majority of lifters, it's one of the most accessible and effective front-loaded squat variations available.
Don't let its appearance deter you. Now that you have the tools to perform it comfortably and correctly, go give the Zercher squat a try.