
A band over the pull-up bar works. If you have a suitable rack, moving the band to the J-hooks gives you smaller, more manageable steps toward your first unassisted rep.
If you cannot do the number of pull-ups you want, you need a way to train the movement with good reps. Repeatedly hanging from the bar and missing the first rep does not give you much work to build on.
A band can help you practice pulling yourself up and controlling the return. That is the key point in the elitefts demonstration: negative-only reps may have a place, but lowering yourself does not give you practice initiating and completing the upward phase. [8] The important part is choosing enough assistance to complete the movement without turning every rep into a bounce.
There are two useful setups: the traditional band looped over the bar, and a band stretched across the rack beneath your knees or feet. We will call them the good way and the better way. “Better” here means a practical setup choice when the rack and lifter suit it, not a claim that one method has been proven superior for everyone.
Pull-up or chin-up?
For this article, a pull-up uses an overhand grip, with palms facing away. A chin-up uses an underhand grip, with palms facing toward you. A neutral grip has palms facing each other.
All three train upper-body pulling. Choose a grip you can use comfortably and keep it consistent when comparing progress. Research has found some differences in muscle activation between grips, but that does not establish one grip as the best choice for every lifter. [1]
The good way: hang the band from the bar
This is the familiar version. A long loop band is secured around the pull-up bar, and the hanging loop supports a bent knee or a foot. The knee-supported version is the one illustrated here.
Set it up
- Use a secure pull-up bar with a smooth contact surface. Inspect the entire band first. Do not use a band with cuts, cracks or other damage.
- Pass the loop over the bar and feed one end through the other, drawing it snug so the attachment cannot slide across your grip.
- Use a stable step and assistance if needed to get into position. Place your bent knee securely in the lower loop while maintaining a firm grip on the bar. Do not jump into a stretched band.
- Keep the knee position consistent. Brace your trunk, start without swinging and pull through a controlled range you can repeat.
- Lower under control. Stop the set when you can no longer maintain your position and range. Return to the step and unload the band deliberately before removing your knee.
The main advantage is simplicity. You need a suitable bar and a long loop band, not a rack with adjustable hooks. It is a reasonable option at home or in a gym with limited equipment. Nate Harvey has previously demonstrated this knee-supported setup for elitefts, emphasizing keeping the knee in the band rather than allowing it to slip free. [2]
The tradeoff is getting into and out of it. A thick band can be awkward to pull down and position. Supporting one knee also gives you another position to control. The band can recoil if it slips off, so the setup deserves as much attention as the rep.


The better way when the rack fits: put the band across the J-hooks
Instead of hanging the band overhead, position it across the rack beneath you. The main advantage in the video is progression: lower the J-hooks a little while keeping the same band, rather than making one large jump to a lighter band.
There are two versions to distinguish. The video demonstrates both feet on the horizontal band, with straight knees and the feet slightly in front of the body. The yellow-rack photos show a separate variation with the band beneath both bent knees. Do not assume those two positions provide the same assistance or record them as the same setup. [8]
This arrangement also adds a useful adjustment: hook height. You can change the assistance without immediately changing bands, provided the band remains securely retained and within its permitted stretch.
Set up the knee-supported version shown in the photos
- Use a stable rack and compatible J-hooks that can securely retain the band under this direction of load. A rack that requires anchoring must be anchored. A barbell weight rating alone does not establish that every hook shape is suitable for this use.
- Put the hooks at the same height. Check the locking hardware and all band-contact surfaces. Avoid sharp edges, abrasive knurling and any arrangement that lets the band roll or slip off.
- Position the long loop band across the hooks as demonstrated in the reference setup. Check its retention and tension before entering. If the band cannot be retained securely, use a different supported setup rather than improvising.
- Grip the pull-up bar and enter under control, using a stable step or a training partner as needed. Center both bent knees on the supported band. Keep your feet together and your lower-body position consistent.
- Pull without kicking or driving your knees down to create extra bounce. Lower smoothly and maintain contact with the band through the intended range.
- Finish while you still have enough control to exit. Transfer your weight to the step, unload the band and then remove your knees. Never release a stretched band toward yourself or somebody nearby.
The practical benefit is a repeatable station with adjustable hook height. For someone who finds the overhead loop awkward, that can make the set easier to organize.
The straight-leg, feet-supported version
At 6:23, the demonstration shows entering one foot at a time from the box. The knees stay straight, toes point up and the feet sit slightly ahead of the torso. Keep the ribs down and trunk braced rather than arching and letting the feet drift behind you. Begin from a controlled hang and keep that posture through the pull. Entry, band retention and a controlled exit still matter. This position is the one used for the hook-height progression demonstrated at 6:58–8:18. [8]

The presenter prefers this arrangement because the demonstrated setup reduces the large change in assistance he finds with a long overhead-band stretch. Treat that as a coaching observation about the setup, not a measured force curve or a guarantee for every rack and band.
It is still a stretched band. It is not a seat, a safety strap or a reason to let go of the bar. Nor does it provide a constant amount of assistance. The band stretches and changes angle as you move. If the supported knees or feet rise to the level of the anchors, its upward contribution can become very small even while the band is stretched sideways. Keep the geometry appropriate for the whole rep.


Which elitefts bands should you use?
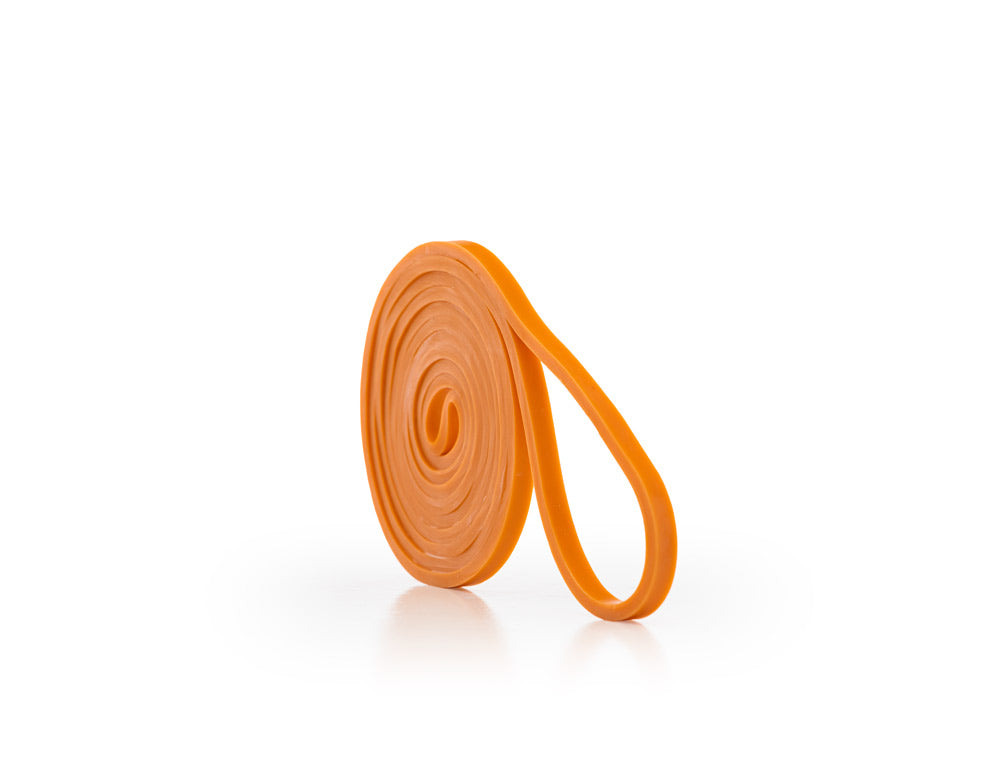
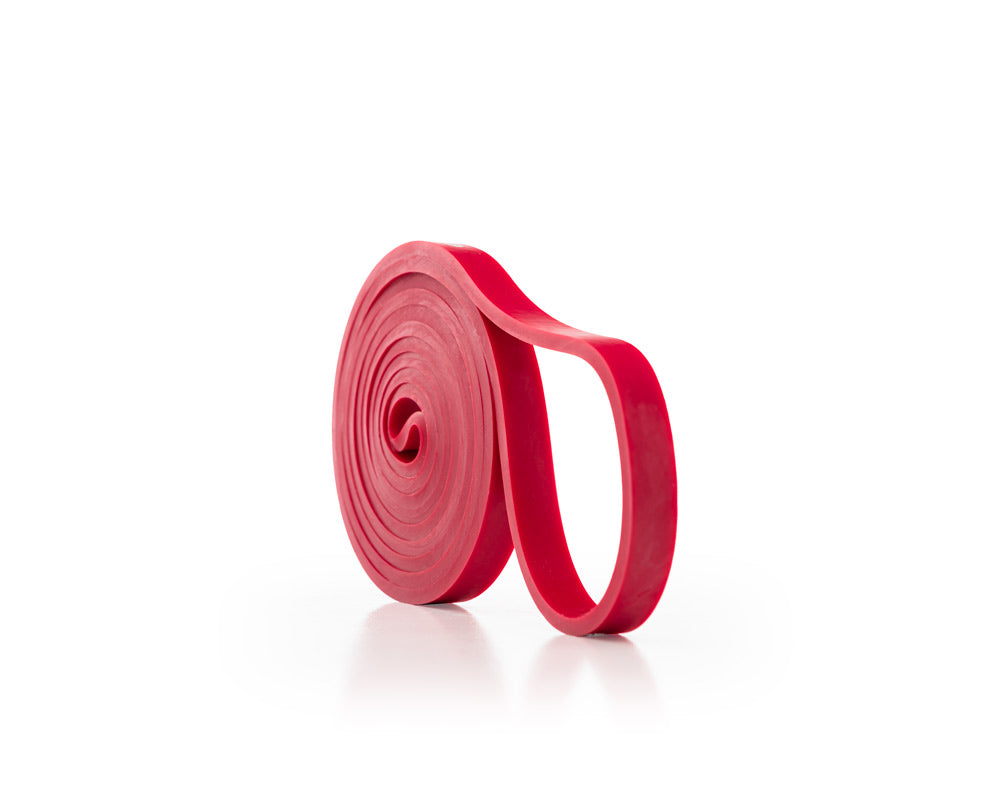
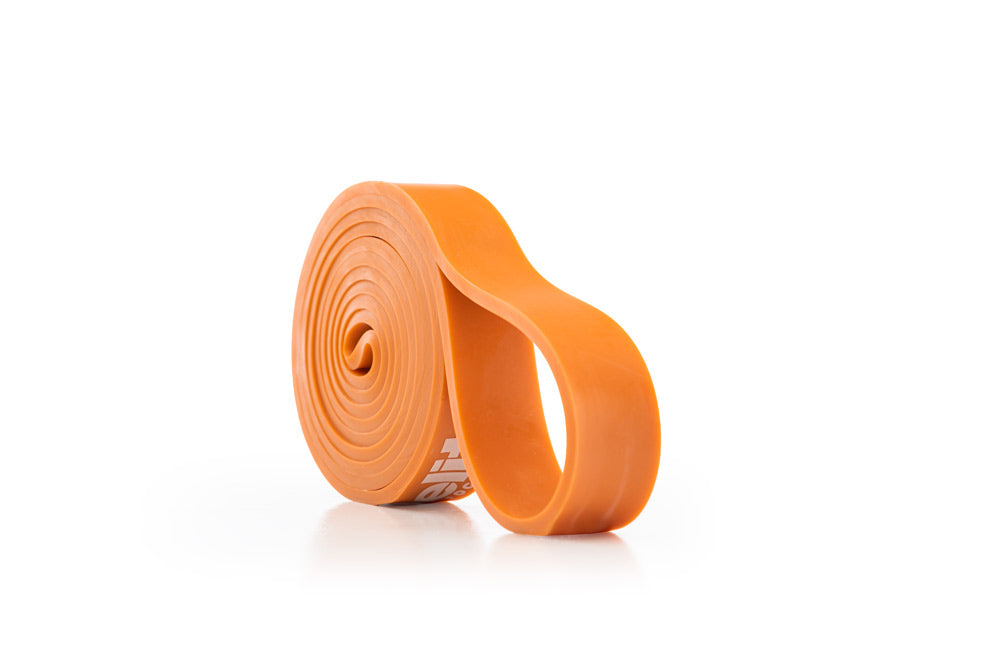
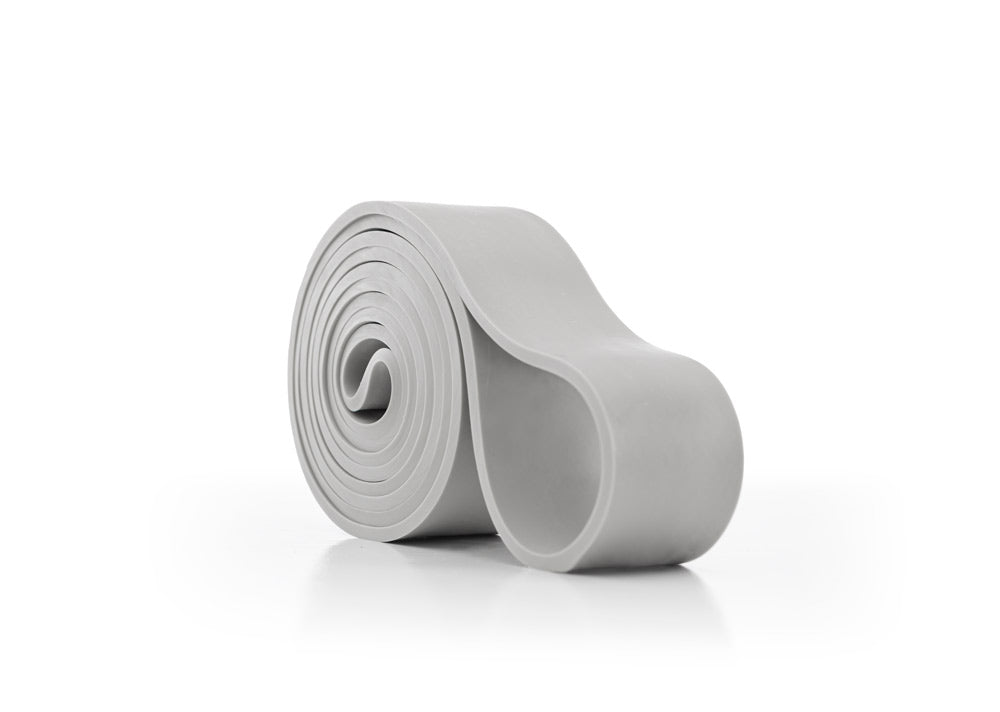
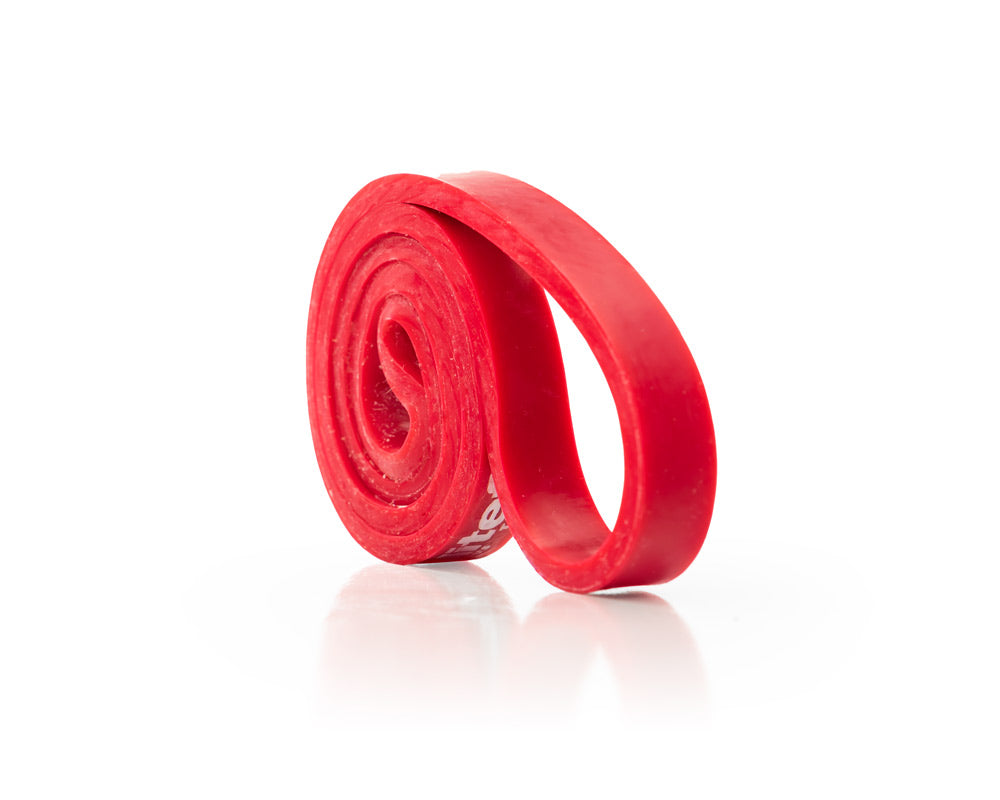
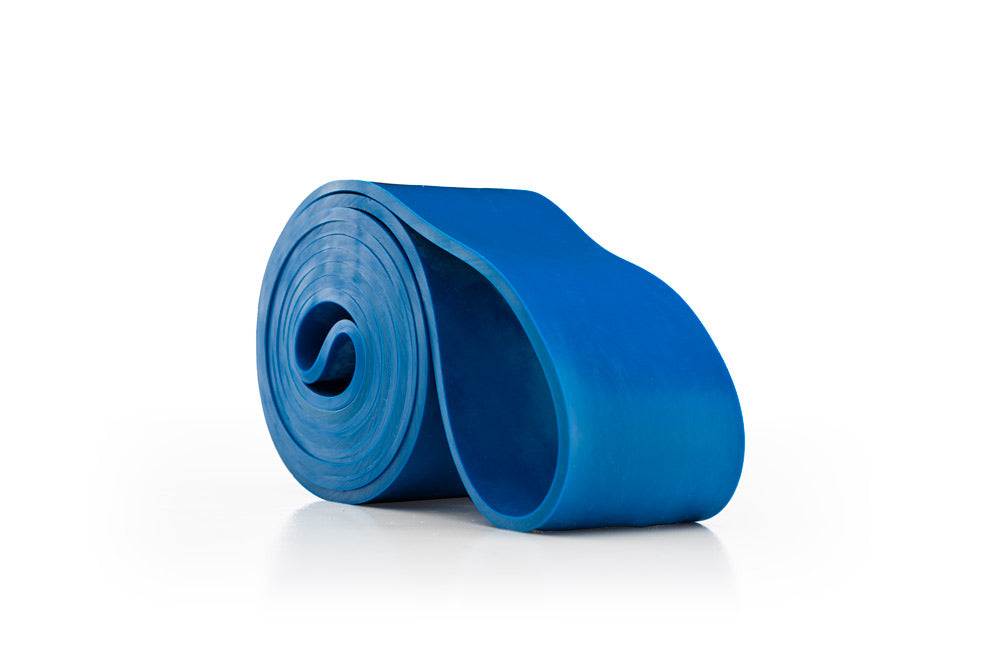
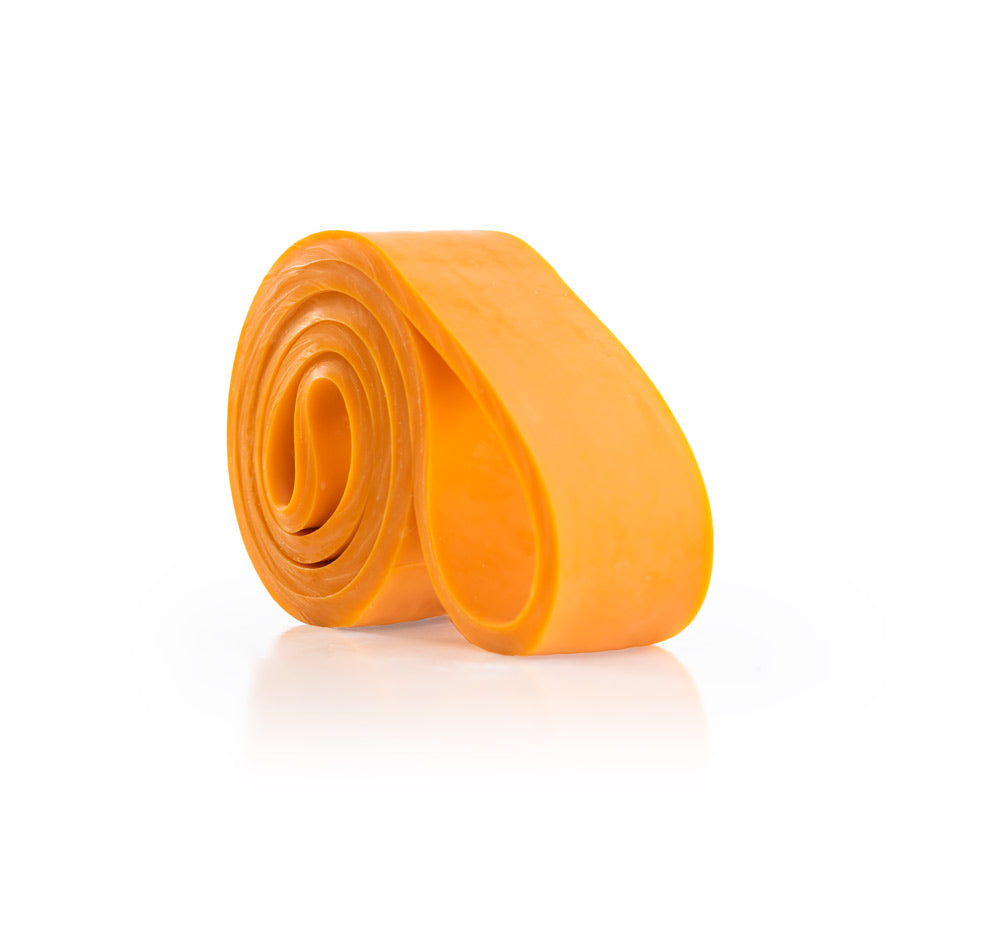
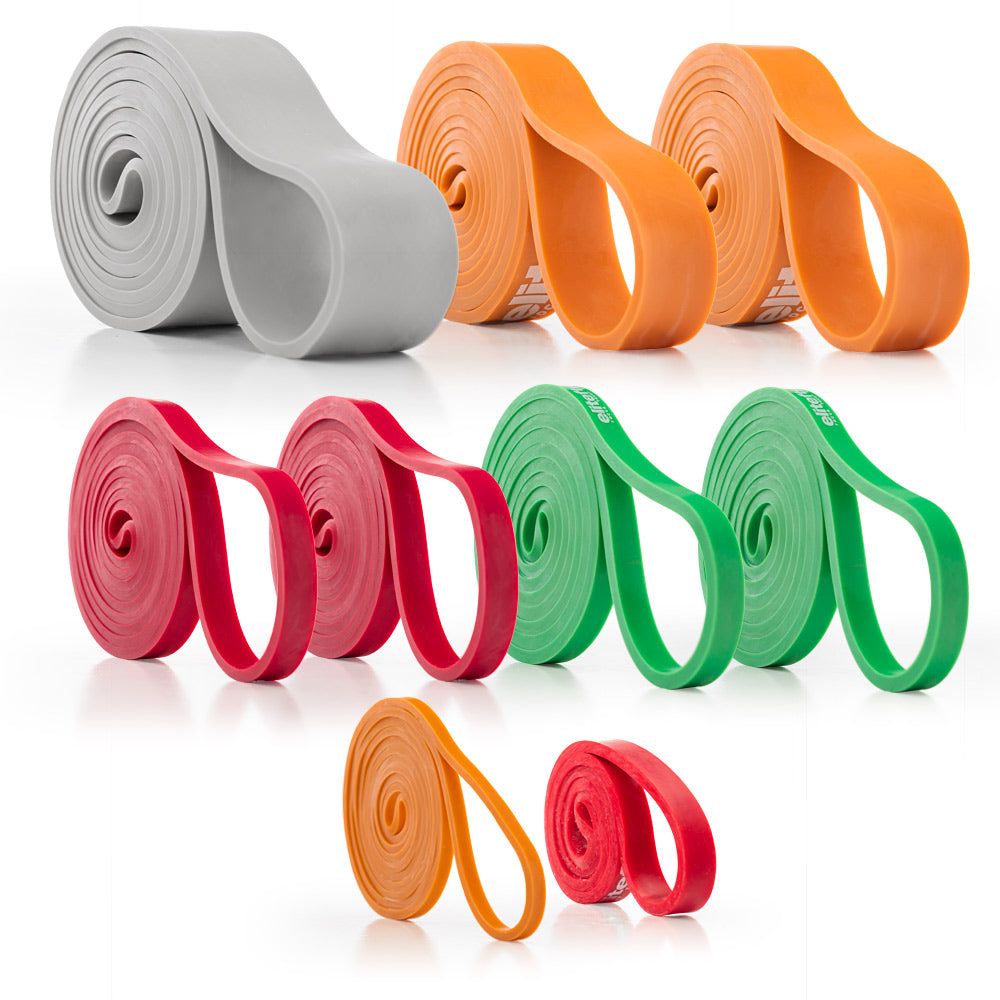
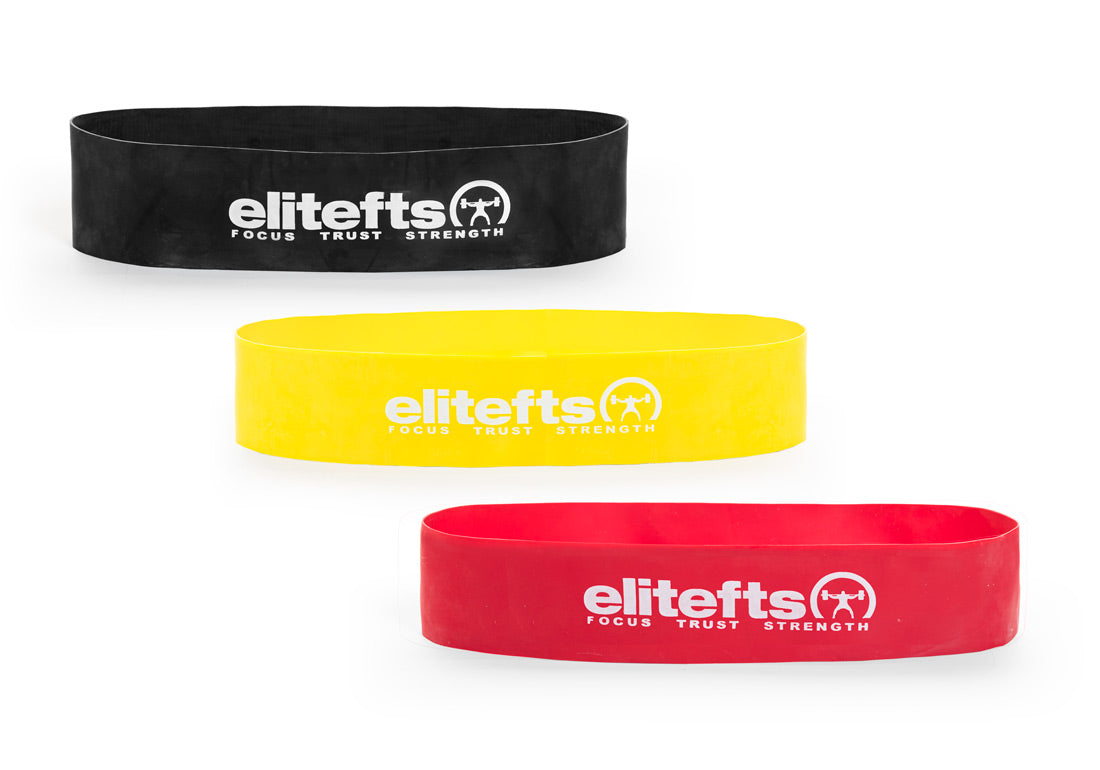
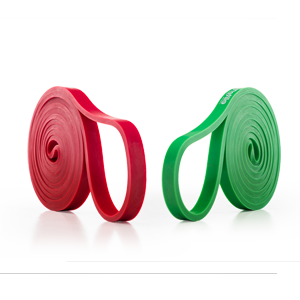
Use the 41-inch Pro loop-band family for these setups. These are layered latex bands. The short-band products, compression floss and hip-style bands are different tools and are not interchangeable with the illustrated arrangement. The product names below are starting options, not bodyweight prescriptions. [3-6]
Traditional overhead setup: The orange Pro Light is a useful first option to test when you need moderate assistance. The gray Pro Average is an option when the Light does not provide enough help for controlled reps. If you need only a small amount of help, a green Pro Monster Mini may be the better fit. Choose by the quality of the rep, not by how impressive the band looks.
Rack/J-hook setup: Test the orange Pro Light when its assistance is sufficient; it does not automatically take a thicker band just because the anchor has moved. The gray Pro Average or blue Pro Strong are options when more help is needed. The Strong is not automatically right for every beginner. Rack width, hook height, body size and whether the band supports feet or knees all affect the result. A coach should help test the configuration before you commit to a working set. The video names an orange band, not an exact product model, so these product choices are recommendations to test rather than a claimed equipment list from the video.
The goal is the least assistance that lets you complete the planned reps cleanly. If you bounce out of the bottom, shorten the range or cannot control the descent, the combination of band and setup needs to change.
Do not read a listed tension range as “this removes that many pounds from my bodyweight.” Elastic force changes with stretch; research measures it under specified test conditions. Those findings support the principle, not a numerical conversion for these elitefts pull-up setups. [7] A band calibration chart only applies to its stated arrangement, band count and stretch. The overhead and horizontal arrangements are not equivalent tests.
Turn the setup into a progression
Pick one grip, one band and one setup you can reproduce. Record the band model, whether support is under a knee, both knees or the feet, and the hook position when using the rack. That is more useful than writing down an unverified assistance number.
Choose a rep target you can repeat with control and build it before reducing assistance. The video gives four to six pronated-grip reps as one example of a milestone before switching to a thinner band and restarting with an easier grip. It is an example, not a mandatory threshold for every lifter. [8]
Change one variable at a time. Use a lighter band, or make a small hook-height adjustment after checking the setup. The video also shows grip as a progression option: a close underhand chin-up, then a wider underhand or neutral grip, then a shoulder-width overhand pull-up. That order is a coaching progression, not a rule that every lifter must find those grips equally comfortable or in that exact difficulty order. [8] With the supported knees or feet below the anchors, lowering the hooks generally reduces the band's downward deflection and upward assistance. Confirm the effect through the whole movement rather than assuming each rack hole equals a fixed number of pounds.
For the overhead setup, the video offers another progression: both feet, one foot, both knees, then one knee, followed by a thinner band and a return to more assistance. Those are changes in setup, not fixed assistance increments. The actual change depends on how far the band stretches and how you position yourself; simply removing one foot does not guarantee a particular reduction. Do not force a body position or over-stretch a band to follow a progression chart. [8]
Keep some practice specific to your goal. If you can perform clean unassisted reps, do those while fresh before using the band for additional work. If you cannot, use the assisted version to practice both pulling up and lowering. Retest without assistance periodically, but do not turn every session into repeated failed attempts.
Make the reps count
- Keep the same grip and body position when judging progress.
- Use a controlled start rather than a rebound from the band.
- Complete a range you can control without reaching your chin forward just to claim the rep.
- Stop if the band moves out of position or the rack hardware shifts.
- Do not train through sharp or worsening pain. Change the exercise and seek appropriate help when needed.
The traditional band-on-the-bar method can get you useful work. The rack method gives you another way to make that work easier to set up and adjust. Choose the version you can control, track it and earn the next reduction in assistance.
Watch the demonstration, then choose the band that fits your setup and your reps.
Watch the pull-up progression
Watch the full elitefts pull-up progression on YouTube
4:27 — Band-assisted progression · 6:23 — Straight-leg setup · 6:58 — Hook-height progression · 8:34 — Grip changes · 11:35 — Overhead-band options
Build the reps. Then reduce the assistance.
The Pro Light is an option for both setups when it gives you enough help for controlled reps. Choose the band for your setup and current strength, not a fixed bodyweight formula.
Sources and further reading
1. Youdas et al. (2010), grip comparison and muscle activation: Read the grip-comparison study . Acute EMG findings do not prove long-term superiority or compare these band setups.
2. Nate Harvey, “DAILY MOVEMENT - Band Assisted Pull Ups”: Nate Harvey’s band-assisted pull-up demonstration
3. Pro Light, 41-inch orange layered latex: Pro Light product details
4. Pro Average, 41-inch gray layered latex: Pro Average product details
5. Pro Strong, 41-inch blue layered latex: Pro Strong product details
6. Pro Monster Mini, 41-inch green loop: Pro Monster Mini product details
7. Uchida et al. (2016), force measured at different elongations: Read the elastic-force study . Tested Thera-Band products, not elitefts loop bands; cited only for the stretch-dependent force principle.
8. elitefts, “Build Pull-Up Strength Fast With This Progression”: Watch the full elitefts demonstration