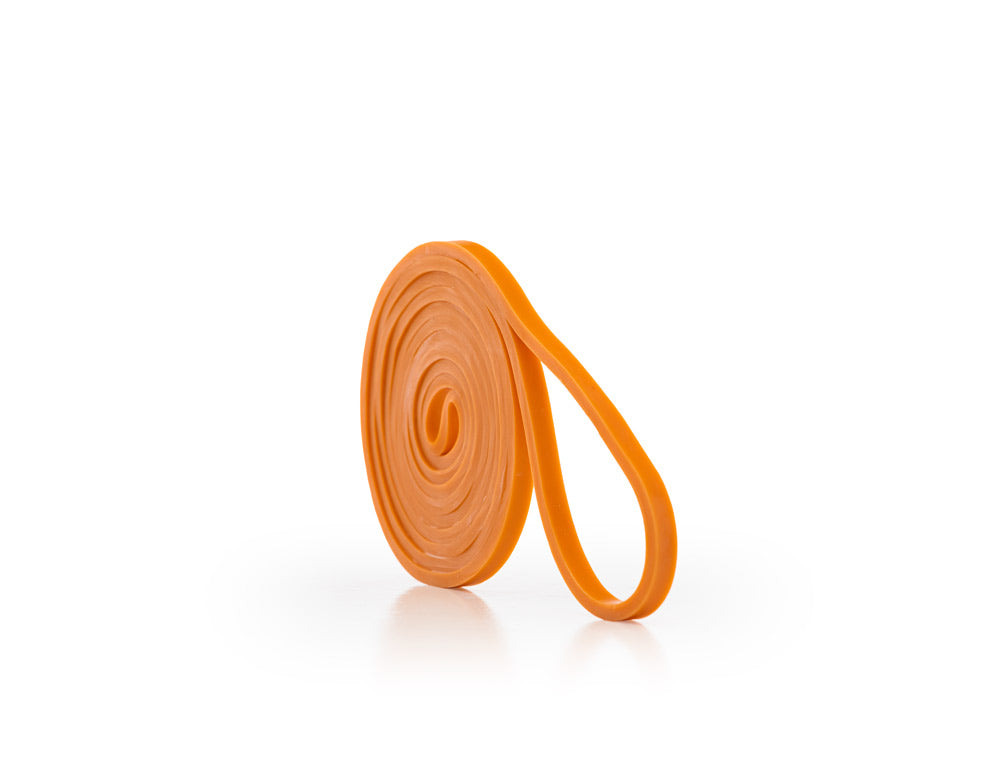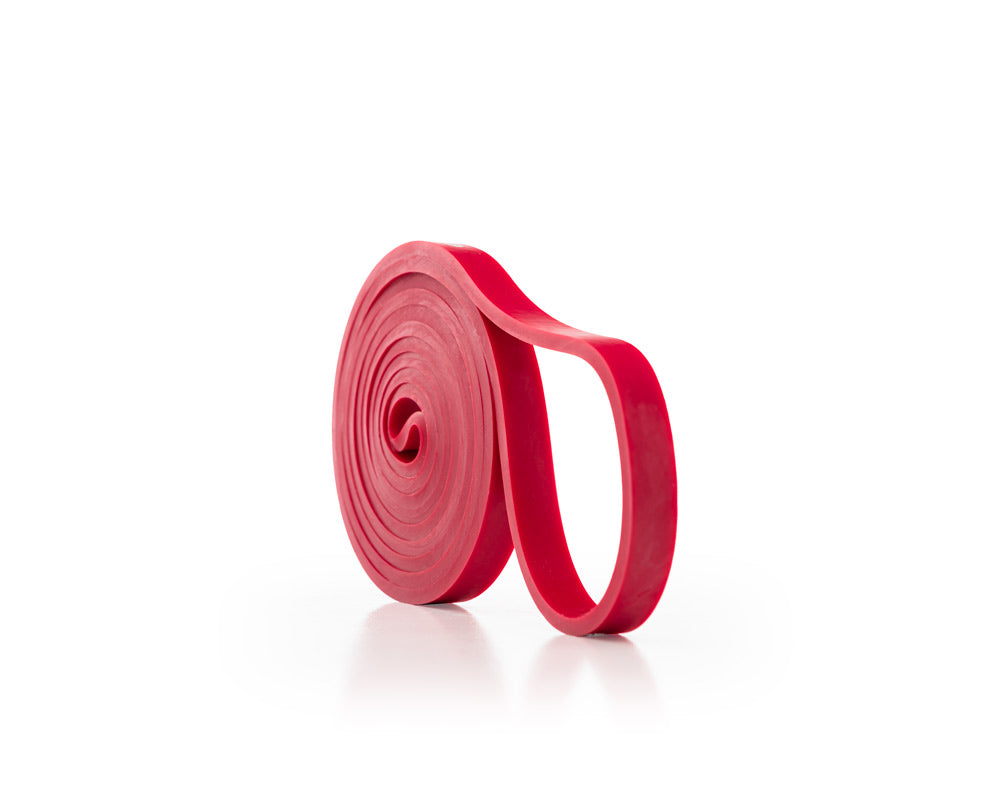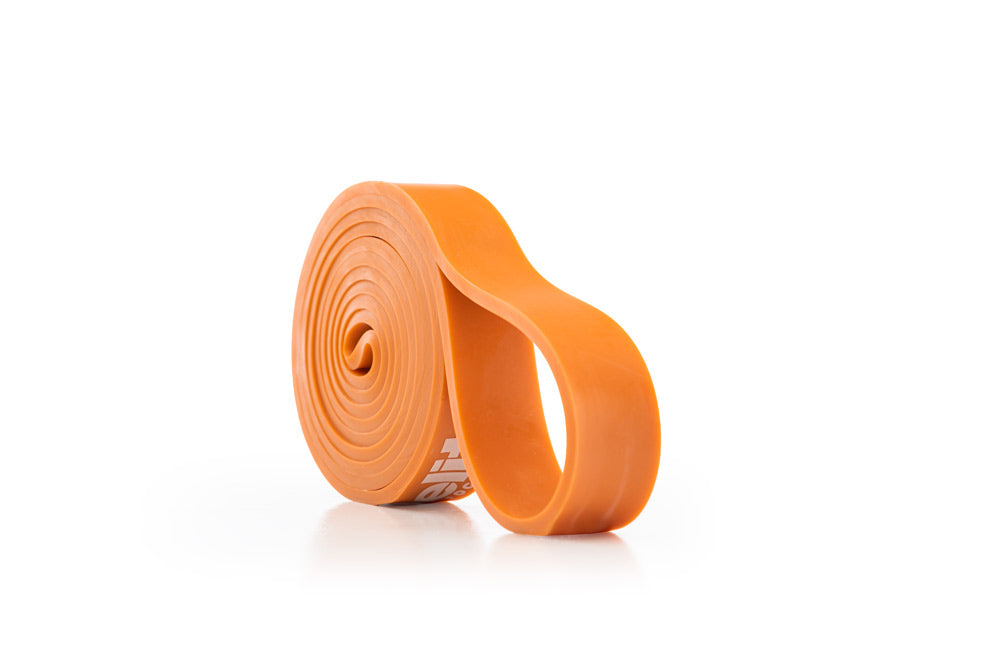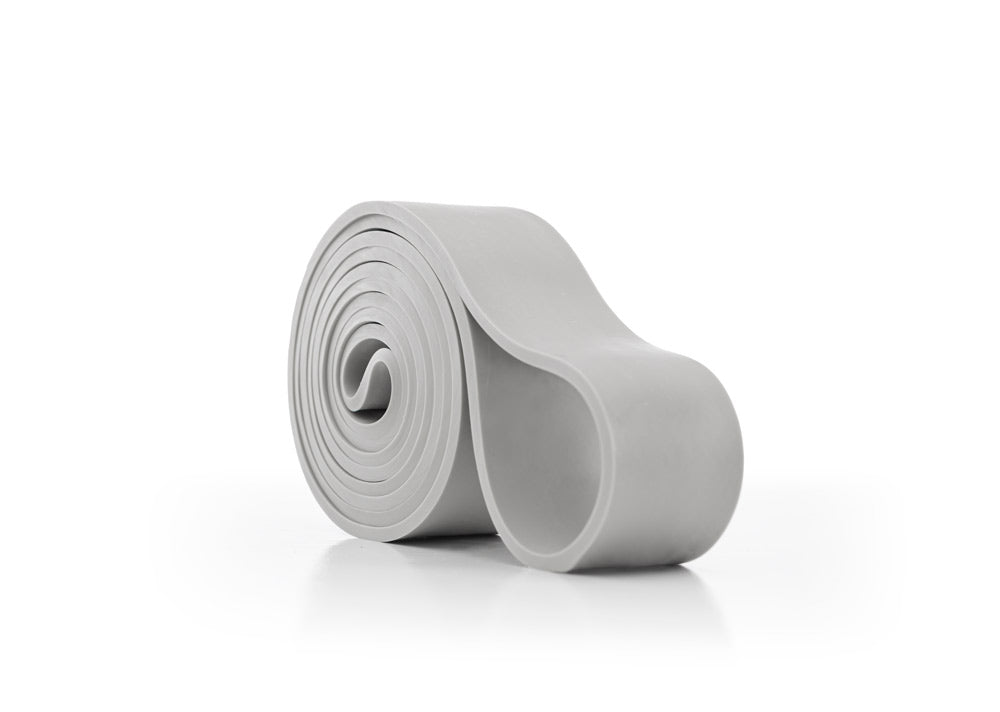

TL;TR: Choose a band by the exercise, attachment distance, and resistance you can control. Long bands give you more length for anchors and larger movement paths. Short bands fit compact setups and many accessory exercises. Short does not mean light. Check the full movement, distinguish resistance from assistance, and read the calibration charts correctly: the charts below measure two bands in specific barbell setups, not one band in every exercise.
The question is not which band is best. It is which band fits the job.
A band for a hand-walking drill does not need to be the band you use for a heavy deadlift. A band looped around your wrists during a press is doing a different job from a band pulling the bar toward the floor. And a short band is not just a cheaper or lighter version of a long one.
Start with the movement you want to train. Then choose the length, the attachment, and the resistance. That order saves a lot of guessing.

Long vs. short: what changes?
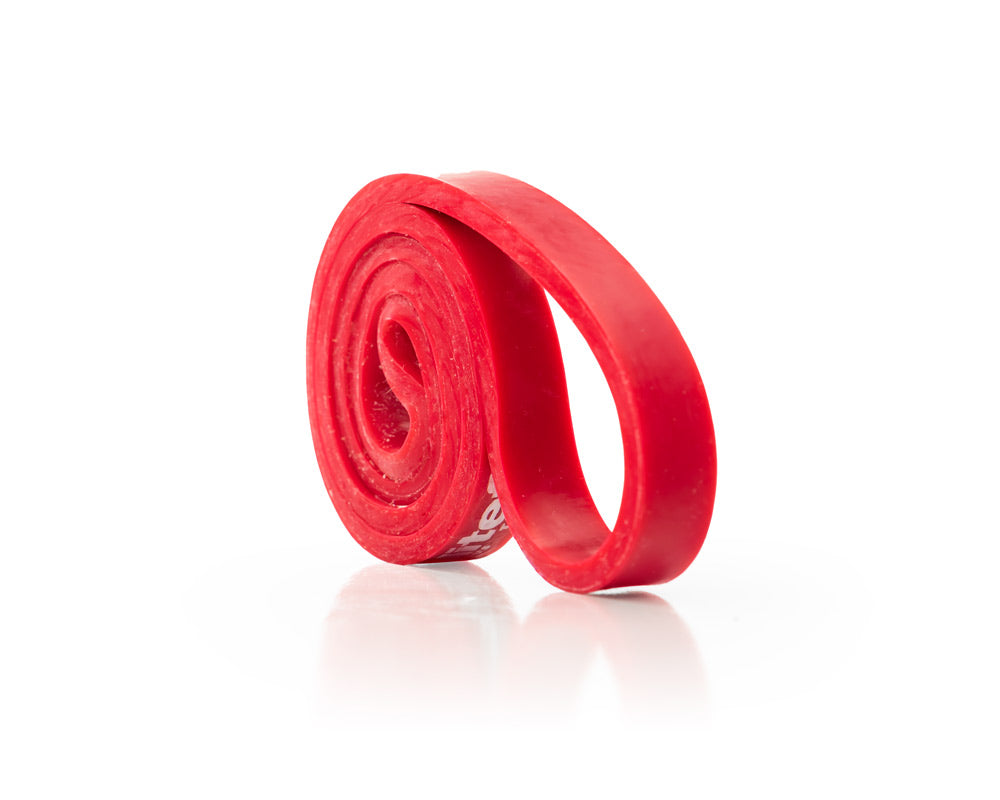
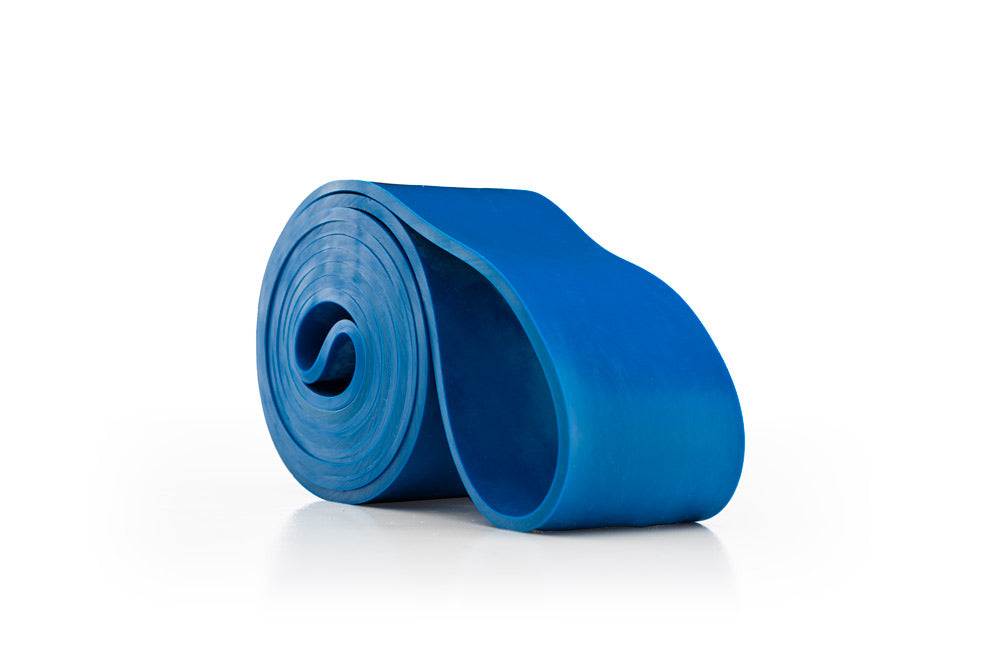
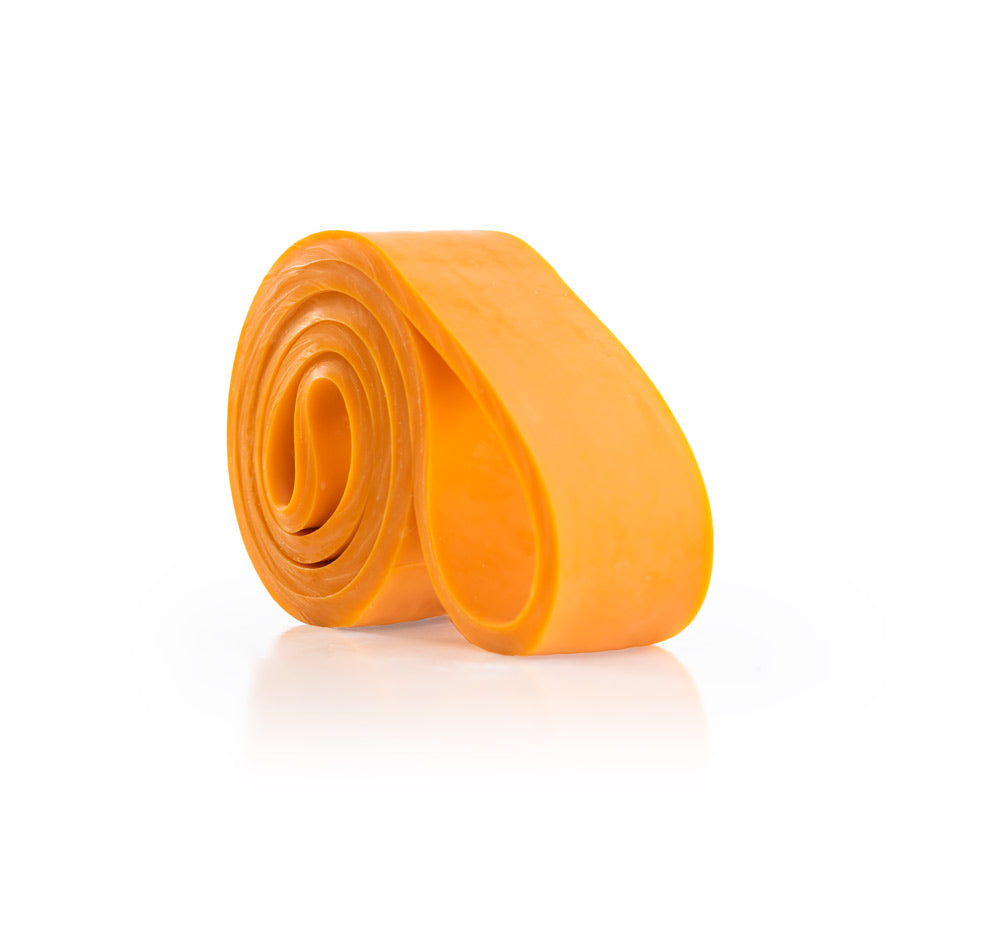
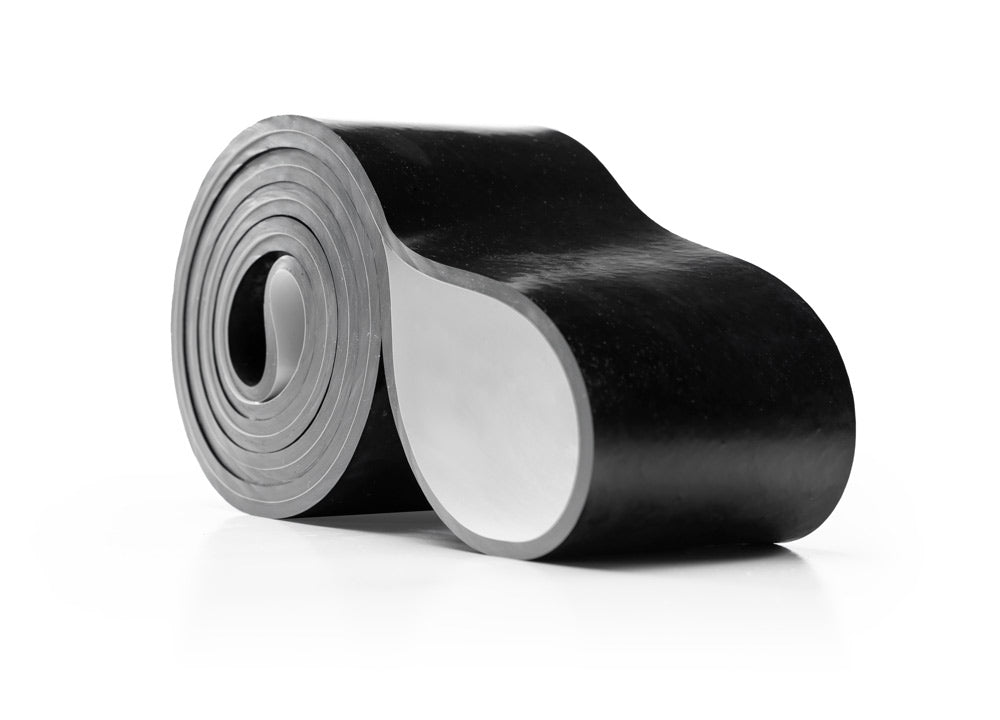
For a concrete comparison, the elitefts Pro Mini is listed at 41 inches long, while the Pro Short Mini is listed at 12 inches. Those are product dimensions, not a recommended stretch distance and not a promise of equal resistance.
Long bands give you more material to work with when you need to reach an anchor, route a band around a base, or cover a larger movement path. They can be useful for rows, pushdowns, warm-ups, appropriate assistance work, and barbell setups.
Short bands can fit closer attachment points without taking up as much slack. They have applications in compact barbell setups, hand-walking drills, pressing accessories, and lower-body work. The Band Built manual includes short-band pressing and deadlift uses, as well as short-band split squats.
There is overlap. The exercise name does not automatically determine the band length. Your equipment, limb length, stance, and range of motion still matter. Do not force a short band into a long-band route or keep wrapping a long band until it happens to feel heavy enough.
Make four decisions before you buy
- What is the job? Added resistance, assistance, or a positioning cue?
- How far must the band reach? Include the attachment route and the whole movement, not just the starting position.
- Where will it attach? Verify compatible equipment, stable anchors, and a clear band path.
- How much resistance can you control? Start light enough to keep the intended movement. Add resistance only when the setup and reps remain repeatable.
For barbell work, also account for the weight already on the bar. For assisted work, remember that more assistance changes the exercise in the opposite direction. A heavier band does not always make the task harder.
Pressing and triceps work: different band arrangements

With a band running from a low anchor to the bar, the band contributes downward resistance. Match the route on both sides and test the chest position, lockout, unrack, and rerack. A short route and a doubled long-band route may both be possible on suitable equipment, but they will not automatically produce the same tension.


The wrist-loop arrangement changes the direction of the band’s pull. Treat it as a separate variation. Do not add a number from a barbell calibration chart to the weight on the bar and call that the load for this exercise.

This photo shows dumbbell triceps extensions with a short band, rather than a dumbbell press. Choose a resistance that lets you keep control of both dumbbells and the band. A photo shows one moment; it does not establish the correct starting load or every detail of the repetition.
Dave Tate: Pro Short Band Demonstration
The Elitefts Archives description identifies Dave Tate demonstrating uses for Pro Short Bands. The Band Built manual points to short-band applications in pressing, shoulder accessories, and deadlifting. Watch the demonstration for context rather than treating every variation as a starting exercise.
Lower-body work: match the band to the movement

The accommodating-resistance manual describes platform-anchored pulls and reverse-band deadlifts. Band Built also discusses short- and long-band hinge applications. These are choices, not interchangeable loading systems. Check stance, foot contact, bar path, and the band’s full travel before loading.

The split-squat example shows why a short band can be useful outside the rack. You can add resistance to a lower-body accessory without needing the same amount of band material as an overhead rack attachment. Start with controlled repetitions; the difficult finishers in a manual are not required to learn the setup.

A band around the legs can provide feedback during a warm-up or accessory. Use it for a specific purpose rather than assuming every lifter needs one. Keep a stance and movement you can control without forcing a position.

Machine attachments need their own check. A band changes forces on the lever, attachment points, and frame. Do not assume an unused peg or convenient opening is designed to carry that load.
Short Band Dead Testing
Mike Harris and Christian Mello test heavy short-band deadlift setups in this Elitefts Archives footage. Contains profanity. This is testing footage, not a beginner loading prescription. Historical descriptions of the strongest band do not establish current product resistance.
Short bands for hand-walking drills
Short-band work does not have to revolve around a barbell. These elitefts demonstrations provide three examples of hand-walking variations. Use enough resistance to create the intended task without losing control. Keep the working area clear and choose a stable surface.
Short Band Spider Crawls
Watch elitefts’ short-band spider-crawl demonstration. Use it as an exercise example, not a claim that one band or progression suits every lifter.
Resistance Band Hand Walking Onto a Pad
The video description identifies Julia Ladewski performing hand walks onto an Airex pad with a Pro Short Mini Resistance Band. The pad changes the task; establish control before making the surface or resistance more demanding.
Lateral Resistance Band Hand Walks Through a Ladder
Julia Ladewski demonstrates lateral hand walks using a Pro Short Mini Resistance Band and a rigid-rung ladder. The description calls for working in both directions. Keep the drill controlled rather than rushing through it.
Use bands for rows and other accessories
Rows, pushdowns, and other accessory movements are another reason to keep bands available. Pick the anchor and length that let you train the intended movement through a controlled range. Move farther from an anchor and you may change the resistance before the first rep even starts.
Suitcase Rows With Bands
Watch elitefts’ band suitcase-row demonstration. The title identifies the movement; it does not establish a specific band model or a measured load. Choose your own resistance from the setup and the quality of the reps.
You do not need every variation in one session. Pick the exercise that serves the day’s training, record the setup, and keep it consistent long enough to judge the result.
Read the resistance numbers correctly
The Pro Mini’s single-band product-summary range used here is 10–35 lb. That range is not a constant load throughout a rep, and it is not the same measurement as the calibration charts below. It also does not describe the Pro Short Mini.
Both charts below report two bands in specific barbell arrangements. They are not one-band charts, universal pull-up assistance charts, or maximum safe-stretch instructions. “Length” in these tables is the measured setup distance described below, not the unstretched product length.
Long-band chart: bands choked around a 4 × 4-inch base. Distance measured from the bottom of the base, at the floor, to the center of the bar. The displayed distances run from 36 to 84 inches.

Short-band chart: distance measured from the center of the pin to the center of the bar. The displayed distances run from 24 to 50 inches. These values also represent two bands.

For example, the long-band chart lists 25.5 lb for two Mini bands at its 36-inch reference. The short-band chart lists 47.2 lb for two Mini bands at its 24-inch reference. Those are different setups and measurements. They are not a direct test of how one long band compares with one short band in your exercise.
Changing the choke, anchor distance, number of bands, or range of motion changes the setup. Measure your actual arrangement when precise loading matters. Record whether the measurement is per side or combined, and keep bar weight separate from band resistance or assistance.
Keep the bands organized and inspect them


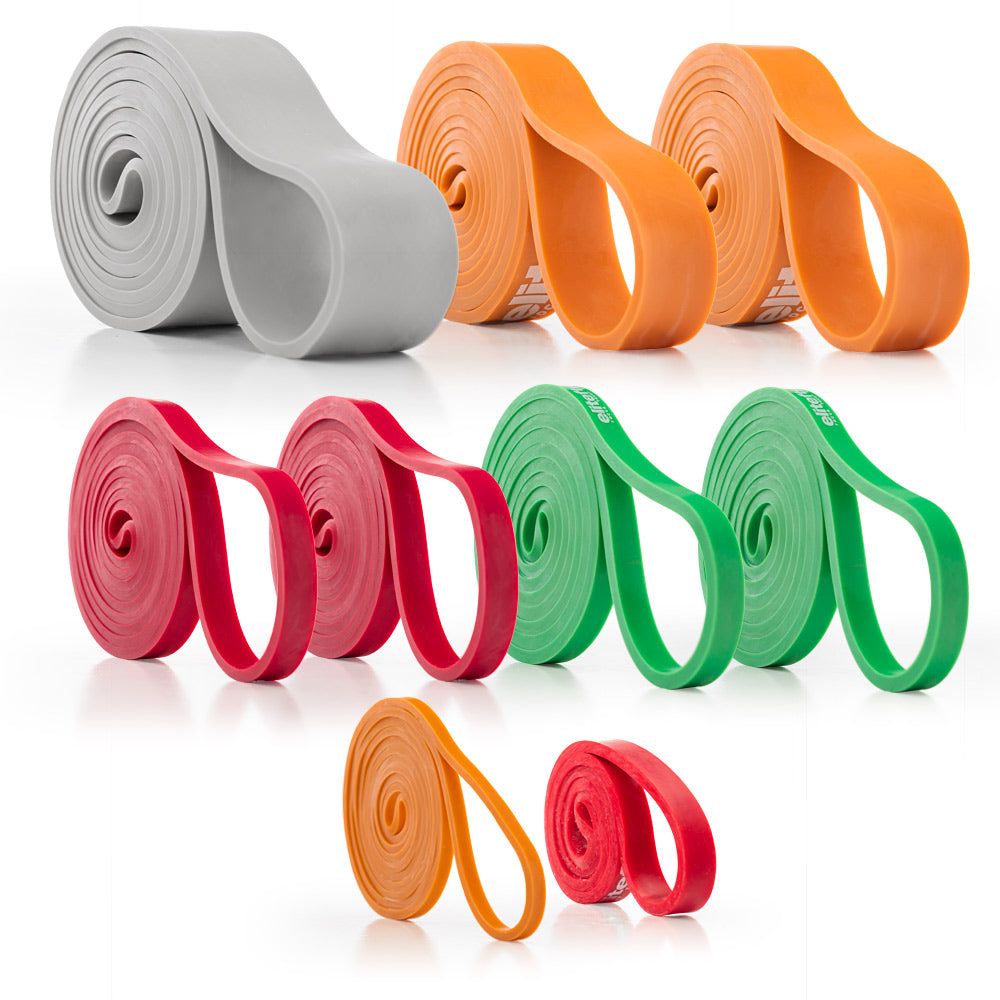
Keeping long and short bands sorted makes it easier to repeat the same exercise setup. Check each band before use. Remove bands with cuts, tears, or other damage from training, and keep them clear of sharp edges, abrasion, and pinch points.
These bands contain latex. Account for latex sensitivity. Bands do not replace appropriate safeties or spotters, and a heavier band does not make an unstable anchor acceptable. Stop and change the exercise if you cannot establish a secure, controlled setup.
Choose your starting options
Buy for the exercises you will actually use. A pack gives you choices, but owning more resistances is not a reason to start with the heaviest one. Check the current listing for purchase contents; a product sold individually is not automatically a matched pair.
Pro Mini Band
A 41-inch long-band option. The single-band summary range used here is 10–35 lb; actual resistance depends on stretch and routing.
Pro Short Mini Band
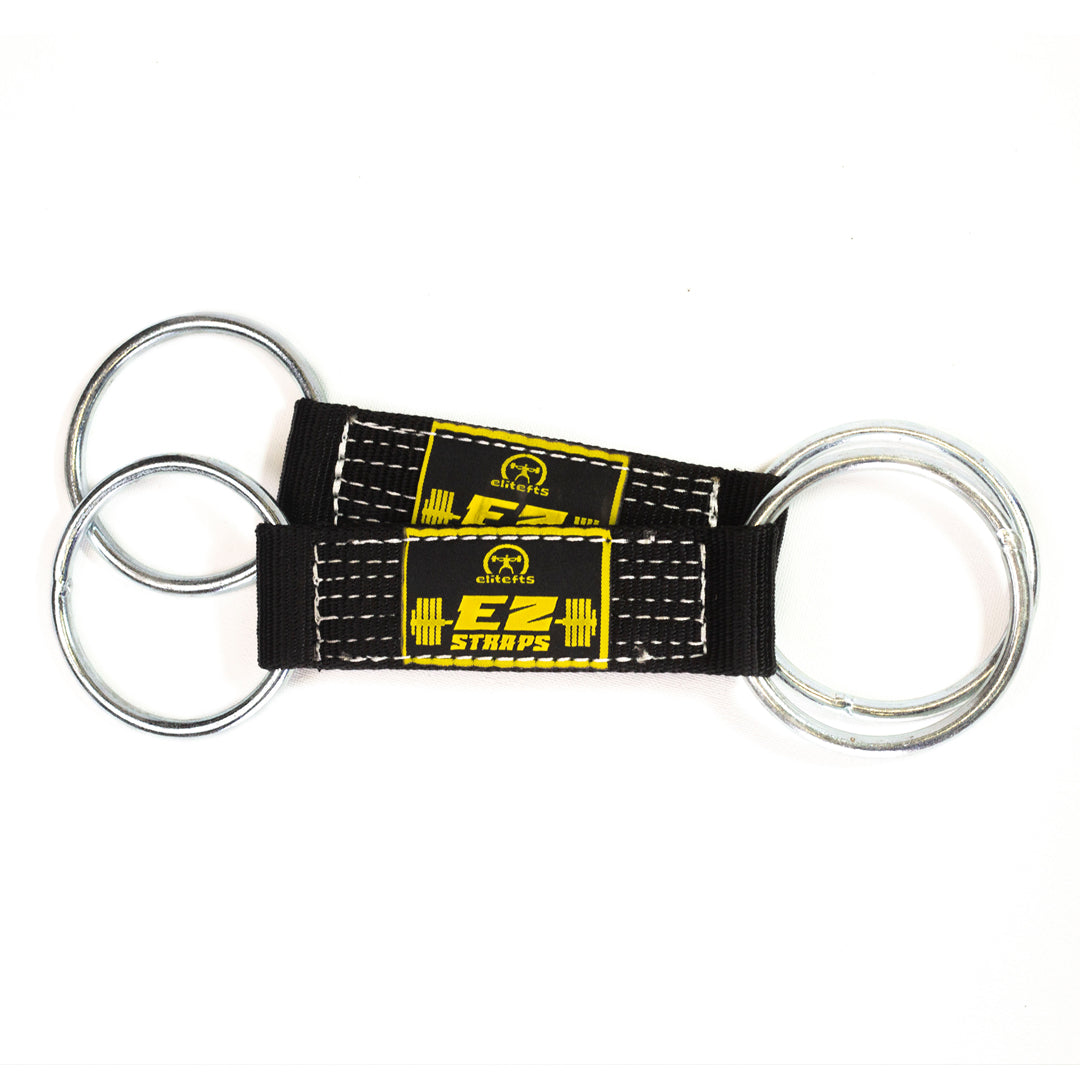
A 12-inch short-band option, including applications such as the hand-walking demonstrations above. Do not transfer the long Mini’s range to this product.
Pro Resistance Band Pack
Long-band options for different training applications. Select the resistance and length that fit the planned setup.
Short Band Pack
Short-band options for compatible barbell and accessory applications. Check the listing for the current pack contents.
For the next step, read How to Set Up Bands for the Squat, Bench, and Deadlift. That article covers anchor placement, alternate attachment routes, bottom tension, and reverse bands in more detail.
Choose the job. Match the length. Start with a load you can control. Then make the setup repeatable.
Sources: elitefts Training with Accommodating Resistance and Band Built; the supplied two-band calibration charts; current elitefts product dimensions; and the linked elitefts/Elitefts Archives video titles and descriptions. Video introductions use verified titles and descriptions, not unverified quotations or unseen technique details. Photos supplied by Dave Tate; header is a stylized editorial image.