

TL;TR: Program bands and chains around the purpose of the session. Count bar weight separately from the resistance added at the bottom and top. Keep the setup consistent, use dynamic effort work to practice fast, technically sound reps, and judge max effort work against the same variation. The calibration charts below measure two bands in specific setups. They do not turn every band exercise into a fixed percentage.
Putting bands or chains on a bar changes the lift. It also changes how you need to track it.
“Three plates and a band” leaves out most of the useful information. Which band? How was it attached? How much tension was there at the bottom? Was the lifter using the same box, stance, and range of motion as last week?
Get those details right and accommodating resistance becomes something you can program. Skip them and it becomes difficult to tell whether you got stronger or simply changed the setup.
This guide covers how to fit bands and chains into strength training, how to separate bar weight from added resistance, and how to progress without turning every session into a test.
Give the exercise a job
Start by deciding what the exercise is supposed to accomplish.
- Dynamic effort: Practice producing force quickly with repeatable technique and a load you can accelerate.
- Max effort: Train high force production with a specific variation suited to your experience and program.
- Supplemental and accessory work: Build muscle, strengthen a movement, or add useful training volume.
The same band can appear in all three settings. That does not make the loading, reps, or effort interchangeable. A high-rep pushdown and a heavy band-resisted bench press are different training decisions.
For the broader differences between the tools, read Bands vs. Chains: Match the Tool to the Adaptation. For attachment details, use How to Set Up Bands for the Squat, Bench, and Deadlift.

Separate bar weight from added resistance
Bar weight means the bar and plates. Band resistance depends on the band and how far it is stretched in that exact setup. Chain load depends on how much chain is suspended rather than supported by the floor.
In a conventional setup pulling the bar toward the floor, band tension generally increases as the bar rises. With chains, more links leave the floor as the bar rises. Neither setup has one load that describes the entire repetition.
Use three entries in your training log:
- Bar and plate weight.
- Added resistance at the bottom, with both sides combined.
- Added resistance at the top, with both sides combined.
Illustrative load calculation: Suppose a setup has 225 pounds on the bar and a combined band pull of 40 pounds at the bottom and 100 pounds at the top. The approximate static load is 265 pounds at the bottom and 325 at the top. This is an arithmetic example, not a recommended band tension or workout.
If the reference max is 500 pounds, the bar weight in that example is 45 percent. The top static load is 65 percent. Those percentages describe different things. Calling the whole lift “65 percent” hides what is happening at the bottom.
These numbers help you compare setups. They do not mean the movement feels or behaves exactly like a straight-weight lift with the same number on the bar.
Read the band charts as setup-specific measurements
The long- and short-band charts below are for two bands. Do not double the listed number again when you use one band on each side in the matching arrangement.
The long-band chart uses bands choked around a 4-by-4-inch base. Its distance is measured from the bottom of that base, at the floor, to the center of the bar. The short-band chart measures from the center of the pin to the center of the bar.


A different choke, doubled band, attachment height, or anchor spacing changes the result. So does changing the movement's bottom or top position. Use a chart only within its stated setup and measurement range. Do not extrapolate it into a recommended stretch limit.
A band color or product-page resistance range is not enough to calculate your loaded barbell setup. Establish the resistance for your actual arrangement using an appropriate, safely controlled measurement method, or treat the chart as a reference rather than an exact reading.
Count the chain that is actually suspended
A pair of chains weighing 40 pounds does not necessarily add 40 pounds at every point in the lift. Some links may still be on the floor at lockout, and some may remain suspended at the bottom.
Track the chain assembly and its attachment length. Include the load of support hardware and any chain that stays suspended when you assess what the bar carries. Weigh your equipment rather than assuming every chain or link weighs the same amount.
Keep both sides even and the floor area clear. On deadlifts, reset displaced chains before the next rep so they cannot collect beneath the plates. Freely hanging chains that stay off the floor serve a different purpose from chains arranged to deload onto the floor. Do not count them as the same exercise.

Dynamic effort means the reps have to stay fast
The accommodating-resistance manual uses repeated short sets for dynamic effort work. Its band squat examples include doubles, and its bench examples include triples. The point is to practice forceful, technically sound repetitions without turning each set into a grind.
Choose a manageable setup first. Then choose bar weight that lets you perform the intended movement well. If adding tension changes your depth, touch point, bar path, or control, it is not a useful increase just because the load is heavier.
The manual repeatedly describes percentages as guidelines. Some of its detailed squat cycles use an equipped free-squat max, a parallel box, specific bands, and lifters already familiar with the method. Those numbers should not be copied directly into every raw lifter's program.
For an experienced lifter already using dynamic effort work, a practical way to organize a short wave is:
- First session: Establish a repeatable setup and bar weight that produces consistent, fast reps.
- Second session: Keep the band or chain arrangement unchanged. Add a small amount of bar weight only if the first session met the speed and technique goal.
- Third session: Progress again only if the reps still meet that goal. Otherwise repeat or reduce the load.
This is a progression framework, not a universal three-week percentage prescription. Use the set and rep structure of your program. The manual's dynamic squat section describes six to ten sets of two; that is an example from its training context, not a requirement for every lifter.
Watch what happens across the session. If the later sets slow substantially, you may need less load, fewer sets, or more recovery between sets. Do not chase a short rest interval at the expense of the training effect.

Max effort requires its own reference point
A band-resisted squat, chain deadlift, and reverse-band bench press each need their own training record. A personal best in one does not establish a new competition max.
The manual includes heavy band and chain variations for experienced lifters and describes working to a one- to three-rep maximum for certain deadlift variations. That is not a recommendation to test an unfamiliar setup on the first day.
First learn the variation with manageable loads. Keep the equipment, attachment, stance, range of motion, and technique consistent. Then work within the heavy-effort structure appropriate to your program. Use safeties and capable spotters where the lift requires them.
Record what made the lift different. A higher box, shorter range of motion, or changed band attachment can make a heavier number possible without showing an improvement in the original variation.
Heavy chain and band work also has a recovery cost. Do not add it on top of an already demanding session simply because the bar weight looks lower.
Reverse bands change the calculation
Reverse bands are anchored above the bar and provide upward assistance. They generally help more in the lower portion of the movement and less as the bar rises.
For load tracking, subtract the measured assistance at each position from the bar weight rather than adding it. Record the top attachment height and the assistance at both ends of the movement. Do not assume the bands provide zero assistance at lockout.
Keep reverse-band records separate from lifts performed against bands. A heavier number on the plates does not tell you which version was harder.

Accessory work uses a different progression
Band Built includes John Meadows' push, pull, and leg training examples using bands. Its pull workout describes three sets with rep ranges around 10 to 15, adjusted for difficulty. The accommodating-resistance manual also includes higher-rep exercises such as face pulls, pull-throughs, and triceps pushdowns.
The useful distinction is effort. Accessory work can accumulate muscular fatigue; dynamic effort barbell work needs to preserve speed. Do not judge both by whether the last rep was slow and exhausting.
For an accessory exercise, record the band, anchor height, starting distance, range of motion, sets, and reps. Build reps with controlled movement before adding resistance. If you change band size or starting distance, record it as a load change rather than pretending the setup stayed the same.
Choose the exercise to fill a need in the program. Bands can provide useful resistance for rows, curls, pushdowns, leg curls, and other movements, but you do not need bands on every exercise.
Use a log you can repeat
For your next band or chain session, write down:
- The exercise and its purpose.
- The reference max, if the program uses percentages, including whether it is raw, equipped, or specific to that variation.
- Bar weight, plus added resistance or assistance at the bottom and top.
- Band model and number, or chain assembly and attachment length.
- Anchor position, box height, range of motion, and any other setup details.
- Sets, reps, rest periods, and whether speed and technique stayed consistent.
Take a setup photo for your own log. Inspect bands and attachments before each use, and stop if an anchor shifts or the equipment is damaged. Reduce the load or change the exercise if you cannot control it. Pain is a reason to reassess, not proof that the variation is working.
Progress one part of the setup at a time. Keep enough straight-weight work in the program to assess the lift you actually want to improve. Bands and chains are useful when they make the training more specific and measurable.
Start with a purpose. Establish the load. Keep the setup consistent. Then earn the progression.
Shop the bands and chains
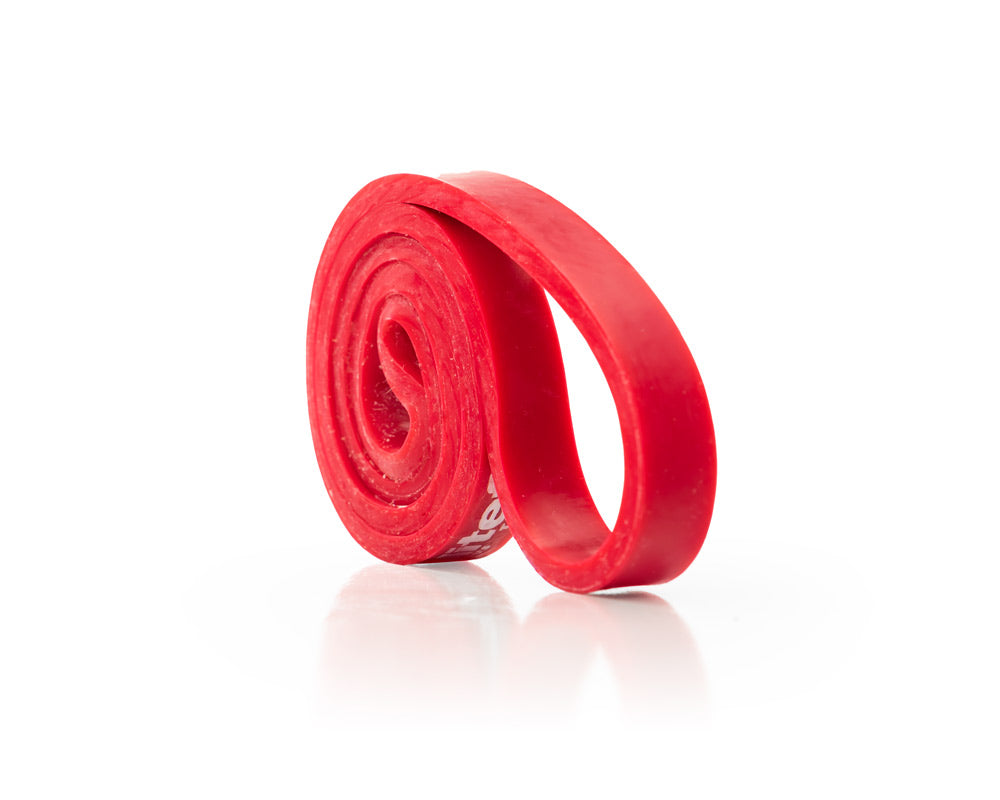
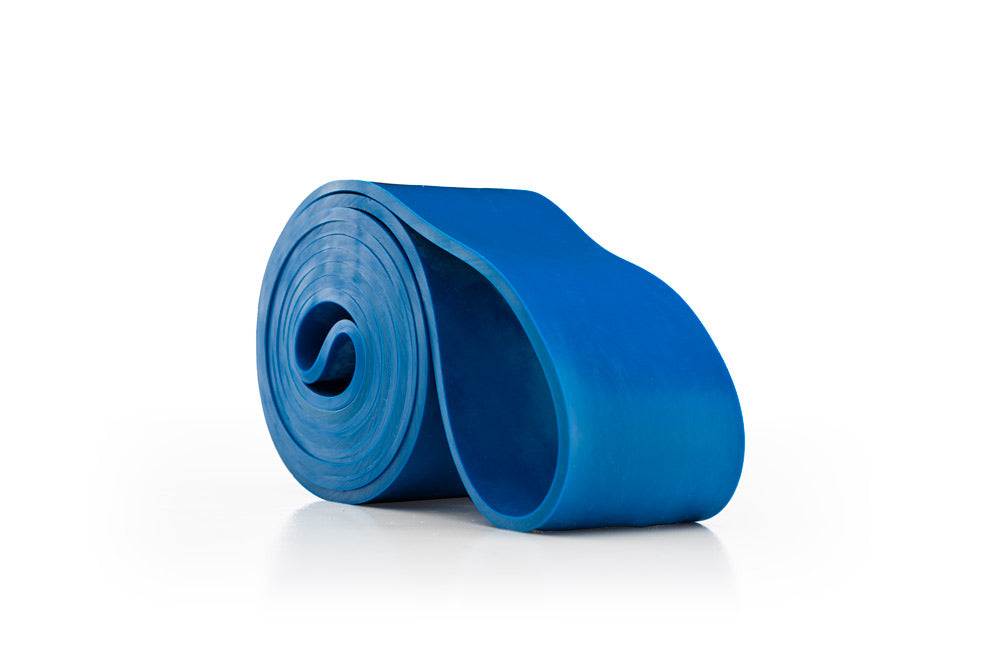
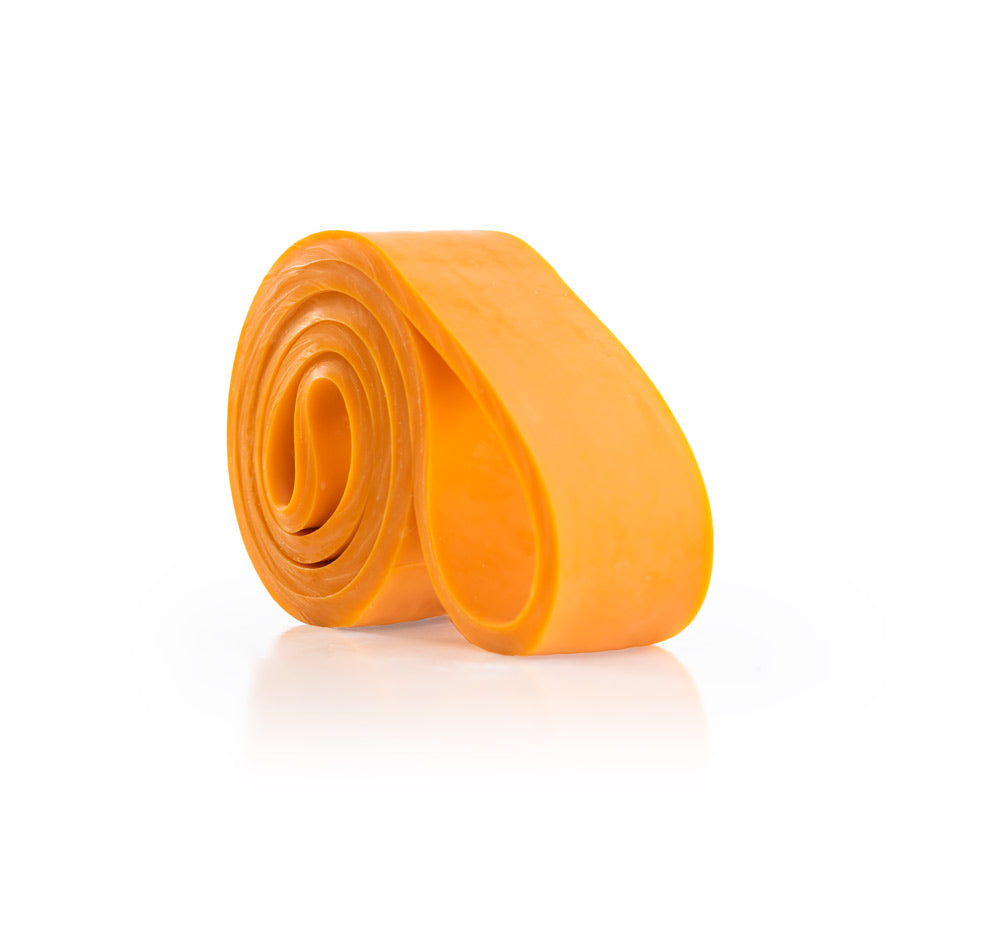
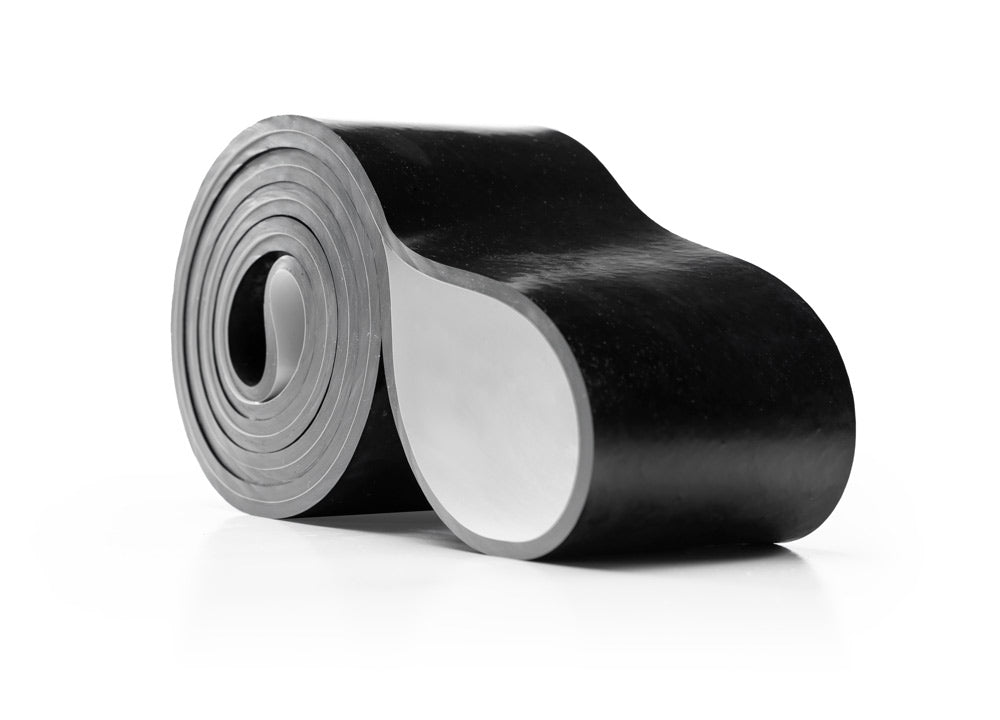
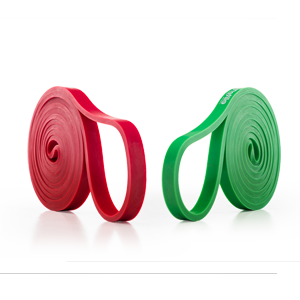
Match the equipment to your setup, range of motion, and training goal. These are shopping options, not a claim that every band pictured is the same model. Check product pages for current availability and purchasing options.

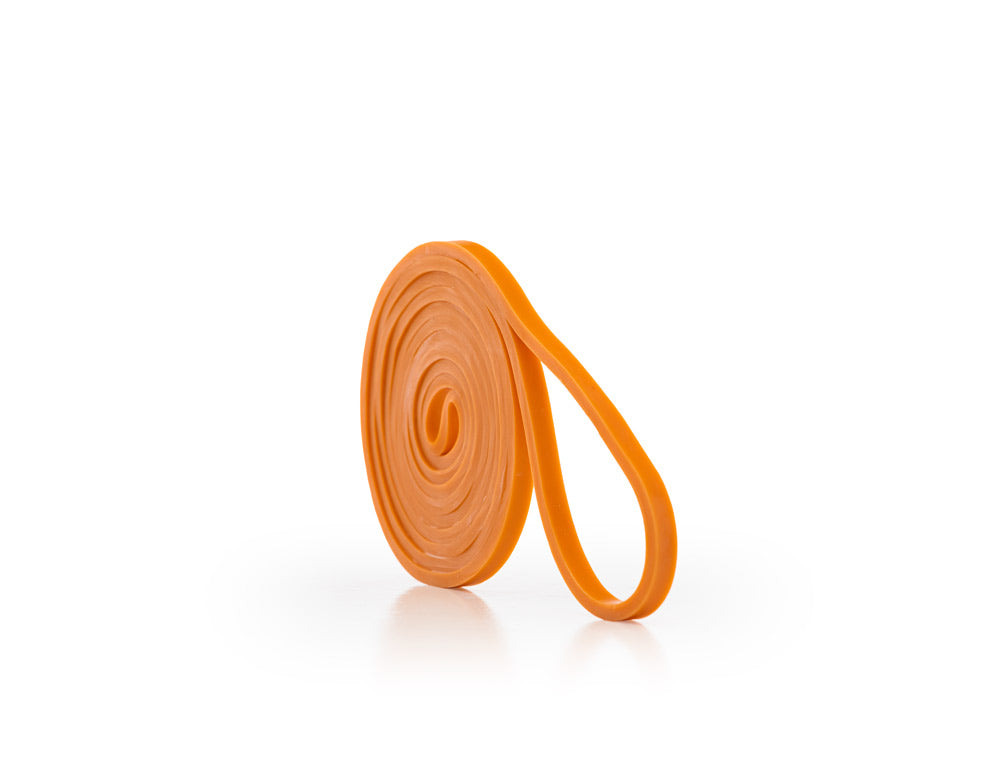
elitefts Pro Mini Resistance Band
A long-band option for compatible barbell and accessory setups. Choose resistance for the actual movement and attachment.
BUY PRO MINI BAND
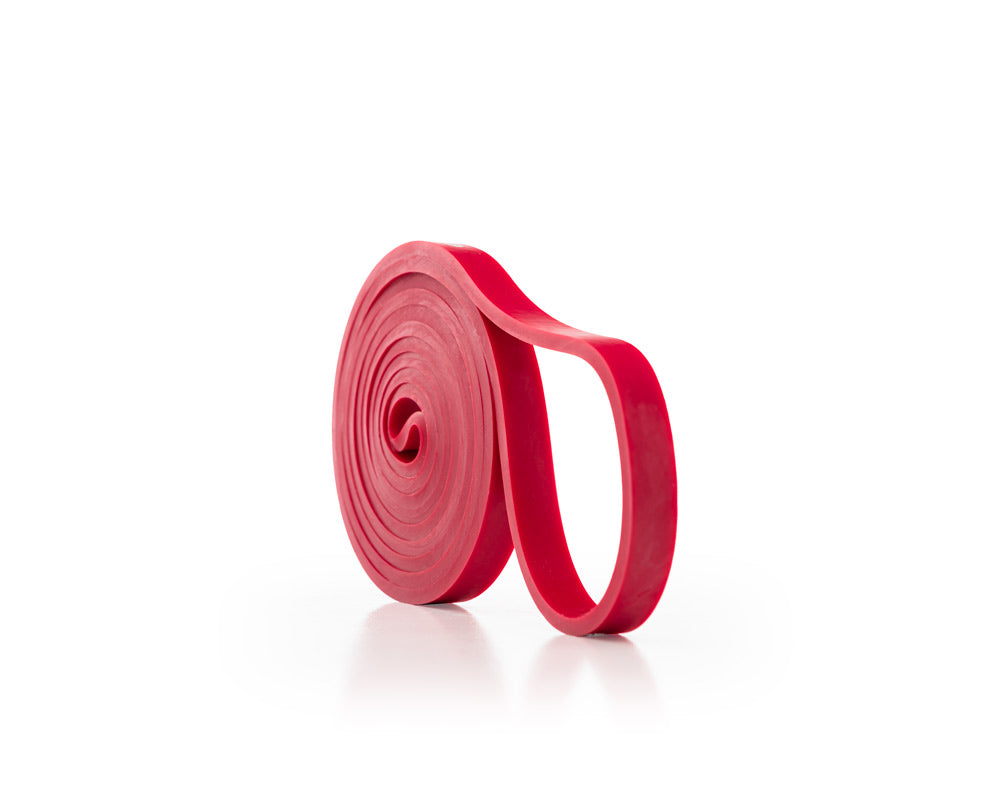
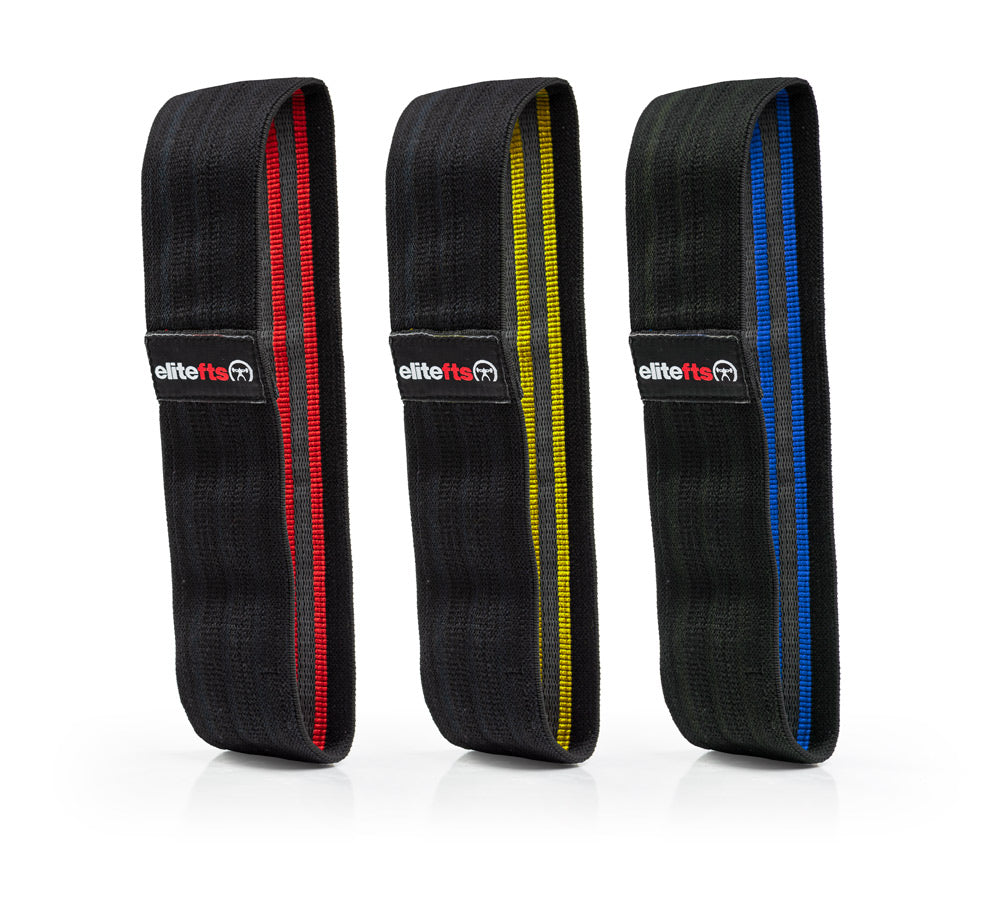
elitefts Pro Short Mini Band
A short-band option for compact setups. Short and long bands are not interchangeable.
BUY SHORT MINI BAND
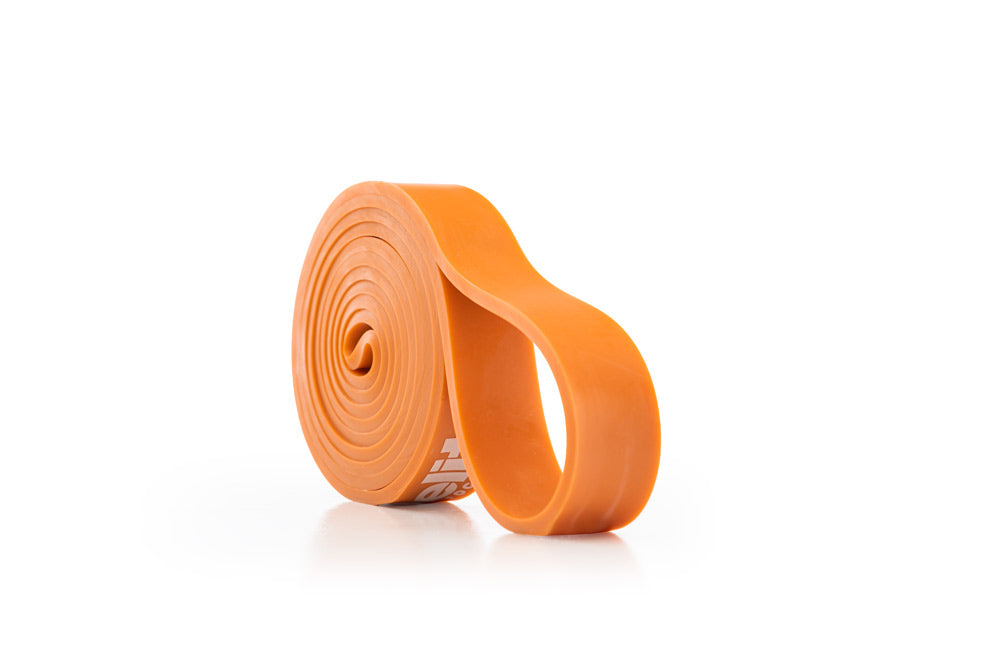
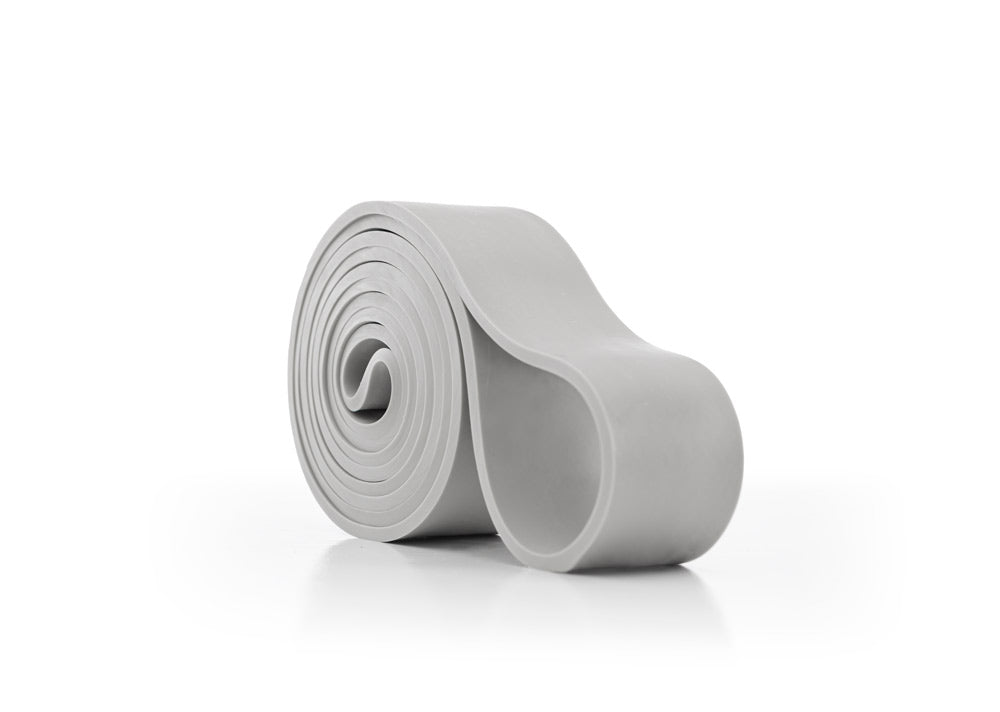
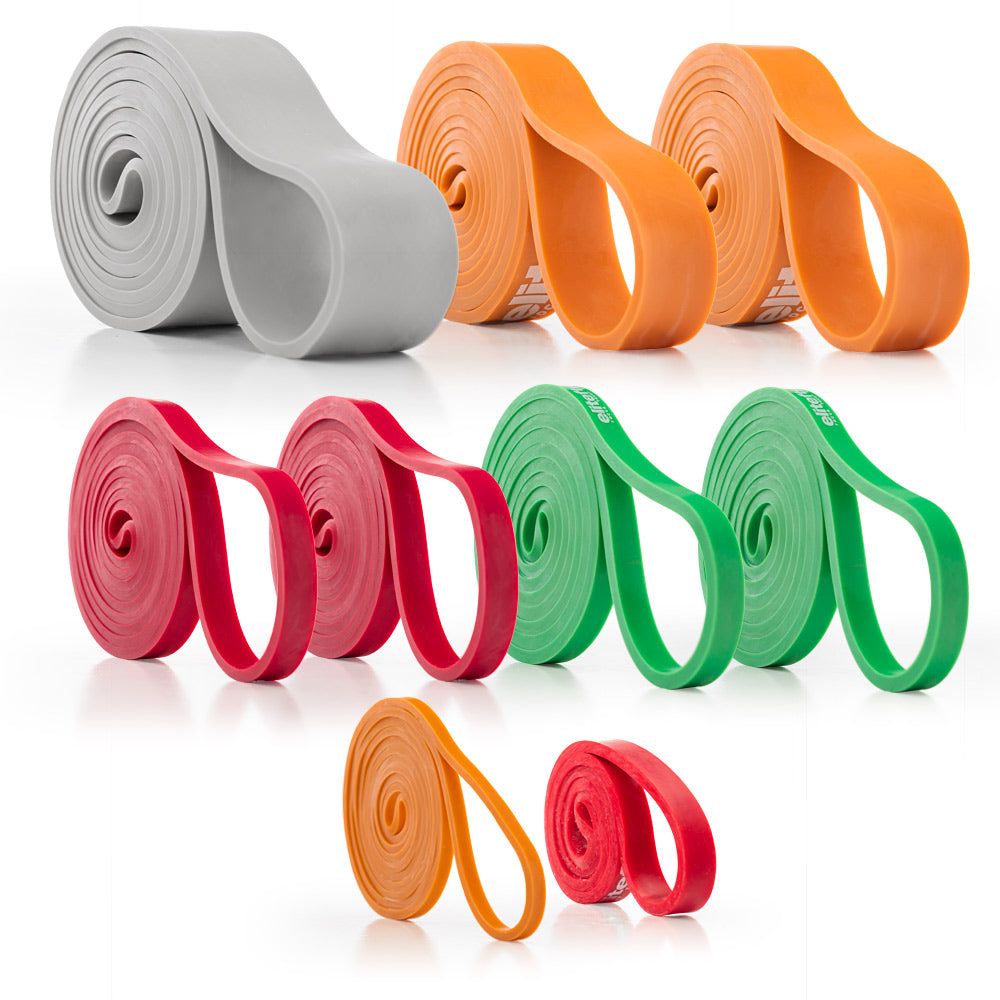
elitefts Pro Resistance Band Pack
Multiple long-band options for lifters who need different resistance levels. Check the product page for current pack contents.
BUY RESISTANCE BAND PACKChains and attachment options
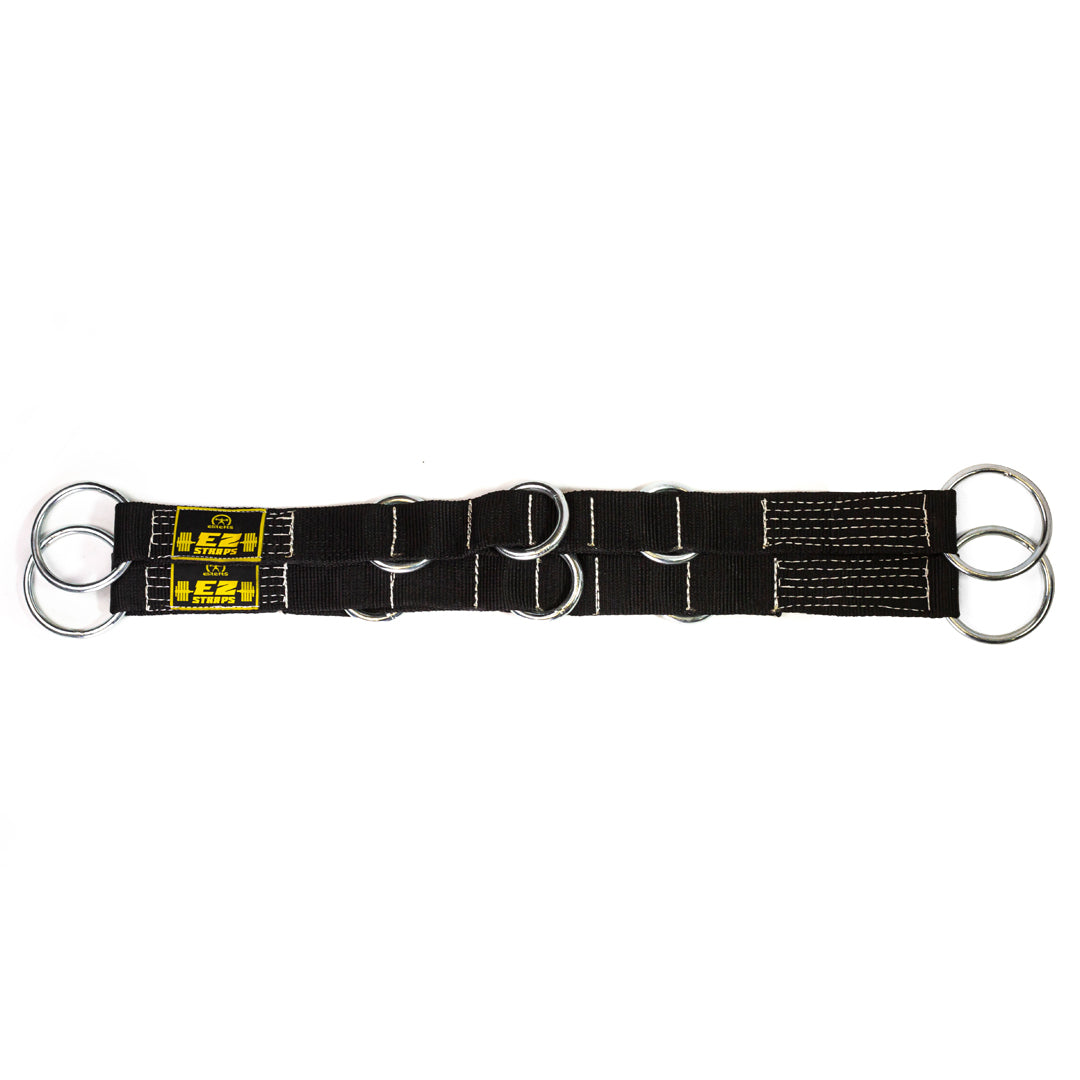
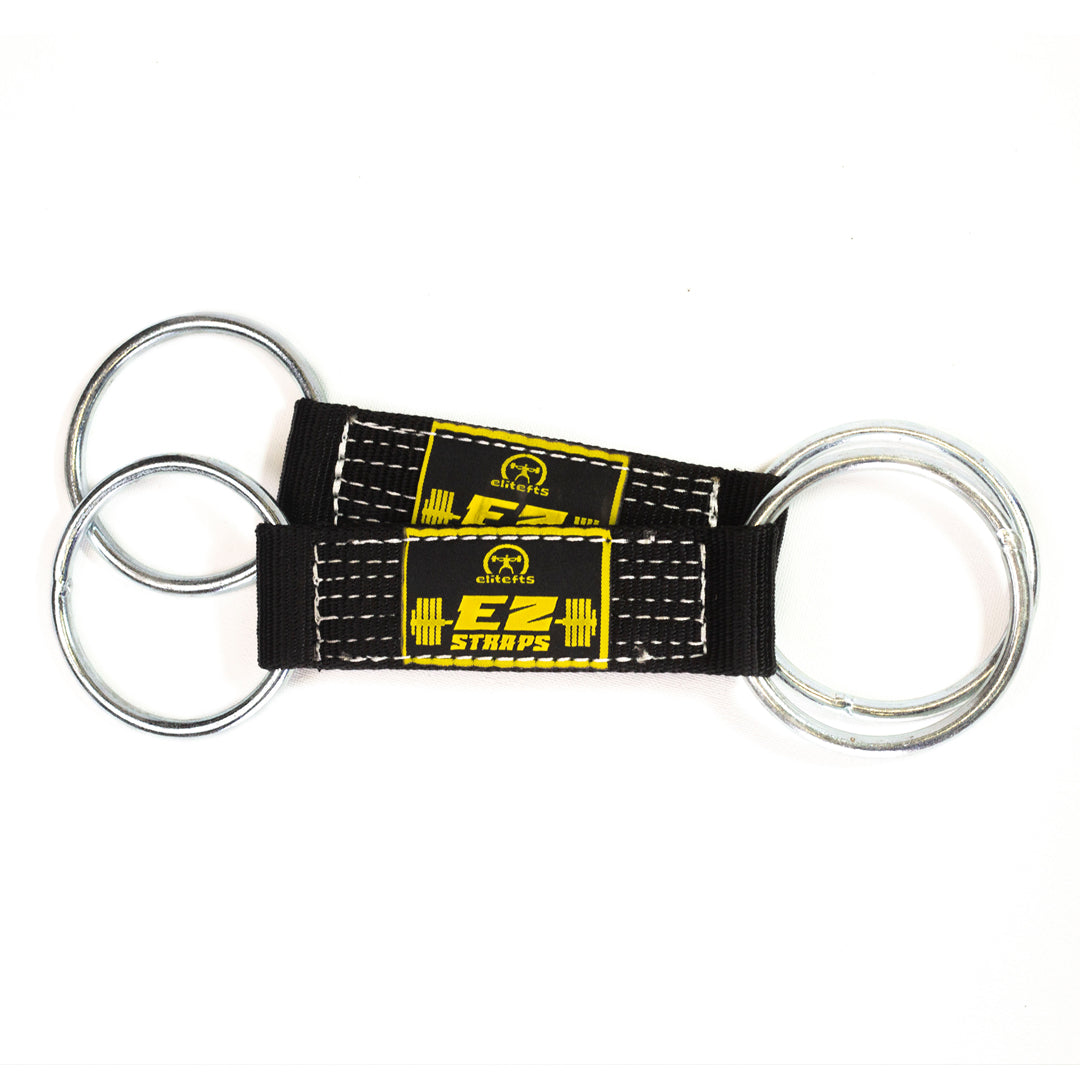
For the chain-loading work discussed above, see the Pair of Chains and EZ Chain Loaders Bundle. Confirm the attachment suits your lift and equipment; these links do not replace setup checks.
SHOP PAIR OF CHAINSSHOP CHAIN LOADERSFurther reading: Training with Accommodating Resistance: The Starter Guide to Strength Training with Bands and Chains, especially Working Percentages, band squat and bench programming, chain setup, and chain deadlift sections; and Band Built: Mastering Pro Compression, Short, and Resistance Bands for Sport, Recovery, Warm-ups, and Accessories, John Meadows training splits.
The header is a stylized editorial composition. Inline lift photos show the supplied training setups.