

TL;TR: Start with a stable, compatible anchor and a light band. For bands pulling down on the bar, check that they remain under tension at the bottom of the lift. Match the setup on both sides, test the full range of motion, and record the band tension separately from the bar weight. Reverse bands work differently: they assist the lift from above.
Before you worry about which band to buy or how much weight to put on the bar, get the setup right.
A band that goes slack at the bottom changes how the load comes on during the lift. An anchor that moves changes the whole exercise. And adding a band to the weight you normally use can turn planned speed work into a grind.
In the video below, Matt Wenning walks through bench, squat, and reverse-band setups. Use it to understand what to check. Your rack, bar height, range of motion, and bands still determine the setup that works for you.
Watch Matt Wenning explain band setup
Watch How To PROPERLY Set Up Bands on Wenning Strength.
Matt covers the bench press, squat, and lightened or reverse-band method. The deadlift section below adds context from the elitefts Training with Accommodating Resistance guide. It is not a deadlift demonstration from Matt’s video.
Know which direction the band is pulling
With a band anchored below the bar, the band adds resistance as it stretches. In a typical squat, bench, or deadlift setup, that means more band tension toward the top. There is still bar weight to control throughout the movement.
Reverse bands attach above the bar. They stretch more as the bar moves down and provide more assistance in that lower position. As the bar rises, the assistance decreases.
These are different exercises. Log them that way. A reverse-band lift with 315 pounds on the bar is not the same as lifting 315 pounds without assistance.
Check the equipment before loading the bar
- Inspect the bands. Do not train with a band that is cut, torn, or visibly damaged. Keep it away from sharp edges and abrasive contact points.
- Use compatible anchors. Follow the equipment manufacturer’s instructions for band pegs and attachment points. The rack, bench, or platform must remain stable under the added pull.
- Match both sides. Use the same band model and length, with the same attachment route and anchor position. Check the condition of each band rather than assuming two bands are identical because their colors match.
- Set your safeties. Bands do not replace rack safeties or appropriate spotters. Check that you can unrack, complete the lift, and rerack without catching or shifting a band.
- Test light. Check the entire range before adding working weight. Release tension in a controlled way when changing the setup.
Matt shows several ways lifters establish tension. That does not make every piece of gym equipment an anchor. If you cannot verify that an attachment is secure and suitable for the load, change the setup or use another exercise.
Set up bands for the squat

For a resisted squat, attach the bands to appropriate low anchor points and route them to the bar sleeves, using the same arrangement on each side.
The key check happens at your actual squat depth. Matt points out that many setups look fine while the lifter is standing, then go loose at the bottom. For the continuous-tension setup he is teaching, the bands should still be pulling on the bar at depth.
Test that position with a light load. Check the walkout as well as the squat. The band path must leave room for your feet and allow you to follow your normal bar path without pulling you into a different position.
If the bands go slack, review the anchor geometry and band length. Do not solve that by adding more plates. Changing the attachment route or taking up more band length changes the resistance, so you need to check the load again after every adjustment.
More than one squat attachment
- Purpose-built low pegs: use the routing specified for your rack or monolift.
- Choked rack or monolift base: the accommodating-resistance manual describes passing the loop around the base, then feeding one end through the other. Base width and the amount of band taken up determine the stretch.
- Heavy dumbbell anchors: Matt and the manual show this alternative. It only works if the entire arrangement cannot lift, roll, or slide under peak tension. A purpose-built fixed anchor is the better choice when that stability cannot be established.
These are alternatives, not interchangeable tension settings. Recheck the bottom and top whenever you change the route.
A specialty bar can change this setup too. A lower sleeve position can produce a different amount of stretch than a straight bar. Test the bar you are actually using rather than copying a setup from another rack.
Set up bands for the bench press

Matt demonstrates a doubled band arrangement for the bench. In this arrangement, both ends of the loop are on the bar sleeve and the band runs around a suitable lower anchor. Mirror that setup on the other side.
Check tension at your normal chest position, not just at lockout. Also check the unrack and rerack. A band must not slide into a different position, interfere with the plates, or pull the bar out of your intended path.
Anchor height matters. Matt discusses placing the lower attachment near the floor for the setup he demonstrates. A peg higher on a different bench or rack can give you a different amount of stretch and tension.
Bench setup alternatives
The manual describes the doubled route around a low rack base or a secured heavy dumbbell handle. Purpose-built bench pegs give another defined attachment point. A higher anchor is not automatically equivalent to the floor-level route.
Matt also demonstrates a lighter arrangement with one end of the loop attached to the bar and the other to the J-hook, rather than both ends on the bar. This requires compatible, secure hardware and a clear unrack. It is a different route, not permission to attach a band to any hook. The useful lesson is to adjust the setup to the lifter. Do not assume a different attachment gives you exactly half the tension, or that a red band from another brand matches the one in his video.
Start with less band resistance and less bar weight than you think you need. If your intended speed sets become slow, or the band changes your touch point and technique, reduce the load and reassess.
Set up bands for the deadlift

The elitefts accommodating-resistance guide describes pulling against bands on a platform with band pegs. A suitable platform gives you defined attachment points while allowing room for your stance.
Set the same band arrangement on each side of the bar. Check it with the plates on the floor, then at lockout. The bands should not become loose at the start and suddenly take up tension halfway through the pull.
Keep the band path clear of your feet and legs, and make sure it does not force the bar away from you. This matters for both conventional and sumo pulling. The anchor layout needs to fit your stance.
Deadlift setup alternatives
The accommodating-resistance manual describes folding a long Mini Band in half and placing its ends on platform pegs, using a platform layout that accommodates the lifter’s stance. Band Built also includes short-band deadlift applications. Use the appropriate peg spacing and routing for the band and platform you actually have; a short band is not simply a long band with less tension.
A reverse-band deadlift is another option described in the accommodating-resistance manual. It uses suitable overhead rack attachments to assist the bar from above. It belongs in the reverse-band category below, not in the same loading calculation as pulling against bands.
Short bands and long bands can require different peg arrangements. They are not interchangeable just because they share a model name or color. Use the band length that fits the intended platform setup, and stay within the manufacturer’s guidance.
If your gym does not have suitable anchoring equipment, do not improvise a heavy banded pull with an unsecured object. You can train the deadlift with straight weight and use bands for appropriate accessory work instead.
Understand the reverse band setup

Matt calls this the lightened method. The bands attach to suitable points above the bar and pull upward on the bar, with more assistance in the lower position.
The amount of help depends on the band, attachment height, and position of the bar. Matt gives a height for the arrangement in his gym. That is not a universal rack setting for every lifter or exercise.
Overhead rack crossmembers and appropriately secured upper pins are two attachment arrangements described across these sources. Use only points designed and approved for that load. The squat, bench, and deadlift each put the bar at different heights, so each needs its own check.
Check the assistance at the bottom and top of your own lift. Do not assume the band gives zero help at lockout. When loading or unloading a reverse-band bar, remember that the bands can lift the bar as plate weight is removed. Keep the bar controlled and follow an appropriate setup and unloading procedure.
Reverse bands let you change the loading through the range of motion. They do not make an excessive load safe or guarantee a pain-free lift. If pain or injury is driving the exercise choice, work with a qualified clinician and coach.
A different use: suspended weights

Do not confuse this photo with the resisted bench setup above. Hanging weights from bands introduces movement of the load and a different control challenge. It is not a substitute for the anchor and tension checks in Matt’s demonstration, and it needs its own appropriate equipment and progression.
Measure the setup instead of guessing from the color
The calibration pages in Training with Accommodating Resistance make an important point: the measurement method matters. The long-band chart specifies a particular choke and base. The short-band chart uses a different measurement reference. Both charts state that their values are for two bands.
You cannot take a number from one arrangement and assume it applies to yours. Changing the anchor, doubling the band, using a different length, or changing your range of motion can change the tension.
Use a suitable measurement method for your actual setup, with help from an experienced coach if needed. In your training log, record:
- The exercise, rack or platform, and bar used.
- Band model and length, plus the number of bands per side.
- Anchor positions and attachment route.
- Measured tension or assistance at the relevant bottom and top positions, stating whether the number is per side or the combined total.
- Bar weight, sets, reps, and how the sets moved.
That gives you a setup you can repeat. “Two plates and the green bands” leaves out too much.
Choose the load after the setup is right
Matt uses bar speed to help judge band loading for dynamic work. The elitefts guide also treats percentages as starting points that need adjustment. Copying a percentage without knowing the band tension misses part of the load.
For speed work, use a load you can move with the intended speed and technique. For heavier work, use a plan that accounts for the added resistance or assistance. Start conservatively when the setup is new.
The Band Built guide shows another useful point: bands have jobs beyond the main lift. Warm-ups, rows, pushdowns, and other accessory exercises let you use them without turning every squat, bench, and deadlift session into band work.
Choose the job first. Then choose the band, establish the setup, and load the exercise.
Check these before the first working set
- Are the bands undamaged and clear of sharp edges?
- Are the anchors compatible, secure, and stable?
- Do both sides follow the same path?
- Is the intended tension present at the bottom and top?
- Can you unrack and rerack under control?
- Have you accounted for the bands when choosing bar weight?
Get those right before chasing a bigger number.
For more on choosing the method, read Bands vs. Chains: Match the Tool to the Adaptation. For assisted bodyweight work, see Band-Assisted Pull-Ups: A Good Way and a Better Way.
Choose the band for your setup
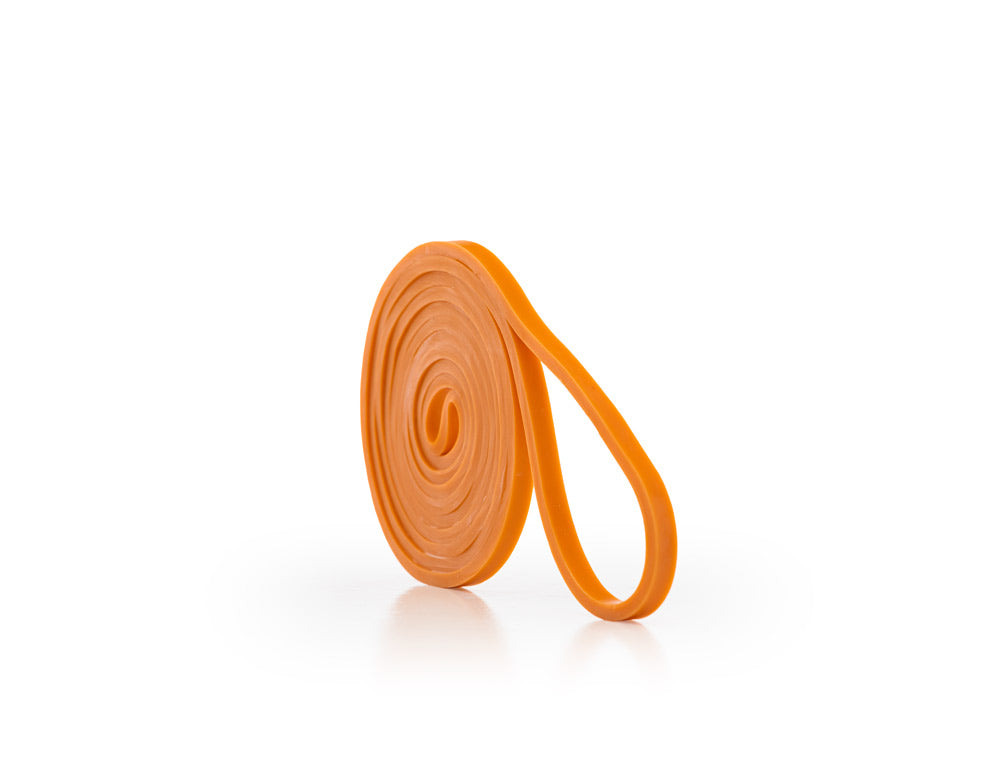
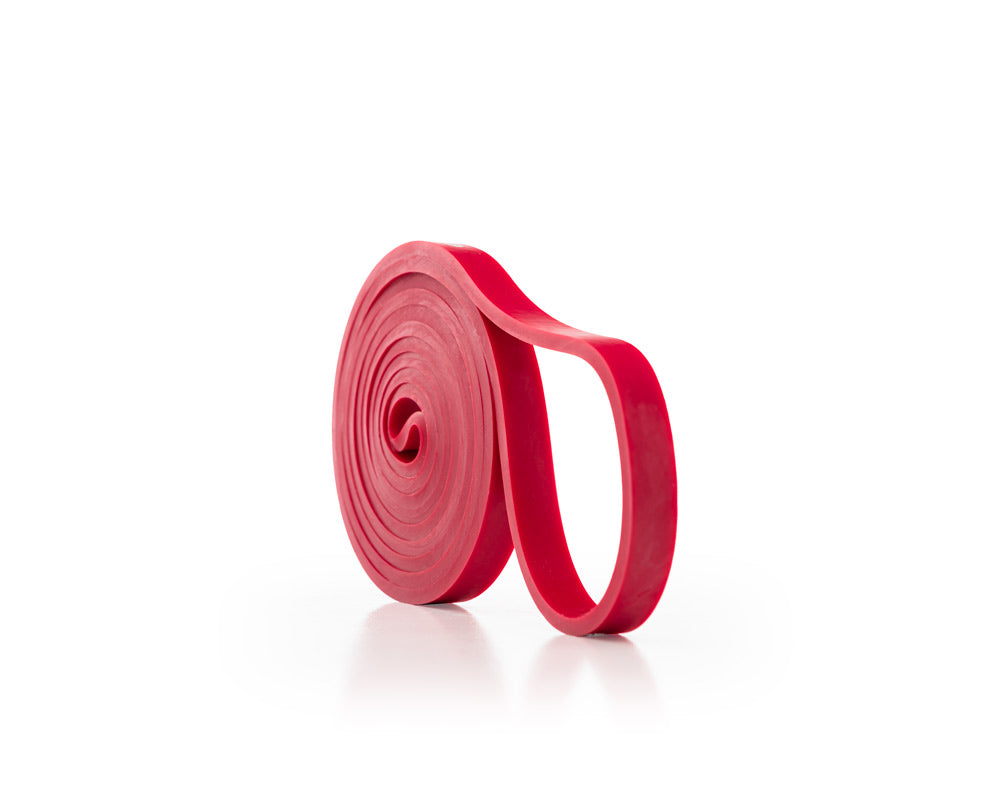
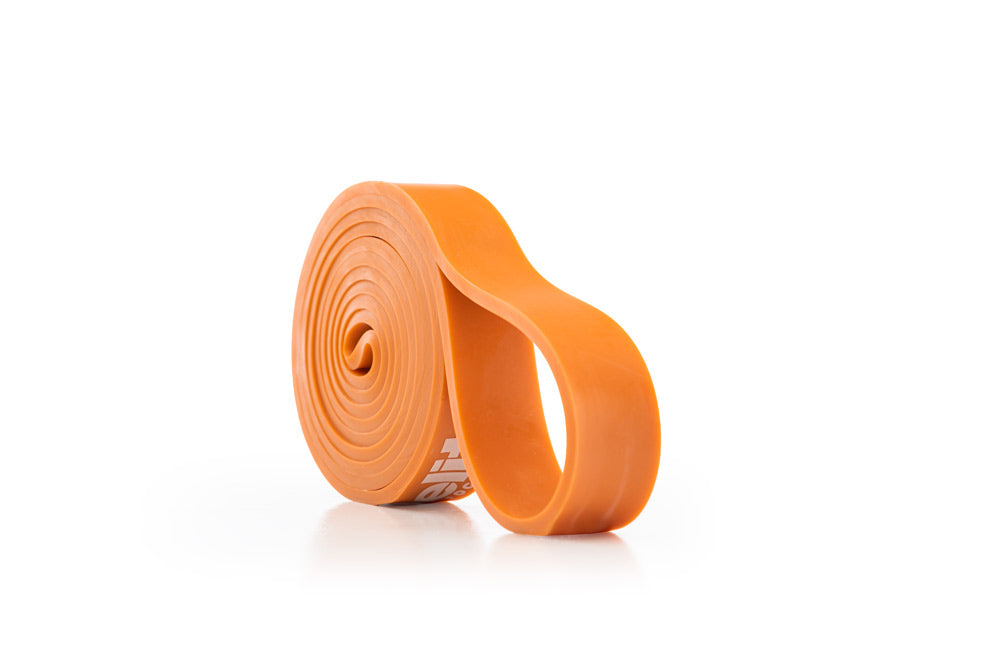
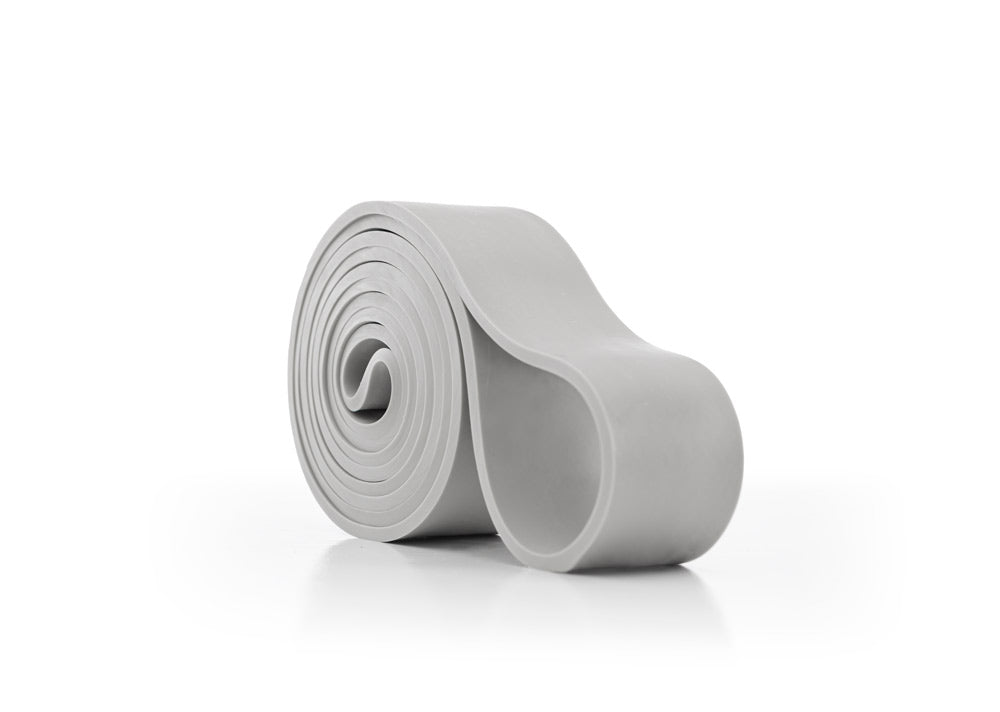
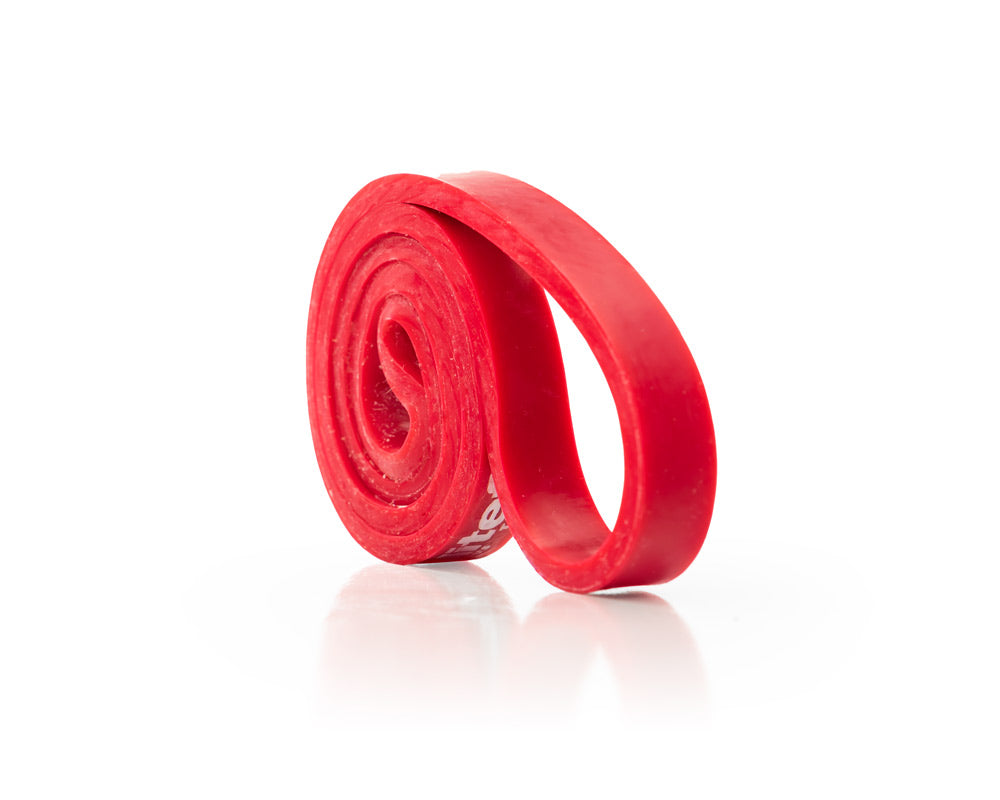
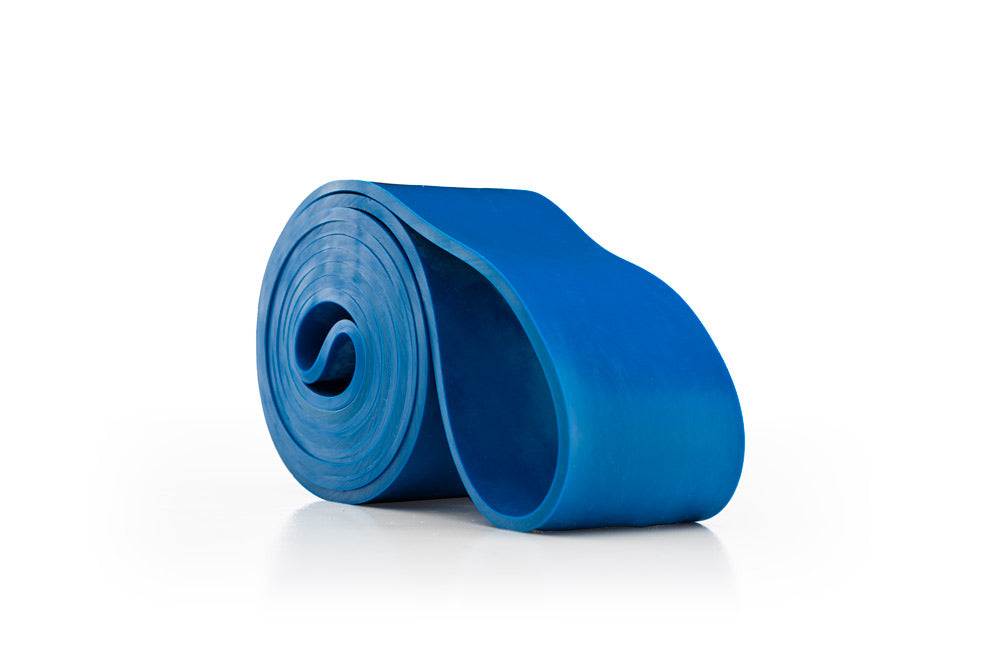
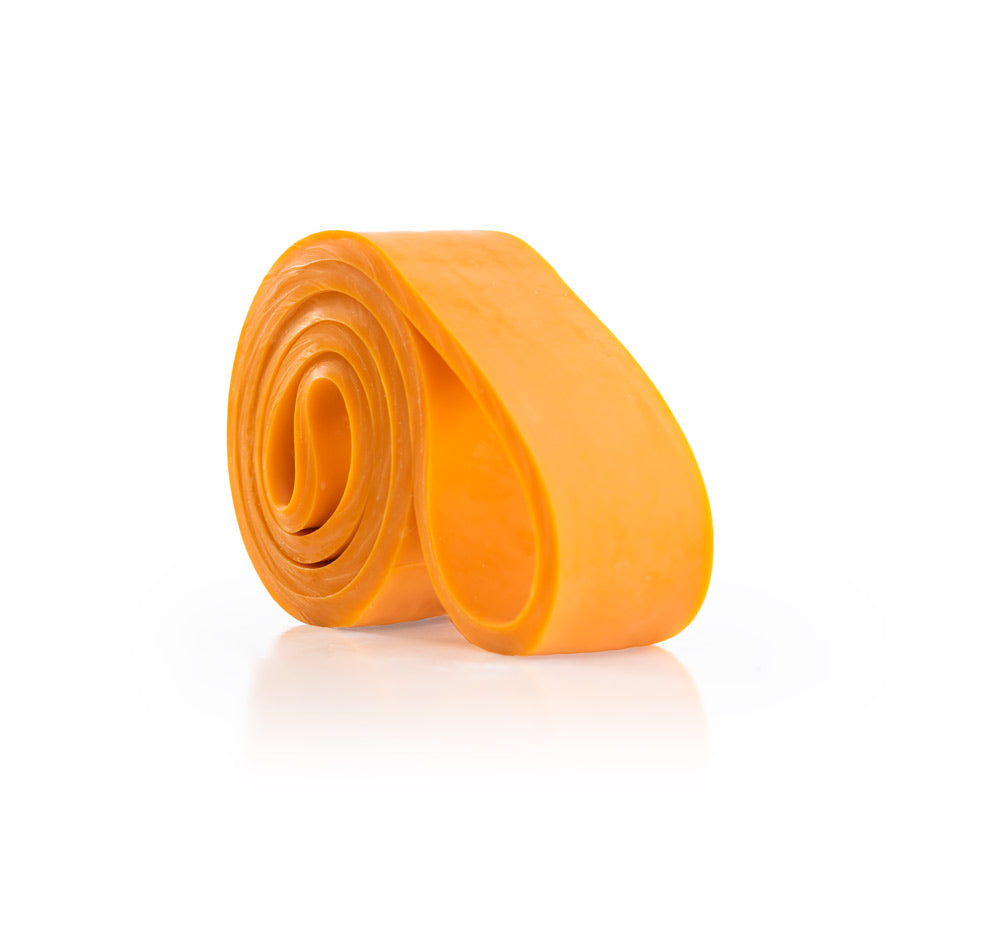
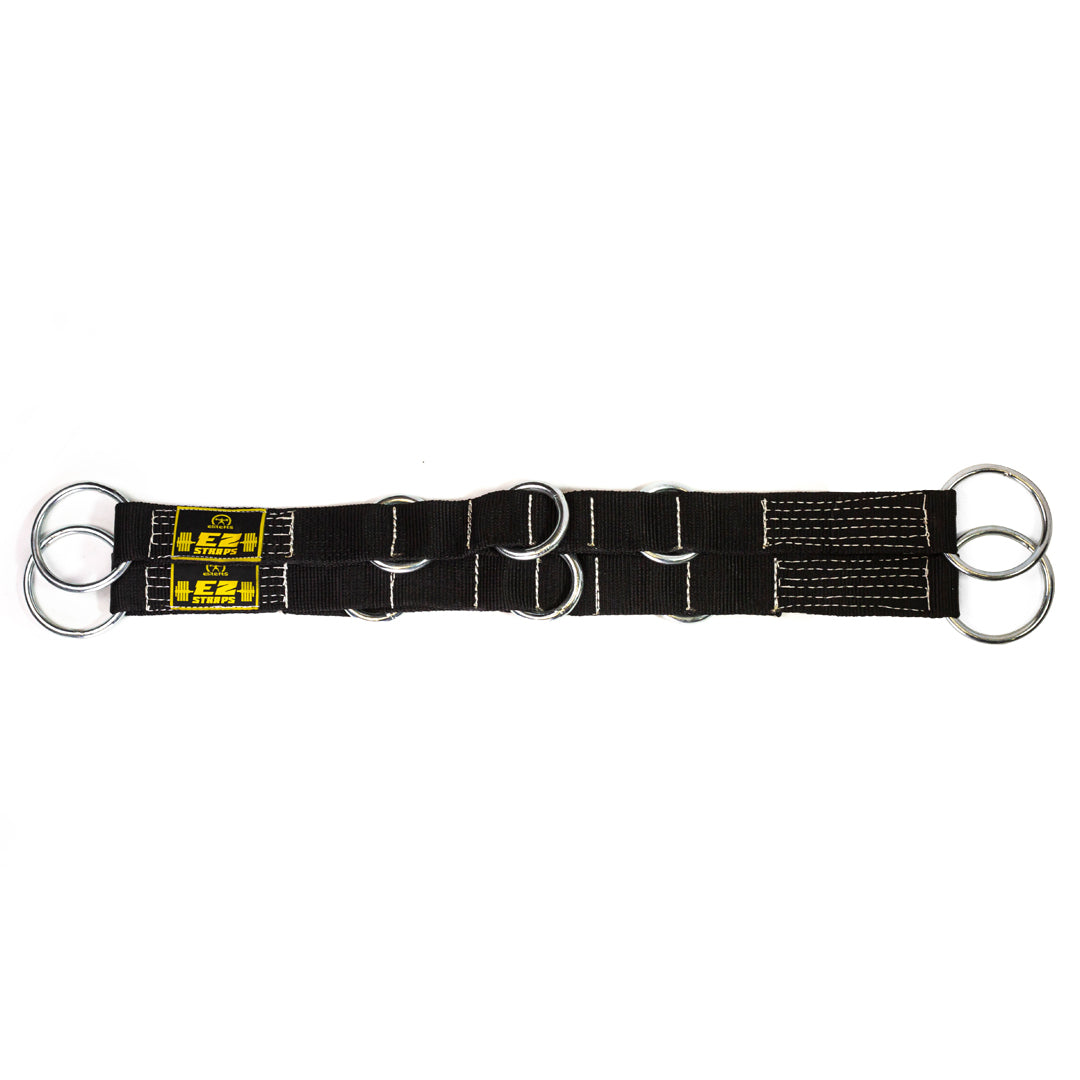
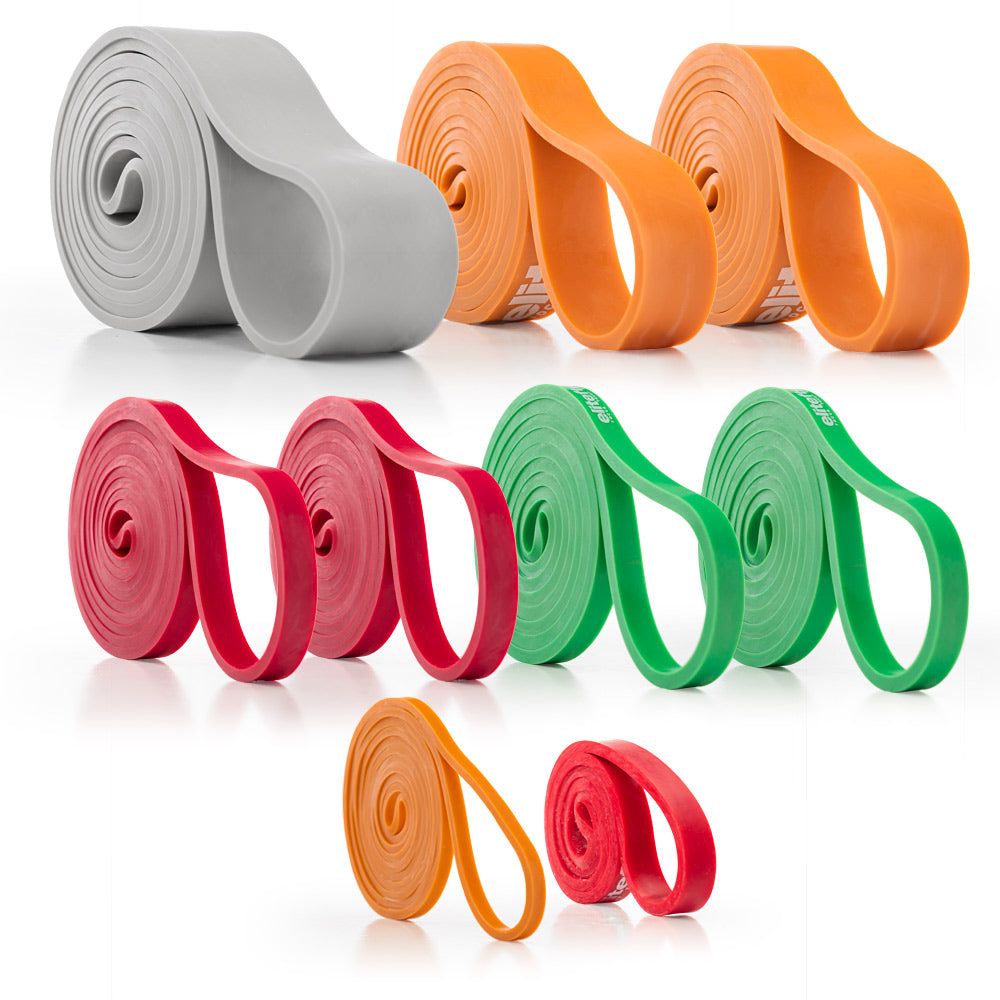
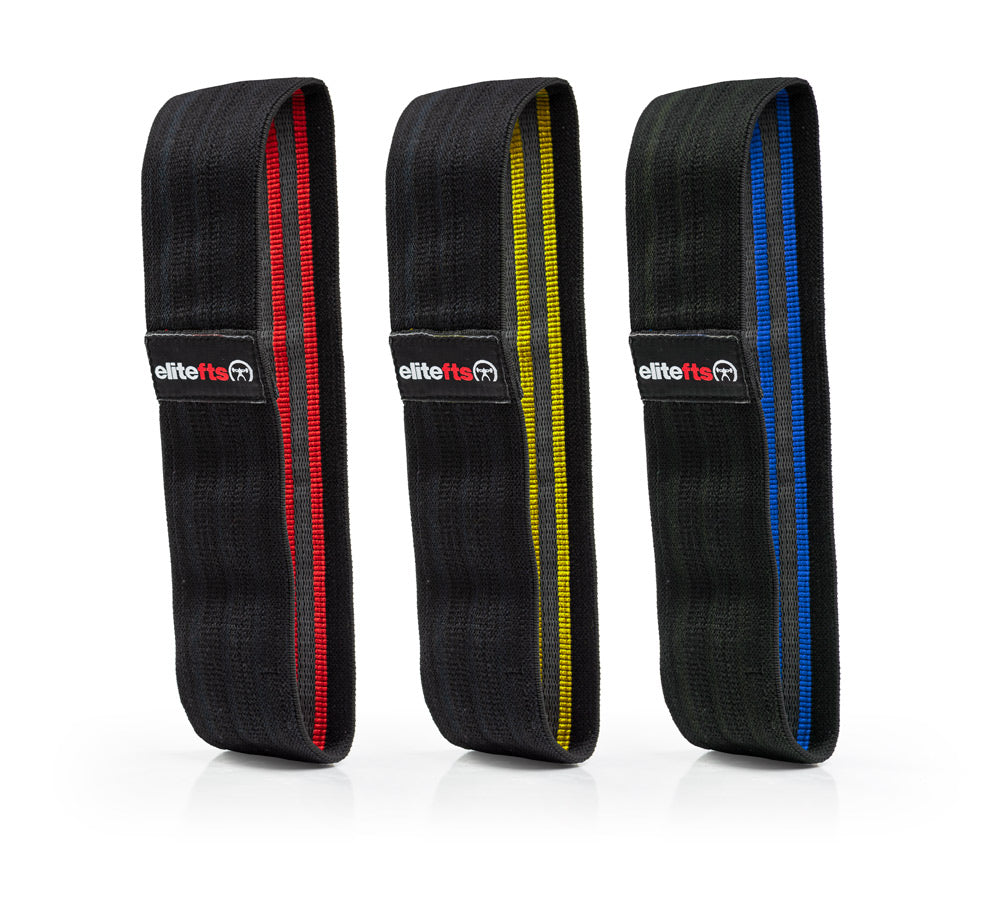
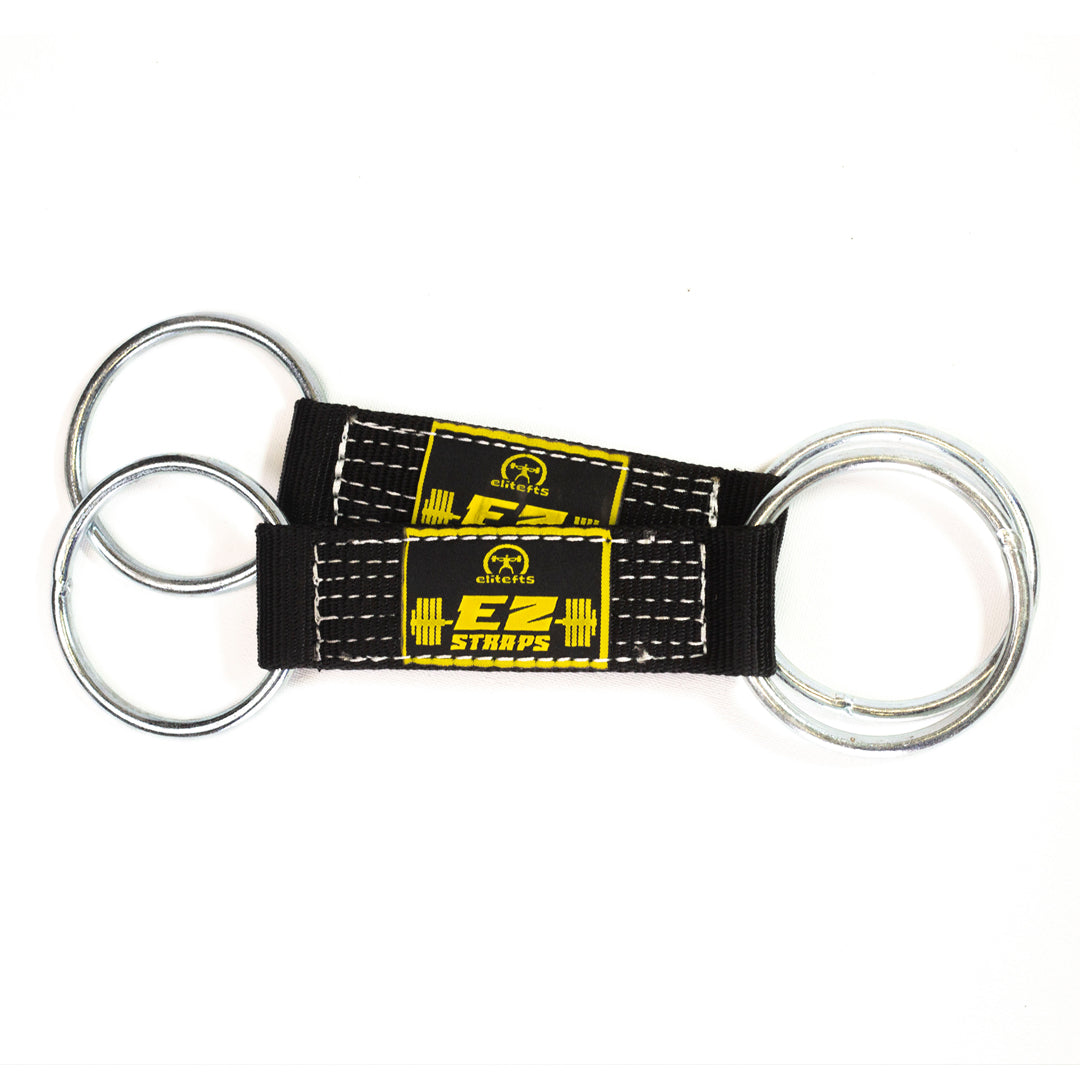
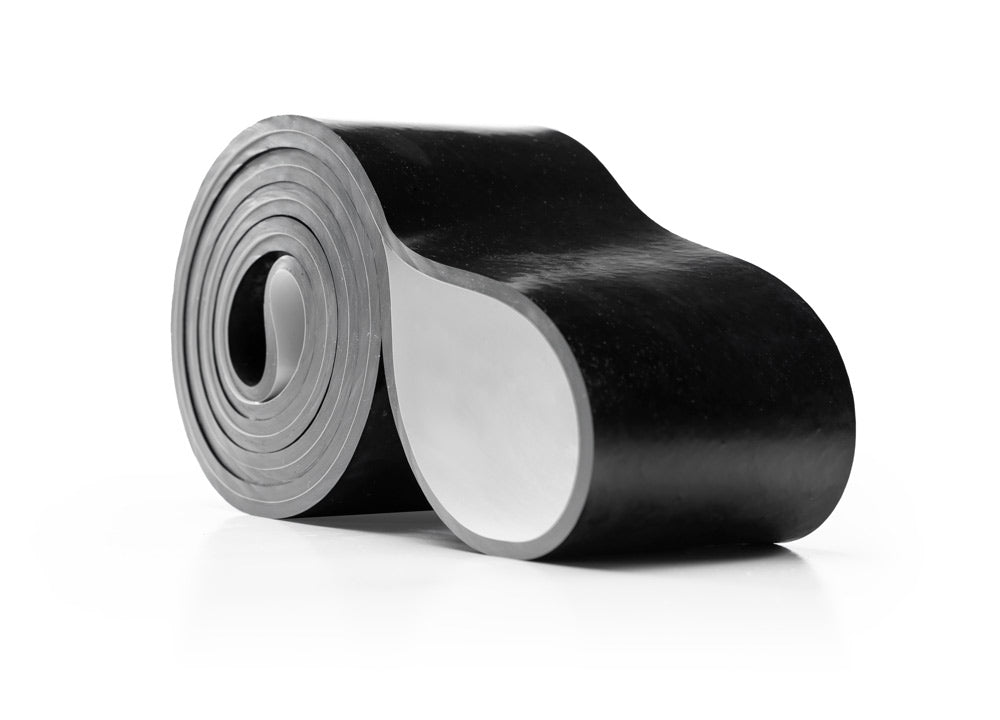
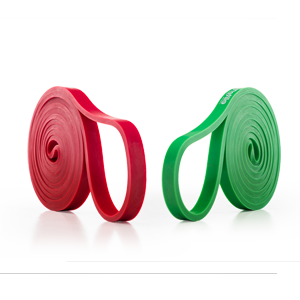
These are shopping options, not a claim that every band pictured is the same model. Match band length and resistance to your equipment, range of motion, and training goal. Check each product listing for current contents and purchasing options.
Pro Mini Band
A long-band option to consider when establishing a lighter resisted setup.
Pro Resistance Band Pack
Several resistance options for lifters who need more than one band application.
Short Band Pack
Short-band options for compatible setups. Short and long bands are not interchangeable.
Sources: Matt Wenning’s linked Wenning Strength video (February 11, 2022); elitefts Training with Accommodating Resistance (band calibration and squat, bench, and deadlift sections); and Band Built (short-band and accessory applications). Historical loading examples are not universal prescriptions. Photos illustrate the different band arrangements; the header is a stylized editorial image.