
TL;DR: The elitefts Shoulder Saver Pads attach to a barbell to shorten the bench press range of motion. The larger black pad limits more of the bottom range; the smaller red pad allows more travel. Use them for controlled supplemental pressing, targeted ranges, or a change in pressing volume. Neither replaces a spotter, safety supports, or appropriate advice for an injury.
Boards have been part of bench training for a long time. They let you choose where the bar stops, work a different portion of the press, and build training around a specific objective. They also require a way to keep the board in position. A pad that attaches to the bar offers another way to do the job.
The black Shoulder Saver Pad and red Shoulder Saver Pad give you two different heights. Both shorten the range, but they do not stop the bar at the same point. That distinction matters when you are deciding what you want the lift to do.
What the Shoulder Saver Pad Does
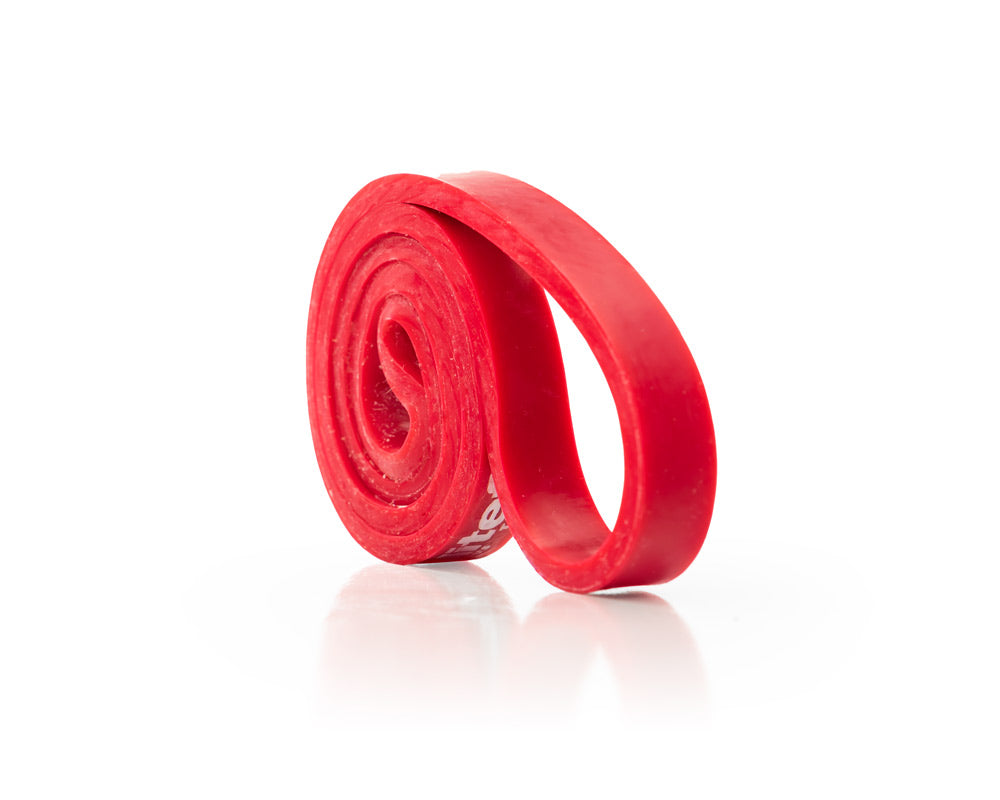
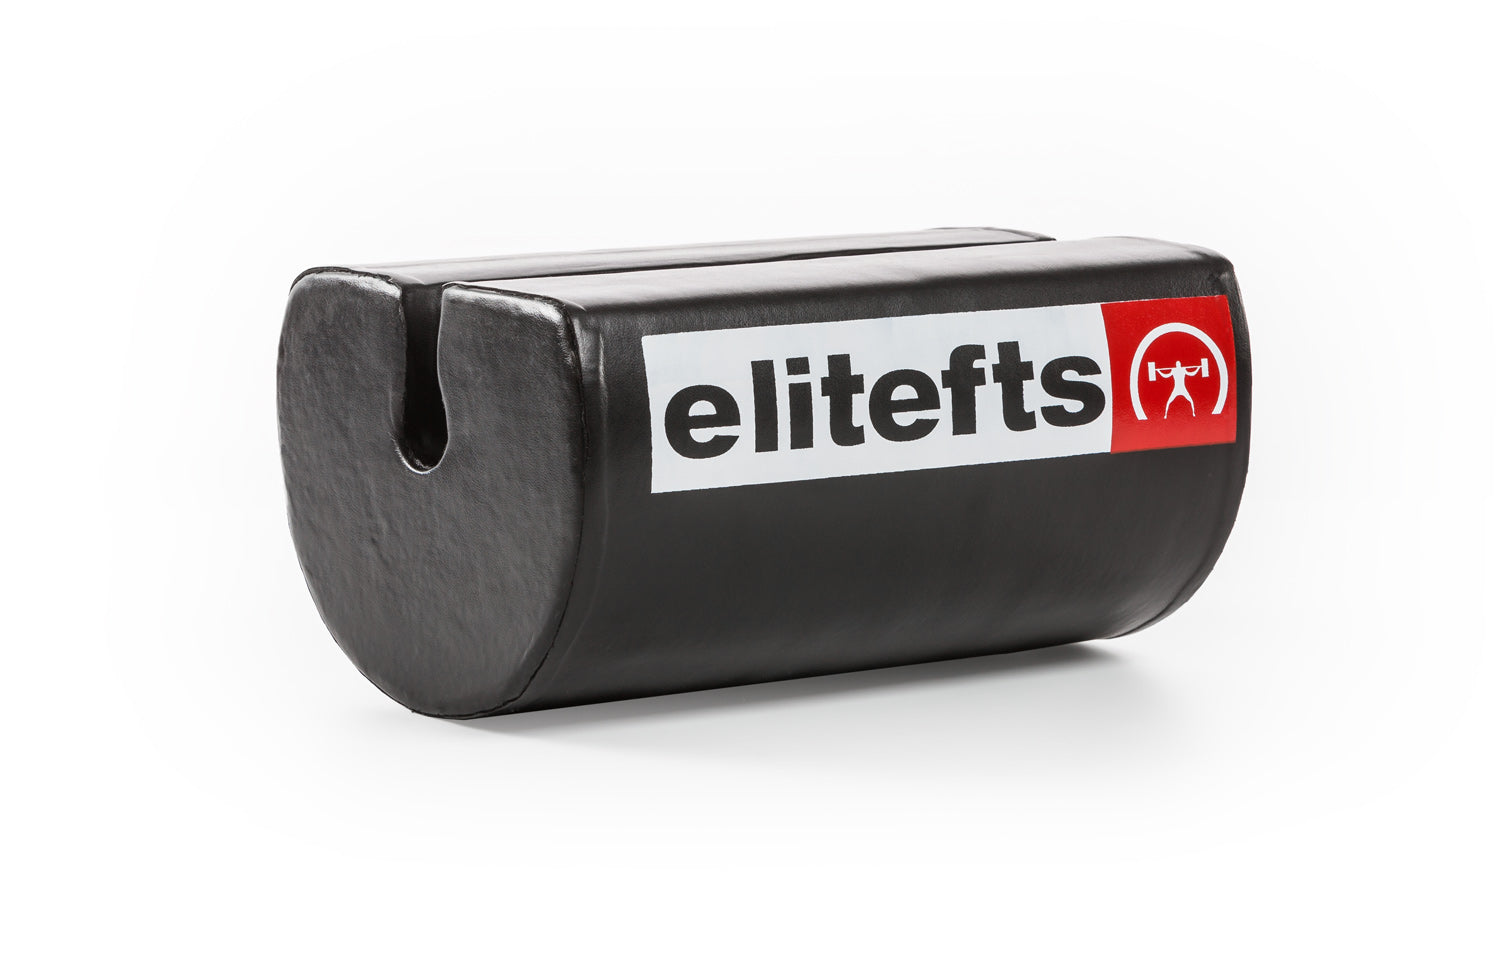
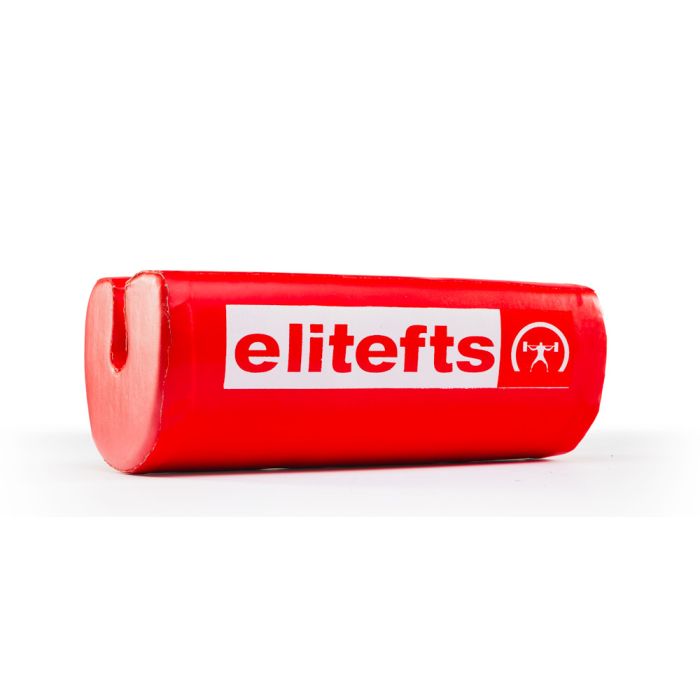
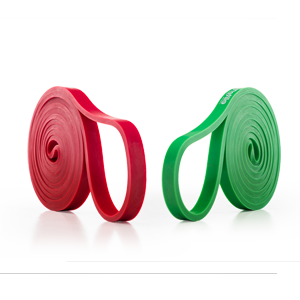
The high-density pad fits around the bar. During a bench press, the rounded pad contacts your chest before the bar would, limiting the bottom portion of the movement. The original black pad is described as similar to a two-board press; the smaller red pad is described as equivalent to a 1.5-inch board. Your build, setup, and compression affect the exact touch point, so treat those comparisons as guides, not precise measurements for every lifter.
Less travel can make it practical to train a selected portion of the press. It can also let you use a different variation for supplemental work after your main lift. What it cannot do is guarantee a bigger bench or make every pressing position appropriate for every shoulder.

Black or Red: Which One?
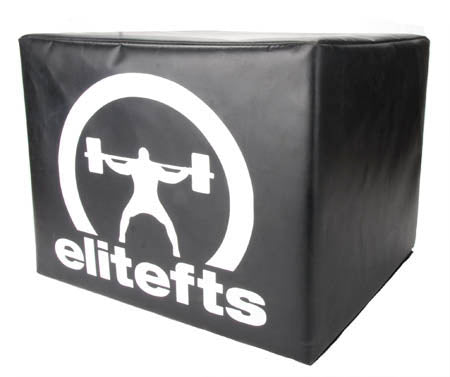
Black: The larger original pad stops the bar sooner and produces the shorter range of the two. Choose it when you want to limit more of the bottom of the press or emphasize a higher portion of the lift.
Red: The smaller pad allows more bar travel before contact. Use it when you want a shorter range than your usual bench but more movement than the black pad provides.
The difference is size, not just color. The black and red bundle includes one of each so you can select the range for the job. Keep the setup and pad consistent when comparing sessions; changing the stopping point changes the lift.

How Is It Different From a Board?
A board rests across the body and presents a broad, flat surface. The bar contacts the board; the load is distributed through the board where it contacts the lifter. A rounded pad attached to the bar creates a different contact and feel. The narrower, curved surface can roll if the bar is not controlled, so you still have to maintain a firm grip and stay tight into the touch.
That is Dave's practical reason for liking the pad as a complement to both raw and equipped benching. It is a different training feel, not proof that one tool is universally better or that the shortened press reproduces the demands of a full-range competition bench. Boards still have their place, particularly when a particular height or setup is the goal.
The pad removes the need for a person to hold a board. It does not remove the need for a competent spotter or properly positioned safety supports. A training partner can still help with the lift-off and the set.

How to Set Up
- Secure the pad on the bar before loading. Check that it is fully seated and oriented as intended.
- Set the bench, rack height, safeties, and spotter just as deliberately as you would for regular benching.
- Take your normal grip, brace, and practice the touch point with an empty bar or light load. Keep the pad controlled; do not drive or bounce it into your chest.
- Lower under control until the pad makes a consistent touch, then press. Keep your upper back and grip engaged throughout the rep.
- Stop the set if the pad shifts, the setup changes, or you cannot control the bar. Rack it, reset, and adjust the load.
If your rack or safety setup does not allow a safe failure position, fix that before adding weight. The right load is the one you can control through the range you selected, not the biggest number you can put on the bar.

A Three-Week Supplemental Block
One option is to use the pad after your main bench work for three weeks. This is an example, not a required program. Choose one pad and grip, and leave enough room to maintain the same touch and bar path on every rep.
- Week 1: 3 sets of 8 at a manageable load. Learn the touch and leave several good reps in reserve.
- Week 2: 3 sets of 6–8. Add a small amount only if week one was controlled.
- Week 3: 3 sets of 5–6. Add a small amount if technique remains consistent, or keep the same load and improve the reps.
Keep the main bench as the main bench. The pad work is supplemental; it should add useful practice and pressing volume without turning every week into a max attempt. Record the pad, grip, sets, reps, load, and how the reps moved. After the block, decide whether it served the purpose you chose.
Using It for Higher-Rep Work
A lifter may choose a shorter range for a period of higher-rep pressing when that range is tolerable and appropriate to their circumstances. Begin light, use controlled reps, and adjust the range or exercise if symptoms appear or worsen. Pain is information, not a challenge to push through. An injury or persistent symptoms deserve guidance from a qualified clinician who understands your situation; a pad is not treatment and does not guarantee a pain-free lift.
For a general hypertrophy session, use the pad as one of several upper-body movements rather than assuming it must replace every full-range press. Three controlled sets of 8–12 after your main work are a starting example. Adjust total volume to your training history and recovery, and leave enough quality for the rest of the session.
Make the Tool Fit the Training
The question is not whether a pad or a board wins a debate. The question is what range you need, why you are training it, and whether you can repeat the setup well enough to evaluate the work. If you need the shorter range, reach for the black pad. If you want more travel, try the red. If both ranges have a place in your training, the bundle keeps the options together.
Use a spotter or safeties, control the touch, and write down what you did. A useful tool is only useful when it fits the plan.
Shop the black Shoulder Saver Pad | Shop the red Shoulder Saver Pad | Shop the black and red bundle