Given this, I don’t think an old way of measuring strength is applicable to today’s athlete. Rather than just looking at squatting strength, let’s look at relative and functional strength. By relative strength, I mean the ratio of an athlete’s strength to his body weight, and by functional strength, I mean the athlete’s ability to “stick” a landing without a valgus of the knees (adduction of the knee relative to the hip and ankle) and a collapse of the core (excessive forward lean).
In my opinion, many strength coaches tend to put the carriage before the horse. That is, they’re in such a great hurry to get their athletes “stronger” that they neglect any type of progression or injury prevention in their periodization scheme. Most all athletic injuries occur during deceleration and in the transverse plane. That means most athletes are trying to simultaneously stop and turn at the same time when they’re injured. This is most common in females due to the natural angle of their hips.
Let’s break this down a little bit and discuss the excessive forward lean and torso vertical stability and torso rotational stability. Then we’ll look at the valgus knee issue.
Excessive forward lean
In training the core (anything between the hips and the chest), it’s important to remember that the primary responsibility of these muscle groups is lumbar spine stability, not mobility. This is key when addressing the excessive forward lean. Most times, the excessive forward lean is due to having a weak core. If the athlete’s core isn’t strong enough to absorb the force of the landing, the core will collapse, causing him to buckle forward. To prevent this from happening, you must first focus on the isometric strengthening of the core musculature (pelvic floor, transverse abdominus, diaphragm, internal and external obliques, erector spinae, and rectus abdominus).
Here are some exercises to incorporate into your program:
Front bridge
Pull the naval in toward the spine and squeeze the glutes.
Side bridge
Keep the hips even with the shoulders.
Side bridge with glute activation
Press the knee firmly into the ground.
Bent knee bridge
Press through the heels and make sure the hips are all the way through.
Hold each of these for 6–30 seconds, depending on the athlete’s strength level.
Valgus knees
Like stated earlier, valgus knees are the adduction of the knees in relation to the hip and ankle. This is a very dangerous position that can lead to many knee injuries as well as several other hip and low back problems throughout the kinetic chain. For most athletes, this is just a simple matter of relearning the motor pattern. If this is the case, the easiest way to do this is to perform a drill that I call “landing mechanics.” (Very creative, I know.) This is a drill that I incorporate at the end of my dynamic warm up.
Frontal landing x 5
Have the athlete start on a bench or plyometric box that is about knee height and fall into a good landing position.
If you’ve done the following drills for a couple weeks and the athlete is still exhibiting the same valgus knees, this may be a sign that there are bigger problems and the athlete may need some extra attention. A little corrective exercise training may be in order.
First off, let’s look at the problem. The knees are moving inward. Let’s take the Janda approach and look at which muscles are locked long (weak) and which opposing muscles are locked short (tight). I think Gray Cook put it best when he said, “The knee is a slave to the hip and the ankle. For dysfunction in the knee, look either a foot north or a foot south and you’ll find your problem.”
· IT band
· Tensor fasciae latae
· Peroneal complex
· Outer head of the gastrocnemeus
Possible weak areas:
· Gluteal complex
· Vastus medialis (VMO)
· Hip adductors
Corrective exercise training for the valgus knees
Now that we’ve identified which muscles are tight and which are weak, let’s look at how to fix the situation. First, we’ll start with lengthening the short muscles by foam rolling:
IT band
Start with the roller at the greater trochanter and work your way toward the lesser trochanter. Hold each tender spot for thirty seconds.
Peroneal complex
Roll from the head of the fibula to the lateral malleolus. Hold each tender spot for thirty seconds.
Then we’ll static stretch the:
Calves
Be sure that the arch of the back foot doesn’t collapse.
Hip flexors
Squeeze the glutes and keep the shoulders back.
Following the foam rolling and static stretching, implement a comprehensive dynamic warm up. Then, you’ll be able to incorporate the above mentioned isometric core exercises as well as the following:
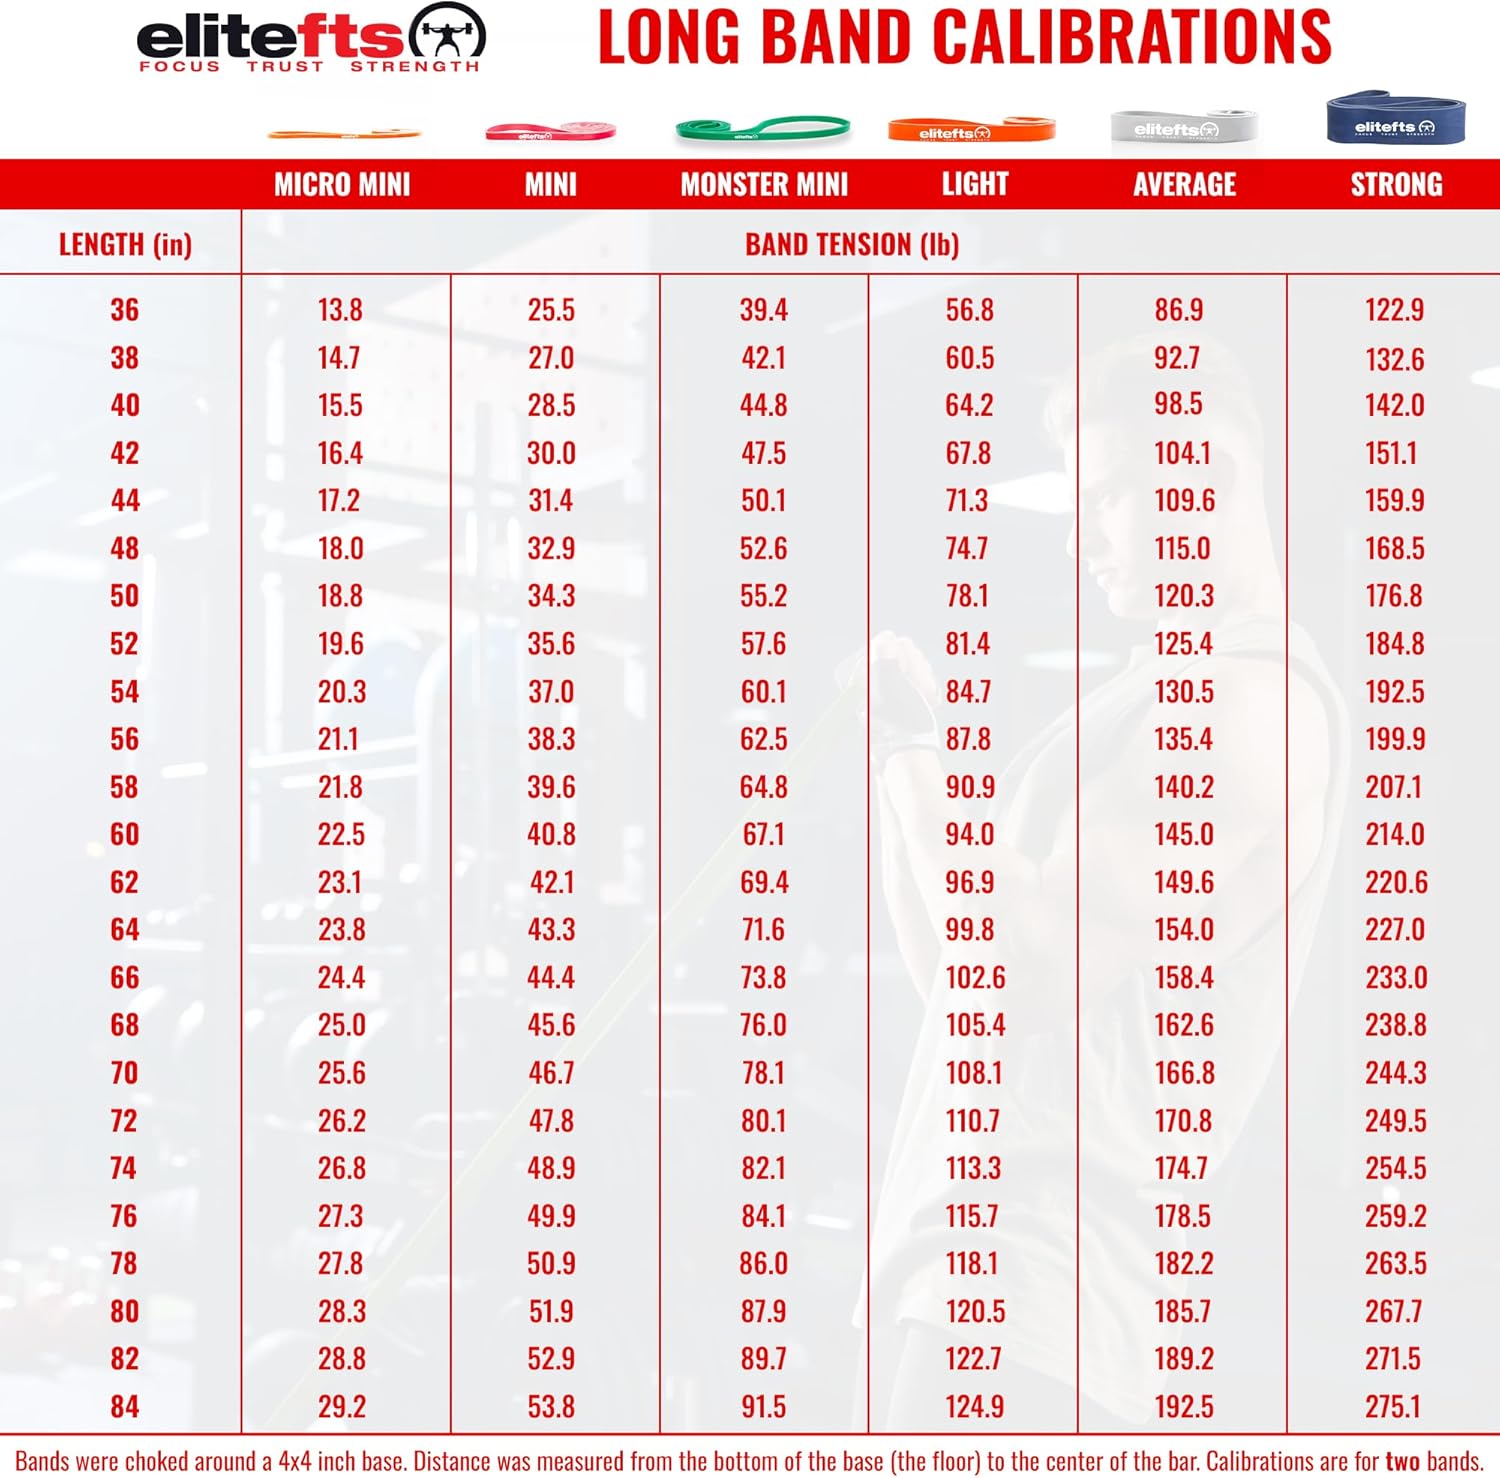
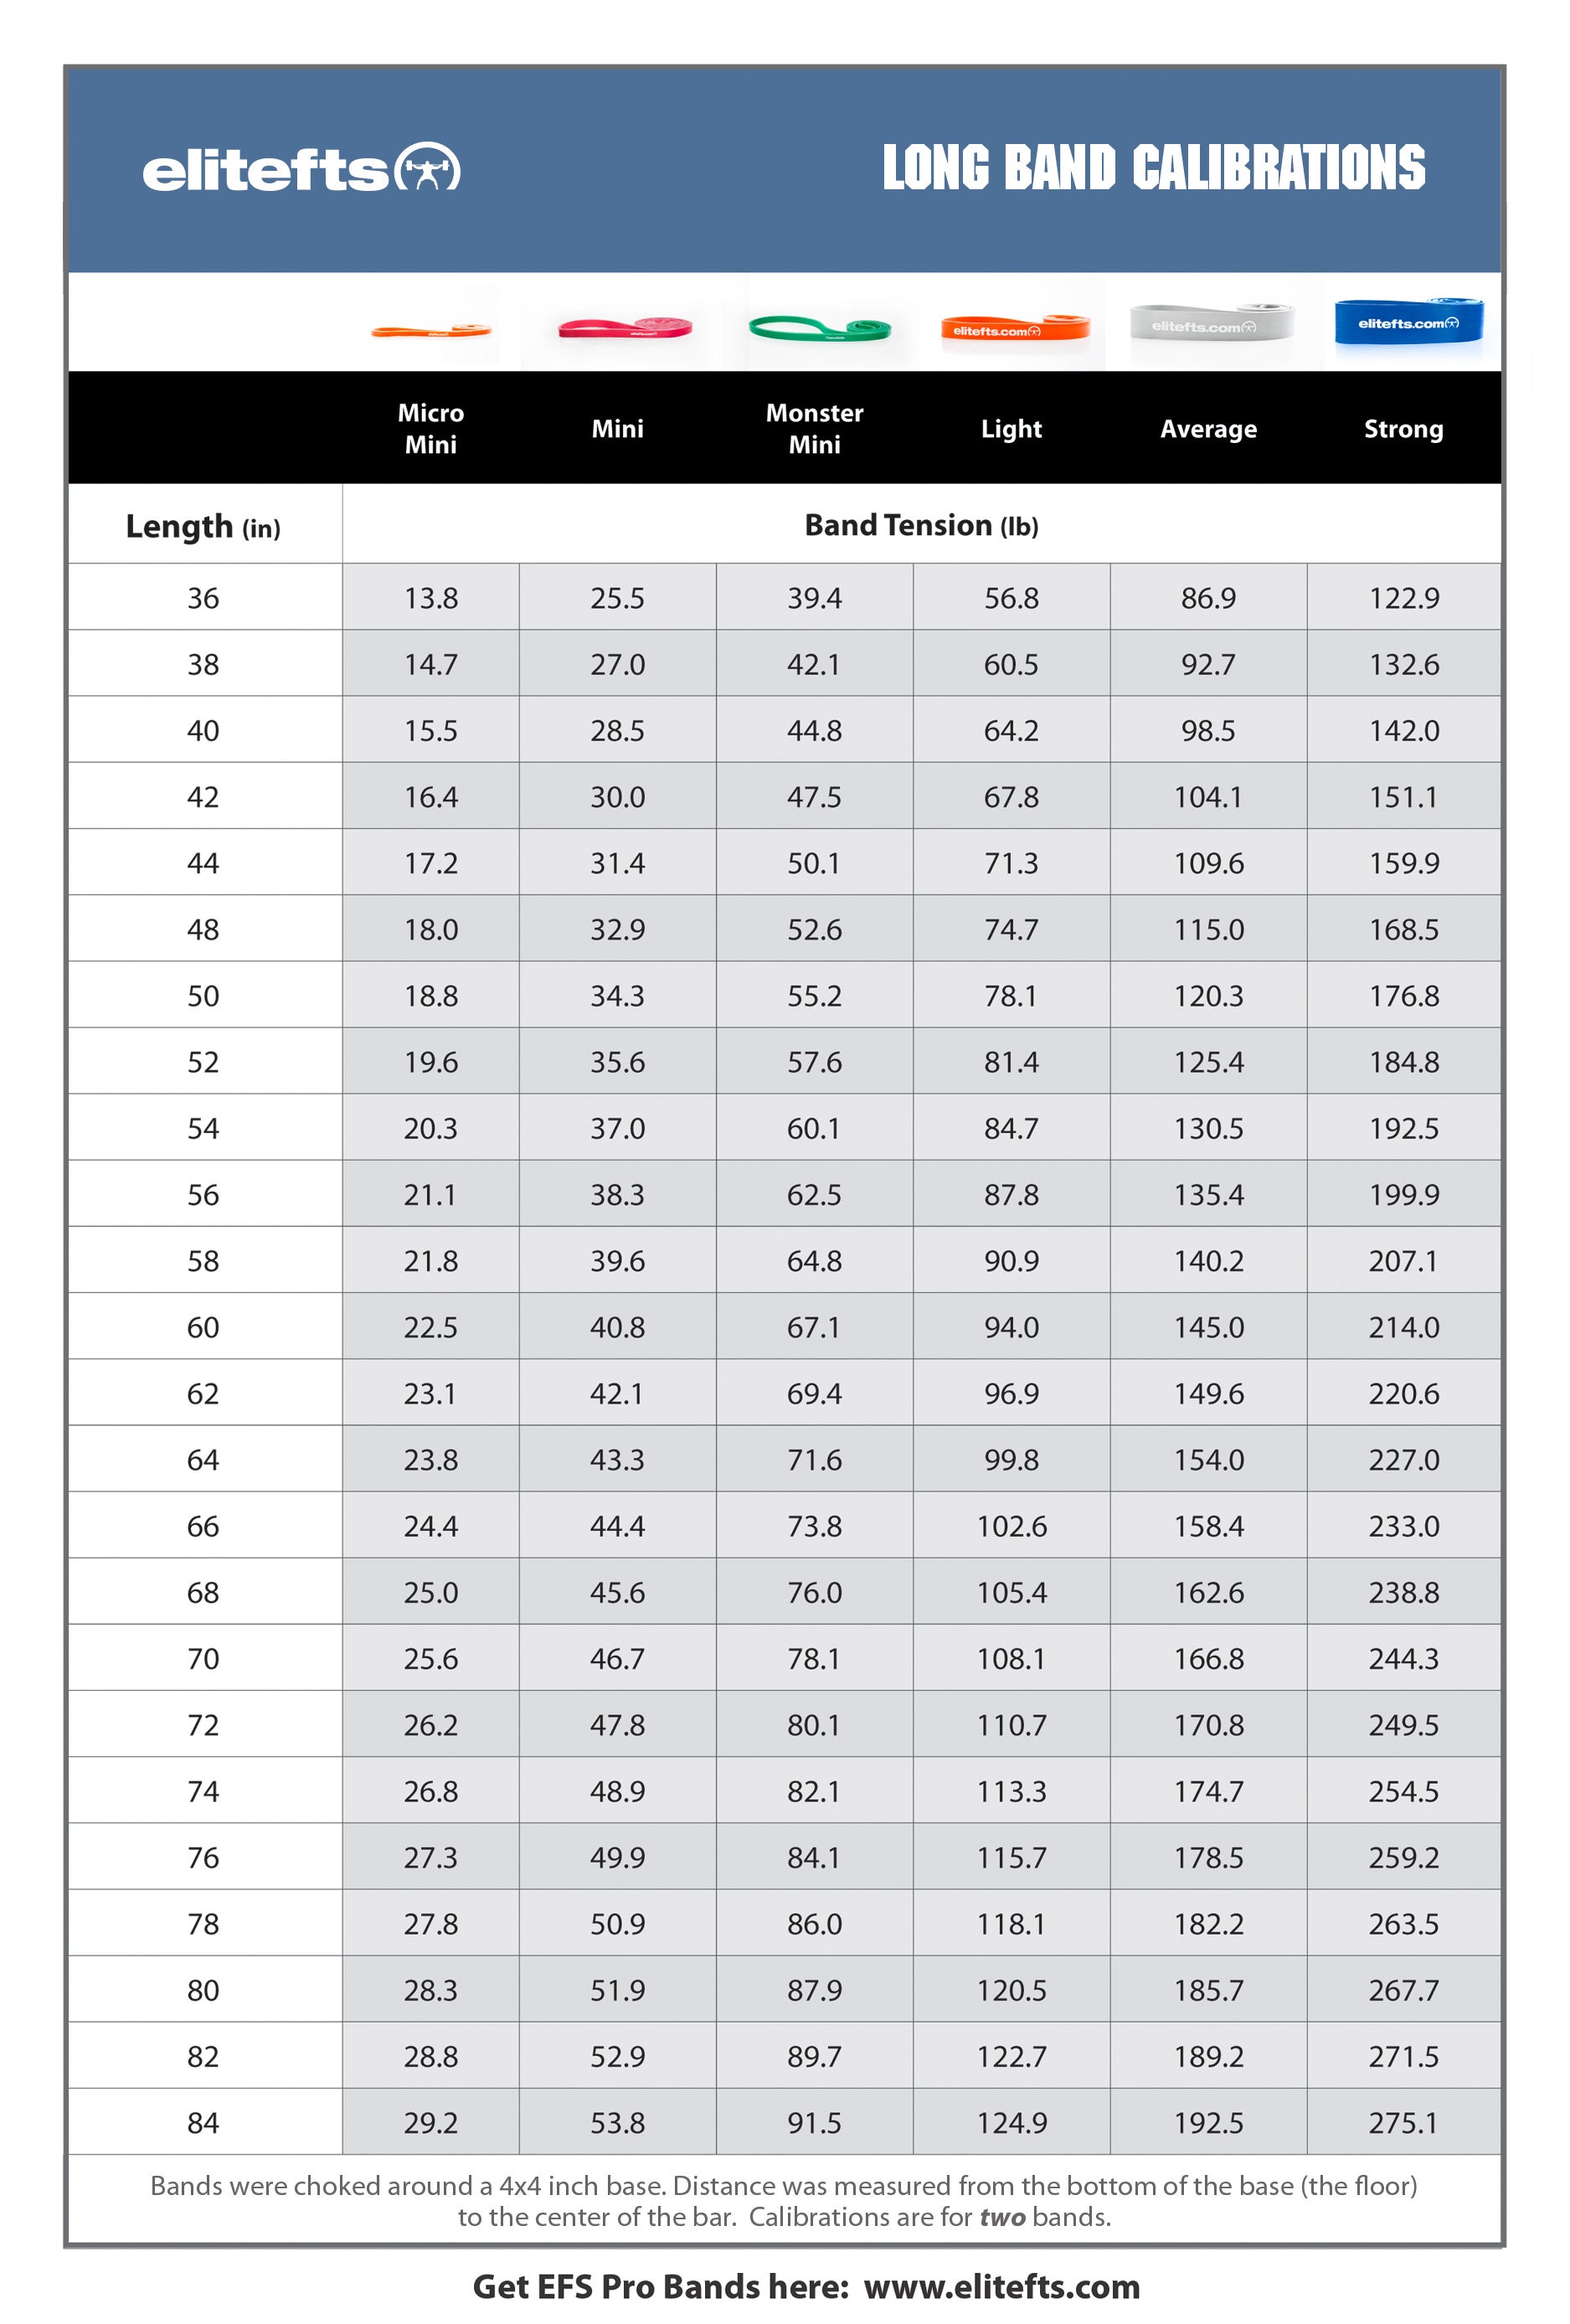
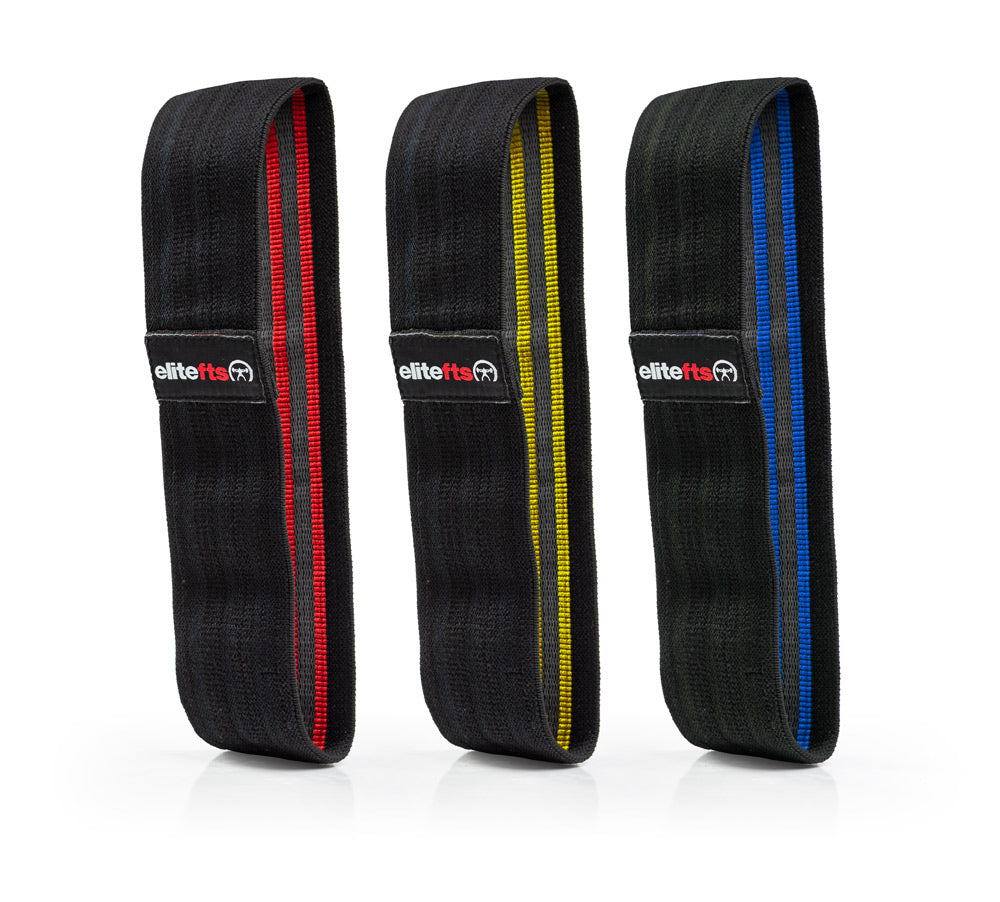
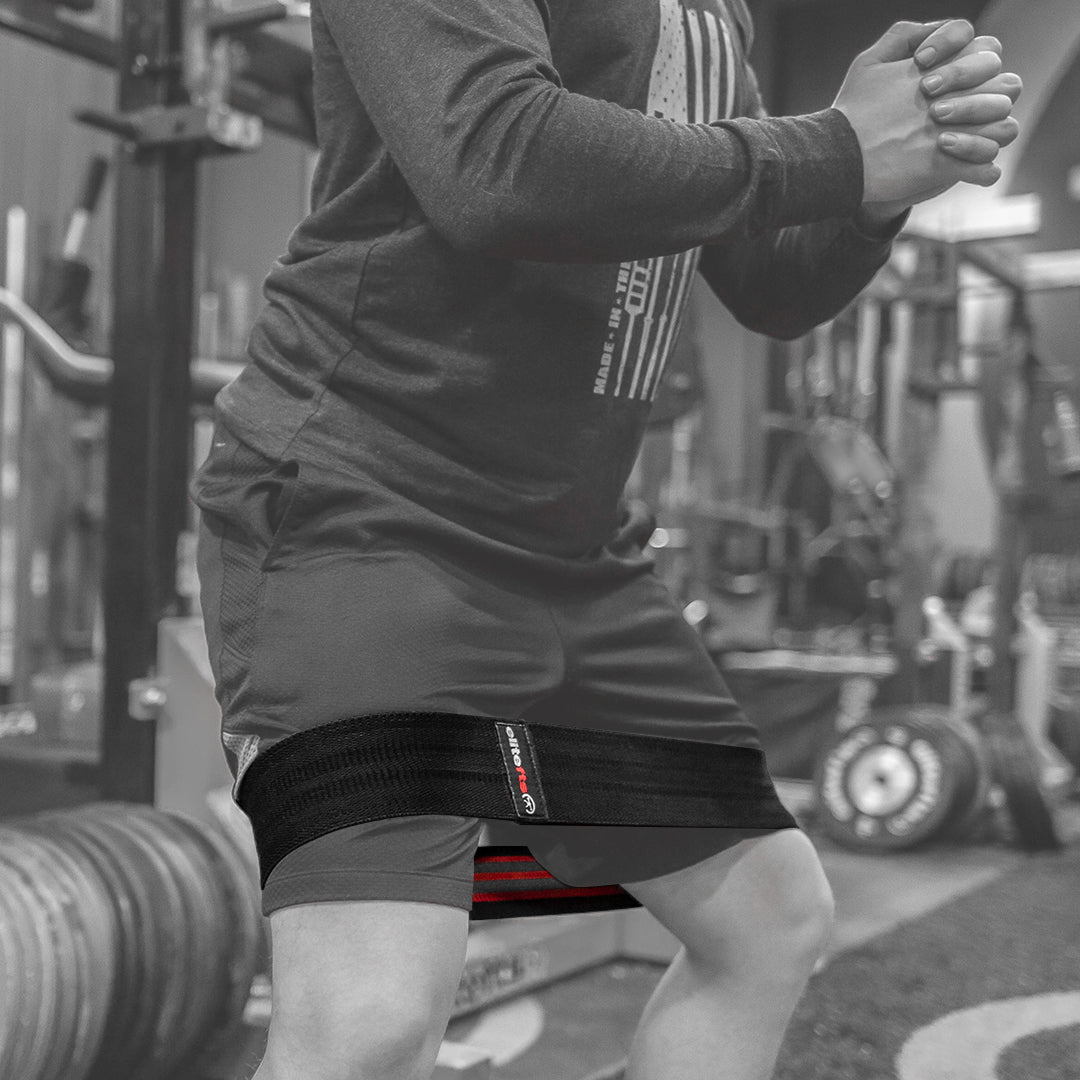
Lateral tube walks
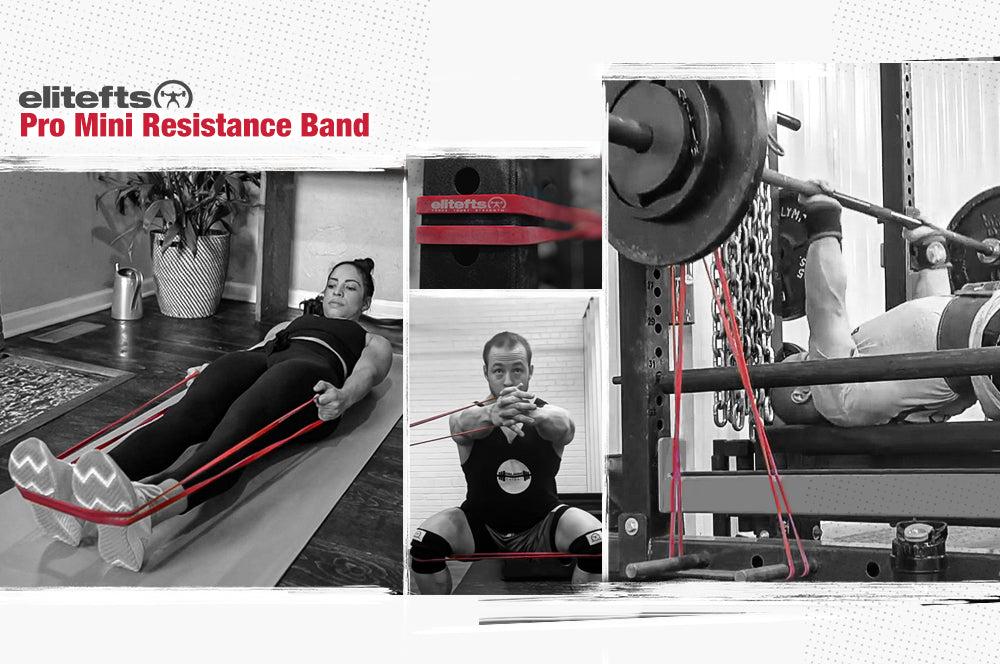
Begin with a mini band just above the knees and the feet just a little wider than hip width. Then while maintaining core stability, step out just wider than shoulder width. Then step back to starting stance. Do this 10 times to the right and 10 times to the left.
Hip thrusts
Begin with one leg bent just past 90 degrees at the knee and the other pointed straight up. Press the heel of the foot into the ground, squeeze the glute, and press the hips up as high as possible. Repeat 10 times on each leg.
Athletes get injured for three reasons—they either aren’t strong enough, aren’t flexible enough, or they make contact with another player or an object. If the athlete gets hit by a car, you can’t help that but you may be able to fix the other two! By spending a little time working on preventative maintenance, coaches can greatly reduce the risk of injury to their athletes.
Sources
- Janda V. Muscles and cervicogenic pain syndromes. In: Grant R (1988) Physical therapy of the cervical and thoracic spine. New York: Churchill Livingstone, 153–66.
- Meyer GD, et. Al (2005) Neuromuscular Training Improves Performance and Movement Biomechanics. J Strength Cond Res 19:51–60.
- Rodger Robb. Kids Jump Down. Accessed at: http://www.Sbcoachescollege.com

