

Stop Debating the Percentage.
Here's How to Actually Find Your Speed Bench Weight.
The right weight for speed bench isn't found in a book — it's found under the bar, using a simple method that tells you exactly what to use based on your own strength and skill level.
For over a decade, the most common question I've gotten about dynamic bench work isn't about technique, programming structure, or even what equipment to use. It's this: what percentage should I use?
That question gets asked because there's no clean answer sitting in one place. The Westside Barbell Book of Methods says one thing. Articles I wrote ten years ago say something different. Something I said last year says something different from that. People find those contradictions and assume one of us is wrong.
Nobody is wrong. The percentages changed because the training changed, and the training changed because the people doing it changed.
We have been running dynamic effort work for decades, and one thing that has held true across every era of it is this: bar speed is the variable that matters, and your percentage is just a byproduct of that. The number you settle on tells you something about where you are right now. It doesn't tell anyone else anything.
That sounds like a philosophical cop-out until you understand why it's true.
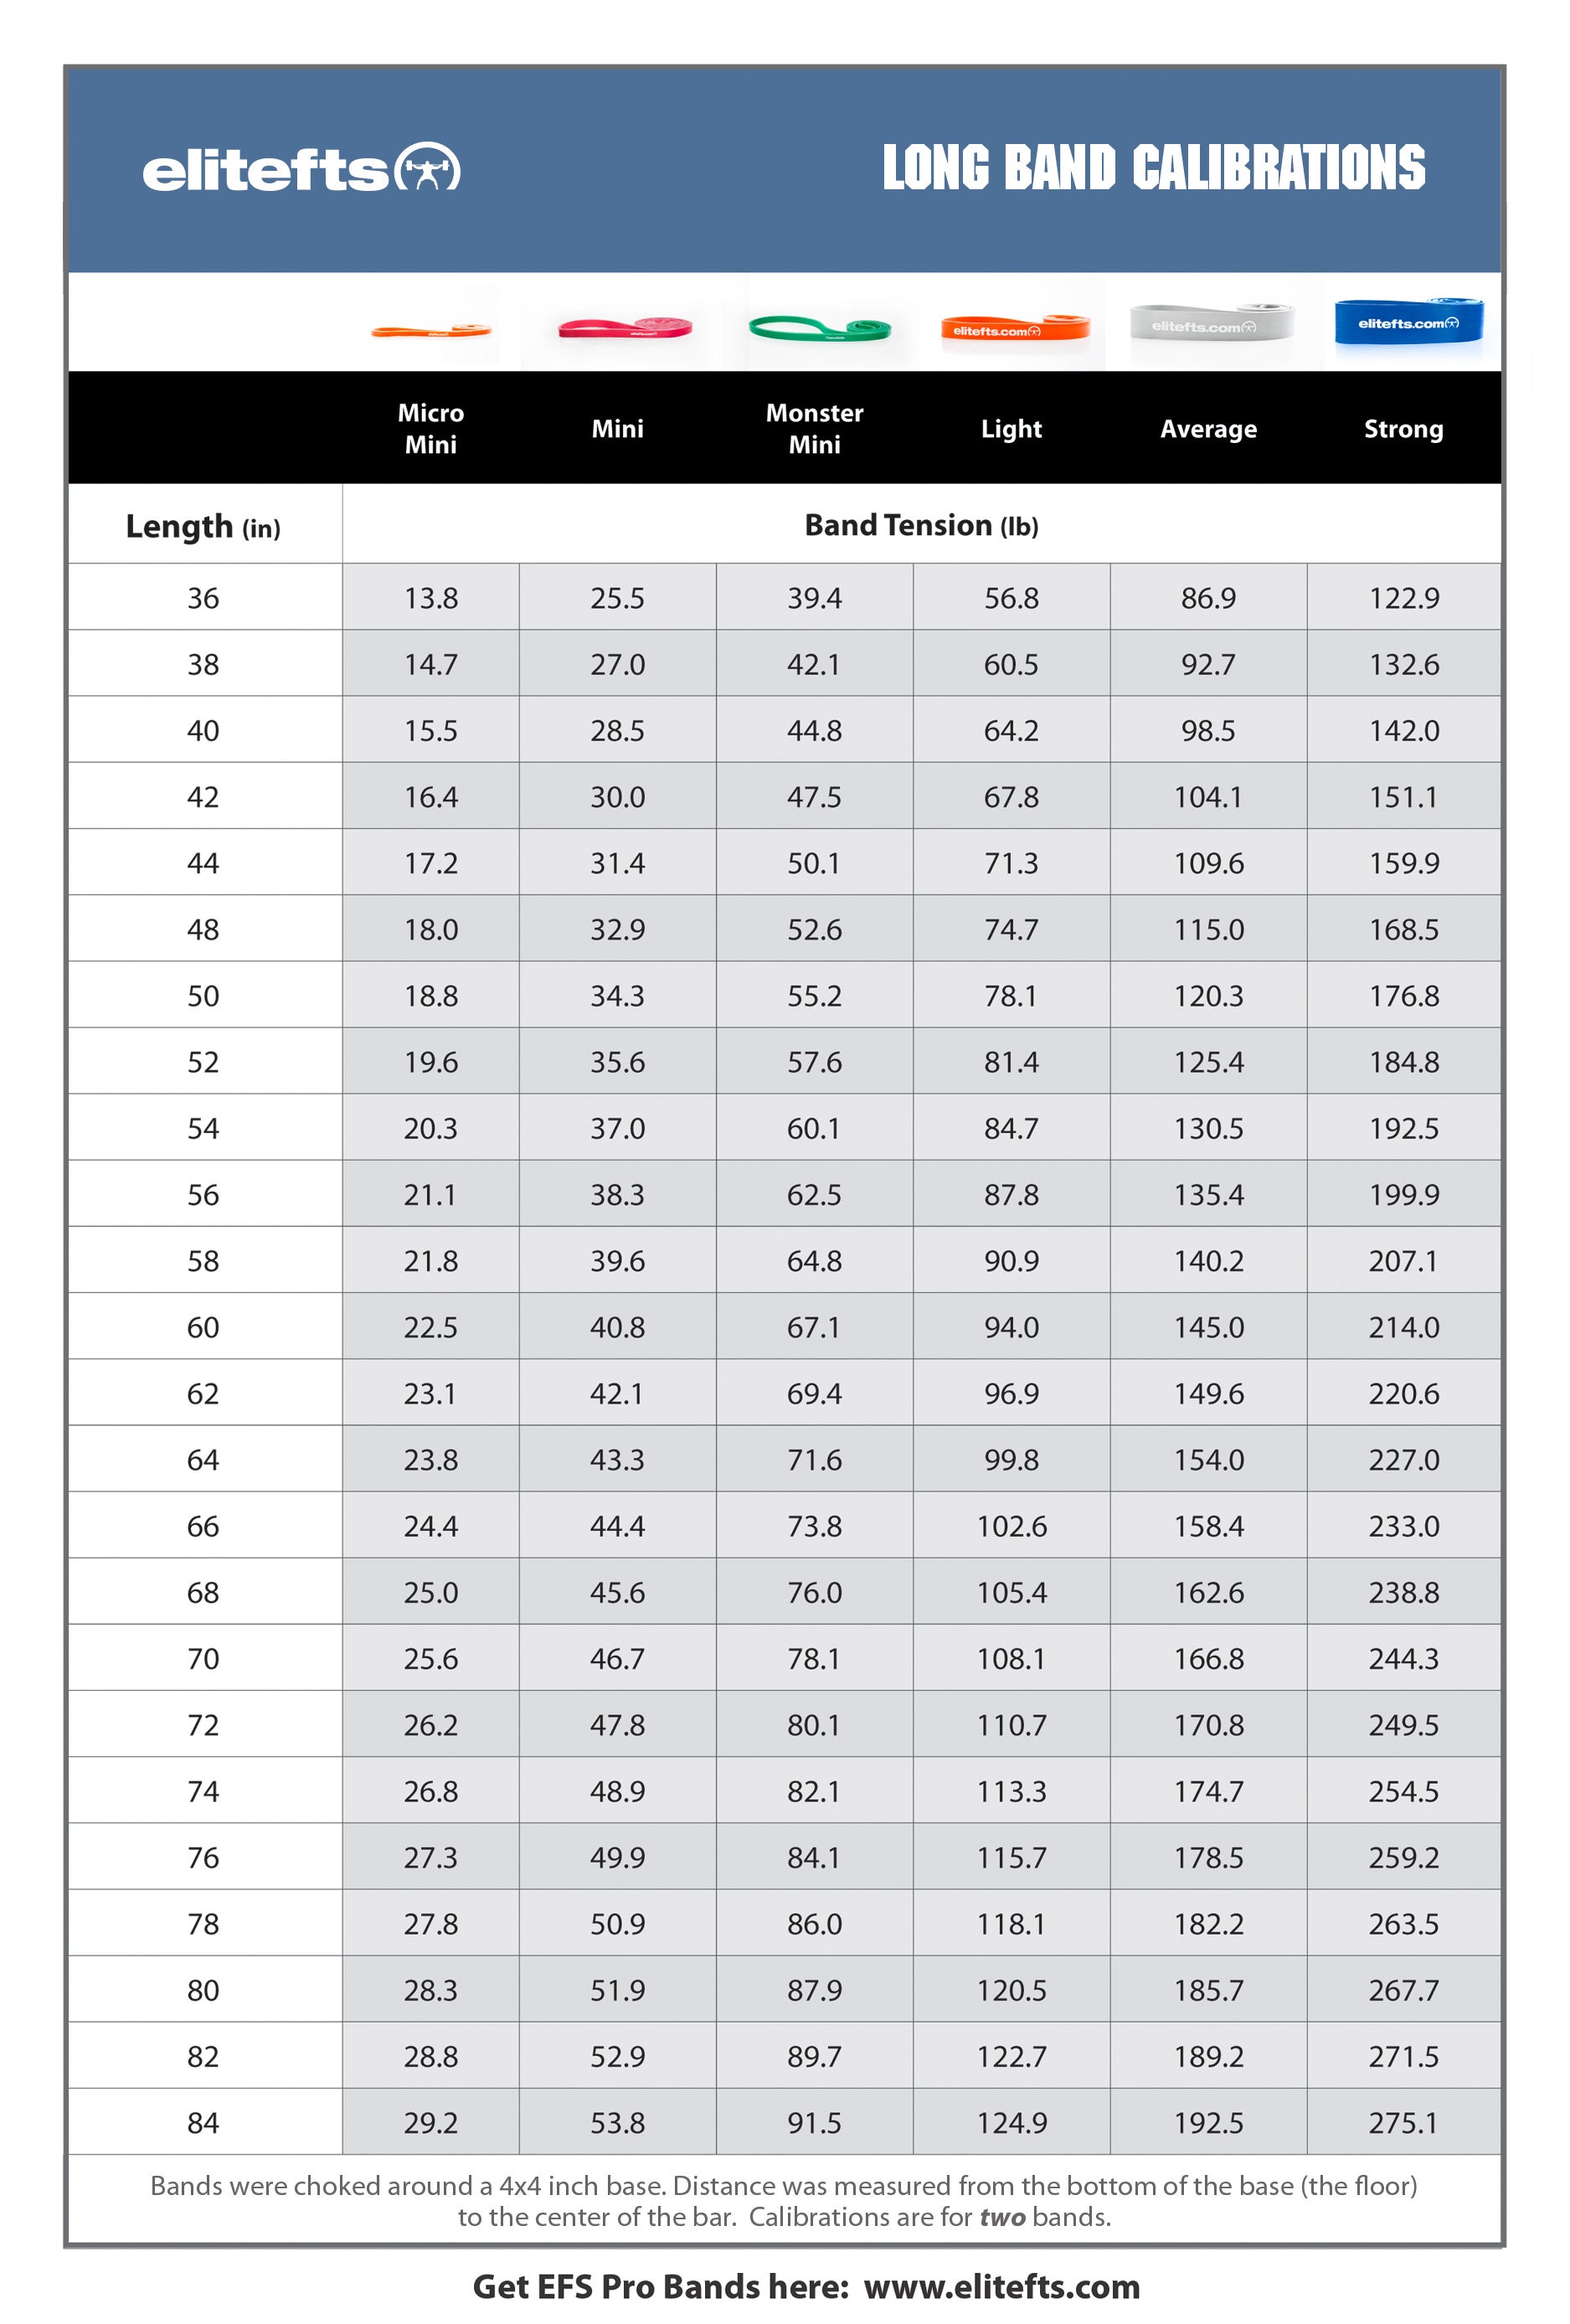
The reason Westside's bench percentages dropped from around 70% down to the 45–55% range over time isn't that Louie changed his mind. It's because the lifters got more experienced and the gym as a whole got stronger.
An advanced lifter can recruit more motor units. That means they don't need as much weight to produce the training stimulus that dynamic effort work is built to deliver. Put too much weight on the bar, and they're no longer training speed — they're training strength. The bar slows down, the purpose of the day gets lost, and you've just done a medium-intensity strength session without calling it one.
A beginner or intermediate lifter hasn't developed that motor unit recruitment capacity yet. They need more weight to hit the same bar speed because they're not as efficient. Take the weight too low for them, and they're not applying enough force to make the session worth anything.
This is why a chart that works for one person fails the next person. Experience level, nervous system efficiency, and raw strength all determine where your number lands. There is no universal answer.
The answer is your answer. And you can find it in one training session.
Before getting to the method, understand the goal.
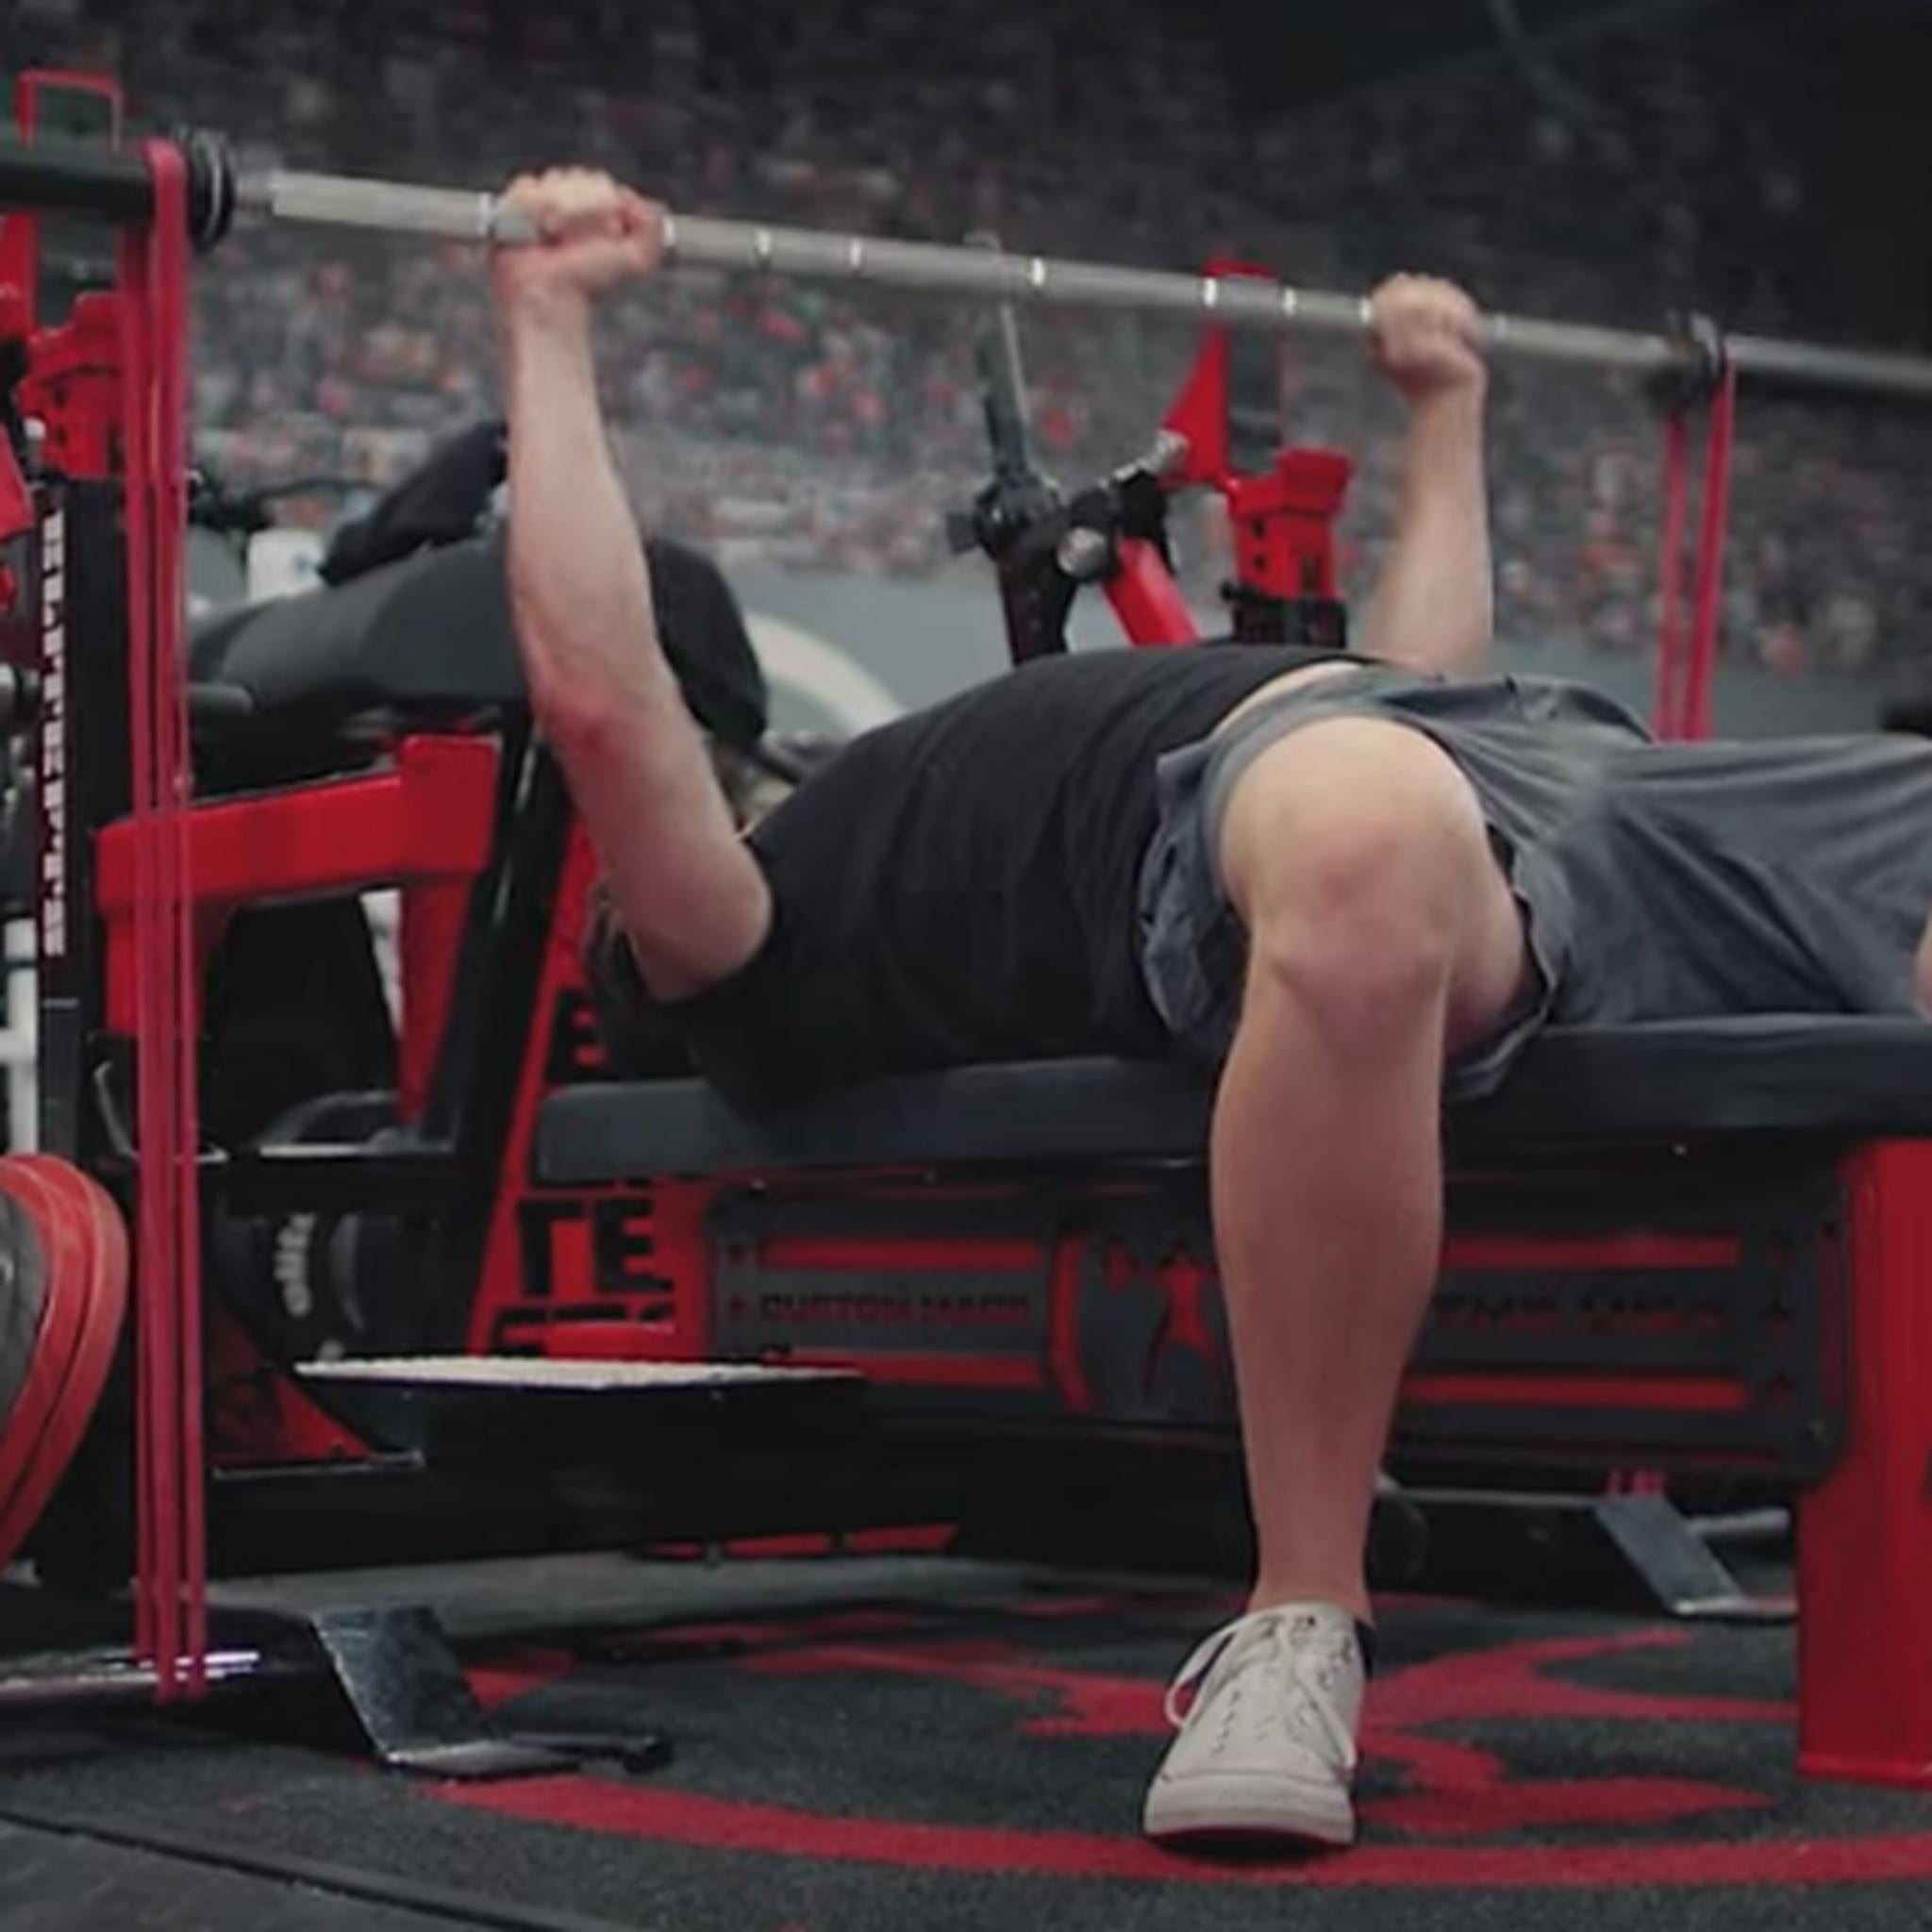
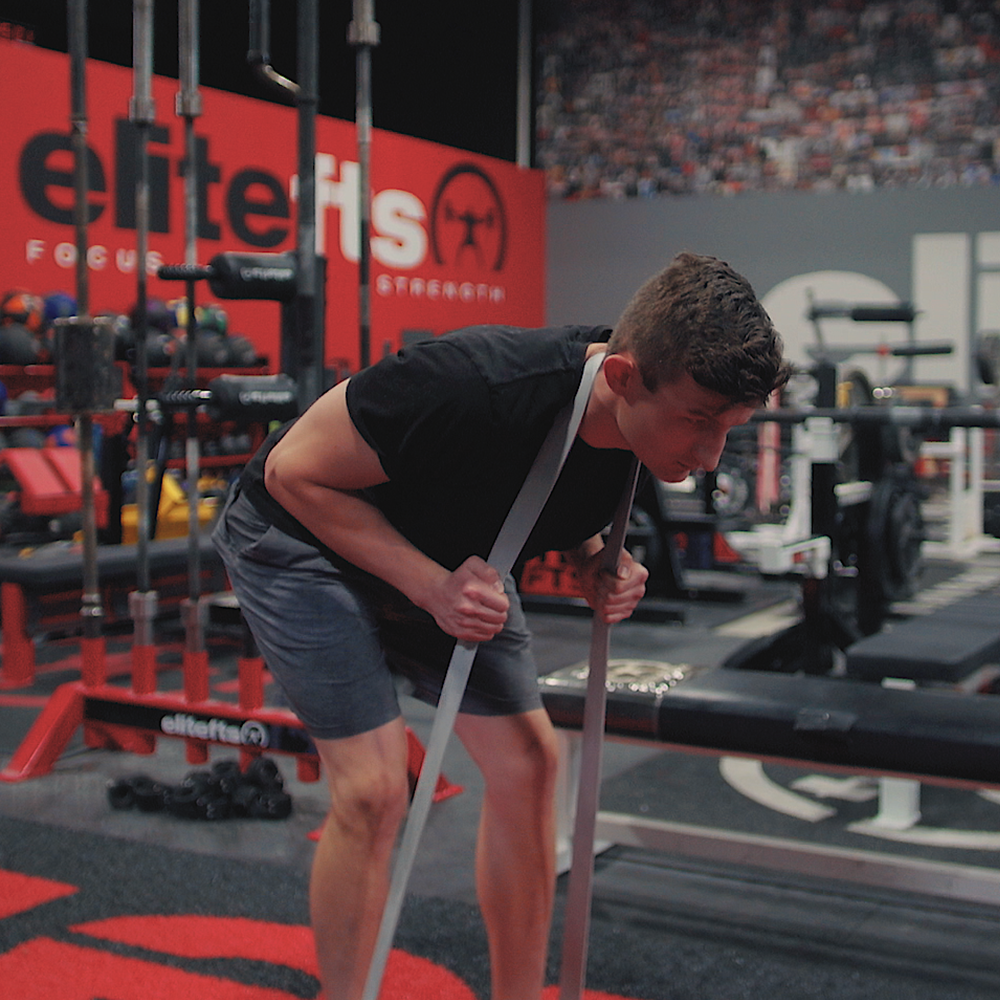
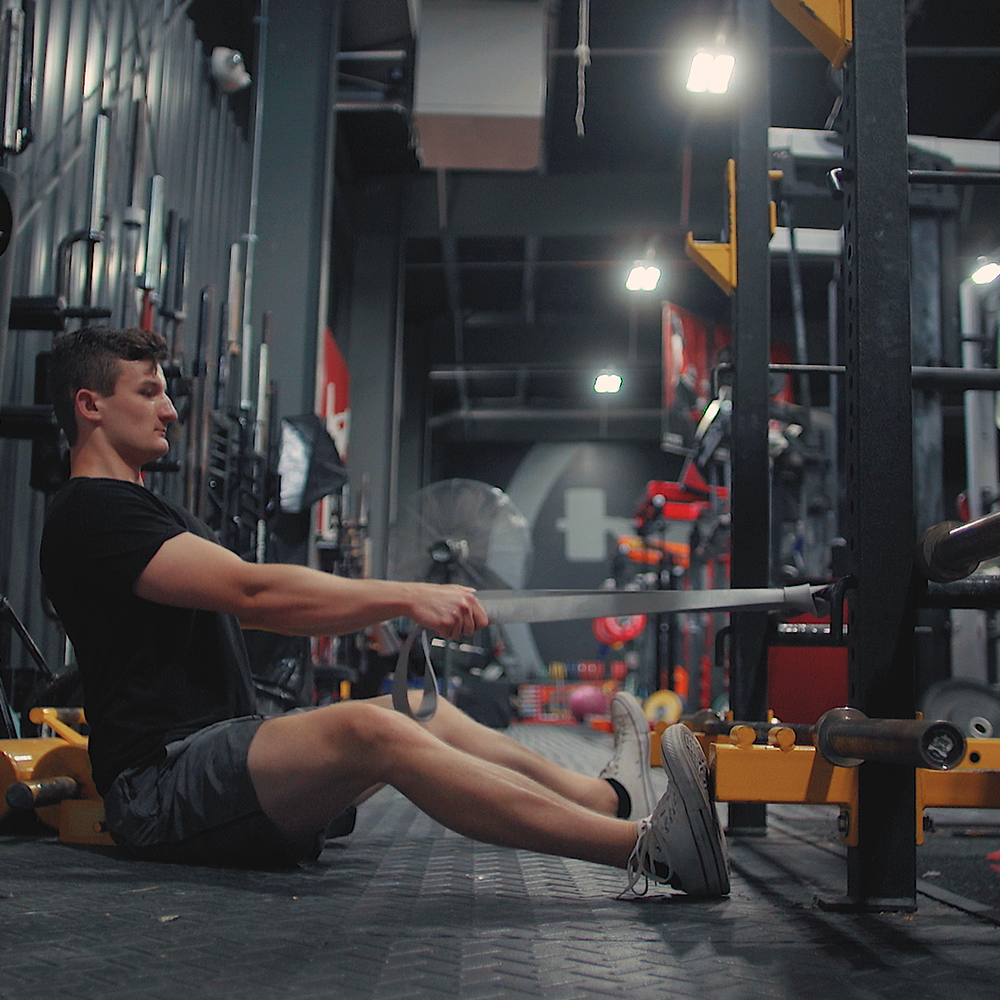
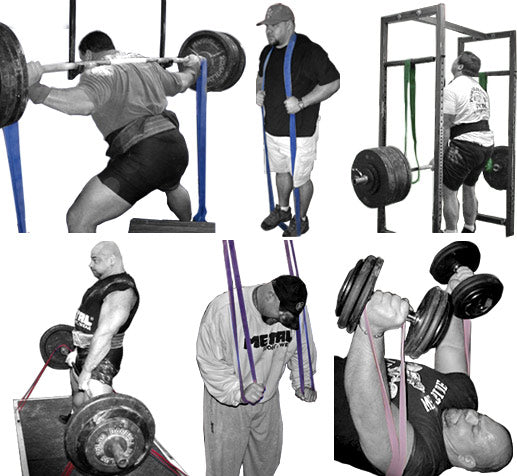
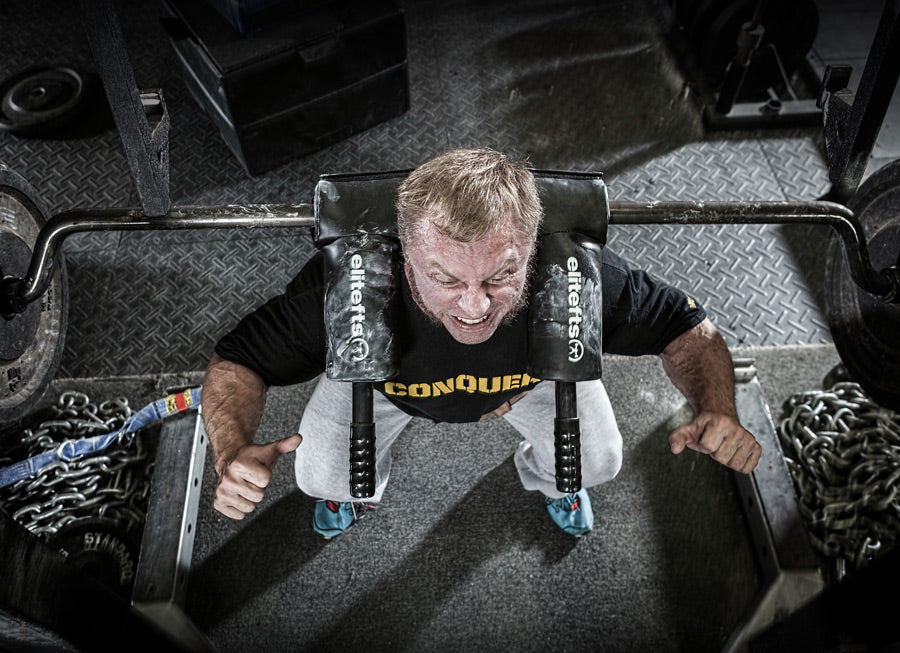
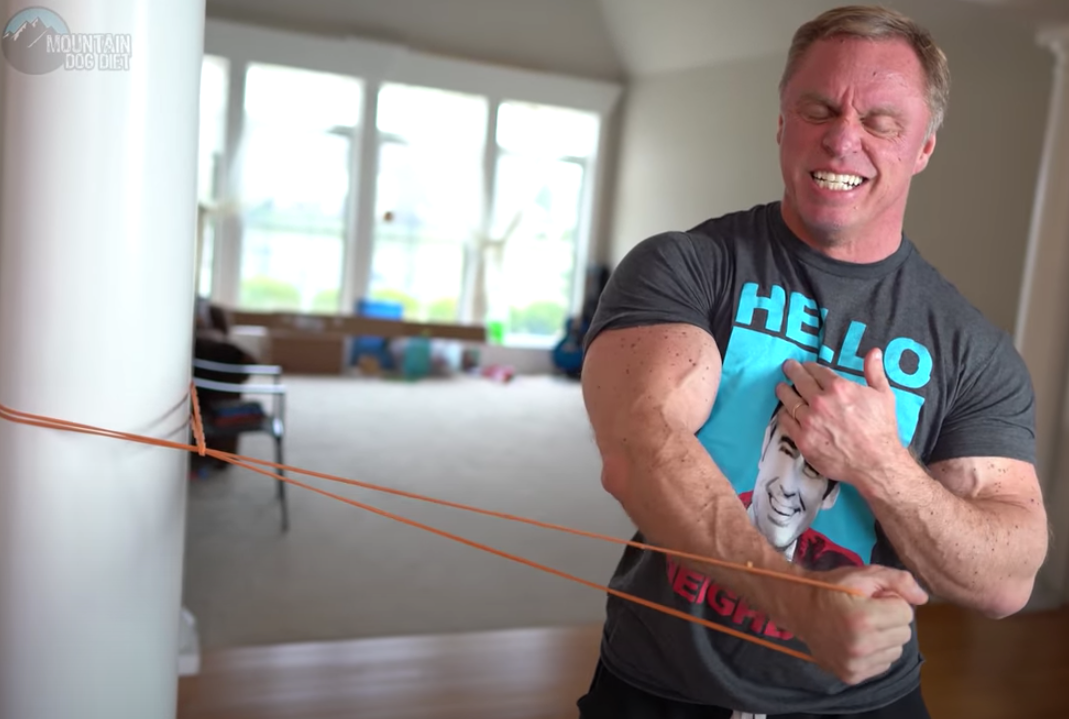
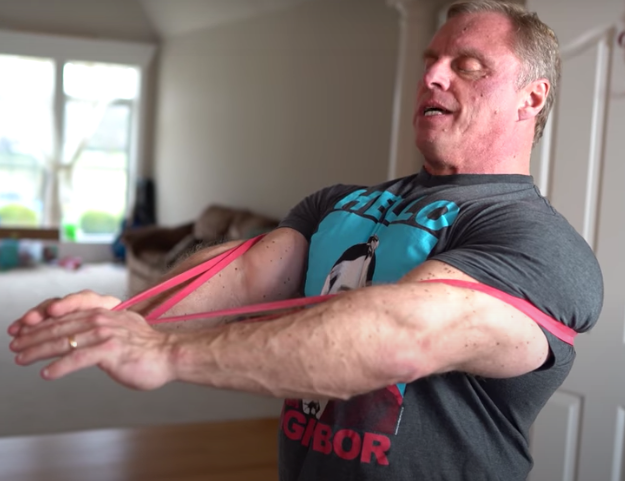
Dynamic effort work is not about lifting light weight. It is about applying maximum force to a non-maximal load. The term for this is compensatory acceleration — you push as hard as you possibly can, as if the bar were much heavier than it actually is. If your best bench is 315 and you're pressing 185, you are trying to apply 315 pounds of force to that 185-pound bar. Not coasting. Not going through the motion. Maximum force, maximum intent, every single rep.
The weight has to be light enough that you can actually do that. If it's too heavy, your nervous system can't fire the way it needs to, bar speed drops, and you've missed the point. If it's too light, you can't stay tight, your shoulders start to drift, your elbows may hyperextend if you're really cranking, and the movement stops looking like a bench press.
What you're searching for is the window where the bar moves fast and you still have to fight to keep your technique together. That zone is different for everyone.
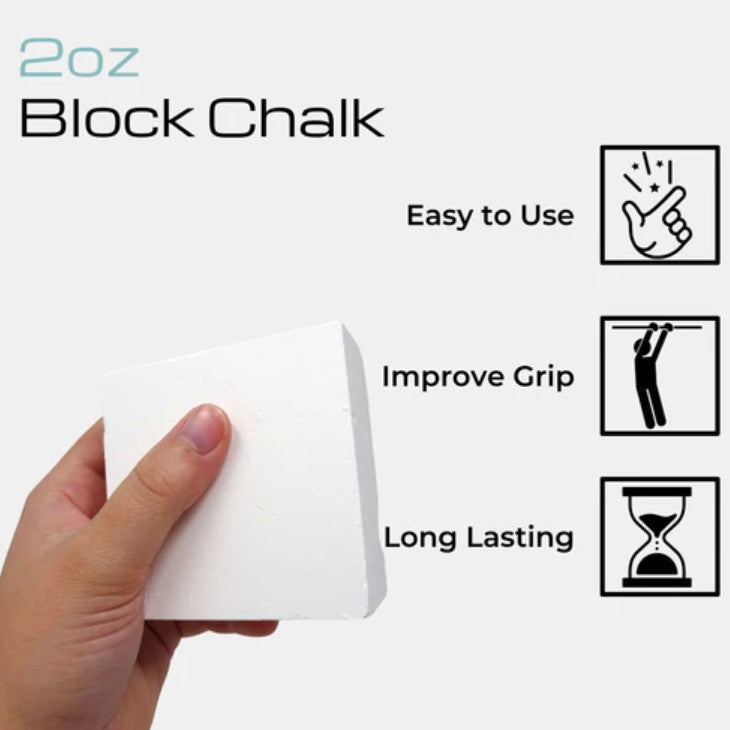
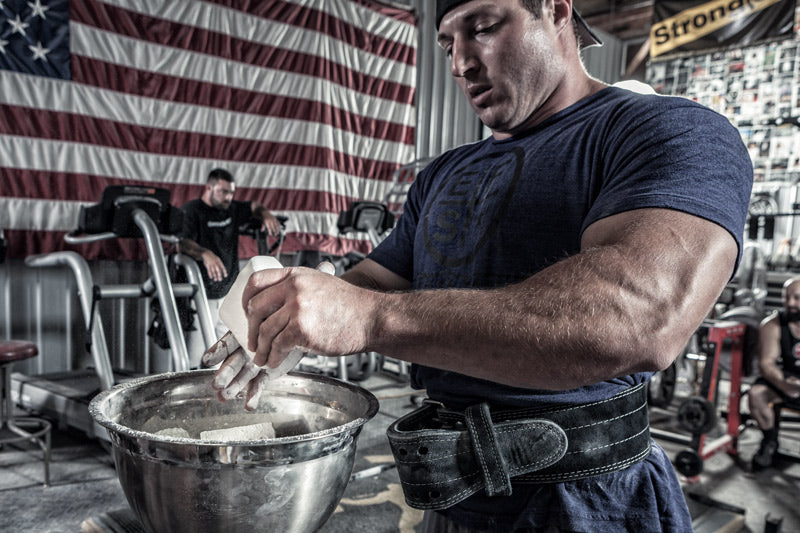
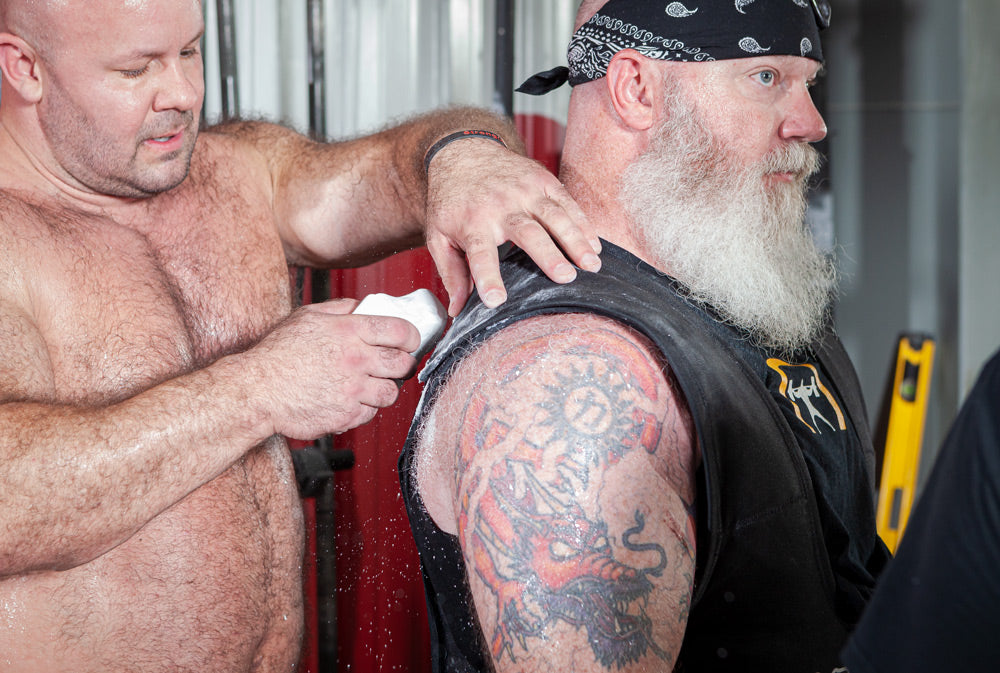
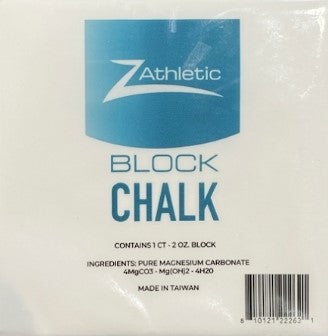
Here's how to do this. You'll need chalk and one training session.
Step-by-Step Protocol
- Start with a dime on each side. That's 65 pounds. Yes, it sounds absurd. Do it anyway. At that weight, you are not applying maximum force. It's too light to push into. Do two or three reps and note that these are just warm-up sets — not your speed work. You're climbing a ladder, not jumping to the top.
- Add a dime per side to each set. Every set, add ten pounds per side. Keep track of how the bar feels as you go through each jump.
- Mark the bottom of your window. At some point, the weight will reach a threshold where you can push as hard as possible, the bar still moves with real speed, and your technique holds together. That's the bottom of your window. Mark it with chalk on the bar.
- Mark the top of your window. Keep going. Keep adding a dime per side each set. Somewhere further up, you'll hit a set where the bar slows. You're no longer generating force at the rate you were. Mark that with chalk, too.
- Build your three-week wave. Take the lower end of your range as Week 1. Add roughly 20 pounds for Week 2. Add another 20 pounds for Week 3. After Week 3, drop back down, change the variation or the accommodating resistance, and run it again.
When running the chalk mark test, use your medium grip. Not your strongest grip, not your weakest. Right in the middle.
The reason is simple. If you test with your widest, most mechanically advantageous grip, you'll land at a heavier weight than you should be using for the other grip positions. If you test with your close grip, the number will be too light for the other positions.
Medium grip gives you an average. From there, when you're actually running your speed work across a three-week wave, you rotate through all three grips during your sets — close, medium, and wide. Your medium grip test weight works as the anchor for all three.
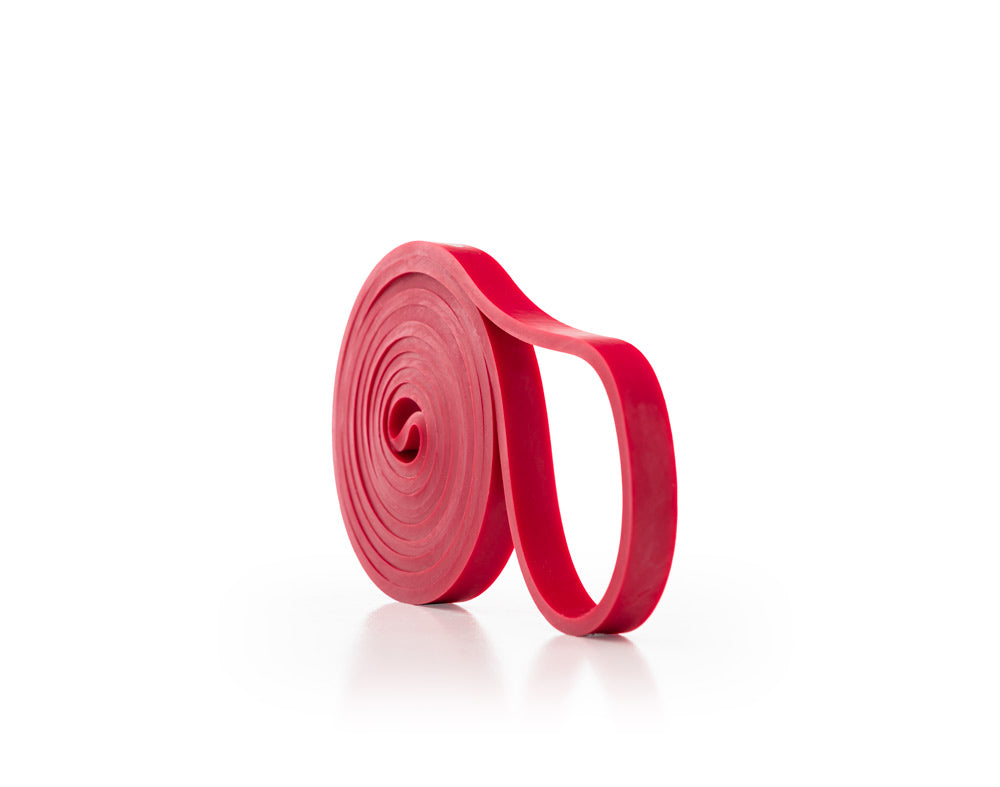
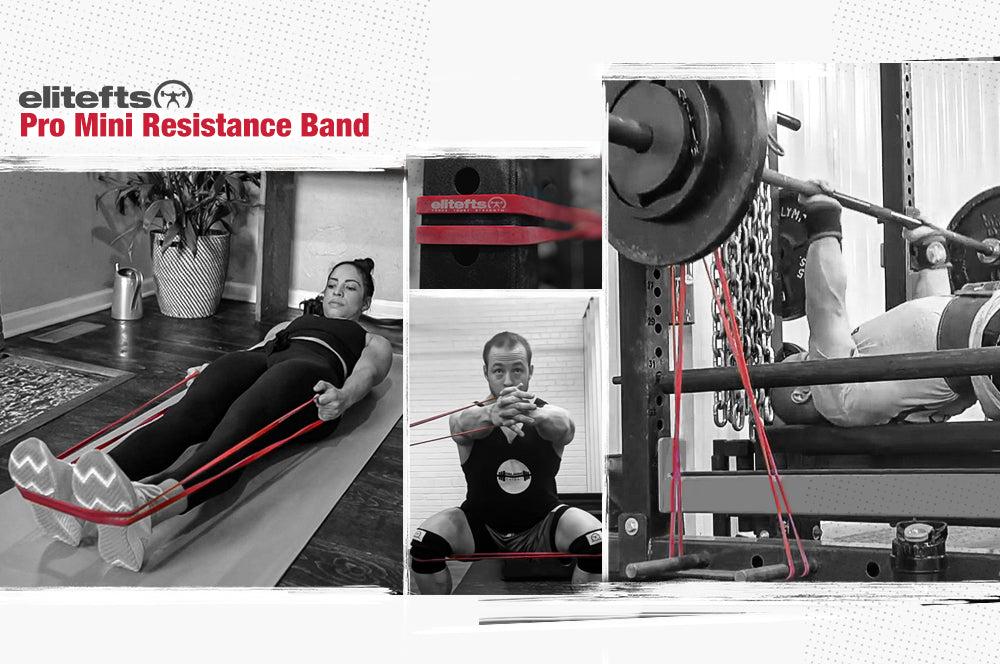
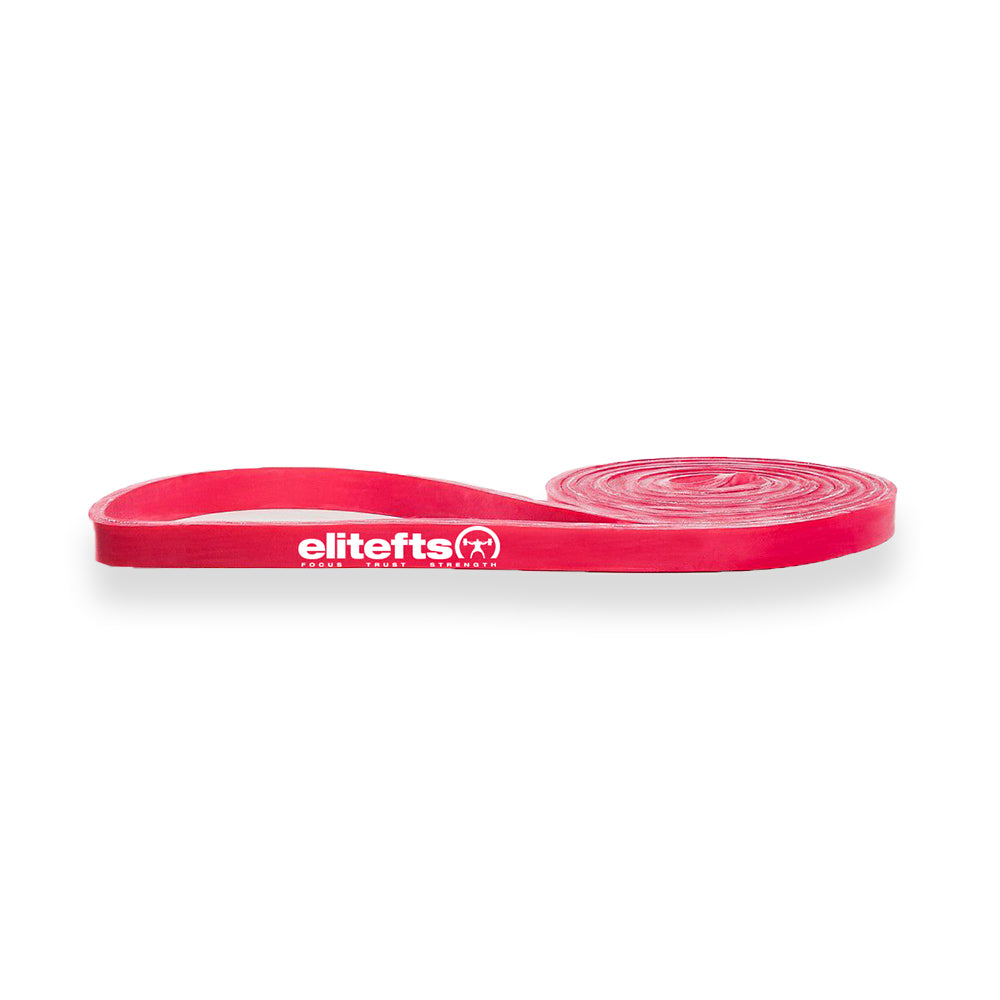
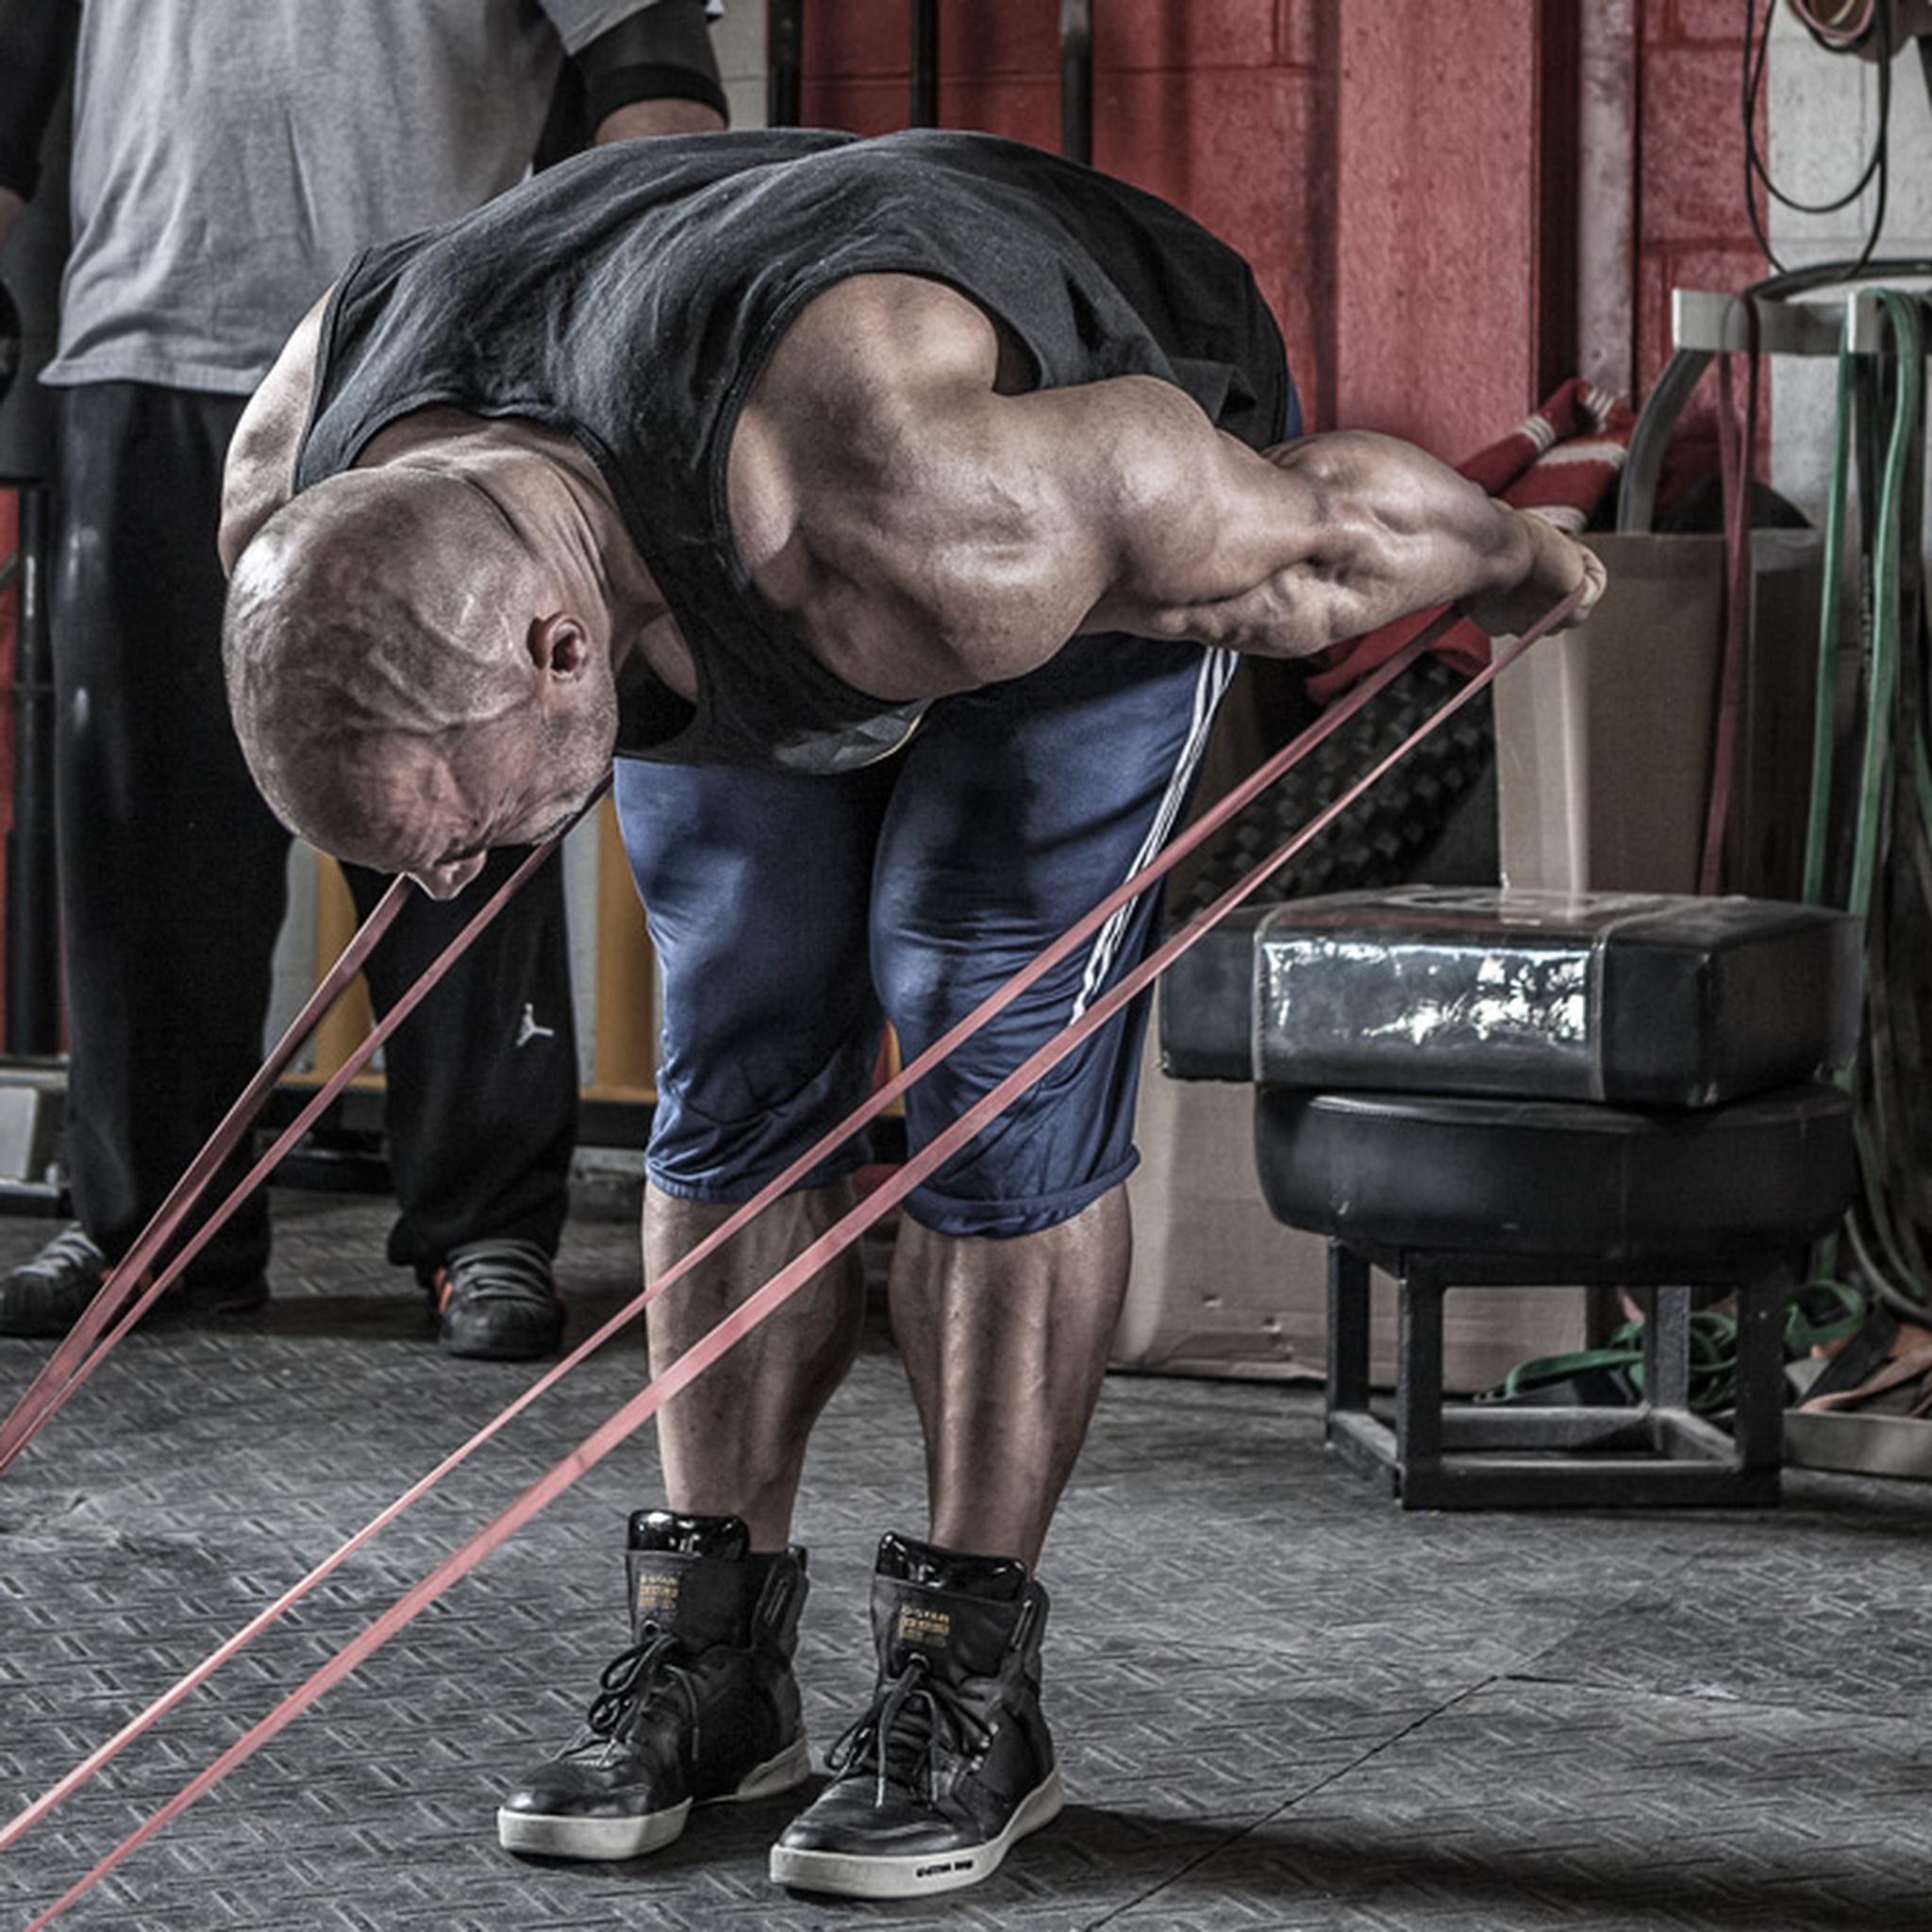
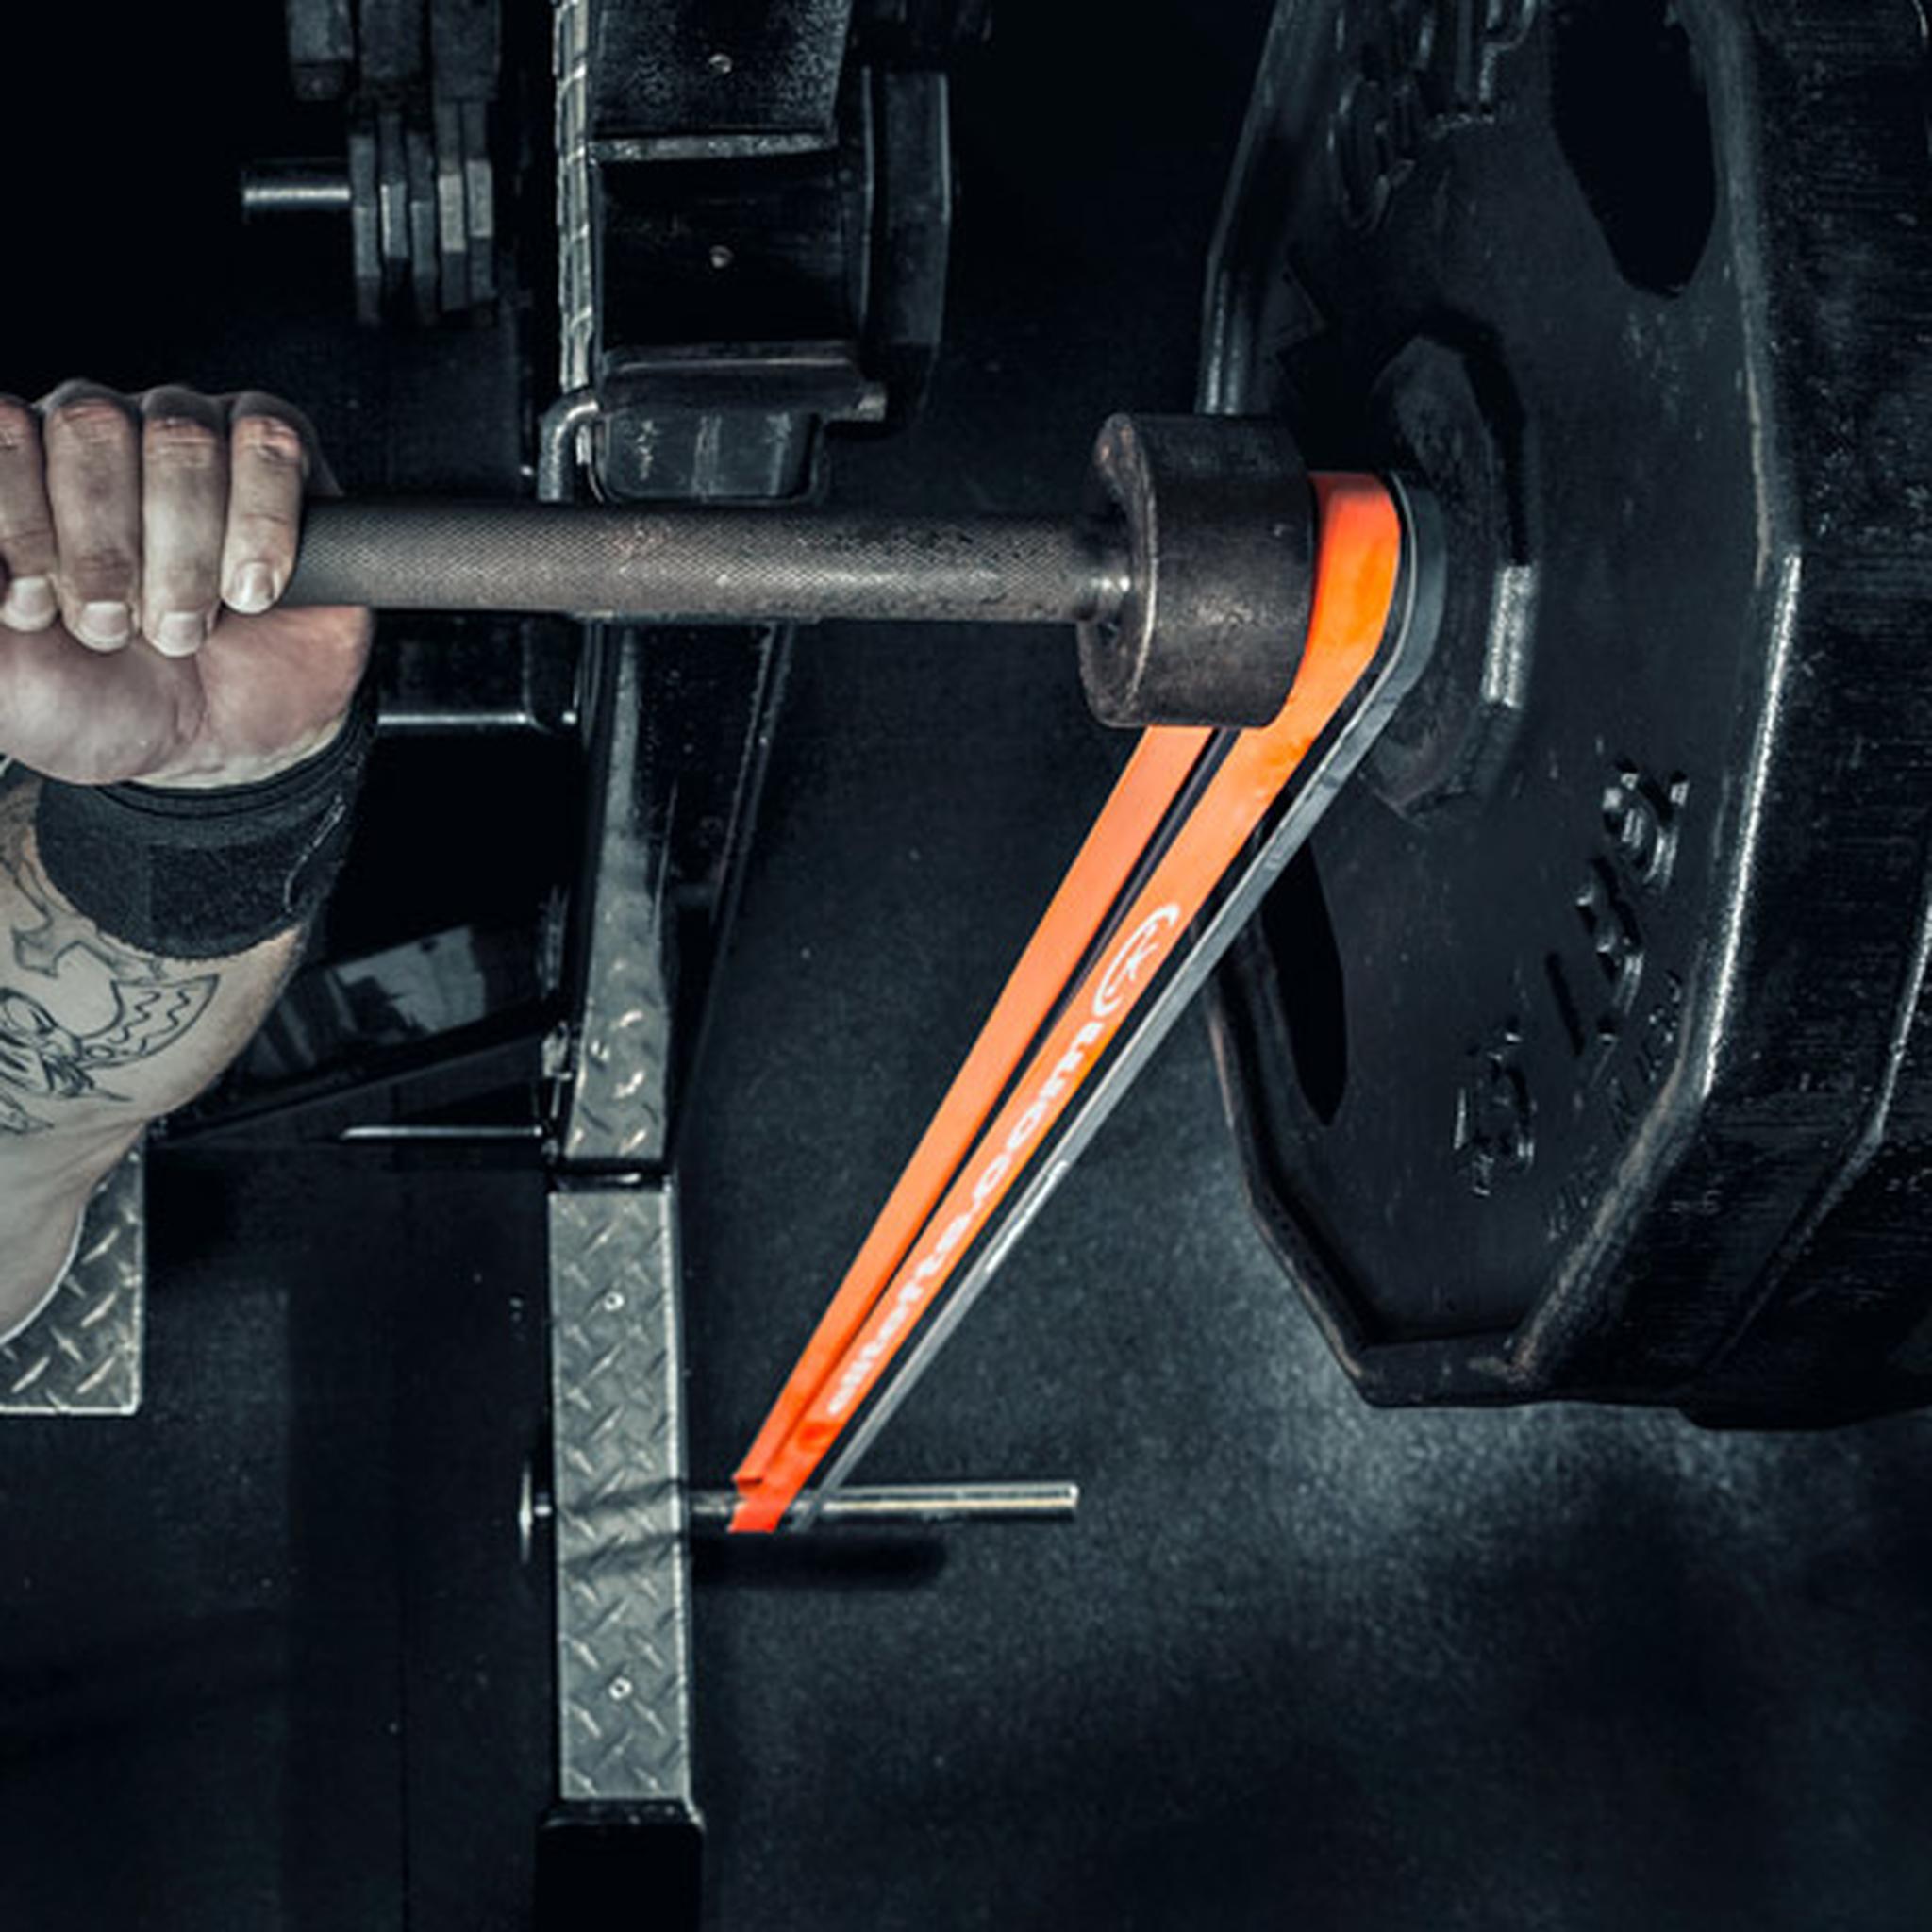
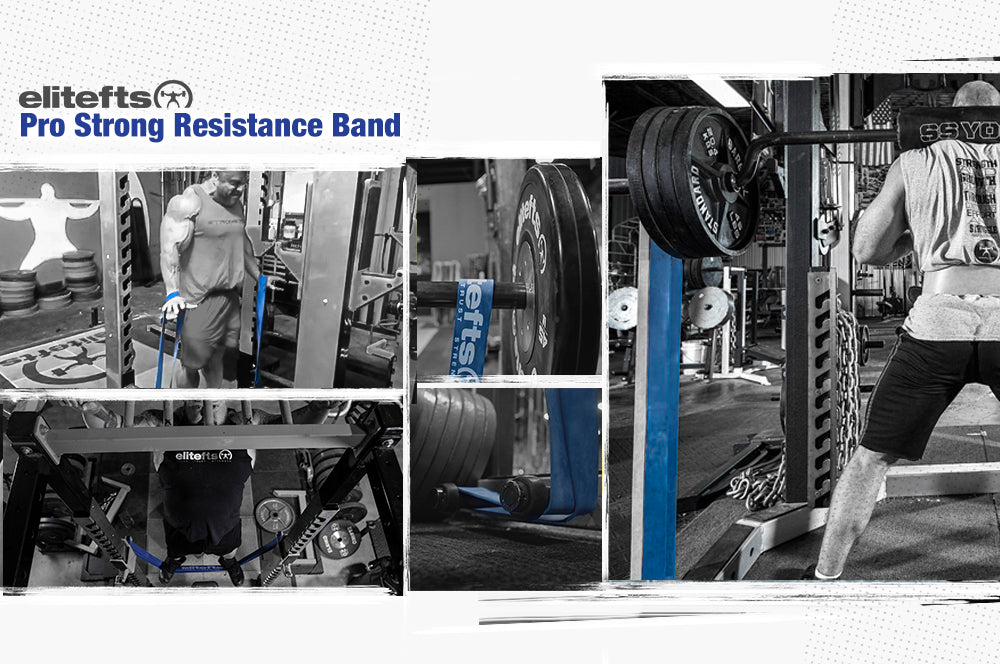
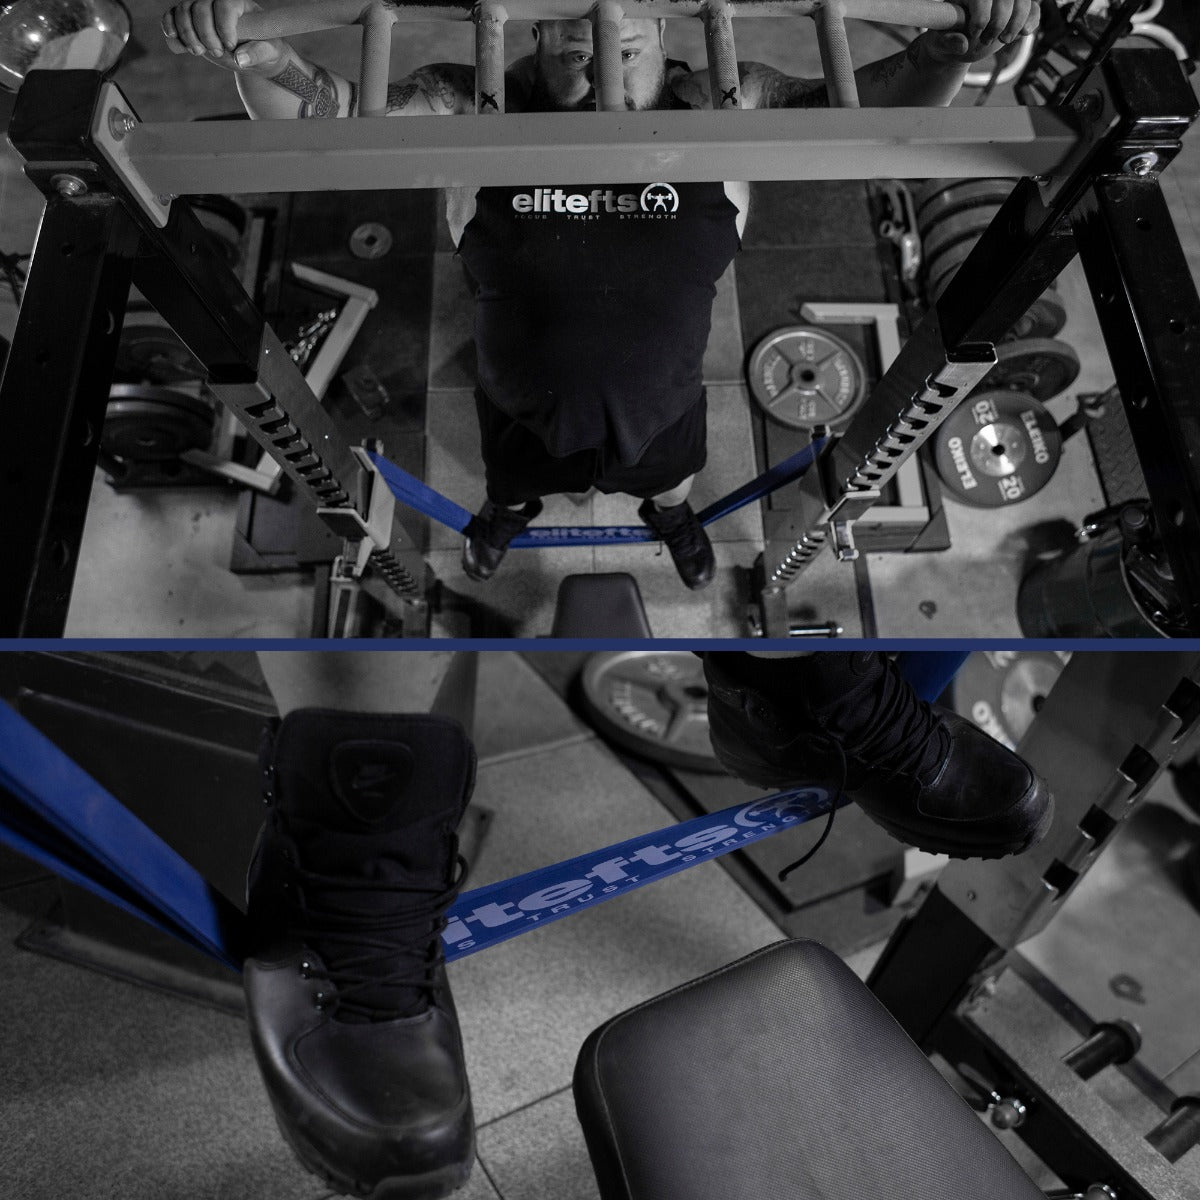
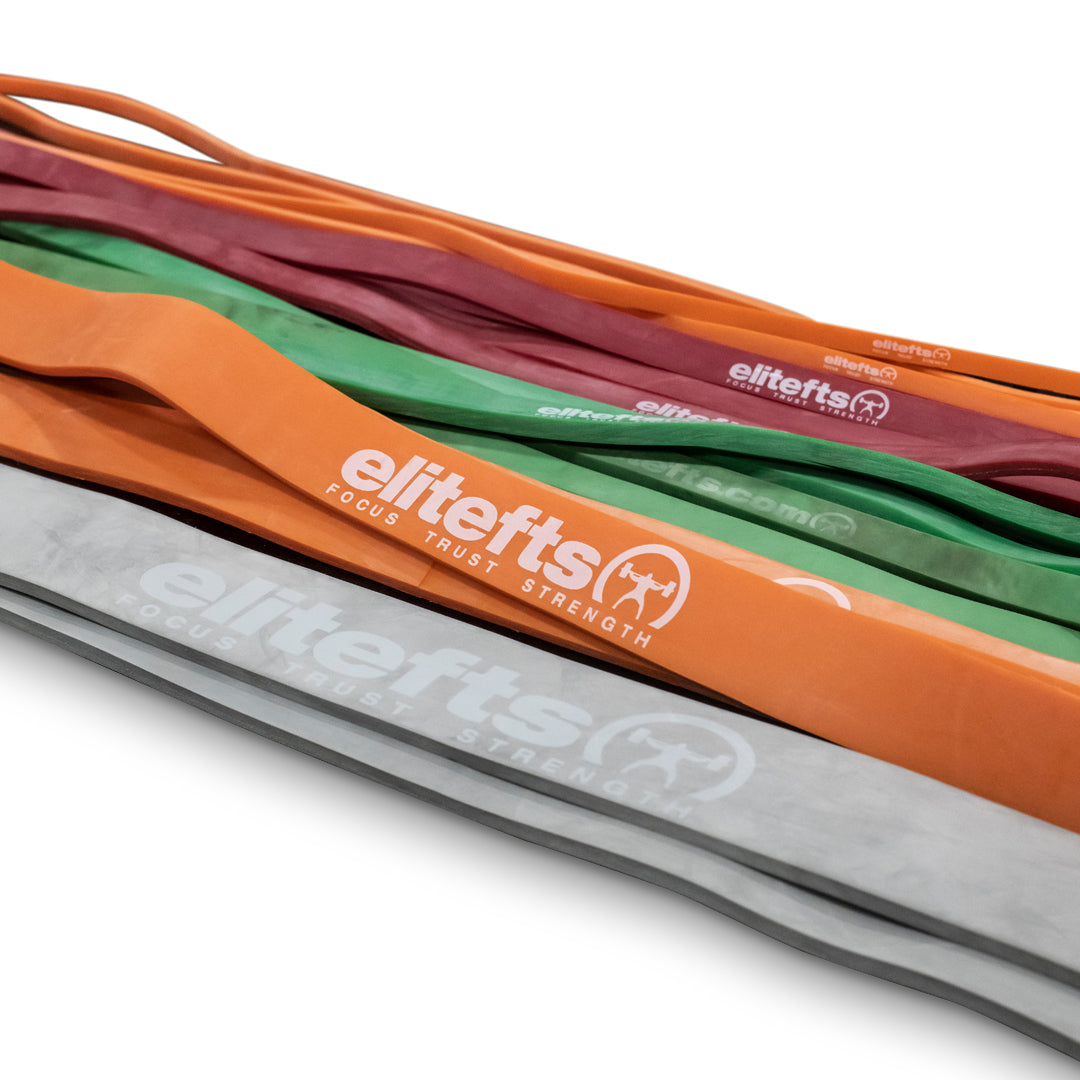
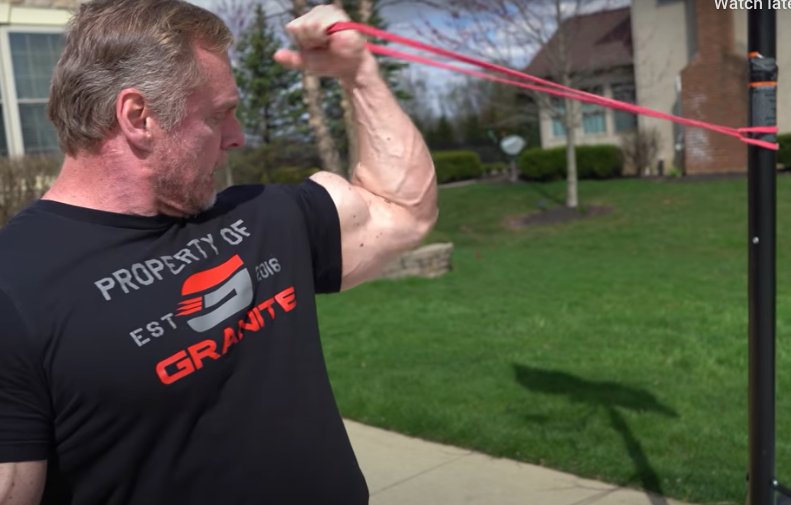
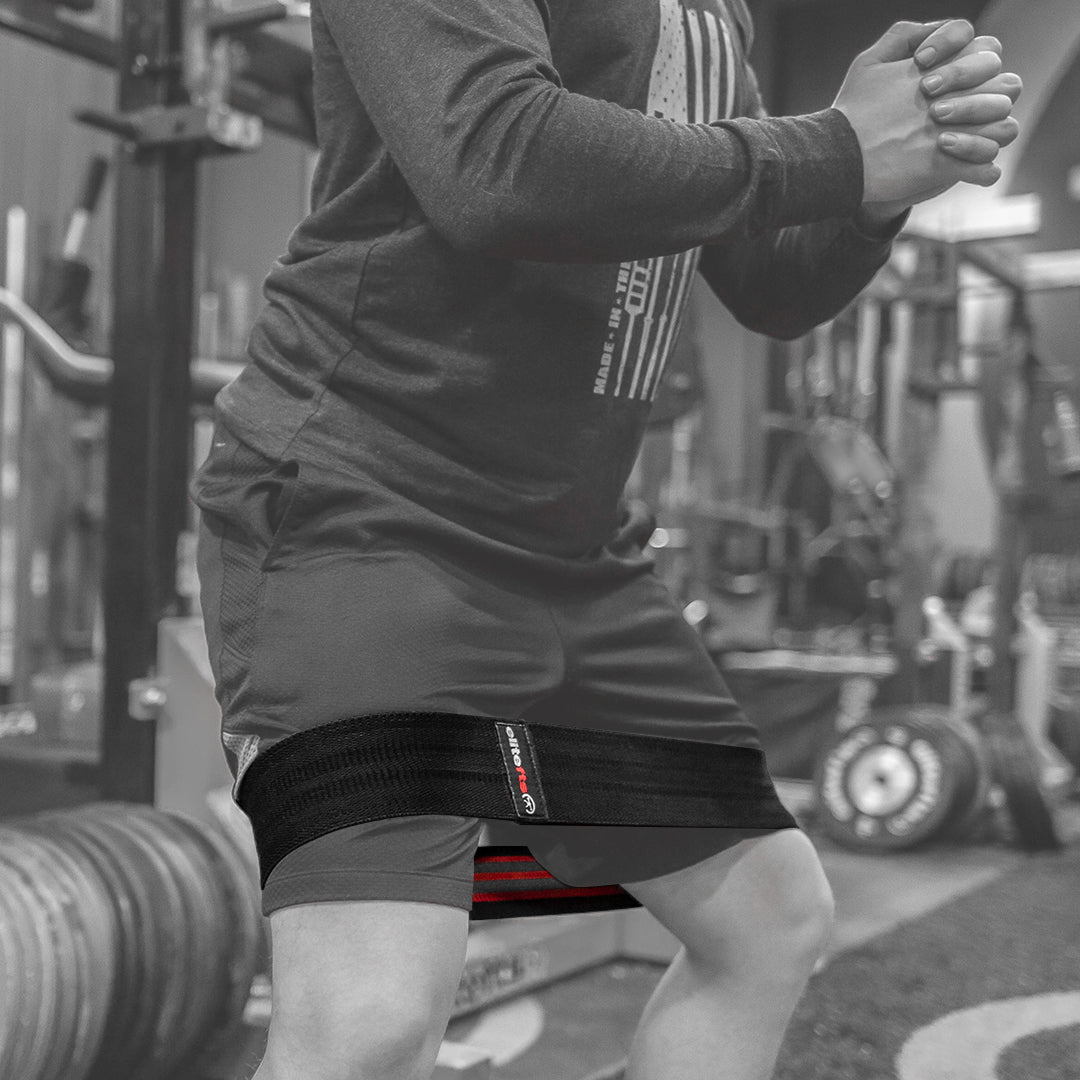
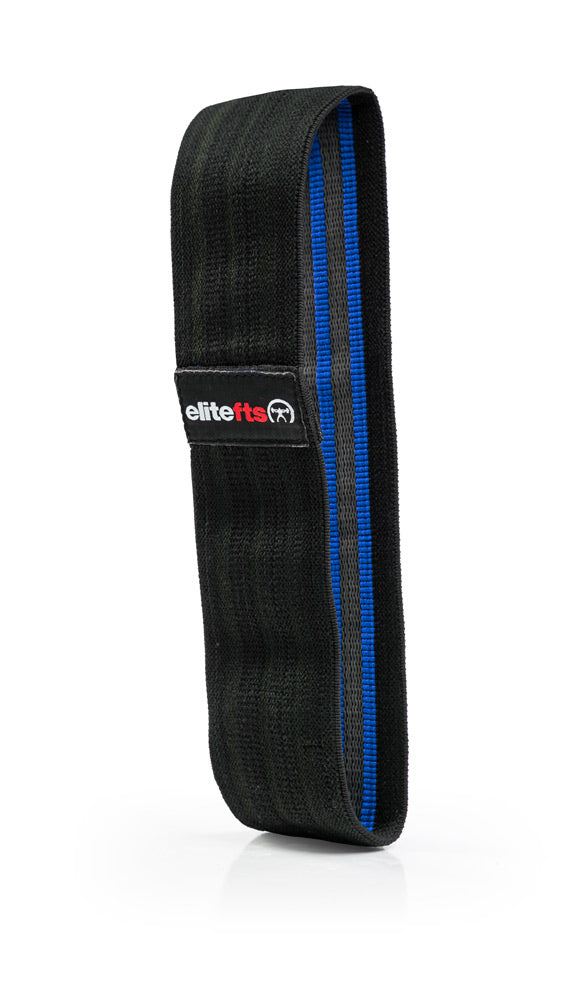
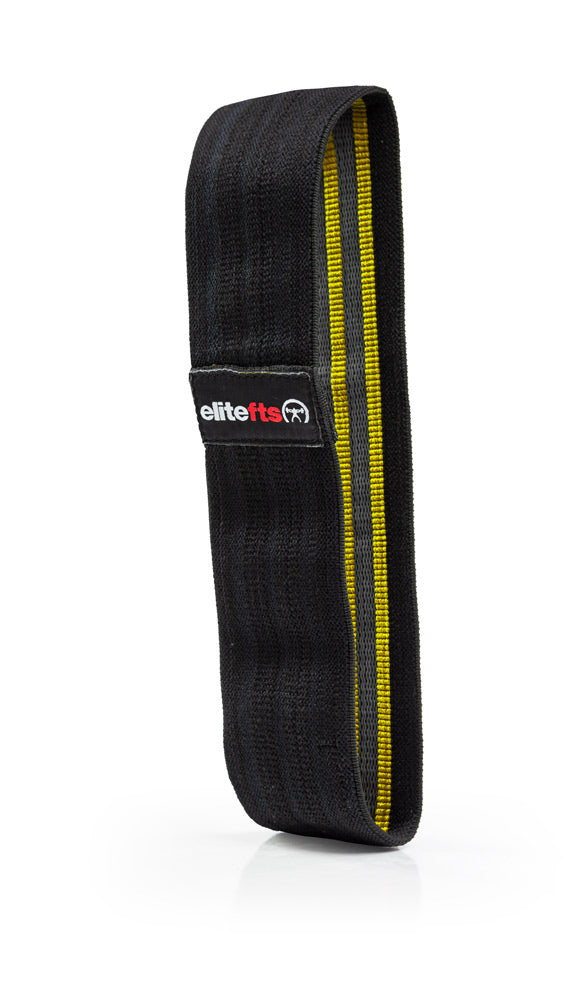
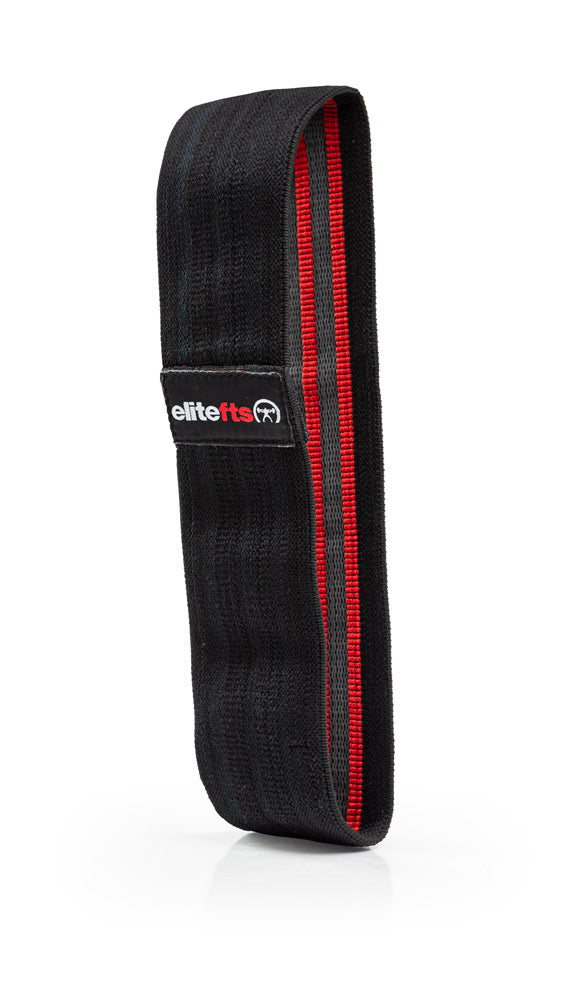
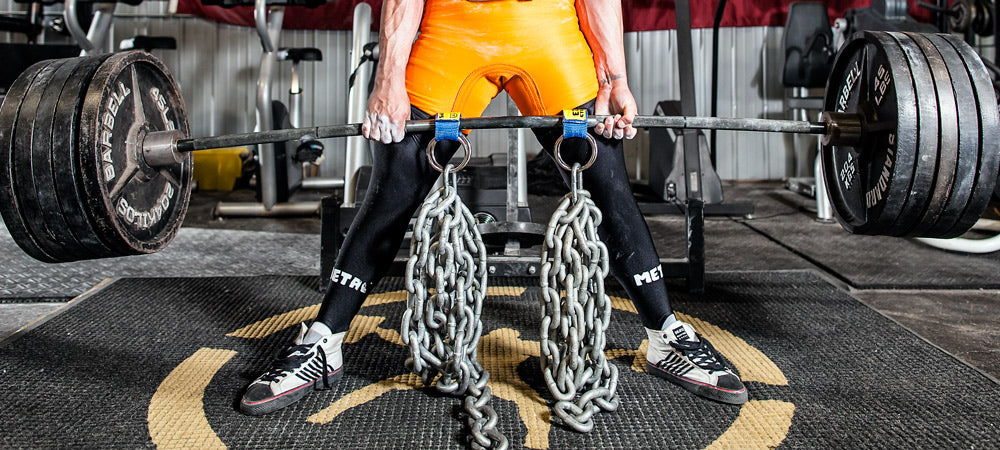
If you're using elitefts chains for your speed bench waves, here's the key point: don't factor the chain weight into your calibration.
Chains set up correctly for bench work deload almost completely at the bottom of the lift. The links pile up on the floor as you lower the bar, so the actual weight in your hands at the bottom is close to just the bar and plates. That's the whole point — accommodating resistance means the load increases as your strength increases through the range of motion, and deloads where you're weakest.
Because of that deload, run the chalk mark test the same way whether you're using chains or not. Drape the chains over the bar the same way you'll train with them, but don't subtract or add anything to account for their weight during the calibration. The feel of the bar moving through the range is what you're judging, not a number on paper.
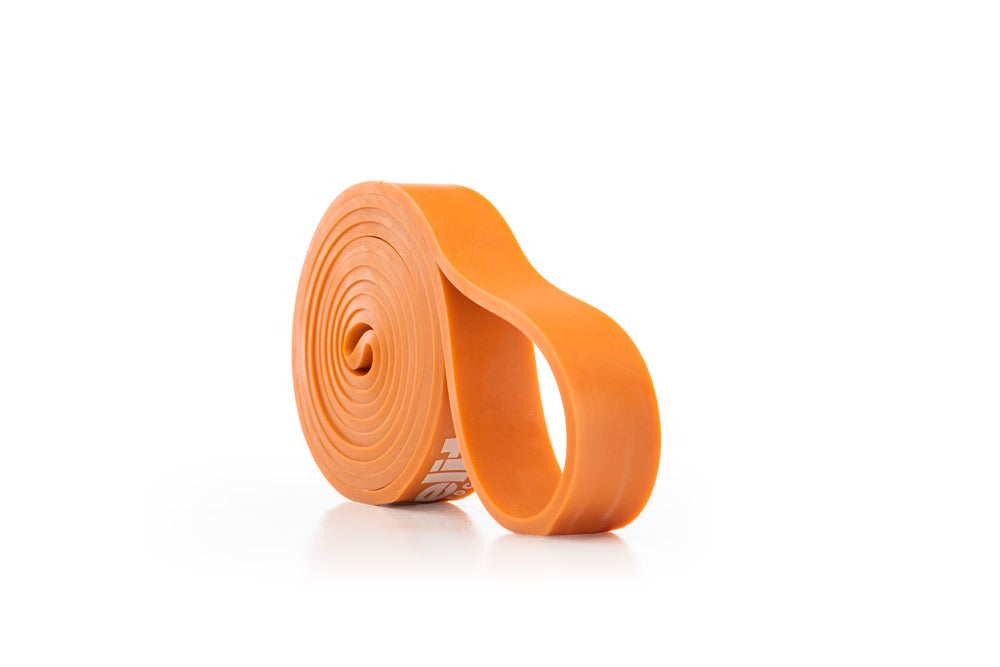
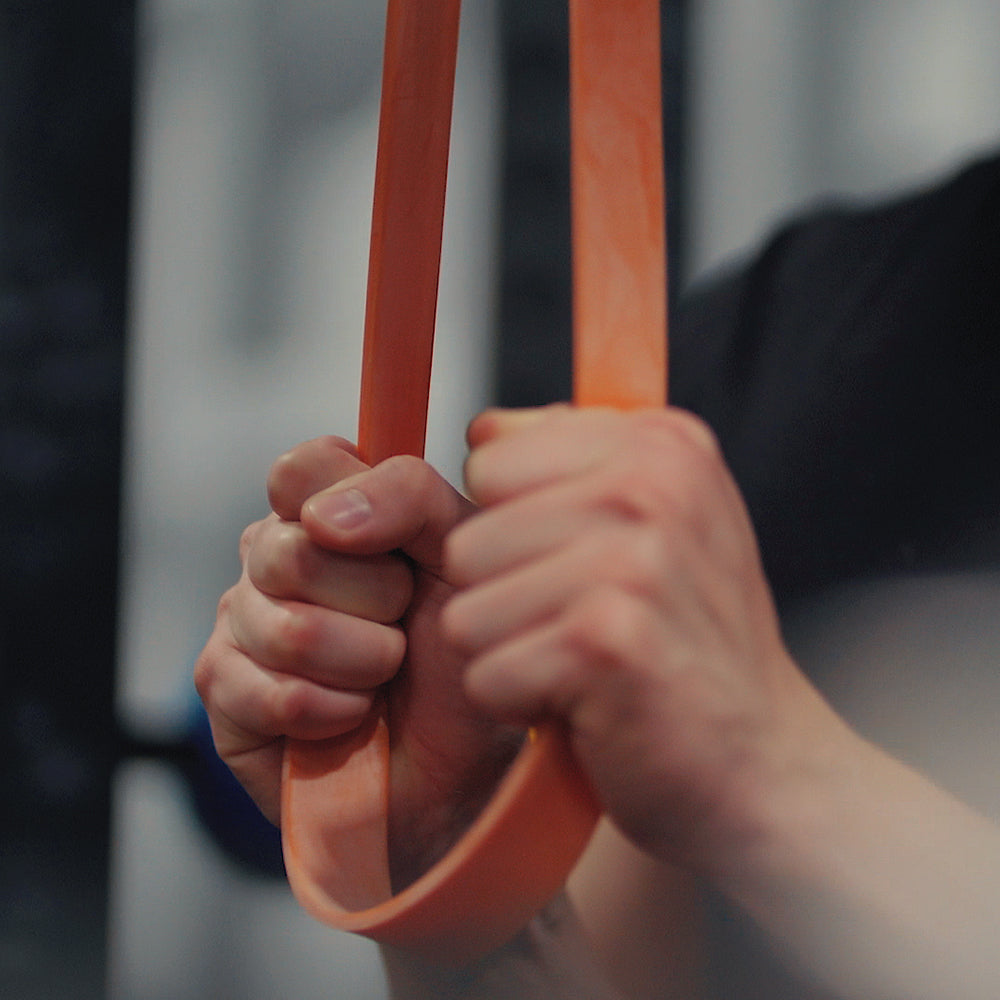
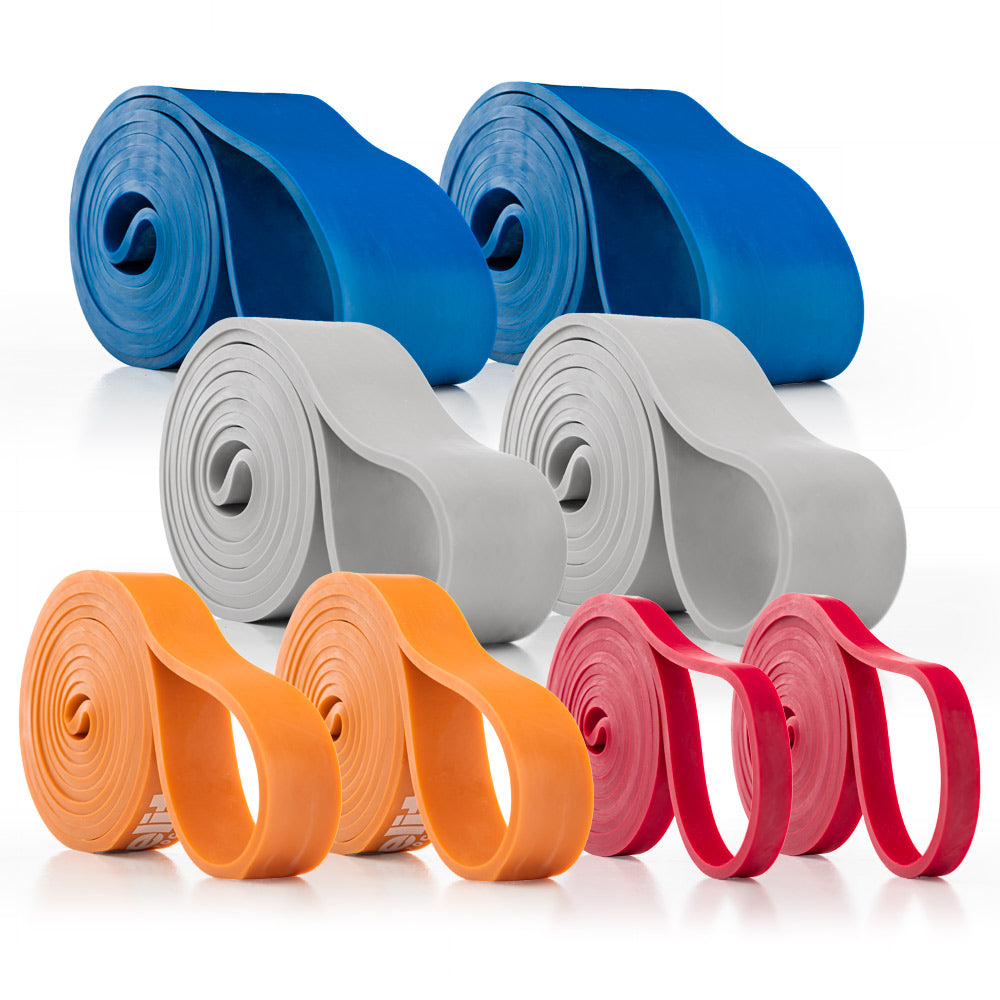
Bands are a different situation. Unlike chains, resistance bands apply tension at the bottom of the movement as well. There is a load at the bottom, not a full deload.
Because of that bottom tension, when you transition from a chain wave to a band wave, subtract roughly 30 pounds from whatever bar weight you were using with chains. So if your chain wave had you pressing 185 on the bar in Week 2, you'd start with about 155 on the bar when you switch to bands.
If that feels too light in the first set, add a little. If it feels too heavy, take a little off. The chalk mark logic still applies — you're chasing bar speed and quality of force, not a number.
One other note: bands are harder on the body than chains. Three to four weeks with bands is about the right ceiling before backing off. A common rotation is three weeks of bands followed by three weeks of chains, or three weeks of bands followed by three weeks of straight weight.
Here's a real example to make this concrete.
Running through the chalk mark test with a raw bench in the 315-pound range, the weight where speed work starts to feel right is around 135 pounds. That's where the bar is moving with real force, technique is solid, and the effort is genuine but not grinding.
The chalk mark at the top of the window — where it tips into too heavy — lands somewhere in the 185 to 205 range.
That gives a three-week wave of approximately 135, 155, and 185. Clean progression. Enough of a jump to keep Week 3 meaningful. Not so aggressive that Week 2 becomes a struggle.
If you back-calculate the percentages off a 315 max, that's 43%, 49%, and 59%. Those numbers mean nothing to someone benching 225 or someone benching 500.
They're just where the window landed for that specific strength level at that specific point in training.
Once you have your three weights, the structure for each week is straightforward.
Weekly Structure
- Eight sets of three reps. Rest 45 to 60 seconds between sets.
- Rotate through three grip widths across your sets — all of them inside the power rings.
- Every rep should look like your best rep. Every rep should have maximum intent.
- 72 hours after max effort bench day to allow proper recovery. The two days are training different qualities and they should not bleed into each other.
- After three weeks, drop the weight and make a change — new accommodating resistance, new variation, adjusted grip emphasis — and run another wave.
Percentages are a starting point for people who don't have enough information to train by feel. Once you have the information, the percentage becomes irrelevant. What matters is whether the bar is moving the way it should move and whether you're applying force the way you're supposed to apply it.
The chalk mark method gives you that information in a single session. No formula required, no conflicting articles to reconcile. You find your range based on where you are right now, build a wave that fits your actual strength level, and train with a purpose that's grounded in real feedback rather than someone else's percentages.
Do the test. Mark your chalk lines. Know your window.
That's all there is to it.