

The Perfect Press:
A Narrative Journey of the Overhead Press
A master-level breakdown of the most humbling lift in the iron game.
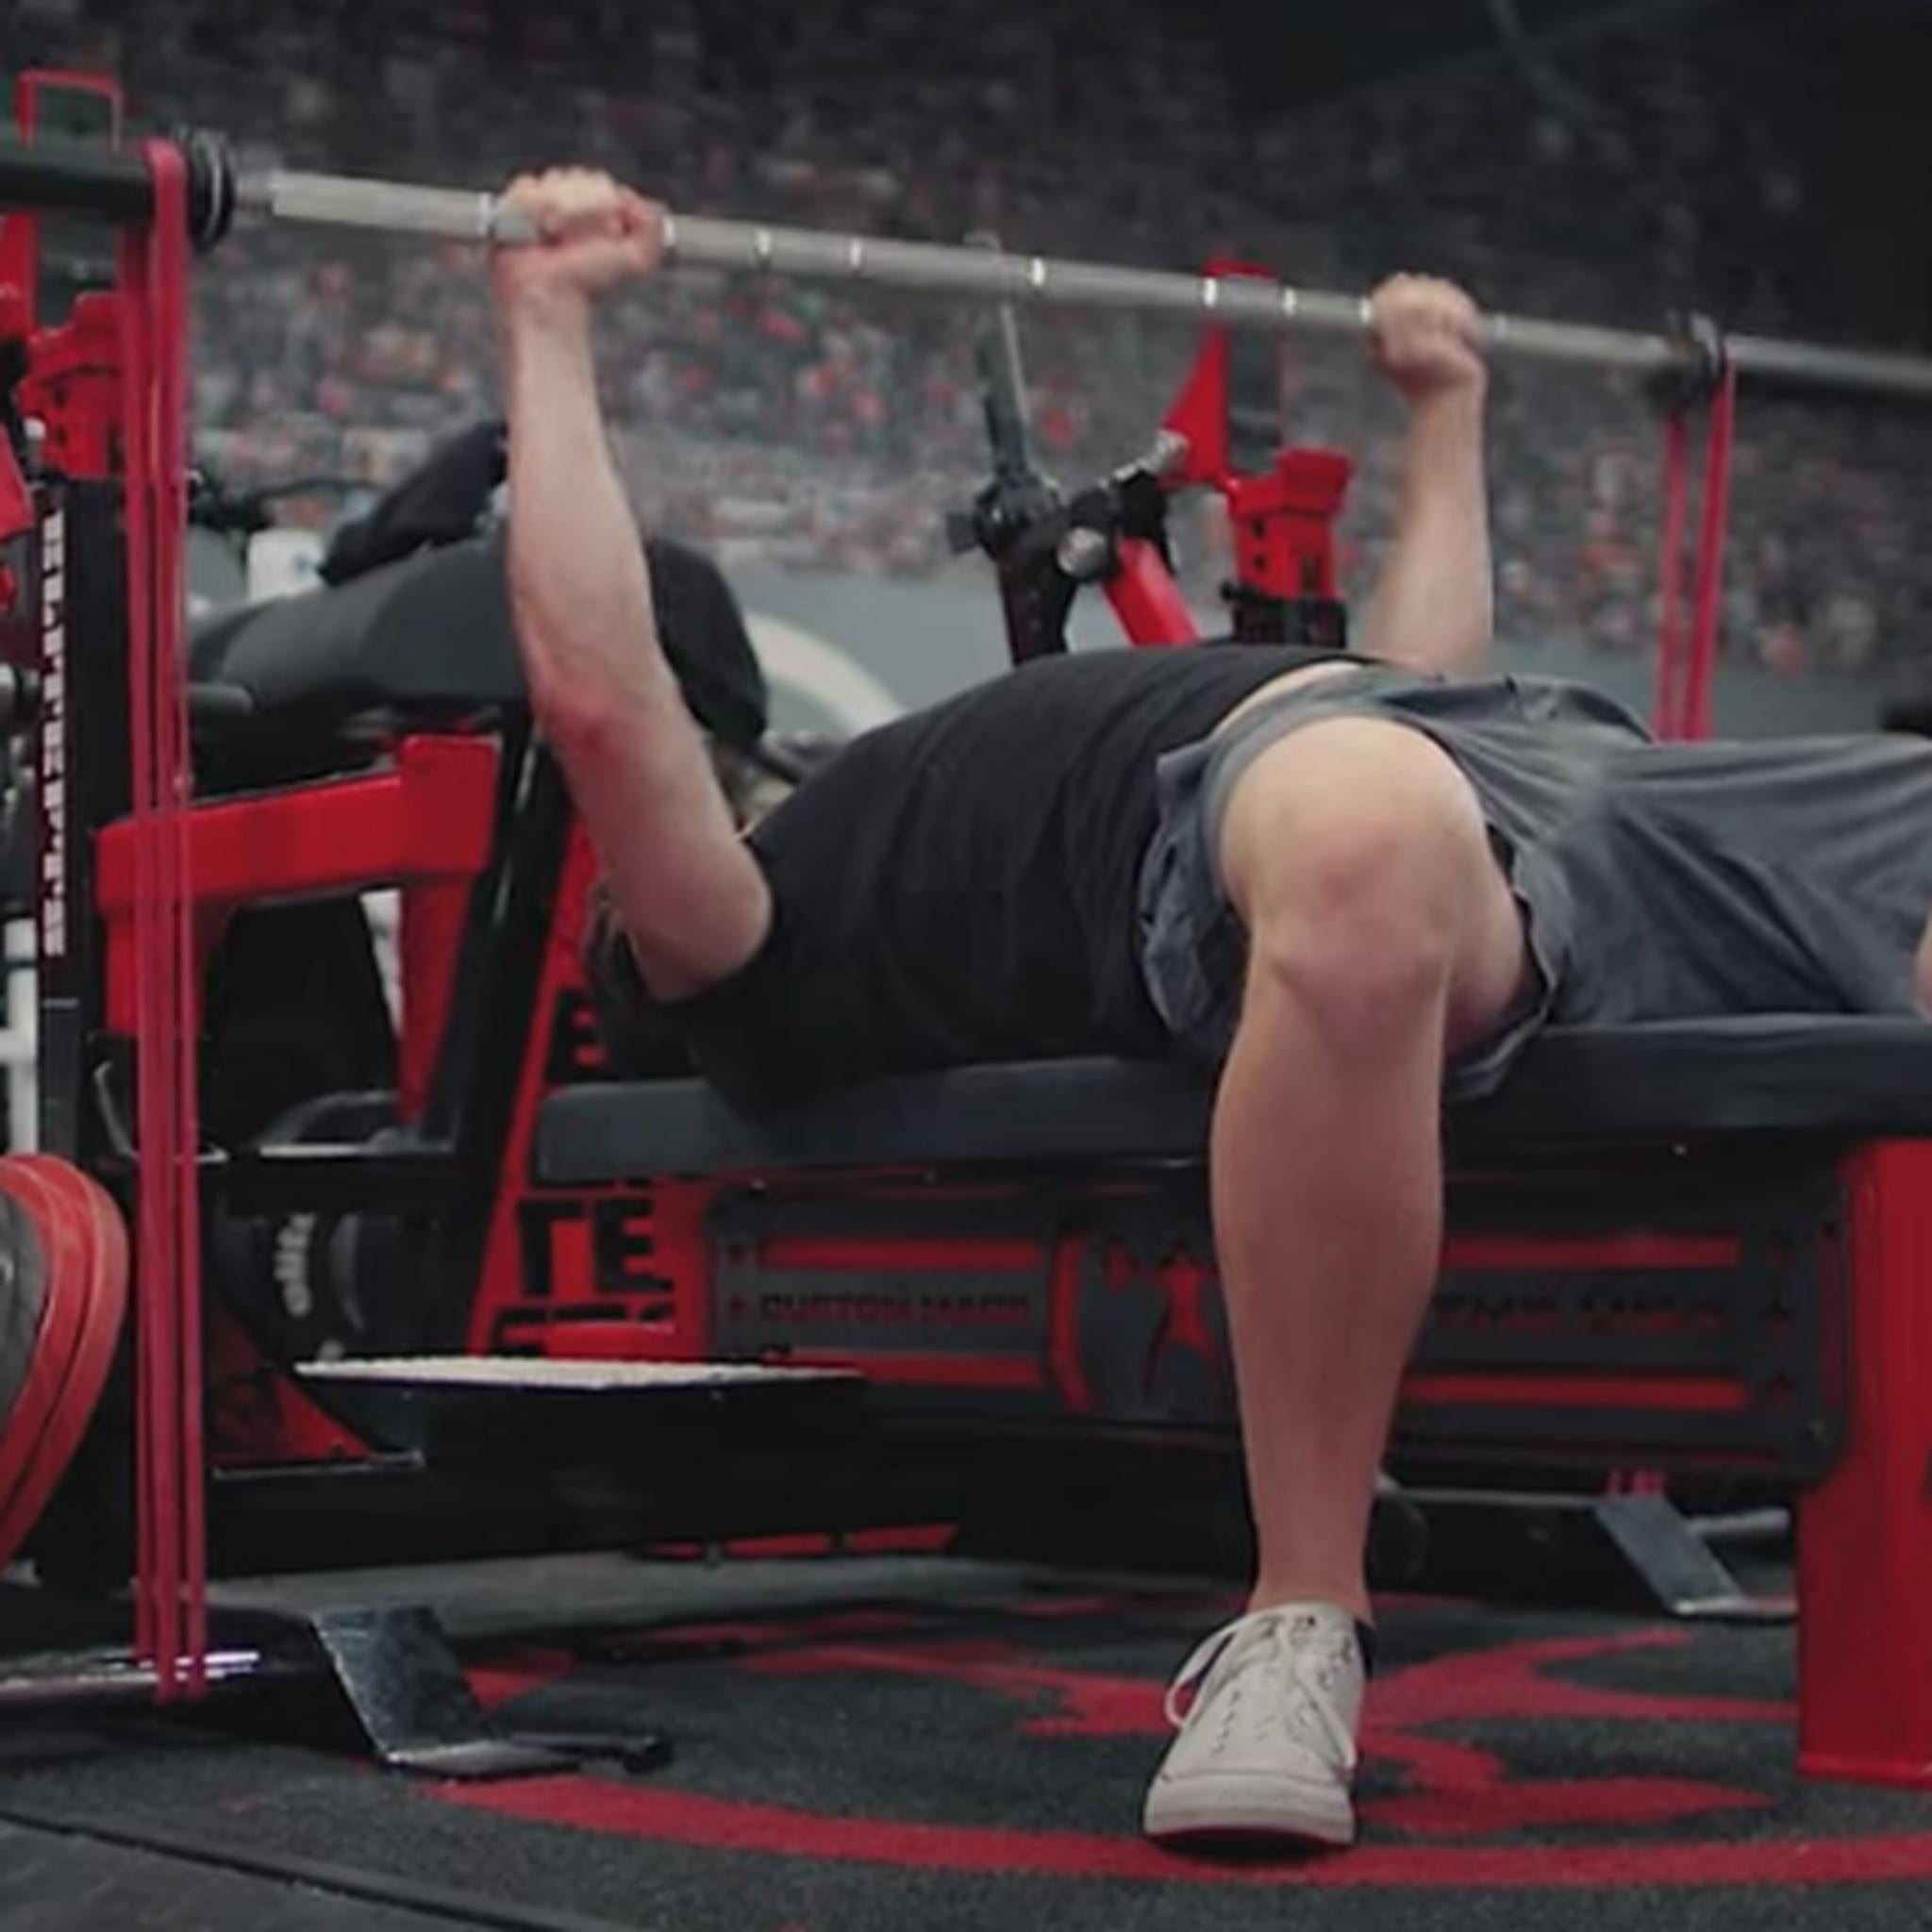
The overhead press is not merely a shoulder exercise.
It is a total-body diagnostic of your ability to remain a rigid pillar under stress.
While the modern gym-goer often views it through the narrow lens of deltoid development, a master practitioner knows better. If your goal is pure front-delt hypertrophy, you are better served by incline presses or dips, which allow for greater load and closer proximity to failure without postural breakdown.
We press because it is the ultimate test of "global" physical health, challenging your posture, bracing, and upper back stability from the ground up.
"The overhead press is a contest of grounding and bracing as much as it is a shoulder exercise."
Historically, the strict press was removed from the Olympics because it devolved into a "limbo contest." Lifters would excessively lean back to recruit the pecs, turning the move into a pseudo-incline press.
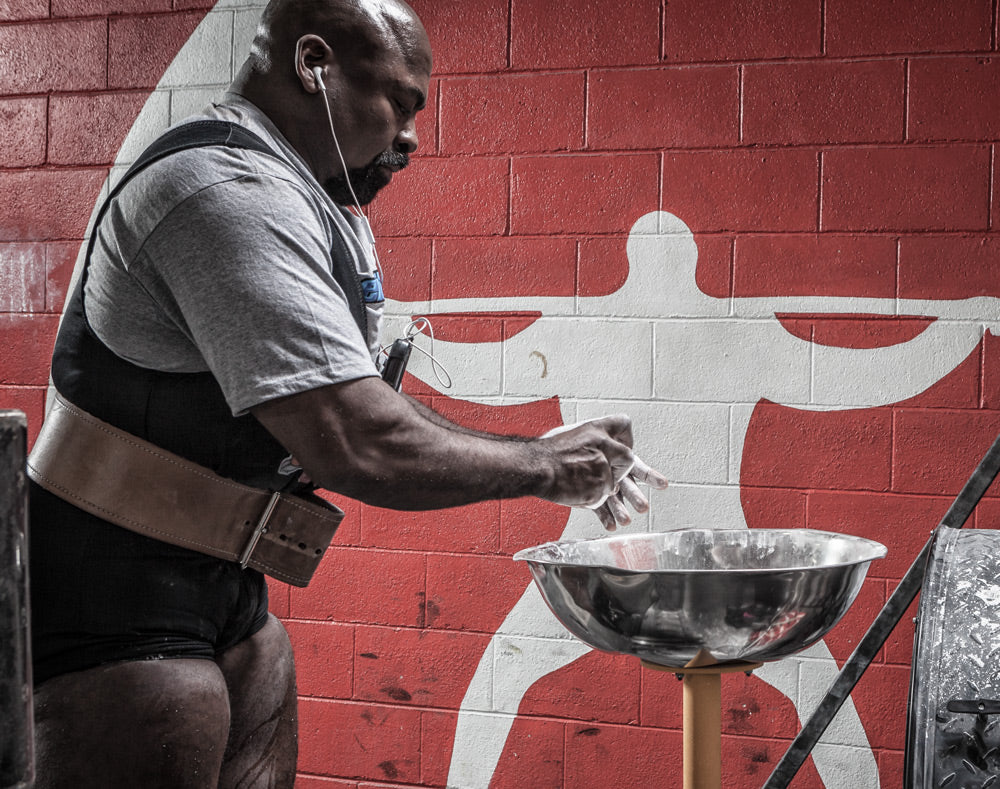
To avoid this and reap the true benefits of the lift, you must transform your body from the armpits down into a literal block of concrete.
Success is defined by rooting yourself so firmly that the weight cannot pull you out of your neutral pillar. That journey begins with the realization that stability is not passive, it is an active ritual of connecting your skeletal structure to the floor.
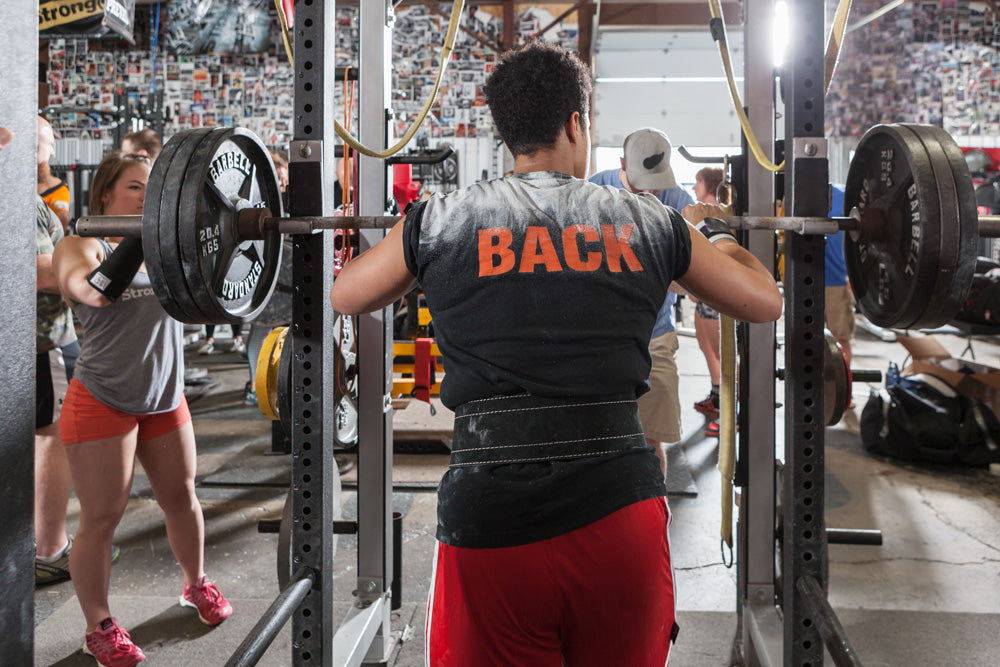
Before the bar leaves the rack, you must establish your foundation.
The most common error is locking the knees back. Rigid, locked joints offer no "play" to absorb deviations in the bar path, forcing the lower back to compensate. Instead, we use soft knees, a slight, athletic bend that allows you to actively pull yourself into the floor.
This "rooting" creates a reactive anchor, allowing your center of mass to shift subtly as the bar travels upward.
| Body Part | Action / Feeling |
|---|---|
| Feet | Actively gripping the floor, pulling the body downward to create tension. |
| Knees | Maintaining "soft" knees, slightly bent to allow for balance adjustments. |
| Pelvis | Maintaining neutral alignment, actively avoiding anterior tilt or low-back arching. |
| Stance | Shoulder-width base, wide enough for stability, narrow enough to prevent "cheating" the lean. |
With your base secured, you have the stability required to transition your focus to the upper body and turn your torso into a launchpad.
A flawed setup in the rack position ruins force transfer.
To find your personal start position, perform a diagnostic test: use a light lat pull-down. Pull the bar to the lowest point where you can maintain a vertical forearm. The moment your elbows wing back, the movement becomes inefficient. That height, whether it is at your chin, lip, or collarbones, is your specific starting point for the press.
- The Grip: Set hands just outside shoulder width. Use the knurling marks to ensure perfect symmetry.
- The Elbows: "Scoop" the elbows forward and in as hard as possible. This "tuck" stacks the bar directly over your joints.
- The Forearms: Ensure the forearms are at a "6 o'clock" or even a "7 o'clock" angle, tilted slightly back toward you. This 7 o'clock angle is critical. It pre-sets the bar for its necessary backward journey.
- The Upper Back: Keep Collarbones Wide and Knuckles to the Ceiling. Do not retract your shoulder blades like a bench press. Let them stay broad to allow the shoulders to move freely.
- The Neck: Keep the Neck Long and the shoulders down. This creates the posture that allows the bar to clear your face without jostling your head.
As you unrack the bar, you should feel a surge of tension in the upper back, the bar poised and ready to follow a tight, efficient path.
The ascent is not a straight line. It is a backward curve.
As the bar rises, your lats will naturally lengthen. This is a danger zone. As they lengthen, they pull on their attachments, attempting to flare your ribs upward. You must counter this by pinning the ribs down even harder as the weight gains altitude.
Maintain the elbow tuck and the 7 o'clock forearm angle. This drives the bar up and slightly back, keeping it tight to your face. Because you are "rooted" with soft knees, you can shift your entire body slightly forward as a unit rather than leaning back into a limbo-style incline press.
Once the bar clears the forehead, the elbows naturally rotate outward.
At the peak of the movement, your elbows should point directly to the sides, with the knuckles still punched toward the ceiling and the bar stacked vertically over your crown.
Do not move your head around the bar. If your collarbones are wide and your neck is long, the bar will naturally clear your face.
Think of your body shifting forward under the bar as a single, solid unit as the weight reaches its peak. That stability at lockout is the result of your "block of concrete" torso resisting the pull of the lengthening lats.
The descent is often where form disintegrates.
A master coach views the eccentric phase as a mirror image of the press; think of it as the tape playing in reverse. If you let the elbows flare early, you lose your start position and invite shoulder strain.
- The Snap: At the top, imagine you are trying to snap the bar between your hands.
- Internal Rotation: This "snap" drives an internal rotation of the humerus. Twist the elbows in and forward as if trying to point them at a camera directly in front of you.
- The Return: This rotation naturally brings the bar back into the tucked 7 o'clock position, returning you exactly to your starting launchpad.
- Error: Flaring the elbows out too early. Fix: Actively twist the elbows forward to point at the wall in front of you during the drop.
- Error: Leaning back to avoid hitting the head. Fix: Maintain wide collarbones and a long neck. Let the bar curve forward naturally.
- Error: Losing the vertical forearm (elbows winging back). Fix: Only lower the bar to the depth identified in your lat pull-down diagnostic. Stop before the elbow moves behind the bar.
By returning the bar to the tucked position, you remain perfectly aligned to begin the next rep without losing postural integrity.
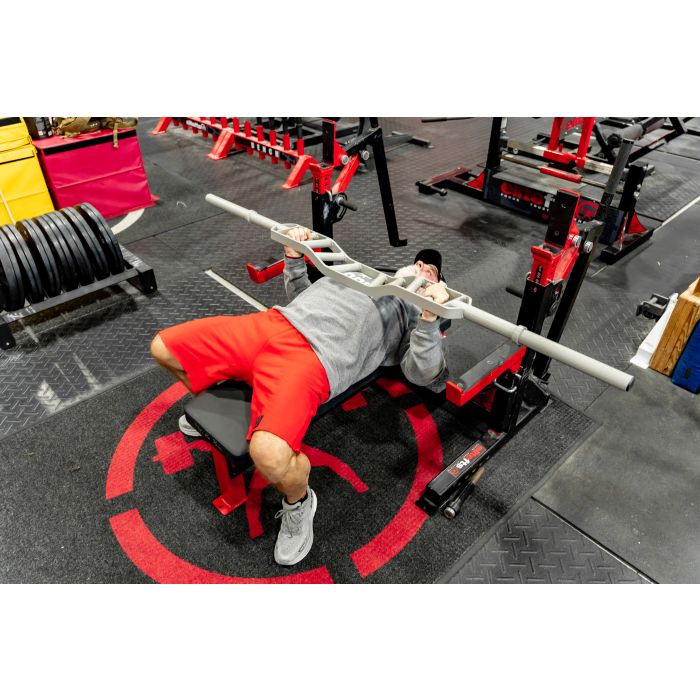
If you struggle to feel the "armpit down" bracing, utilize the Z-Press (Cicas Press).
By sitting on the floor with your legs straight, you lose the ability to use leg drive or lean back. The Z-press punishes technical errors immediately. If you fail to pin your ribs or keep the bar over your center of mass, you will tip over. It is the ultimate pedagogical tool for learning to keep the torso rock-solid.
Pro Tip: If you have restricted shoulder rotation that makes the rack position feel jammed, try using a thumbless grip. This allows for slightly more internal rotation, making it easier to get the elbows into the proper tucked position without straining the wrists.
Run this sequence through your mind for every repetition. Build a pillar, not a limbo dancer.
- Root: Grip the floor with feet, maintain soft knees, neutralize the pelvis.
- Set the Rack: Grip just outside shoulders, tuck elbows to 7 o'clock, knuckles up.
- Broaden: Wide collarbones, long neck, and depress the sternum.
- Phase 1 (Ascent): Press to the forehead with elbows tucked to clear the face.
- Phase 2 (Ascent): Rotate elbows out naturally as the bar reaches lockout over the crown.
- The Peak: Lock out with elbows wide and the torso acting as a block of concrete.
- The Descent: Twist the elbows in ("snap the bar") to mirror the upward path.
- The Reset: Return the bar to the 7 o'clock forearm position. Ready to fire again.